Cline is a loop: it plans a change, edits files, runs commands, reads the output, and decides what to do next. So why aren’t your API tests in that loop? They sit in Apidog behind a GUI, waiting for someone to remember to click. Your agent never touches them.
The fix is one config block. The Apidog CLI is an npm package, apidog-cli, that runs the test scenarios you built in Apidog straight from a terminal. Once the CLI is installed and Cline knows it exists, your agent runs an Apidog scenario the same way it runs your unit tests: fire the command, read the exit code, fix the code if it comes back red.
If you have not installed the CLI yet, do that first. How to install the Apidog CLI with an AI coding agent walks through the npm install, authentication, and the first run, with Cline doing the typing. This article assumes apidog --version prints a number and your Apidog account is authenticated.
Which Cline this is about
Cline is the open-source autonomous coding agent that runs as a VS Code extension (there is also a JetBrains build and a CLI). It reads your repository, plans in Plan mode, then switches to Act mode to edit files and run shell commands, asking for approval based on your auto-approve settings. It is not a hosted chatbot; the model runs against your codebase on your machine. If you have the Cline panel open in VS Code and it is showing diffs and terminal output as it works, you are in the right place. How to use Cline covers the basics of installing it and picking a model.
The distinction matters because Cline has its own way of learning project rules, and that mechanism turns a one-off “run my tests” into something Cline reaches for on its own. That mechanism is the .clinerules/ directory.
Step 1: Add the rule to .clinerules, not a chat reminder
Cline loads project rules from a .clinerules/ directory at your workspace root before it starts a task. It reads every .md and .txt file inside that folder and combines them into the instruction set it carries through the session. You can also use a single .clinerules file if you prefer, but the directory scales better as your rules grow. This is documented in the Cline rules reference.
Create a file such as .clinerules/apidog.md at your repo root with a short block like this:
# API testing with Apidog

- To test the API, run the Apidog CLI, not curl or ad-hoc scripts.
- Command: apidog run -t <scenario_id> -e <env_id> -r cli
- The scenario ID and environment ID come from Apidog's CI/CD tab. Use those exact values.
- Exit code 0 means every assertion passed. Non-zero means a failure; the exit code is the source of truth, not your summary.
- The machine is already authenticated via `apidog login`. Never add --access-token and never put a token in this file.
- If a flag is unknown, run `apidog run --help` and use the exact flag from there.
This is why you write the CLI into .clinerules/ instead of mentioning it in the chat. A scenario ID typed into a Cline message is gone when the task ends. One in .clinerules/apidog.md is there for every teammate who checks out the repo and every Cline task from now on. The file is version-controlled, so the rule travels with the code.
Step 2: Get the command from Apidog
You need the real apidog run command, not a guessed one. Open the test scenario in Apidog, go to its CI/CD tab, and copy the generated command. It looks like this:
apidog run -t 8291 -e 42 -r cli
The -t value is your test scenario ID and -e is the environment ID. These are the exact values that belong in .clinerules/apidog.md. Paste them into the rule block so Cline always has the correct IDs. For the full flag set, see the apidog run command reference.
Step 3: Have Cline run the test
With the rule in place, start a task in the Cline panel. Cline loads .clinerules/ as it begins, so it already knows the CLI is there. Make a change that touches your API, or just ask it to run the check:
Run the Apidog test scenario and tell me the result.
Cline plans the step, then switches to Act mode to issue the apidog run command from your rules. How much it asks first depends on your approval settings. Cline evaluates each command and marks it as safe or as needing approval; a read-only test scenario against staging is the kind of command it treats as safe. If your auto-approve settings allow safe commands to execute, apidog run runs without a prompt. If not, Cline pauses and asks; approve it, and turn on auto-approve for execute-safe-commands if you want it to run future scenarios on its own. The -r cli reporter prints a step-by-step result and a summary right in the terminal, where you watch each request and assertion as it happens.
Step 4: Read the report inside Cline
When a run goes red, the report has the answer. With -r cli, Cline gets a readable breakdown in the terminal output panel: each request, each assertion, and which one failed, with expected versus actual value. The failing assertion names the exact field or status code, which is usually enough for Cline to find the fix on its next pass.
For a report you can open in a browser or hand to a teammate, add the HTML reporter:
apidog run -t 8291 -e 42 -r cli,html
The html reporter writes a self-contained file to ./apidog-reports. Keep cli in the list so Cline still gets the inline output it reads to decide its next step. For every flag and reporter, including the JUnit format CI dashboards parse, see the complete Apidog CLI guide and the Apidog CLI test reports guide.
Cline testing inside its own loop
The payoff is what happens when you stop asking and Cline runs the scenario on its own because .clinerules/ told it to.
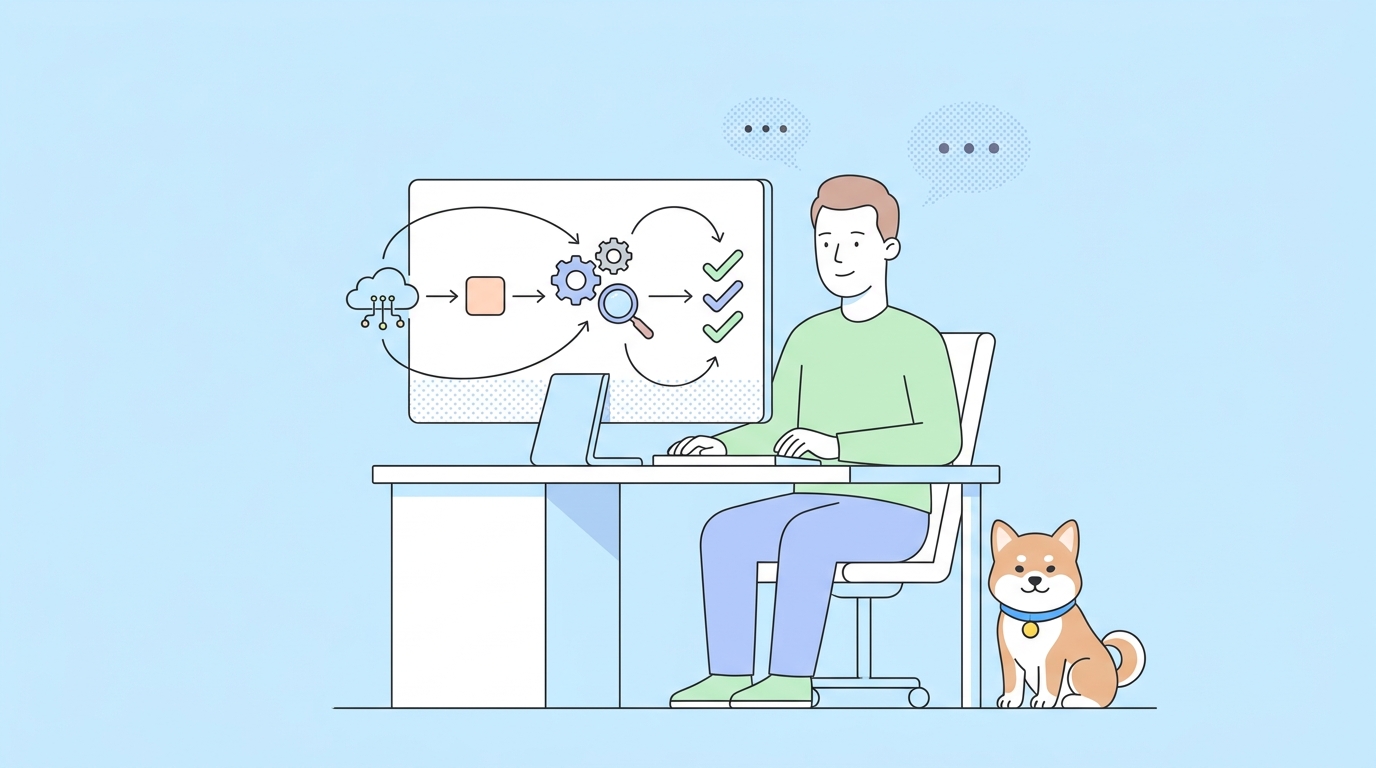
Picture Cline editing a handler that builds a checkout response. Its loop changes: it edits the code, then, instead of declaring victory, runs your Apidog scenario against staging, reads the exit code, and acts on it. Green, it moves on. Red, it opens the report, reads which assertion failed (the status code, the missing field, the wrong value), tries a fix, and re-runs. The API test becomes part of the same edit-test-fix loop Cline already runs your unit tests through. You wrote one instruction and Cline folded the command into how it already works.
This is the delegate-then-verify model that makes any agent workflow safe. Cline runs the command and reads the result; you keep authoring scenarios visually in Apidog and spot-check that the agent reads exit codes honestly. For the broader pattern, see how to use AI agents for API testing and the Apidog AI test harness.
Verify Cline is actually running the CLI
Agents report success they did not earn, and Cline is no exception. Three checks, in order of how often they catch problems.
First, confirm the command ran at all. Cline shows the commands it executed and their output inline in the task view. Look for the literal apidog run ... line and a result under it. If Cline says it ran the tests but you do not see the command, it summarized something it never did. Ask it to run again and show the raw output.
Second, confirm the exit code, the one that matters:
What was the exit code of that apidog run command?
apidog run exits 0 when every assertion passes and non-zero when anything fails. That single behavior lets Cline, or a pipeline, treat the run as a clean gate. When Cline’s prose says “tests passed” but the exit code is non-zero, the exit code is right.
Third, confirm it used the real scenario. If a run fails with “scenario not found,” Cline may have invented or misremembered an ID. Re-check the -t and -e values against .clinerules/apidog.md and the command Apidog generated in the CI/CD tab. The IDs in the rules file are the truth.
Optional: connect the Apidog MCP server
Running apidog run from .clinerules/ covers most of what you need. One route goes further.
Cline has first-class support for the Model Context Protocol. In the VS Code extension, click the MCP Servers icon in the Cline panel, open Configure, and click Configure MCP Servers to open cline_mcp_settings.json; add your server under the mcpServers object. You can also browse the MCP Marketplace inside Cline to install servers without editing JSON by hand, as described in the Cline MCP documentation. The Apidog MCP server exposes your API specifications over MCP, so Cline can read your schema while it writes code, not just after the fact. The CLI runs the tests; MCP feeds the agent the spec.
Cline is an interactive extension, so there is no non-interactive test mode built into it the way a headless runner would give you. To run apidog run in a pipeline without Cline present, Apidog CLI in GitHub Actions covers the secrets, reporters, and exit-code gating, and the Apidog CLI CI/CD pipeline guide covers the wider setup.
When Cline gets it wrong
A few failures show up often during setup.
It ignores the rules file. If Cline runs a generic command or none at all, the rule may not be loading. Confirm the folder is named exactly .clinerules and sits at your workspace root, and that the file inside it ends in .md or .txt. Starting a fresh task forces Cline to reload the rules.
It passes an access token anyway. If Cline tries to add --access-token, it is guessing from public examples. The rule already tells it not to, since the machine is authenticated via apidog login. Reinforce the line, and never put a real token in .clinerules/. For how authentication actually works, see the Apidog CLI authentication guide.
It invents a flag. An “unknown option” error means Cline guessed a flag your version does not have. Tell it to run apidog run --help and copy the exact flag from there, which is always correct for your installed version.
It reports a pass on a failed run. The costliest one, and the reason the exit-code rule is in both your .clinerules/ file and your verification step. When the summary and the exit code disagree, the exit code wins.
From a daily agent to a tested loop
That is the setup. Install apidog-cli once following the install guide, add a short Apidog rule to your repo’s .clinerules/ directory, and Cline knows how to run your API tests and read the result inside the same loop it already uses to edit code. A broken endpoint gets caught while Cline is still working on the change, not after it ships.
A test behind a GUI runs when a human clicks; a one-line command runs whenever Cline decides to. You keep building scenarios visually in Apidog, and your agent runs them where you are not watching. Download Apidog, build one scenario, drop its apidog run command into .clinerules/apidog.md, and watch Cline pick it up on the next change.