The first time you run apidog run and it stops with “No access token found,” you hit the one part of the command-line workflow that nobody warns you about. The flags, the scenario IDs, the reporters are all easy to copy from a tab. Authentication is the step where a copied command breaks on your machine, leaks a secret into a log, or quietly works on your laptop and fails in CI for reasons the error message doesn’t explain.
This guide is the dedicated answer to that step. The Apidog CLI is an npm package, apidog-cli, that runs the API test scenarios you build in the Apidog app straight from a terminal. Because those scenarios live in your account, the CLI has to prove it’s allowed to fetch and run them, and it does that with an access token. Get the token handling right once and every run afterward is a clean one-liner. Get it wrong and you’ll fight the same auth error in three different environments.
We’ll cover the whole surface: generating an access token, logging in with apidog login, checking who you’re logged in as with apidog whoami, where the token gets stored, how apidog run decides which token to use, and the part most teams get wrong, handling that token as a secret in CI instead of pasting it into a pipeline file. The install mechanics live in a separate guide; this one is only about auth. If you haven’t installed the CLI yet, start with the Apidog CLI installation guide, then come back here.
Why the CLI needs a token at all
The CLI doesn’t carry tests of its own. It reaches into your Apidog project, finds a scenario by ID, and runs it the same way the desktop app would. That design is the reason it needs to authenticate: the scenario, the environment values, the assertions all live server-side in your account, so the runner has to identify itself before the server hands any of that over.
An access token is how it identifies itself. The token is tied to your Apidog account, so a run authenticated with your token can do what you can do: read your projects, fetch your scenarios, execute them against the environments you’ve defined. That’s also why the token is a credential you guard. Anyone holding it can run scenarios as you, against whatever environments those scenarios target. Treat it the way you’d treat a personal access token for any other service.
This is a different kind of authentication from the auth your tests perform. Your scenarios probably send their own bearer tokens or API keys to the endpoints under test, and that’s a separate concern covered in API authentication methods. The CLI’s access token authenticates the runner to Apidog. The credentials inside your requests authenticate your requests to your API. Keep the two straight, because they live in different places and rotate on different schedules.
Step 1: generate an access token
You create the token in Apidog, not from the CLI. There are two places it surfaces, and which one you use depends on what you’re doing.
For a token scoped to your account that you’ll reuse across scenarios, open the Apidog app or web console, click your avatar, and look under your account settings for the API access token section.
Generate one, copy it immediately, and store it somewhere safe like a password manager. You usually can’t see the full string again after you leave the page, which is normal for credentials and the reason to copy it the moment it appears.
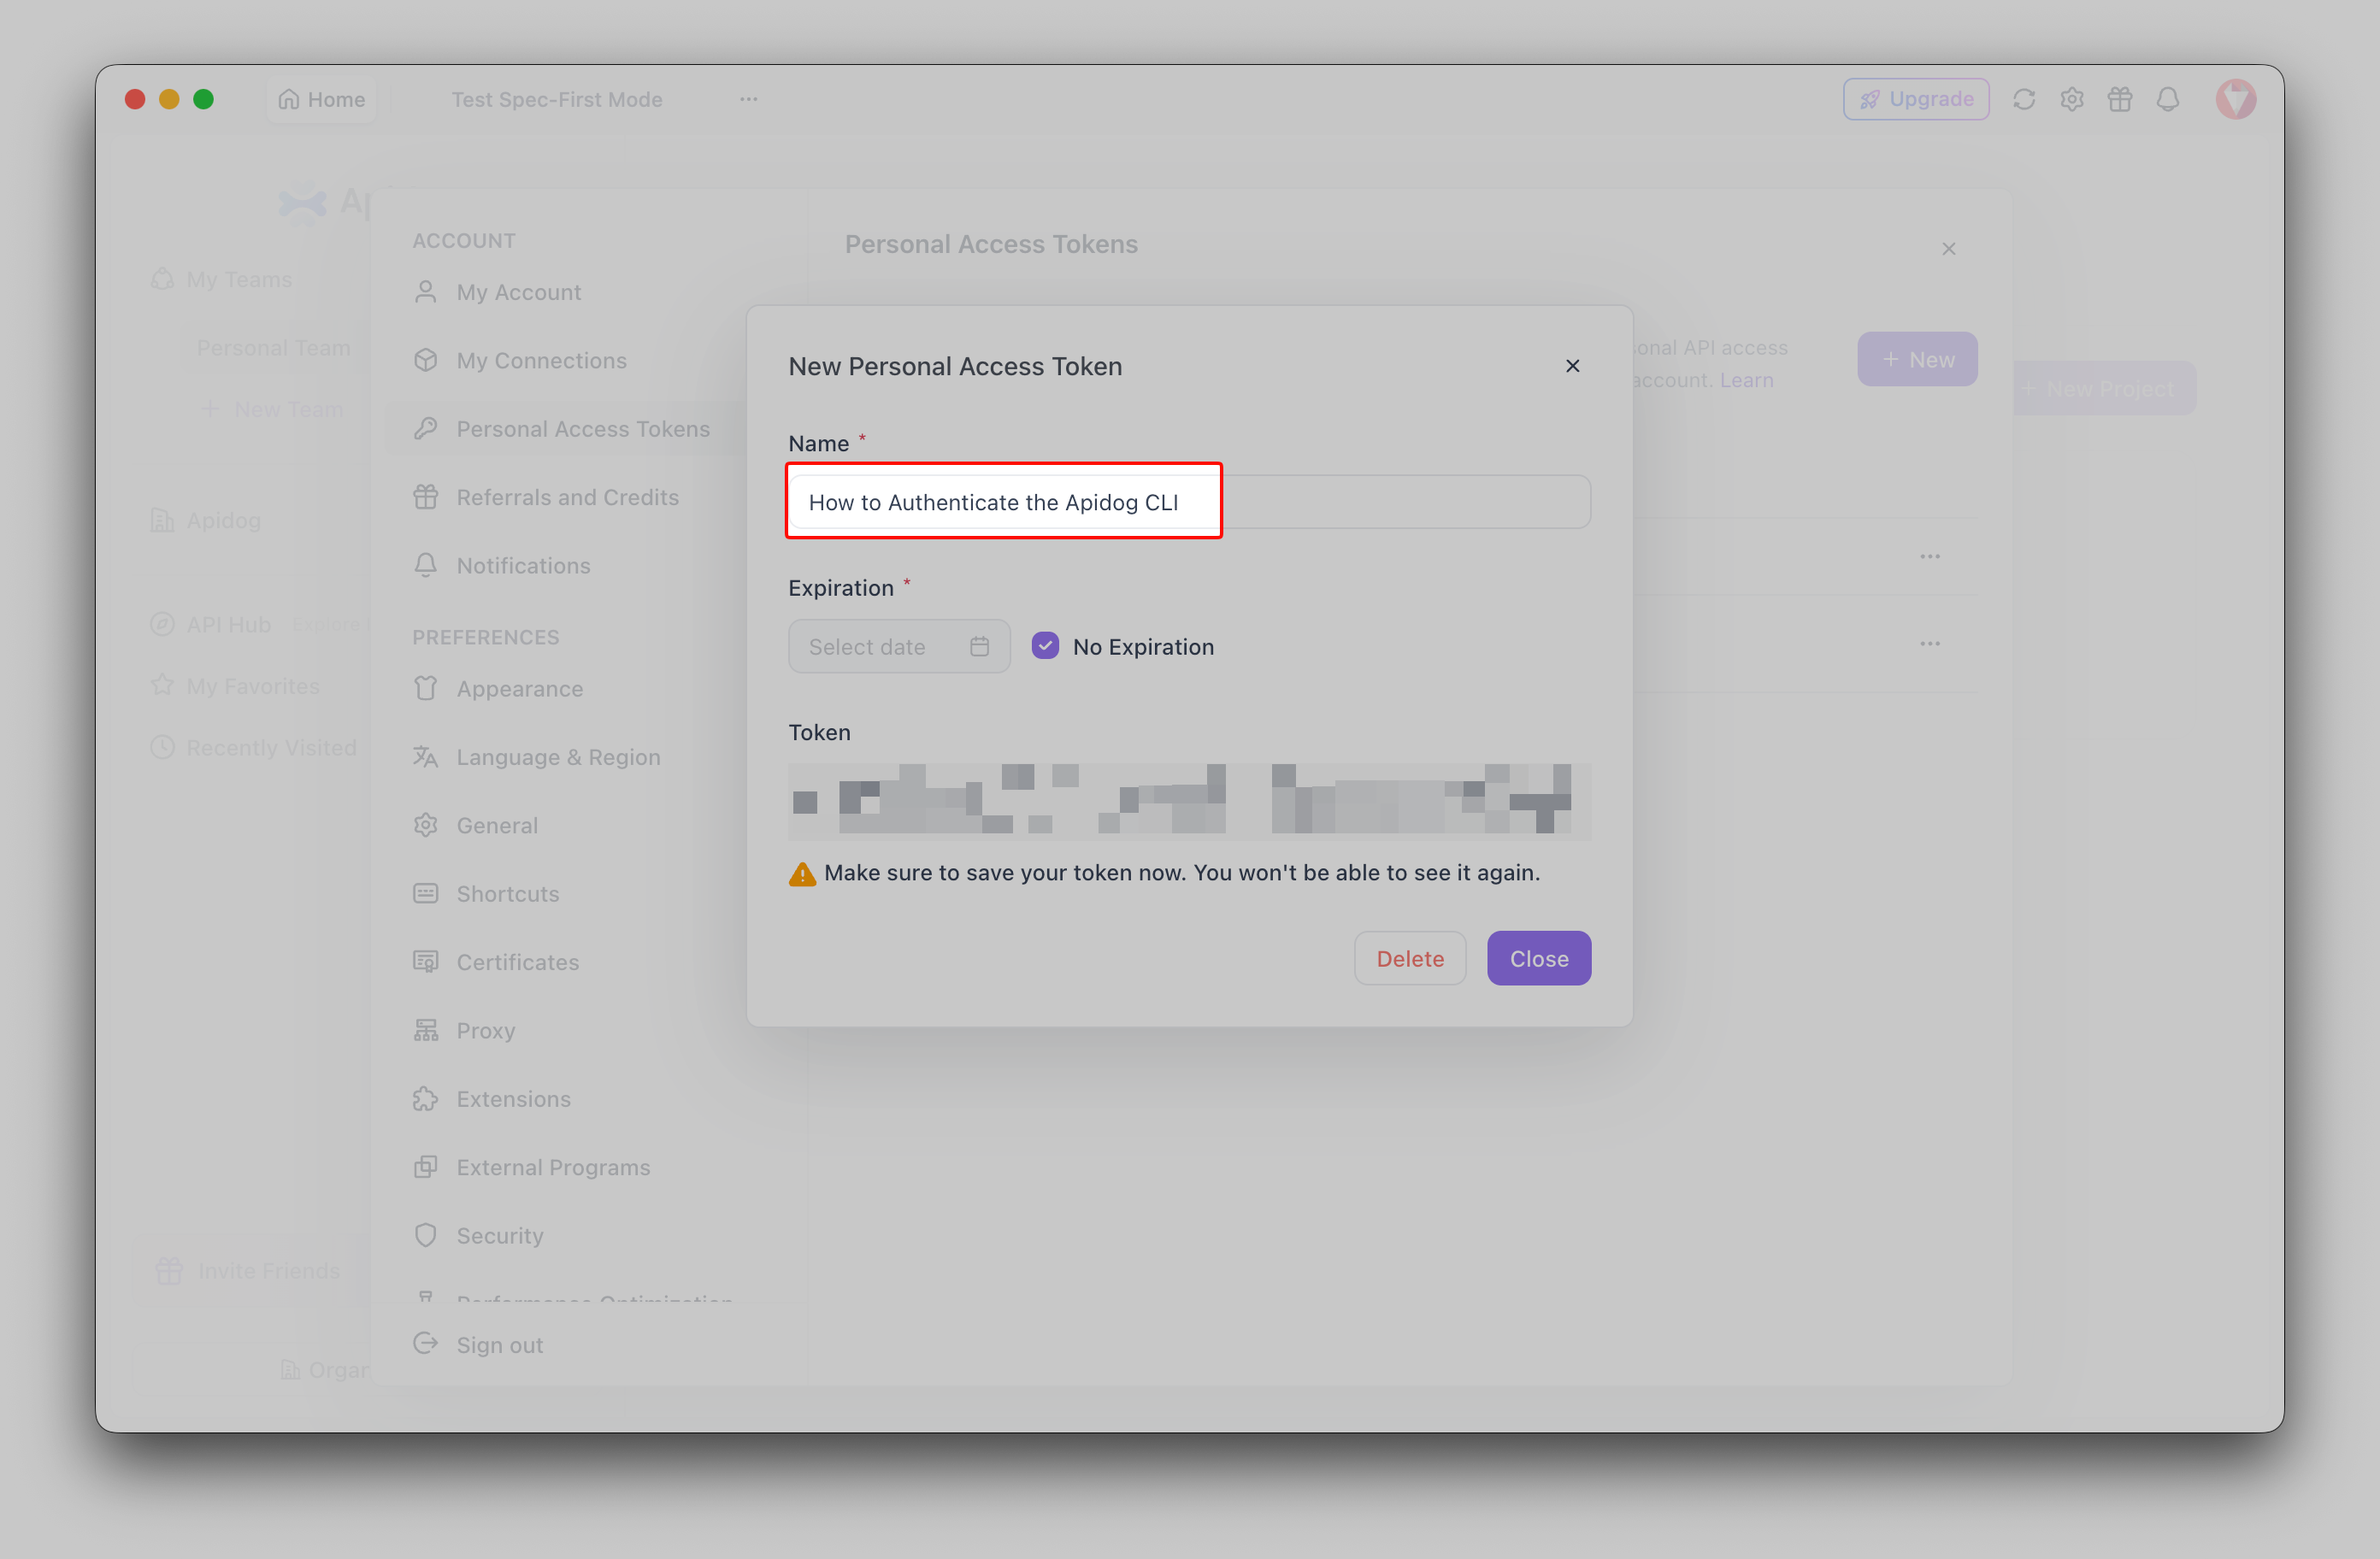
For a token tied to a specific scenario you’re wiring into CI, there’s a faster path. Open the test scenario, switch to its CI/CD tab, choose the command-line option, and click to generate an access token. Apidog builds the entire apidog run command for you with the token, the scenario ID, and the environment ID already filled in. That generated command is the canonical starting point, and copying it means you never type an ID by hand. The complete Apidog CLI guide walks through that CI/CD tab in detail.
Either way, the output is the same thing: a token string. What you do with it next is the choice between two auth styles.
Step 2: choose your auth style
The CLI supports two ways to present the token, and they suit different situations.
The first is a stored login. You run apidog login once, the CLI saves the token to your machine, and every later apidog run reads it automatically. No token on any command line after that. This is what you want on a developer machine you use every day.
The second is per-command. You pass --access-token on the apidog run call itself, usually from an environment variable. Nothing is stored, the token is supplied fresh each time, and it leaves no trace on disk. This is what you want in CI, where the runner is ephemeral and the token comes from a secret.
You’ll likely use both, the stored login locally and per-command in the pipeline. The next two sections cover each.
Step 3: log in locally with apidog login
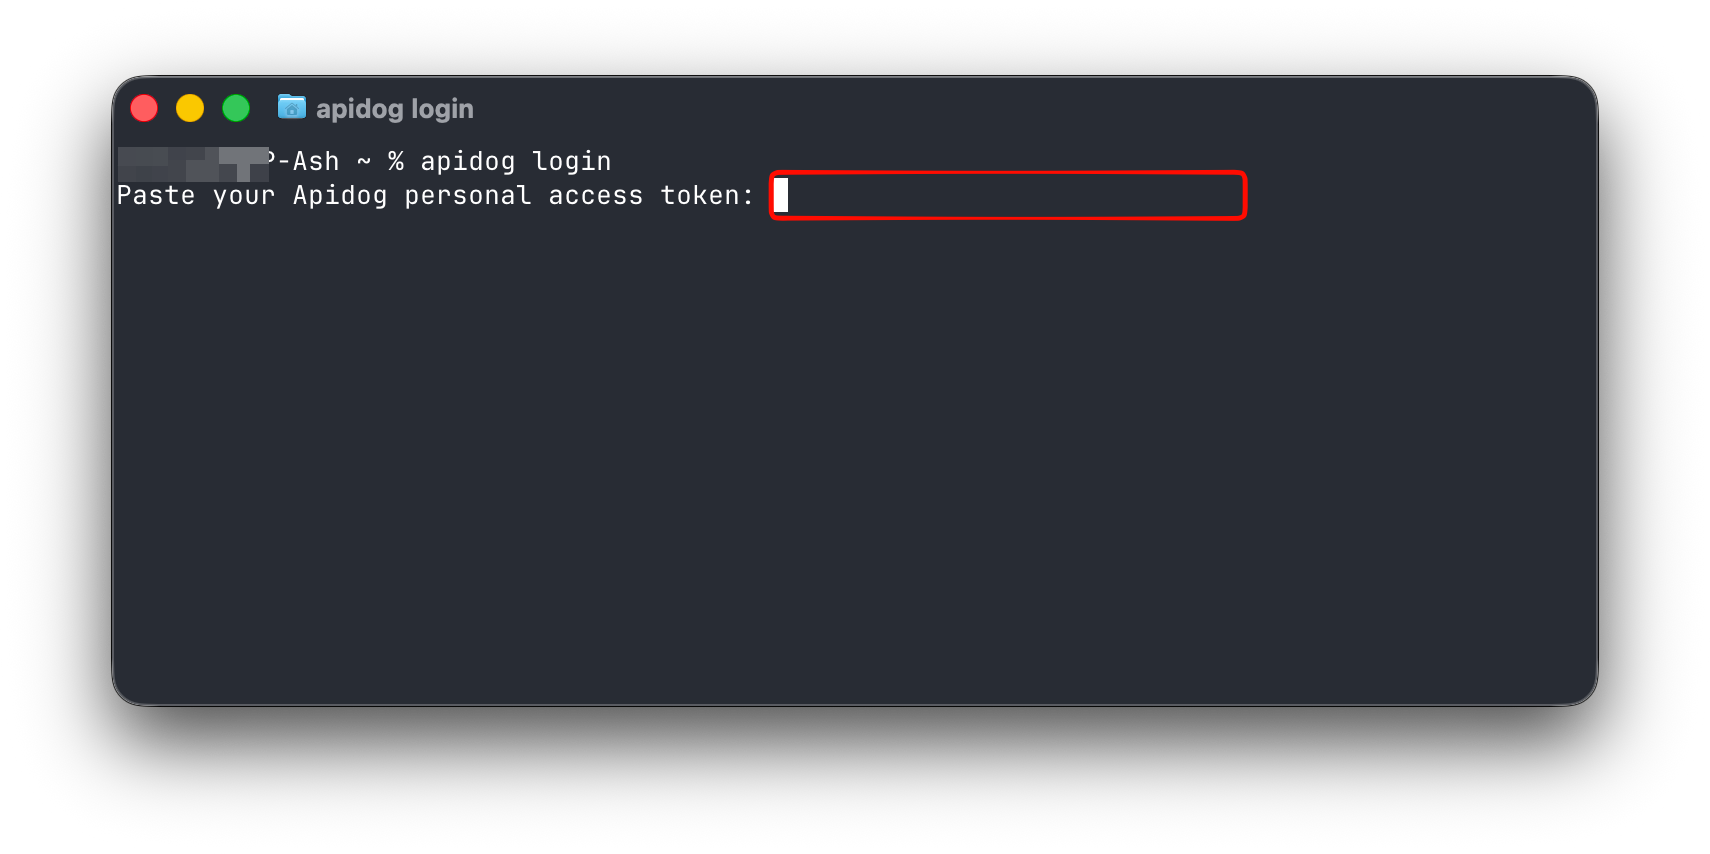
On your own machine, log in once and forget about the token. The interactive form prompts you for it so the string never appears in your shell history:
apidog login
The CLI asks for your access token, you paste it, and it presses Enter. Behind the scenes it validates the token against Apidog before saving anything; an invalid or expired token is rejected on the spot rather than failing later on your first run. On success it confirms the account it logged in as and tells you where it stored the credential.
If you’d rather pass the token directly, for example inside a setup script, use the --with-token flag:
apidog login --with-token YOUR_ACCESS_TOKEN
One caution with this form: a token on the command line lands in your shell history and can be read from the process list while the command runs. Prefer the interactive apidog login for hands-on use, and reserve --with-token for non-interactive setup where you’re reading the value from a variable you control. Never put a real token into a script you commit.
Where does the token go? The CLI writes it to a config file under a .apidog directory in your home folder. That’s a local credential store on your own machine, which is exactly the point: the token sits on disk where only your user account can read it, and the CLI picks it up on every later run without you ever retyping it. If you’re on a shared or throwaway machine, skip the stored login and use the per-command token instead, so nothing persists after you walk away.
Step 4: verify with apidog whoami
After logging in, confirm it worked before you depend on it:
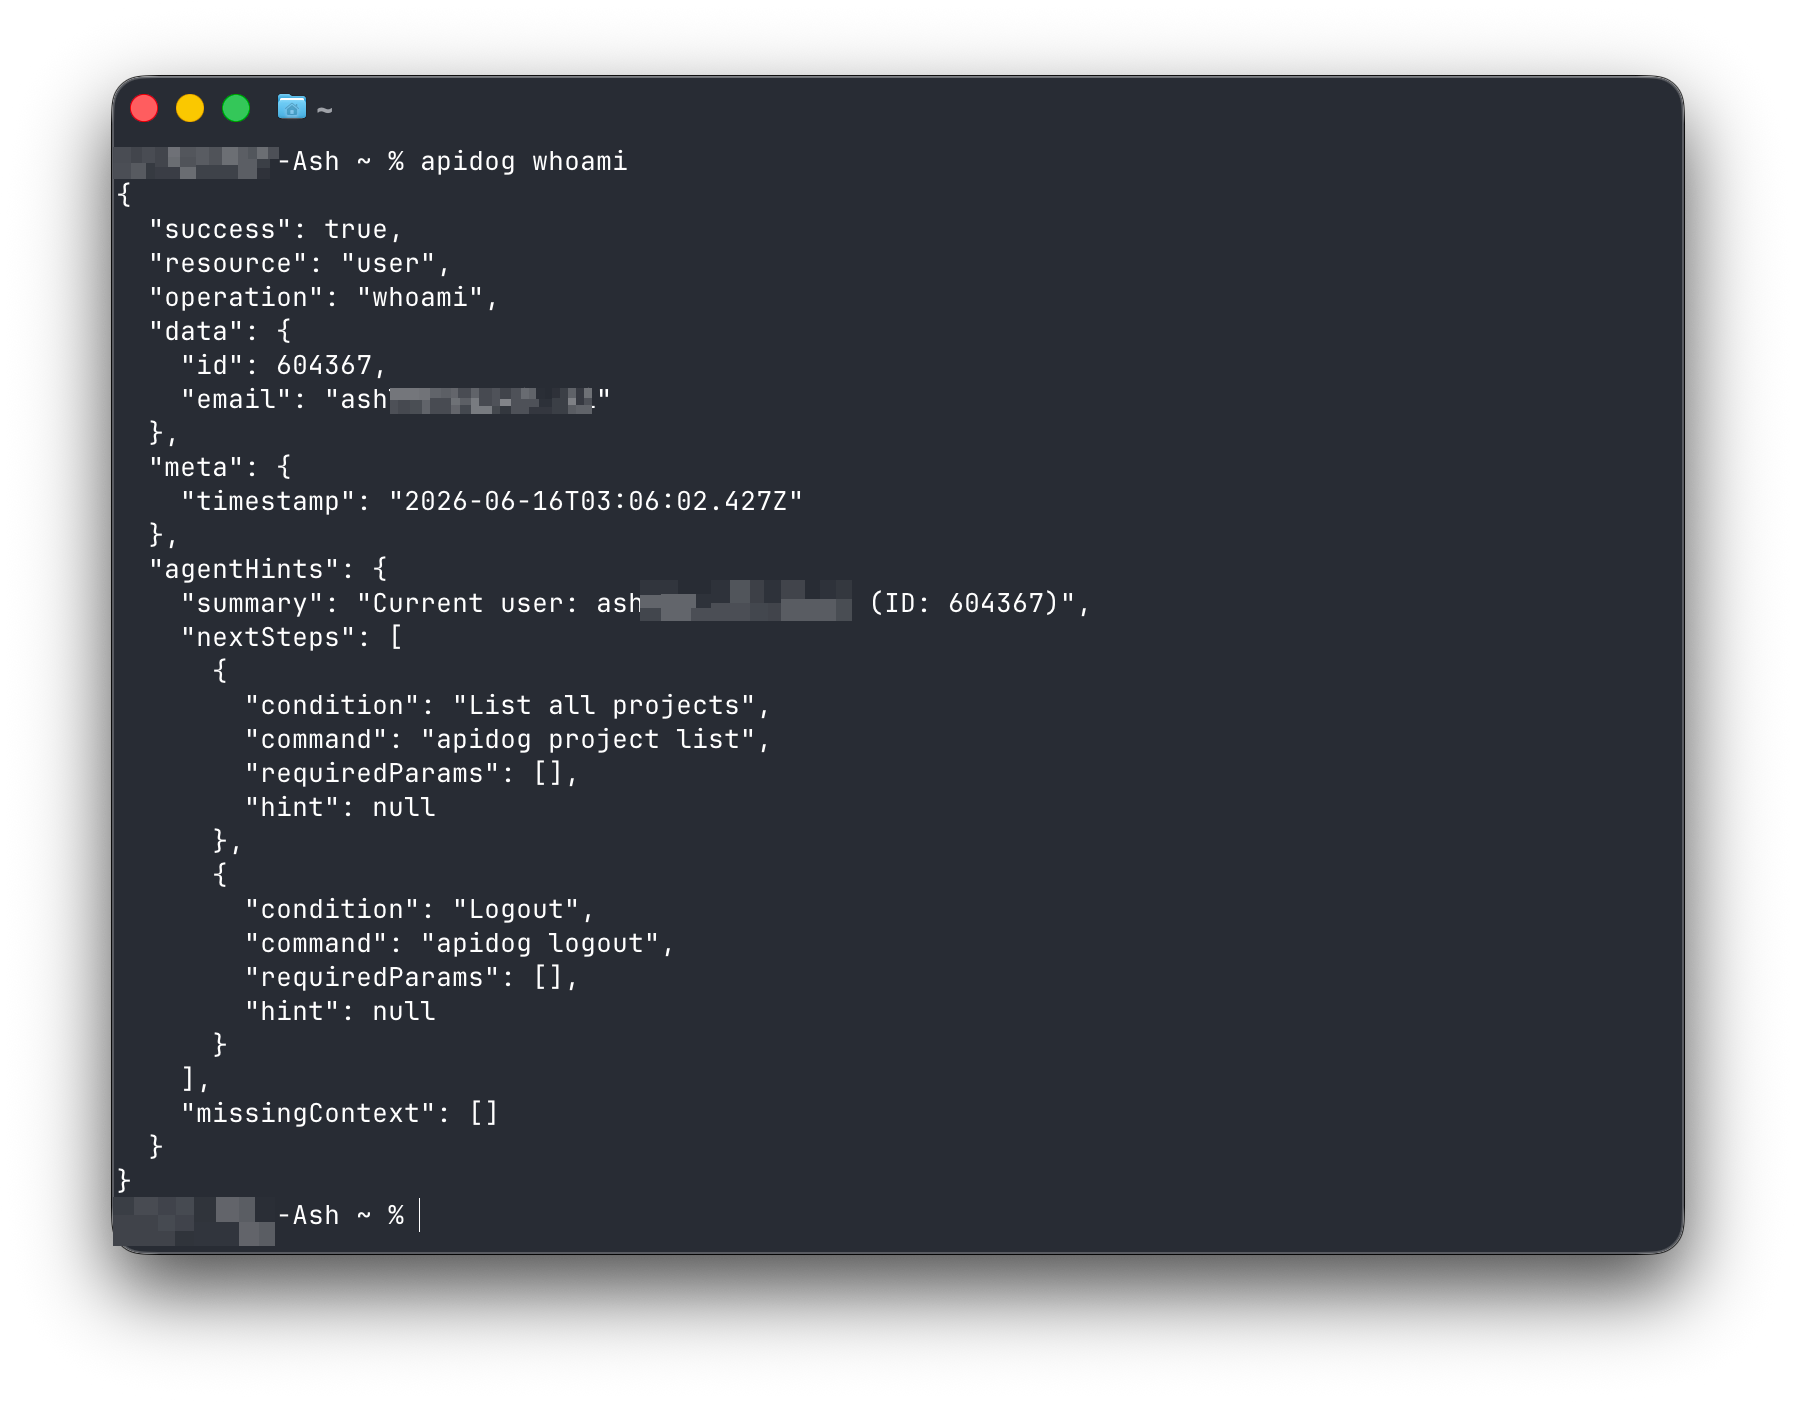
apidog whoami
This prints the account the CLI is currently authenticated as. It’s the fastest way to answer “am I logged in, and as whom?” without running a real scenario. Use it whenever a run fails with an auth error and you’re not sure whether the problem is the token or something downstream; if whoami shows your account, the stored login is fine and you can look elsewhere.
apidog whoami also accepts --access-token if you want to check a specific token rather than the stored one. That’s handy for confirming a CI token is valid before you trust it in a pipeline: paste the token into a one-off apidog whoami --access-token YOUR_ACCESS_TOKEN from a safe terminal, see whose account it resolves to, then move it into your secret store.
When you’re done on a shared machine, or when you want to rotate to a different account, clear the stored credential:
apidog logout
That removes the saved token from the config file. The next apidog run will need a fresh login or a --access-token flag, which is the behavior you want after handing a machine back.
Step 5: how apidog run picks a token
Once you understand the order the runner checks, the “No access token found” error stops being mysterious. When you call apidog run, the CLI looks for a token in this order:
- The
--access-tokenflag passed on the command, if present. - The token stored on disk from a previous
apidog login.
If it finds neither, it stops and tells you to run login first or pass --access-token. That precedence is useful: a flag always wins over the stored login, so you can be logged in as yourself day to day and still override with a different token for a one-off run without logging out.
In practice this means your local runs can be as short as the IDs:
apidog run -t 605067 -e 1629989 -n 1 -r cli
No token on that line, because the stored login supplies it. The -t names the scenario by ID, -e selects the environment, -n 1 runs it once, and -r cli prints a readable report. Compare that to the CI form, where you pass the token explicitly because nothing is stored:
apidog run --access-token "$APIDOG_ACCESS_TOKEN" -t 605067 -e 1629989 -r junit,cli
Same command, same scenario, different auth source. That’s the whole distinction between local and CI auth, and the rest of this guide is about getting the CI half right. For the full flag reference behind these runs, the complete Apidog CLI guide covers every option.
Step 6: handle the token as a secret in CI
This is where teams get burned. The fix is one rule: the token lives in your CI system’s secret store, and it reaches the command as an environment variable. It never appears in a committed file, a pipeline definition checked into the repo, or a build log.
Do not log in inside CI, and do not write the token into a file the runner creates. Use the per-command --access-token form, fed from a masked secret. Every example below follows the same shape, the secret named once in the platform, referenced as $APIDOG_ACCESS_TOKEN in the run step.
GitHub Actions
Store the token under the repository’s Settings, in Secrets and variables, then expose it to the step through env:
- name: Run API test scenario
  run: |
    apidog run \
      --access-token "$APIDOG_ACCESS_TOKEN" \
      -t 605067 \
      -e 1629989 \
      -r junit,cli
  env:
    APIDOG_ACCESS_TOKEN: ${{ secrets.APIDOG_ACCESS_TOKEN }}
GitHub masks the secret in logs automatically, and passing it through env keeps it out of the visible command line. The most common failure here is a name mismatch: the env key, the ${{ secrets.X }} reference, and the secret you created in Settings all have to use the same name. The full workflow, including report artifacts, lives in Apidog CLI in GitHub Actions.
GitLab CI
Store APIDOG_ACCESS_TOKEN as a masked, protected CI/CD variable under Settings, never in the .gitlab-ci.yml file. Then reference it directly, since GitLab injects project variables into the job environment:
api-tests:
  stage: test
  image: node:20
  script:
    - npm install -g apidog-cli
    - apidog run --access-token "$APIDOG_ACCESS_TOKEN" -t 605067 -e 1629989 -r junit,cli
Marking the variable “masked” tells GitLab to redact it from job logs; marking it “protected” keeps it off unprotected branches, so a fork or a feature branch can’t exfiltrate it.
Jenkins
Store the token as a Jenkins credential, then bind it in the environment block so it’s available as a variable without ever being printed:
pipeline {
  agent any
  environment {
    APIDOG_ACCESS_TOKEN = credentials('apidog-access-token')
  }
  stages {
    stage('API tests') {
      steps {
        sh 'apidog run --access-token $APIDOG_ACCESS_TOKEN -t 605067 -e 1629989 -r junit,cli'
      }
    }
  }
}
Jenkins masks credentials bound this way in the console output. If you build the full pipeline around this step, Apidog CLI in a CI/CD pipeline covers the surrounding structure.
The pattern is identical across every runner: a masked secret in the platform, an environment variable in the command, and the --access-token flag reading from it. That’s the same discipline you’d apply to any credential in a pipeline, and it’s worth reading API key management best practices if you manage more than one.
Rotating and revoking tokens
Tokens aren’t forever. Rotate them on a schedule and revoke them the moment one might have leaked.
To rotate, generate a fresh token in Apidog, update the secret in every CI system that uses it, and run a pipeline to confirm the new one works. Then revoke the old token from the same place you created it. Locally, run apidog logout followed by apidog login with the new token. The order matters: update CI before you revoke, or you’ll fail a build between the two steps.
Revoke immediately if a token shows up somewhere it shouldn’t, a log, a screenshot, a commit, a shared terminal. Revoking invalidates the token everywhere at once, so any pipeline still using the old value will fail loudly, which is the signal you want. A failed build is recoverable; a live credential in a public log is not. For the wider habit, API key rotation best practices covers the cadence.
One subtle trap: regenerating a token in Apidog invalidates the previous one. If you regenerate and forget to update a CI secret, that pipeline starts failing with an auth error even though nothing in the YAML changed. When a build that used to pass suddenly can’t authenticate and you didn’t touch the workflow file, a regenerated token is the first thing to check.
When authentication fails
Auth errors cluster into a few causes. Here’s how to tell them apart.
“No access token found.” The CLI found neither a --access-token flag nor a stored login. Locally, run apidog login. In CI, confirm the secret is populated and the --access-token flag is reading from it; an empty environment variable produces this same message.
“Invalid access token” or an auth error mid-run. The token is wrong, expired, or revoked. Run apidog whoami to check the stored token, or apidog whoami --access-token YOUR_TOKEN to check a specific one. If neither resolves to your account, generate a fresh token and log in again.
Works locally, fails in CI. The classic mismatch. Your machine has a stored login, so local runs succeed; the CI runner has nothing stored and depends entirely on the secret. Confirm the secret name matches exactly across the platform setting and the command, and that the value was saved without a trailing space or newline, which is easy to introduce when pasting.
“Access denied” on a specific scenario. The token is valid but the account behind it can’t reach that project. Check the project and scenario IDs, and confirm the token’s account has access to that project. This is an authorization problem, not an authentication one; the CLI proved who it is, the server just won’t let that account run that scenario.
The token reaches the command but the build still leaks it. If you ever see the raw token in a log, you’re echoing it somewhere, often a debug line that prints the full command or the environment. Mask it: print the token’s length to confirm it’s populated, never its value. Most CI platforms redact known secrets automatically, but a hand-rolled echo of the whole command can defeat that.
Where auth fits the larger workflow
Authentication is the small, one-time gate that makes everything downstream possible. Once the CLI can prove who it is, running an Apidog scenario becomes a single command, locally inside your edit-test loop, in CI on every push, and even inside an AI coding agent that runs your tests for you. That last pattern is worth a look if you work with agents: how to use AI agents for API testing shows how a logged-in CLI lets an agent run your scenarios and read the result, and the Apidog MCP server connects your specs to those agents directly.
The mental model is simple. Log in once on your machine with apidog login, verify with apidog whoami, and let the stored token carry every later run. In CI, skip the login, keep the token in a masked secret, and pass it per-command with --access-token. Rotate on a schedule, revoke on suspicion, and update CI before you revoke. That’s the entire auth story, and with it handled the CLI fades into the background where a good test runner belongs.
You keep authoring scenarios visually in Apidog, and the CLI runs them wherever no human is watching. Download Apidog to set up your first scenario, then point the runner at it. For everything the runner can do once it’s authenticated, the complete Apidog CLI guide is the reference to keep open.