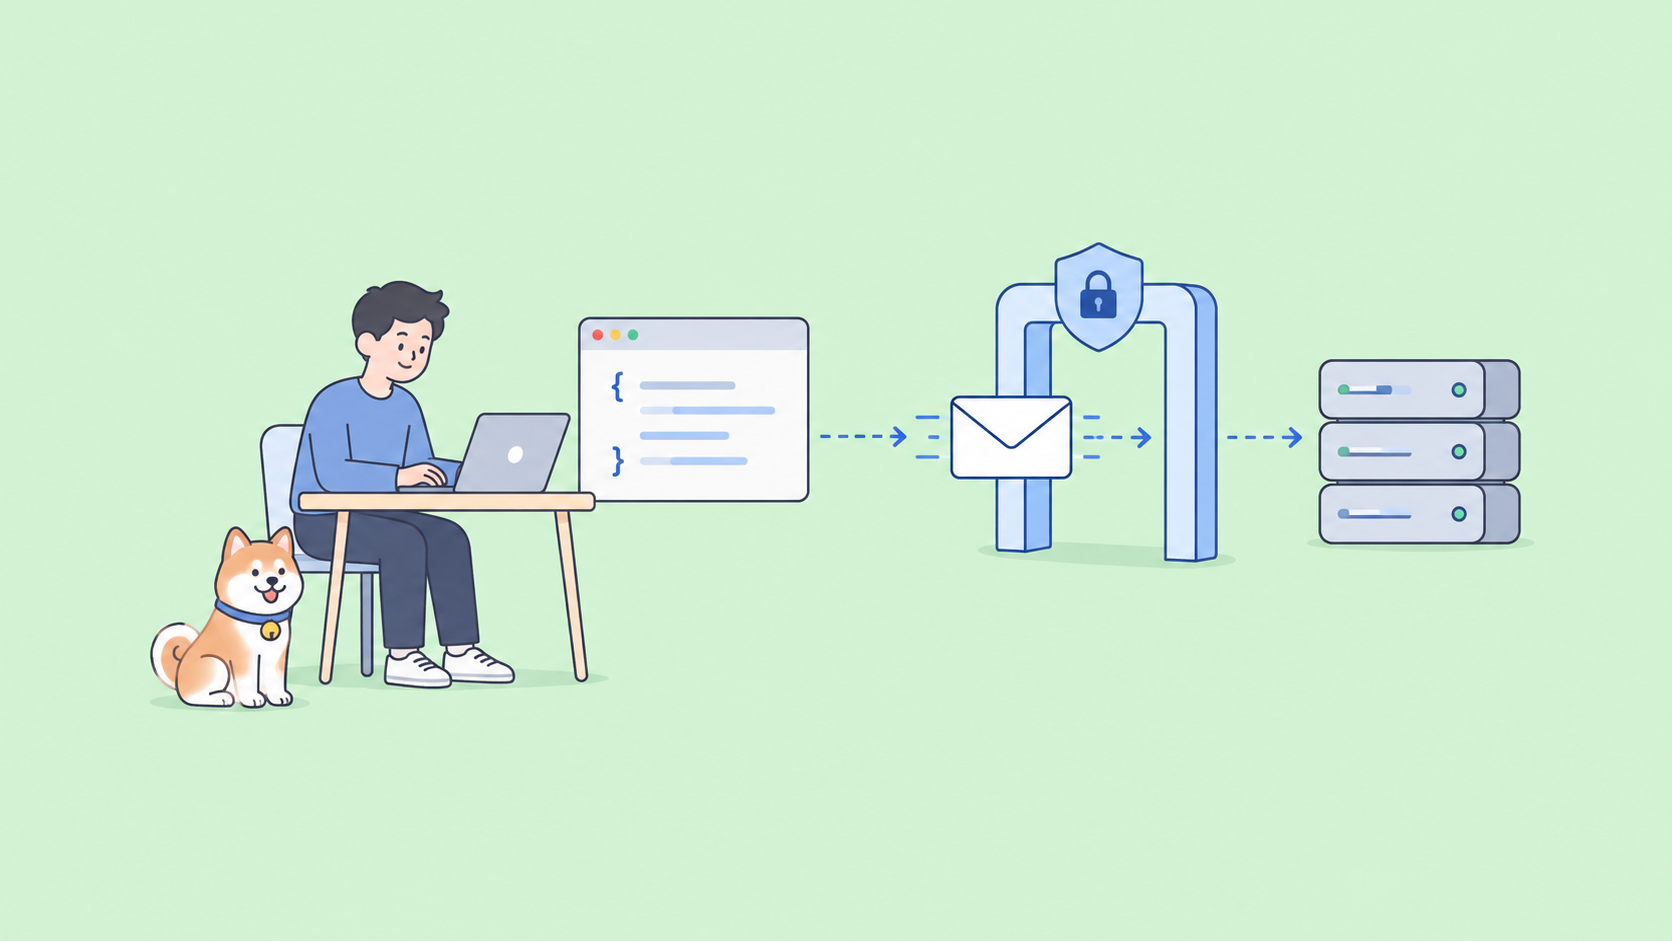
Resend is an email API built for developers: one POST request, one JSON body, and a transactional email goes out. Every request needs an API key, and how you create that key decides how much damage a leaked one can do. This guide walks the whole path: sign up, verify a sending domain (or lean on the built-in test address), create a key with the right permission scope, and send your first email with curl, Node, and Python. You’ll also store the key in Apidog so you can test the endpoint without pasting secrets into your shell.
If you want the wider picture of what the API does beyond sending, the Resend API beginner’s guide covers the rest. Everything below is checked against the official Resend docs, so the numbers and error strings match what you’ll see.
What you need before you start
- A Resend account. The free plan is enough for this tutorial.
- A domain you control. If you don’t have one handy, the test address covers the first send.
- curl on your machine, plus Node.js or Python if you want the SDK examples.
- Apidog installed if you plan to follow the testing section.
Step 1: create a Resend account
Sign up at resend.com and confirm your email. Write down the address you signed up with: until you verify a domain, it’s the only inbox Resend will deliver test emails to, and forgetting that causes the most confusing 403 you’ll see on day one.
Step 2: verify a sending domain, or use the test address
Two routes; start with the fast one.
Route A: the onboarding test address. Resend lets you send from onboarding@resend.dev with no setup. The catch is the recipient: it has to be your own account email. Send to anyone else and the API returns a 403 with the message “You can only send testing emails to your own email address”.
Route B: your own domain. For anything real, add a domain in the dashboard under Domains. Resend recommends a subdomain such as notifications.example.com instead of your root domain, so your product’s sending reputation stays separate from your corporate mail. Pick the region closest to your recipients, then copy the DNS records Resend generates into your DNS provider. The docs describe them as “the DKIM and SPF configurations (TXT and MX or CNAME records)”. The Return-Path subdomain defaults to send.example.com.
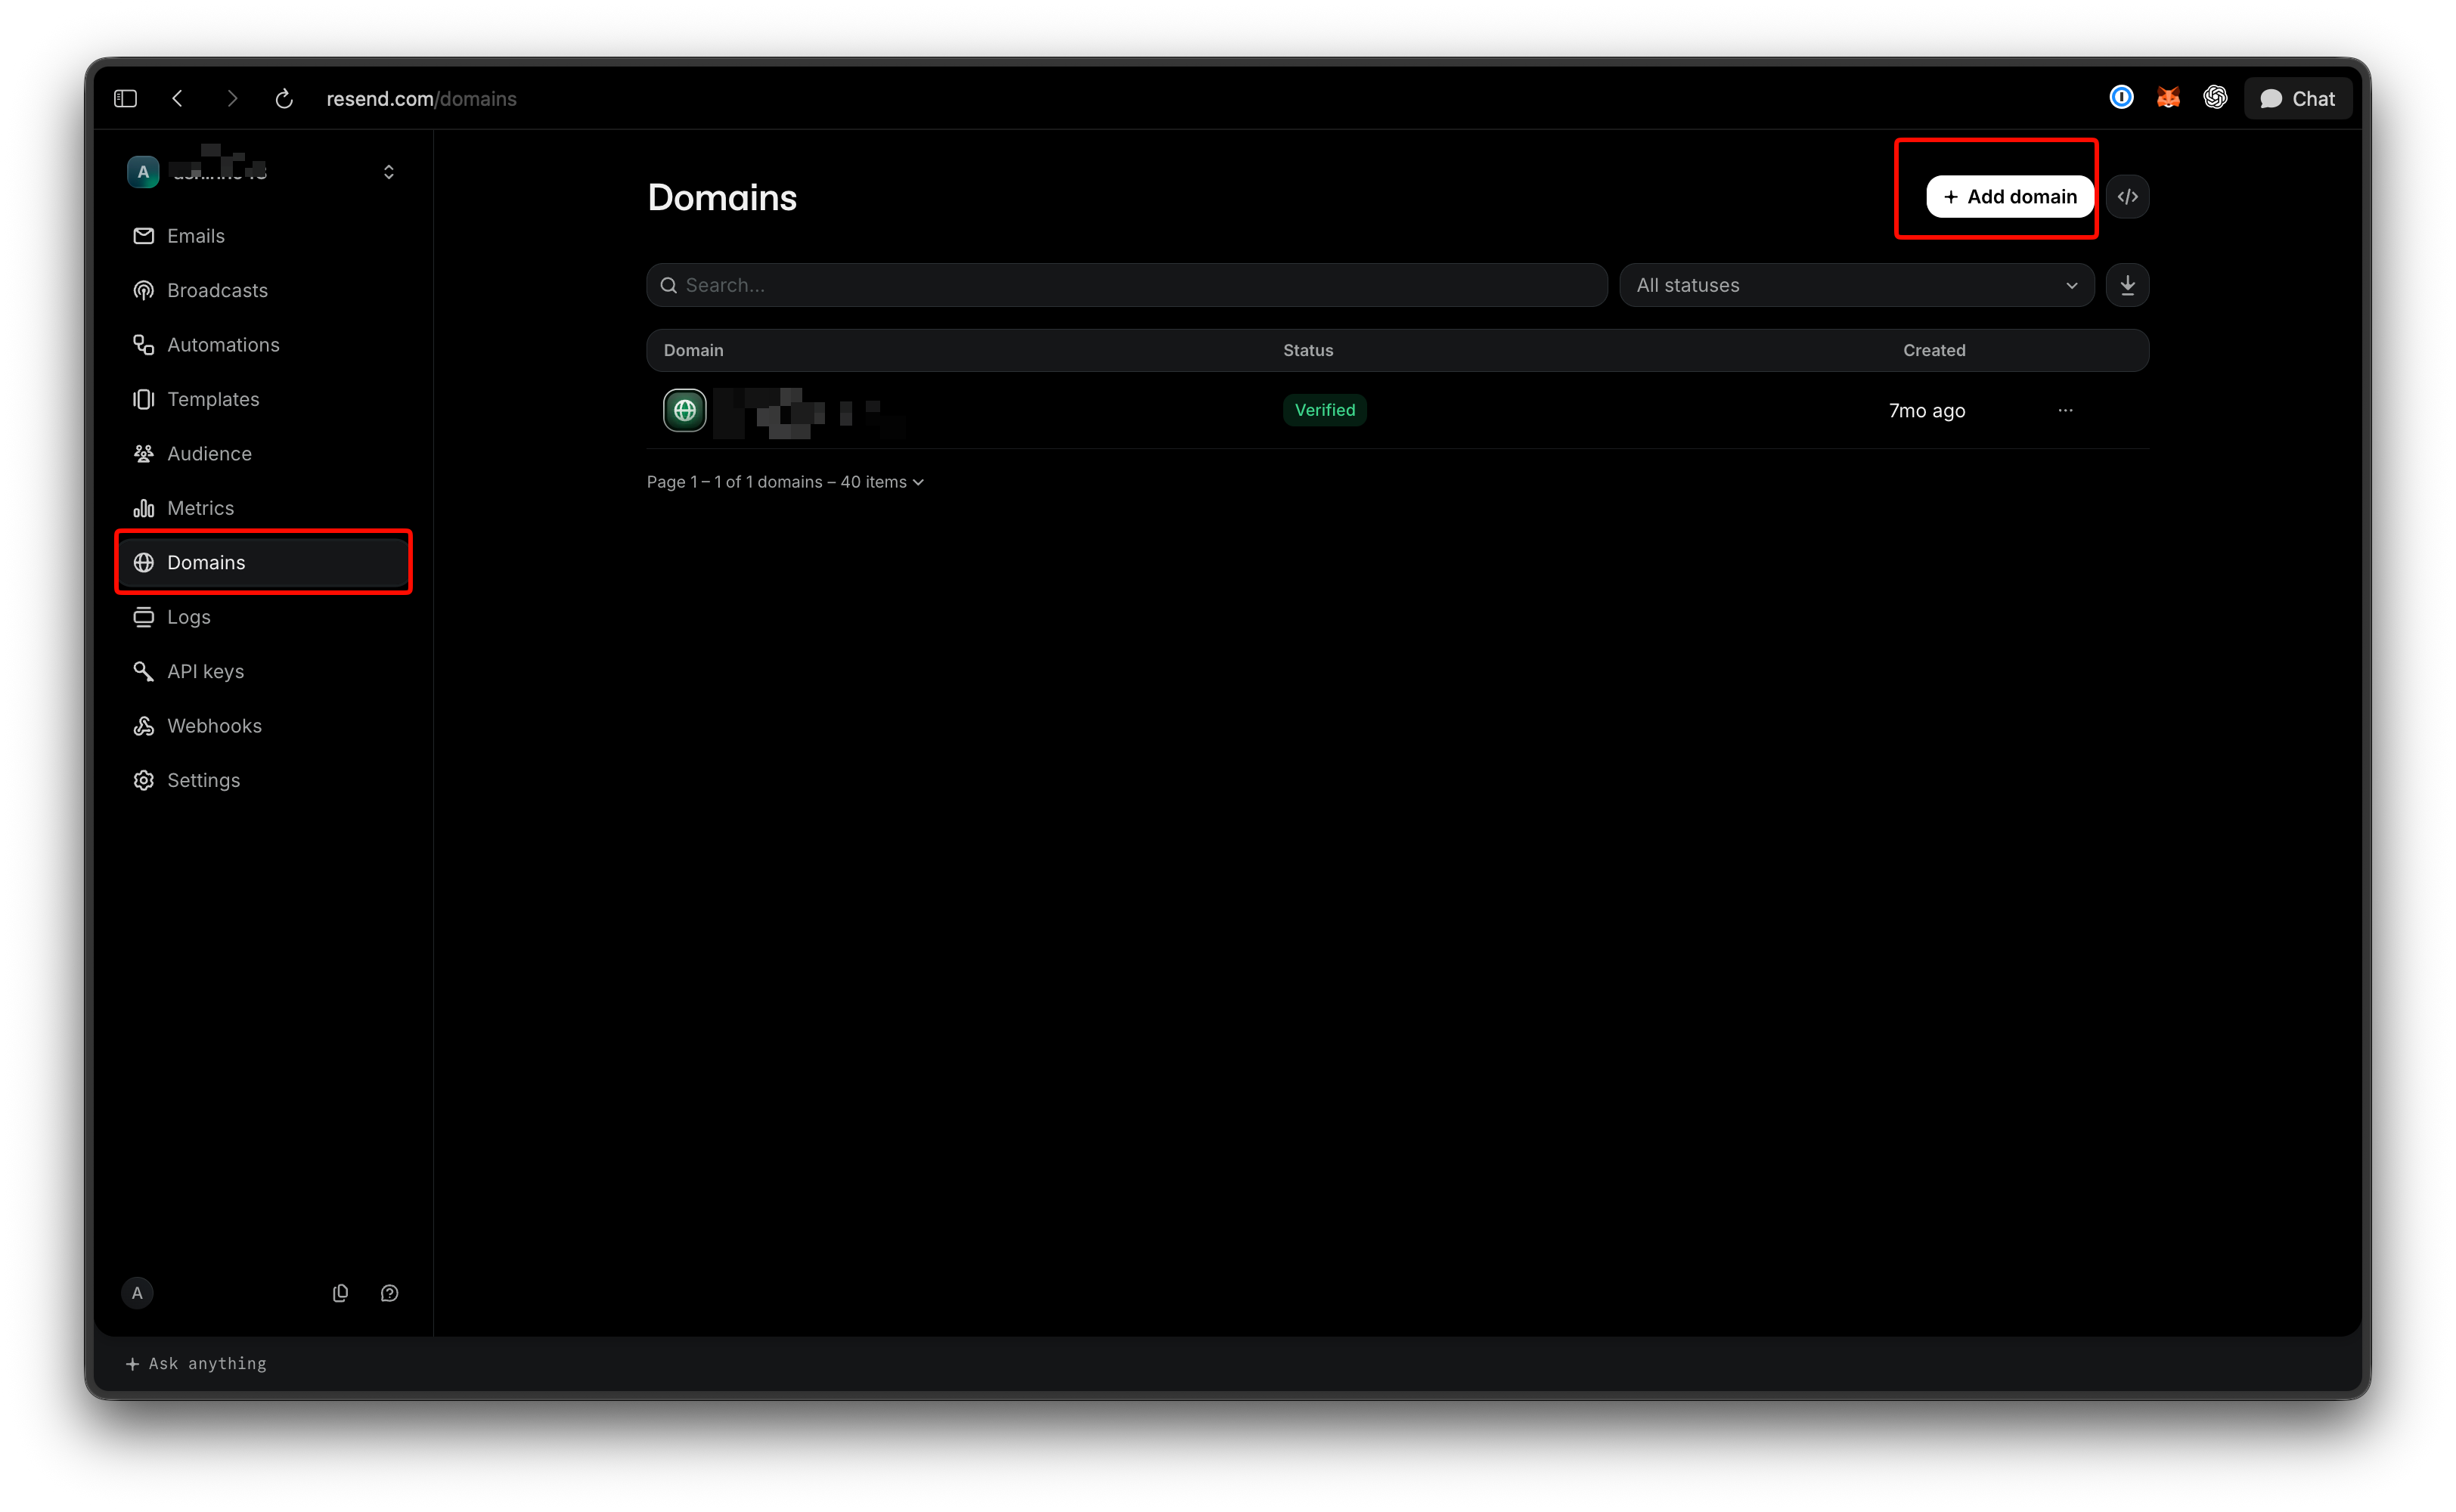
Verification usually completes within 15 minutes, though DNS propagation can take up to 72 hours. If it stalls, check two classic culprits: records placed on the root instead of the send subdomain, and Cloudflare proxying (the cloud icon must be gray, not orange). Fix the records, then click “Restart verification”. Add a DMARC record afterward; it isn’t required to send, but inbox providers reward it.
Step 3: create the API key with the right scope
Open the API keys page in the dashboard and click Create API Key. Three fields matter; the create an API key doc covers each:
- Name. Up to 50 characters. Name it for the app and environment, like
billing-service-prod, so keys are easy to tell apart later. - Permission. “Full access” can create, delete, get, and update any resource, including domains and other API keys. “Sending access” can only send emails. Pick sending access for anything deployed. The full-access key belongs on your laptop, or nowhere.
- Domain. With sending access, you can restrict the key to one verified domain. A key scoped to
notifications.example.comcan’t send frombilling.example.com, which limits the blast radius of a leak.
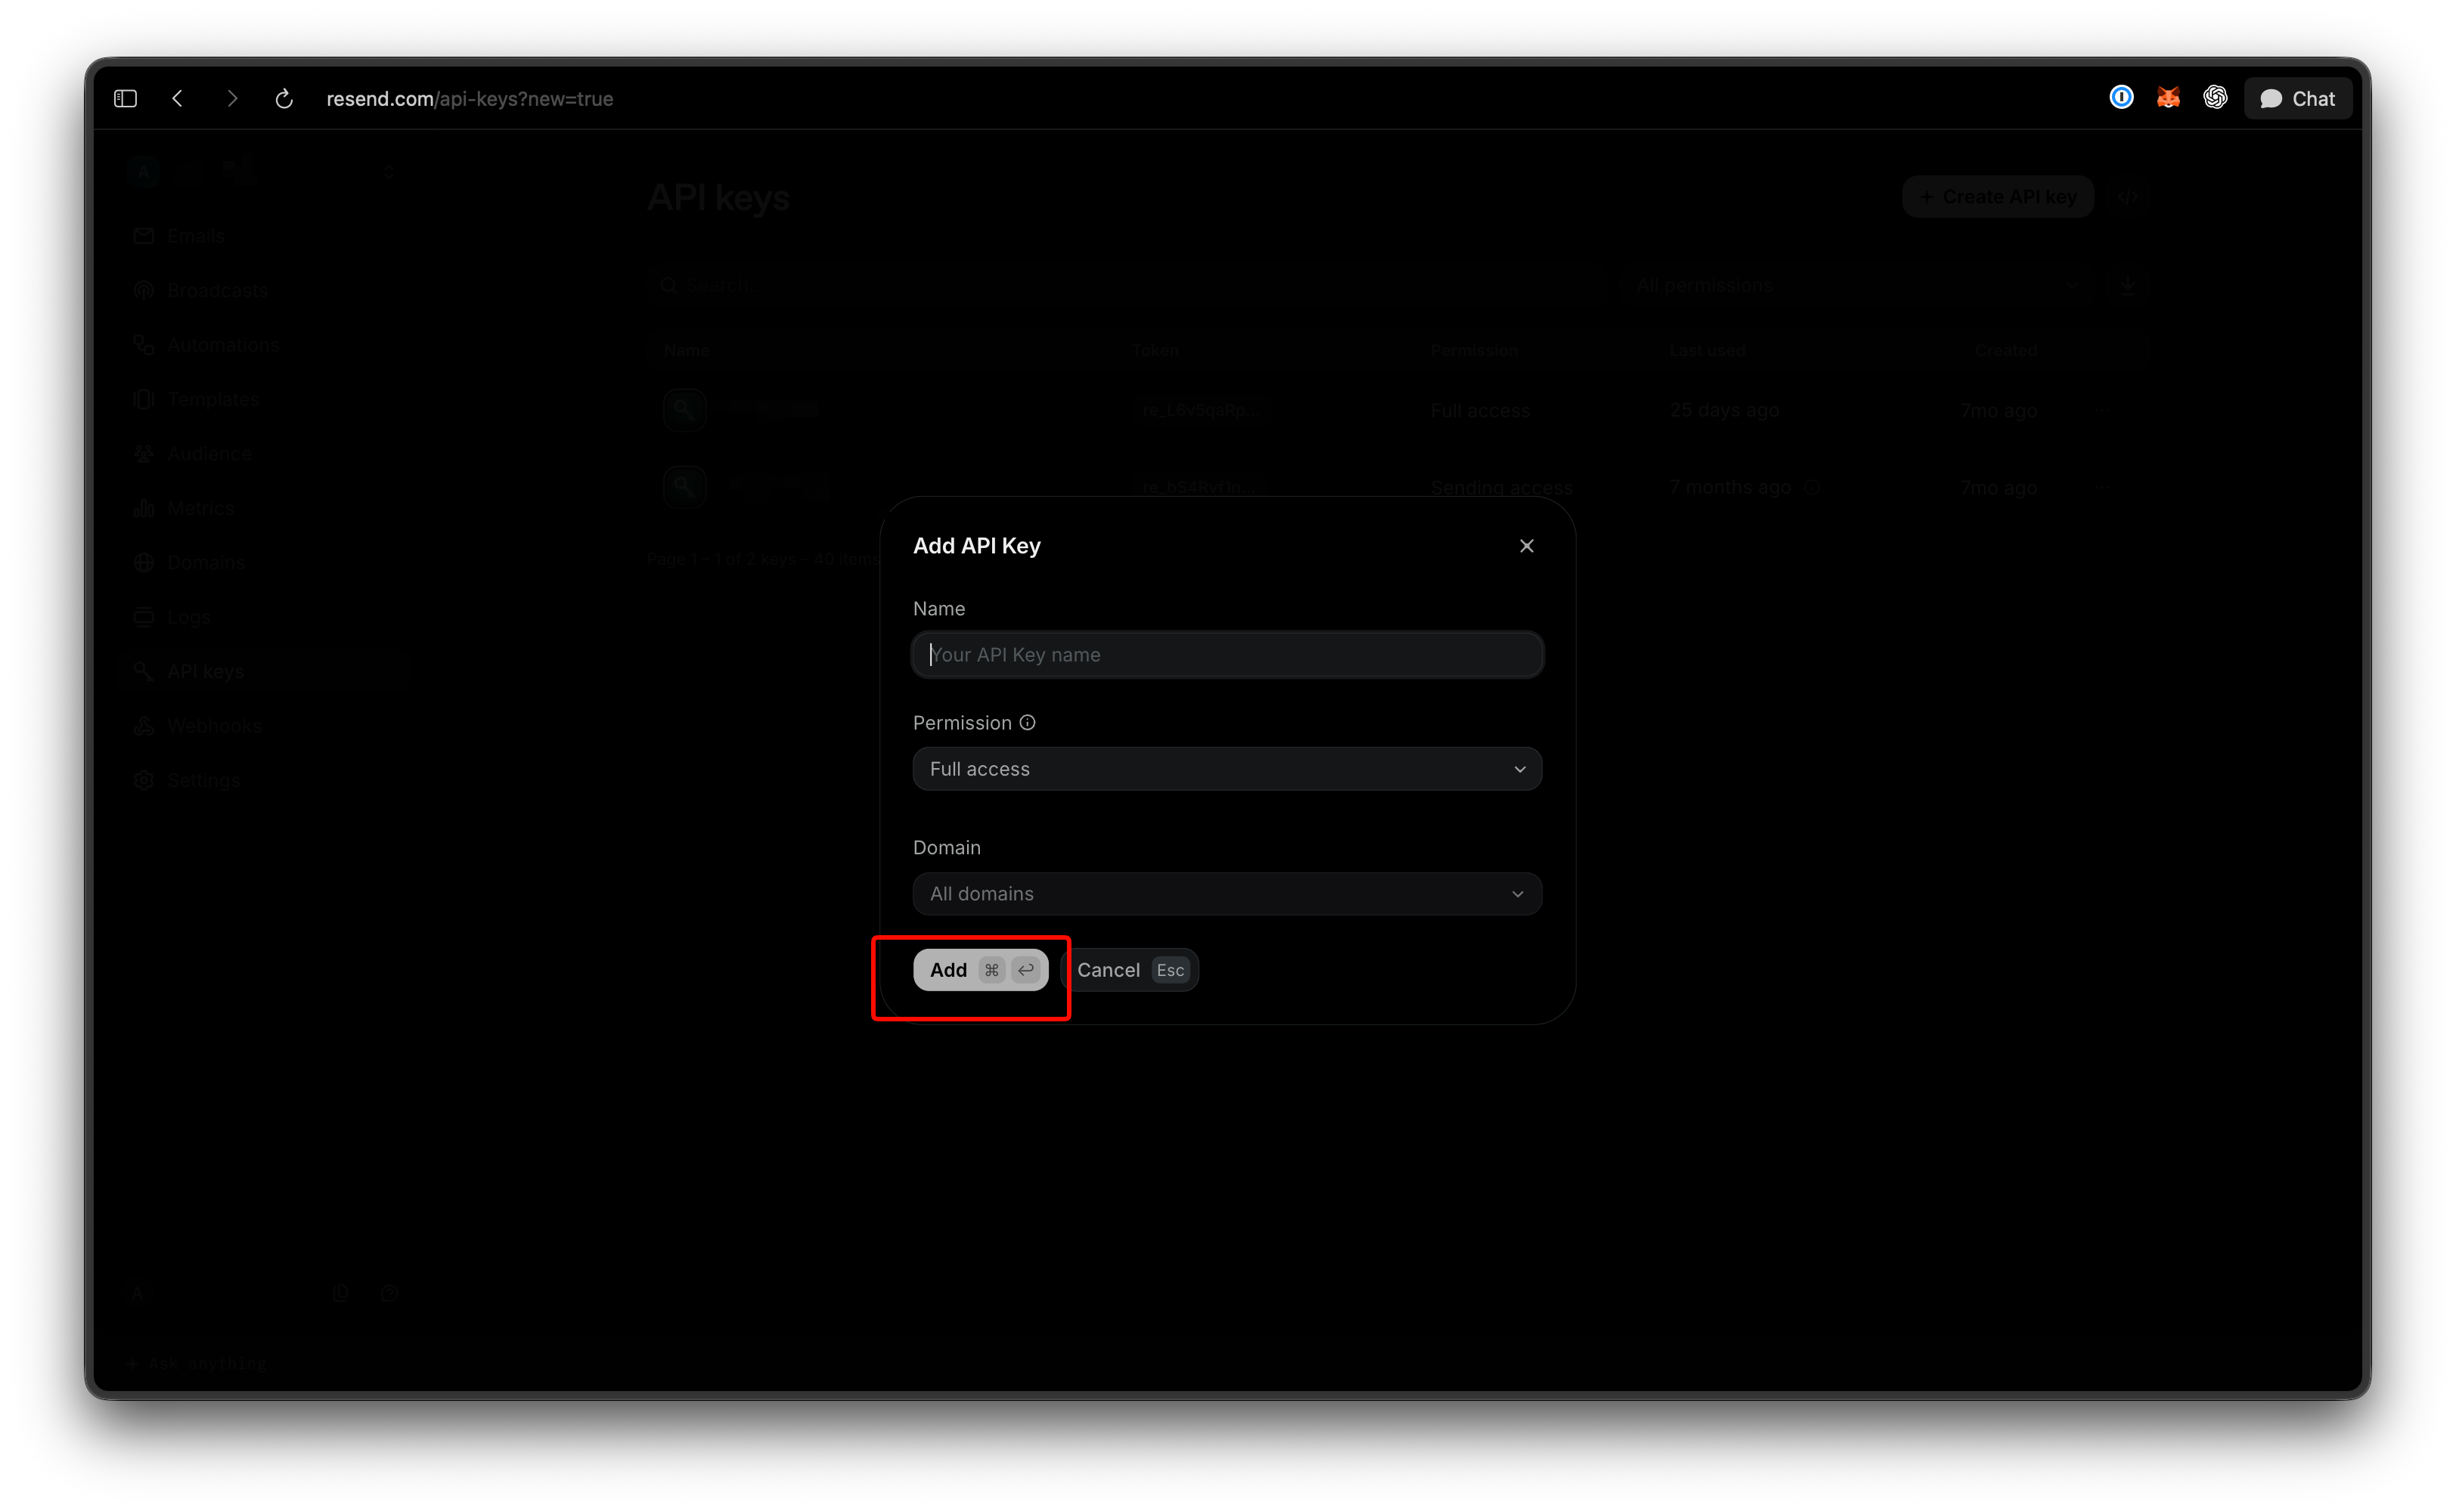
Resend shows the key exactly once. It starts with re_, and once you close the dialog you can rename the key but never view it again. Copy it straight into an environment variable:
export RESEND_API_KEY="re_xxxxxxxxx"
Resend’s own guidance: keys never expire, so rotate them every 90 days or sooner; the dashboard flags any key unused for 30 days; and if a key leaks, delete it immediately instead of waiting for the next rotation. Committing re_ strings to git is the most common leak path, so run a secret scanner over your repos before the first push.
You can also mint keys with POST https://api.resend.com/api-keys, passing name, permission (full_access or sending_access), and an optional domain_id. That call needs a full-access key, one more reason to keep exactly one of those.
Step 4: send your first email
The send endpoint is POST https://api.resend.com/emails. Authentication is a Bearer token in the Authorization header, the body is JSON, and only HTTPS is accepted. Three fields are required: from, to, and subject. Add html, text, or both; if you send only html, Resend generates the plain-text part. to takes a string or an array of up to 50 addresses. The full parameter list is in the send email reference.
curl
curl -X POST 'https://api.resend.com/emails' \
  -H "Authorization: Bearer $RESEND_API_KEY" \
  -H 'Content-Type: application/json' \
  -d '{
    "from": "Acme <onboarding@resend.dev>",
    "to": ["you@yourcompany.com"],
    "subject": "First Resend email",
    "html": "<p>Your Resend key works.</p>"
  }'
A successful call returns {"id": "49a3999c-0ce1-4ea6-ab68-afcd6dc2e794"}. One quirk: every request must carry a User-Agent header, or the API answers 403 with code 1010. curl and the SDKs set one; a hand-rolled client in an edge runtime may not.
Node.js
npm install resend
import { Resend } from 'resend';

const resend = new Resend(process.env.RESEND_API_KEY);

const { data, error } = await resend.emails.send({
  from: 'Acme <notifications@example.com>',
  to: ['you@yourcompany.com'],
  subject: 'First Resend email',
  html: '<p>Your Resend key works.</p>',
});

if (error) {
  console.error(error);
} else {
  console.log(data.id);
}
The Node SDK never throws for API errors. It returns { data, error }, so check error before touching data.id.
Python
pip install resend
import os
import resend
from resend.exceptions import ResendError

resend.api_key = os.environ["RESEND_API_KEY"]

params: resend.Emails.SendParams = {
    "from": "Acme <notifications@example.com>",
    "to": ["you@yourcompany.com"],
    "subject": "First Resend email",
    "html": "<p>Your Resend key works.</p>",
}

try:
    email = resend.Emails.send(params)
    print(email["id"])
except ResendError as err:
    print(err)
The Python SDK does the opposite: it raises ResendError on failure, so wrap sends in try/except.
Step 5: store and test the key in Apidog
Curl proves the key works once. Apidog turns that one-off into something your team can rerun, and keeps the key out of shell history and chat logs.
Store the key as a secret variable. Create an environment called Resend, add RESEND_API_KEY as a variable, and mark it secret so the value is masked in the UI and left out of exports. The environments and secret variables guide covers dev, staging, and prod splits if you keep a different sending-only key per environment, which you should.
Send the request. Create a POST request to https://api.resend.com/emails, set Auth to Bearer Token with {{RESEND_API_KEY}}, and paste the JSON body from the curl example. Hit Send. The id shows up in the response panel next to the rate-limit headers covered below.
Save it as a test. Add two assertions: status equals 200 and $.id exists. Drop the request into a test scenario and you have a smoke test that runs whenever someone touches the email code. Point it at staging with a domain-restricted sending key and it’s safe to run from CI.
Mock the endpoint for frontend work. Your frontend needs the response shape, not a real send. Mock the endpoint in Apidog so it returns {"id": "mock-email-id"} on every call. The UI team can build the “email sent” state all day without touching the 100-a-day free quota or spamming a real inbox. Download Apidog to set this up; the free plan covers four users.
Free tier limits you’ll hit first
The Resend pricing page lists the free plan at 3,000 emails per month, capped at 100 per day, with 3 domains and 30-day data retention. Pro starts at $20 a month for 50,000 emails, 10 domains, and no daily limit, with overage at $0.90 per 1,000 emails.
Test emails to the resend.dev addresses count against those quotas, so a load test aimed at delivered@resend.dev still burns your daily 100. bounced@resend.dev, complained@resend.dev, and suppressed@resend.dev simulate a hard bounce, a spam complaint, and a suppressed recipient without real bad addresses.
Separate from quota, the rate limit defaults to 10 requests per second per team, shared across every key on the team. Each response carries ratelimit-limit, ratelimit-remaining, ratelimit-reset, and retry-after headers, so a sending loop can back off before it hits a 429. Need more? Resend asks you to contact support instead of creating extra teams.
Common errors and how to fix them
Every failure comes back as JSON with a statusCode, a name, and a message. These are the ones you’ll meet on day one, from the error reference:
| Status | Name | What happened | Fix |
|---|---|---|---|
| 401 | missing_api_key |
No Authorization header |
Add Authorization: Bearer re_... |
| 401 | restricted_api_key |
Sending-only key used on a non-send endpoint | Use a full-access key for that call |
| 403 | validation_error |
“The domain is not verified” | Finish DNS verification, or fix the from address |
| 403 | validation_error |
Test address sent to someone other than you | Send to your account email, or verify a domain |
| 403 | restricted_api_key |
“API key is not active” | The key was deleted; create a new one |
| 422 | missing_required_field |
from, to, or subject missing |
Check the body against the reference |
| 429 | rate_limit_exceeded |
Over 10 requests per second | Queue sends, honor retry-after |
| 429 | daily_quota_exceeded |
Past 100 emails today on free | Wait for the reset or upgrade |
A 401 with a key you’re sure is right usually means a trailing newline in the variable or a .env file that never loaded. Both look like a missing key from the API’s side.
FAQ
Can I see my Resend API key again after creating it?
No. Resend shows the value once at creation time. If you lose it, create a new key with the same name and permission, deploy it, then delete the old one.
Should I choose full access or sending access?
Sending access, restricted to one domain, for every key that leaves your machine. Keep one full-access key for dashboard-style work such as adding domains or creating other keys, and never ship it in an app.
Can I test sending without verifying a domain?
Yes. Use onboarding@resend.dev as the from address and your own account email as the recipient. Any other recipient returns a 403 until a domain is verified.
Is there a way to manage Resend from the terminal instead of the dashboard?
Yes. The Resend CLI walkthrough covers installing it and running the common domain and email commands without opening a browser.
What happens when I pass 100 emails in a day on the free plan?
The API returns a 429 with daily_quota_exceeded, and sends resume after the daily reset. If you regularly need more, Pro removes the cap, and the free email API roundup shows how other providers’ free tiers compare.
Wrapping up
Getting a Resend API key takes two minutes; getting it right takes five. Verify a subdomain, create a sending-only key locked to that domain, keep it in an environment variable, and send one email with curl to confirm the round trip. Then move the request into Apidog, save the assertions, and mock the endpoint so the rest of your team can build against it without spending your quota. Ship the least powerful key that still does the job.