How to execute SSH commands using WebSocket? You can install an SSH plugin in Drone and use WebSocket to send commands to SSH.
You can install an SSH plugin in Drone and use WebSocket to send commands to SSH.
What is Drone?
The Drone is a Docker-based continuous integration (CI) and continuous delivery (CD) platform. It speeds up the development process, reduces human errors, and improves the reliability of applications by automating software builds, testing, and deployment. In simple terms, it is similar to writing shell scripts, but with different script content.
WebSocket
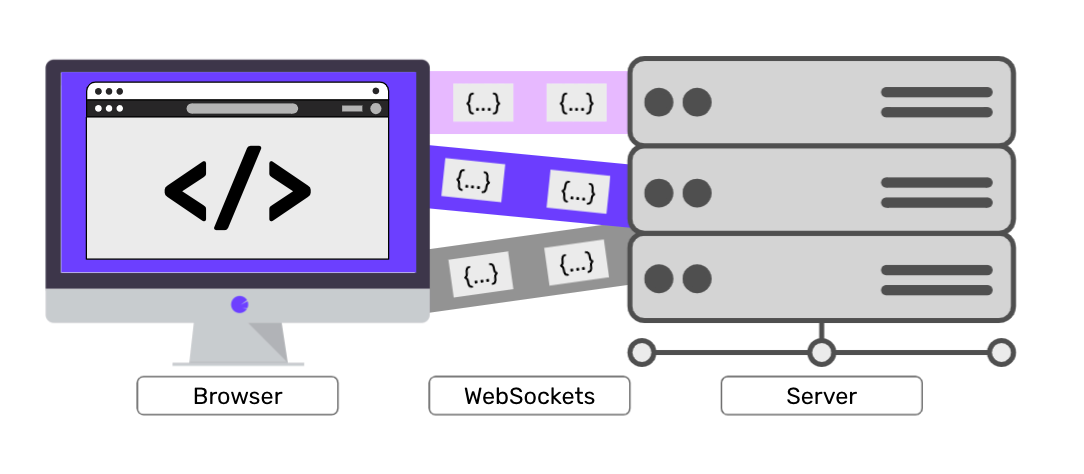
WebSocket is a protocol that enables full-duplex communication over a single TCP connection and is a new feature of HTML5. It allows real-time bidirectional data transmission between browsers and servers without the need for techniques like polling or long polling. Unlike the HTTP protocol, WebSocket is a persistent connection and is commonly used for real-time communication, such as online gaming, real-time chat, and performance monitoring.
Uploading SSH Using Drone and WebSocket
Install the Drone SSH plugin Install the Drone SSH plugin in your Drone project.
kind: pipeline
name: example

steps:
  - name: ssh
    image: appleboy/drone-ssh
    settings:
      host: ssh.example.com
      username: root
      password: ${PLUGIN_PASSWORD}
      script:
        - cd /opt/
        - ls
        - echo "Hello, World!"
Installing Drone SCP Plugin
To install the Drone SCP (Secure Copy) plugin in your Drone project
Please note that the provided examples use basic username/password authentication. However, if you are using an SSH key pair, you can use it as credentials.
Connecting to SSH Using WebSocket
You can use the WebSocket module in Python to connect to WebSocket and send SSH commands. Here is an example code for connecting and executing commands:
You are correct that the previous code does not input the actual SSH command in the command field; it uses the example command ls -al. To execute other commands, please replace it with the desired command.
Uploading Files Using WebSocket
You can use the websocket-client module in Python along with the paramiko module to connect and upload files. Here is an example code for connecting and uploading files:
To debug WebSocket services using Apidog, follow these steps:
button
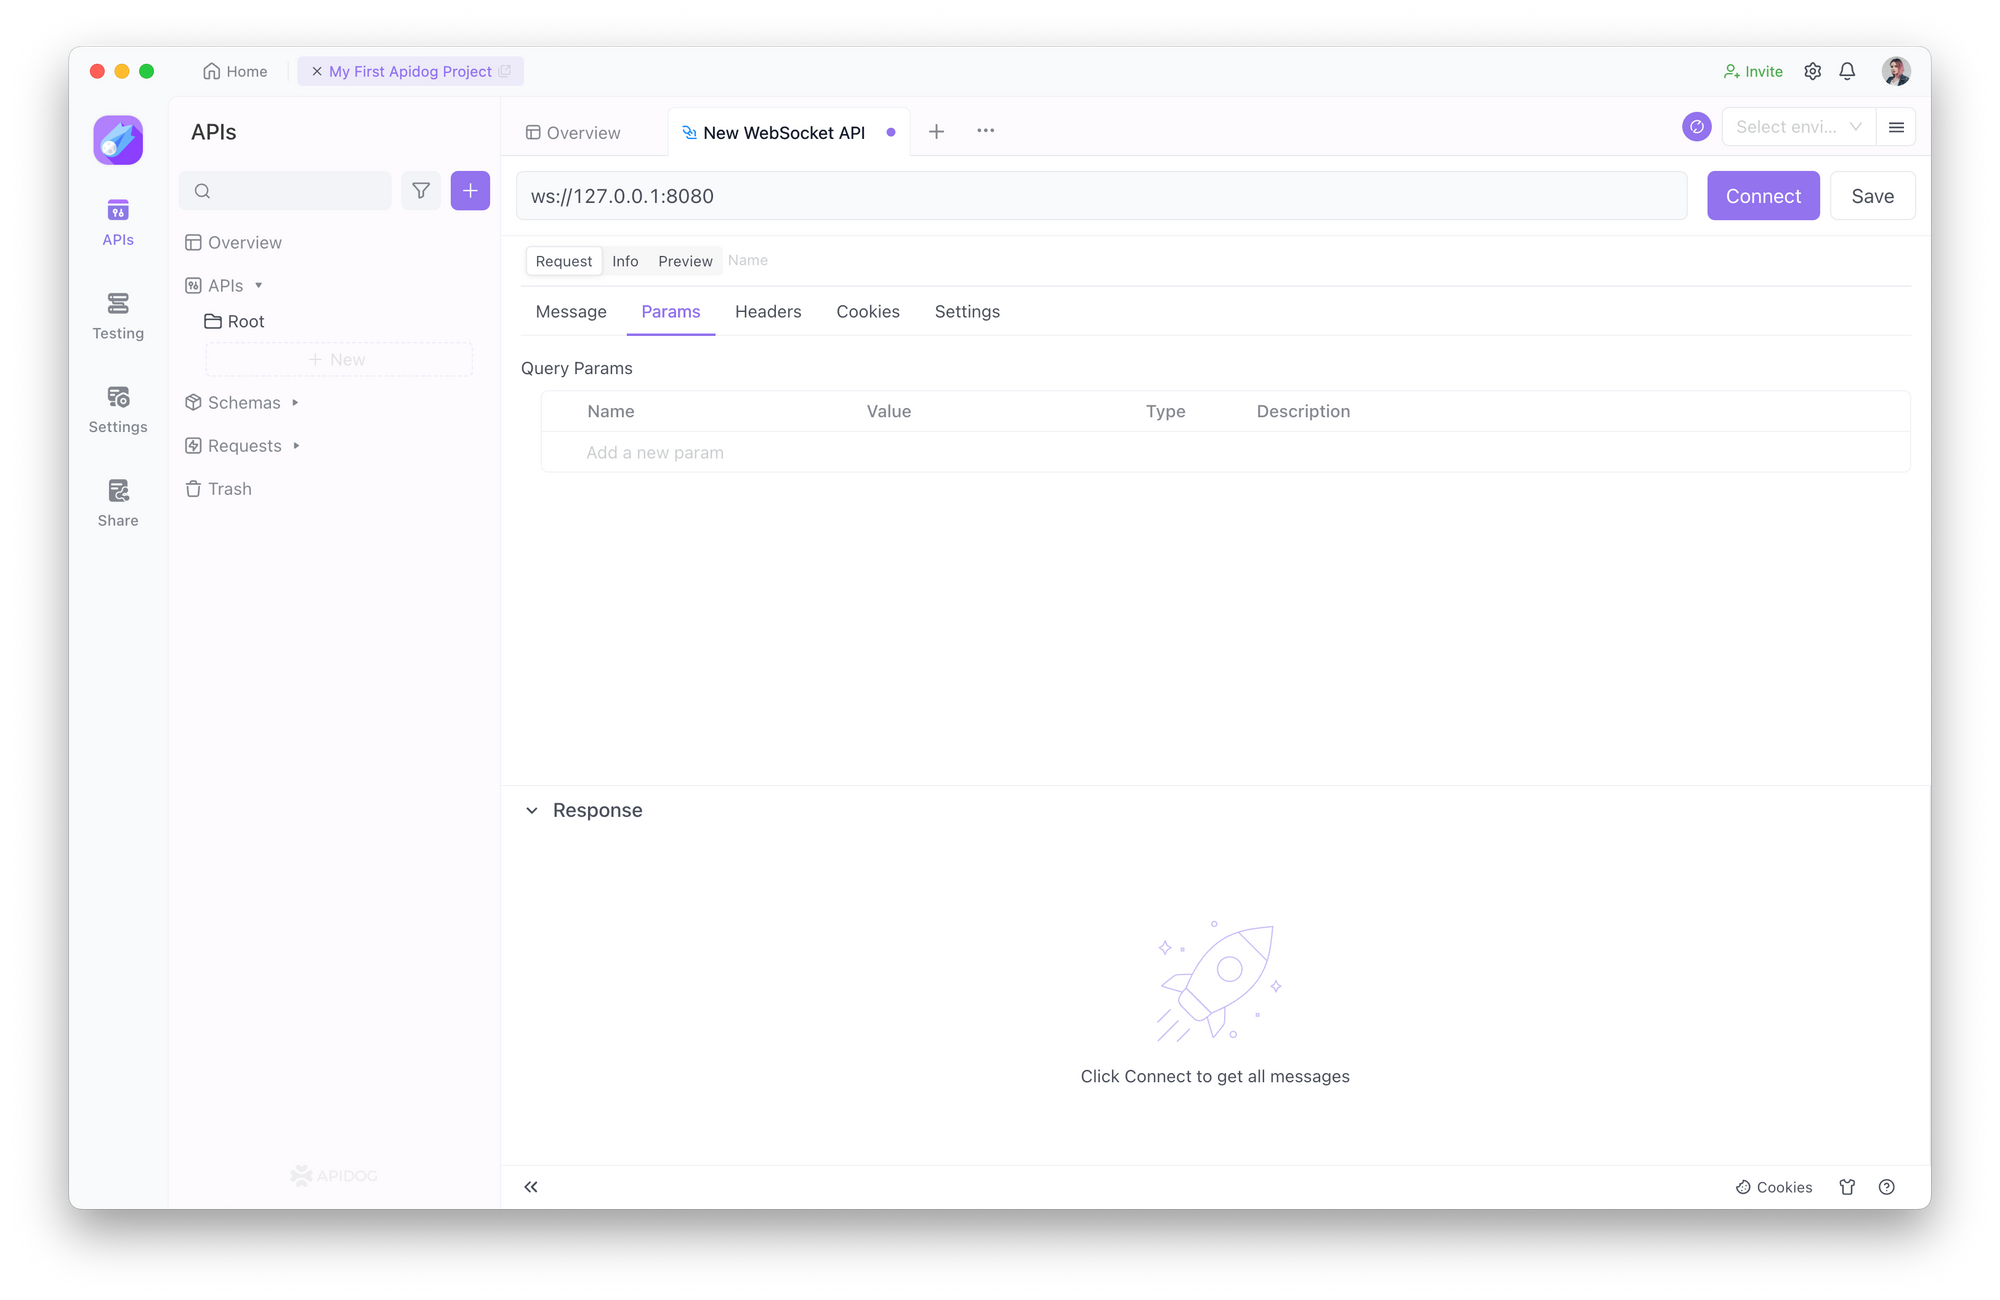
Creating a New WebSocket Request
Open Apidog and click on the "+" button in the left sidebar to create a new WebSocket request.
Fill in the necessary details for the WebSocket service, including the WebSocket server's address.
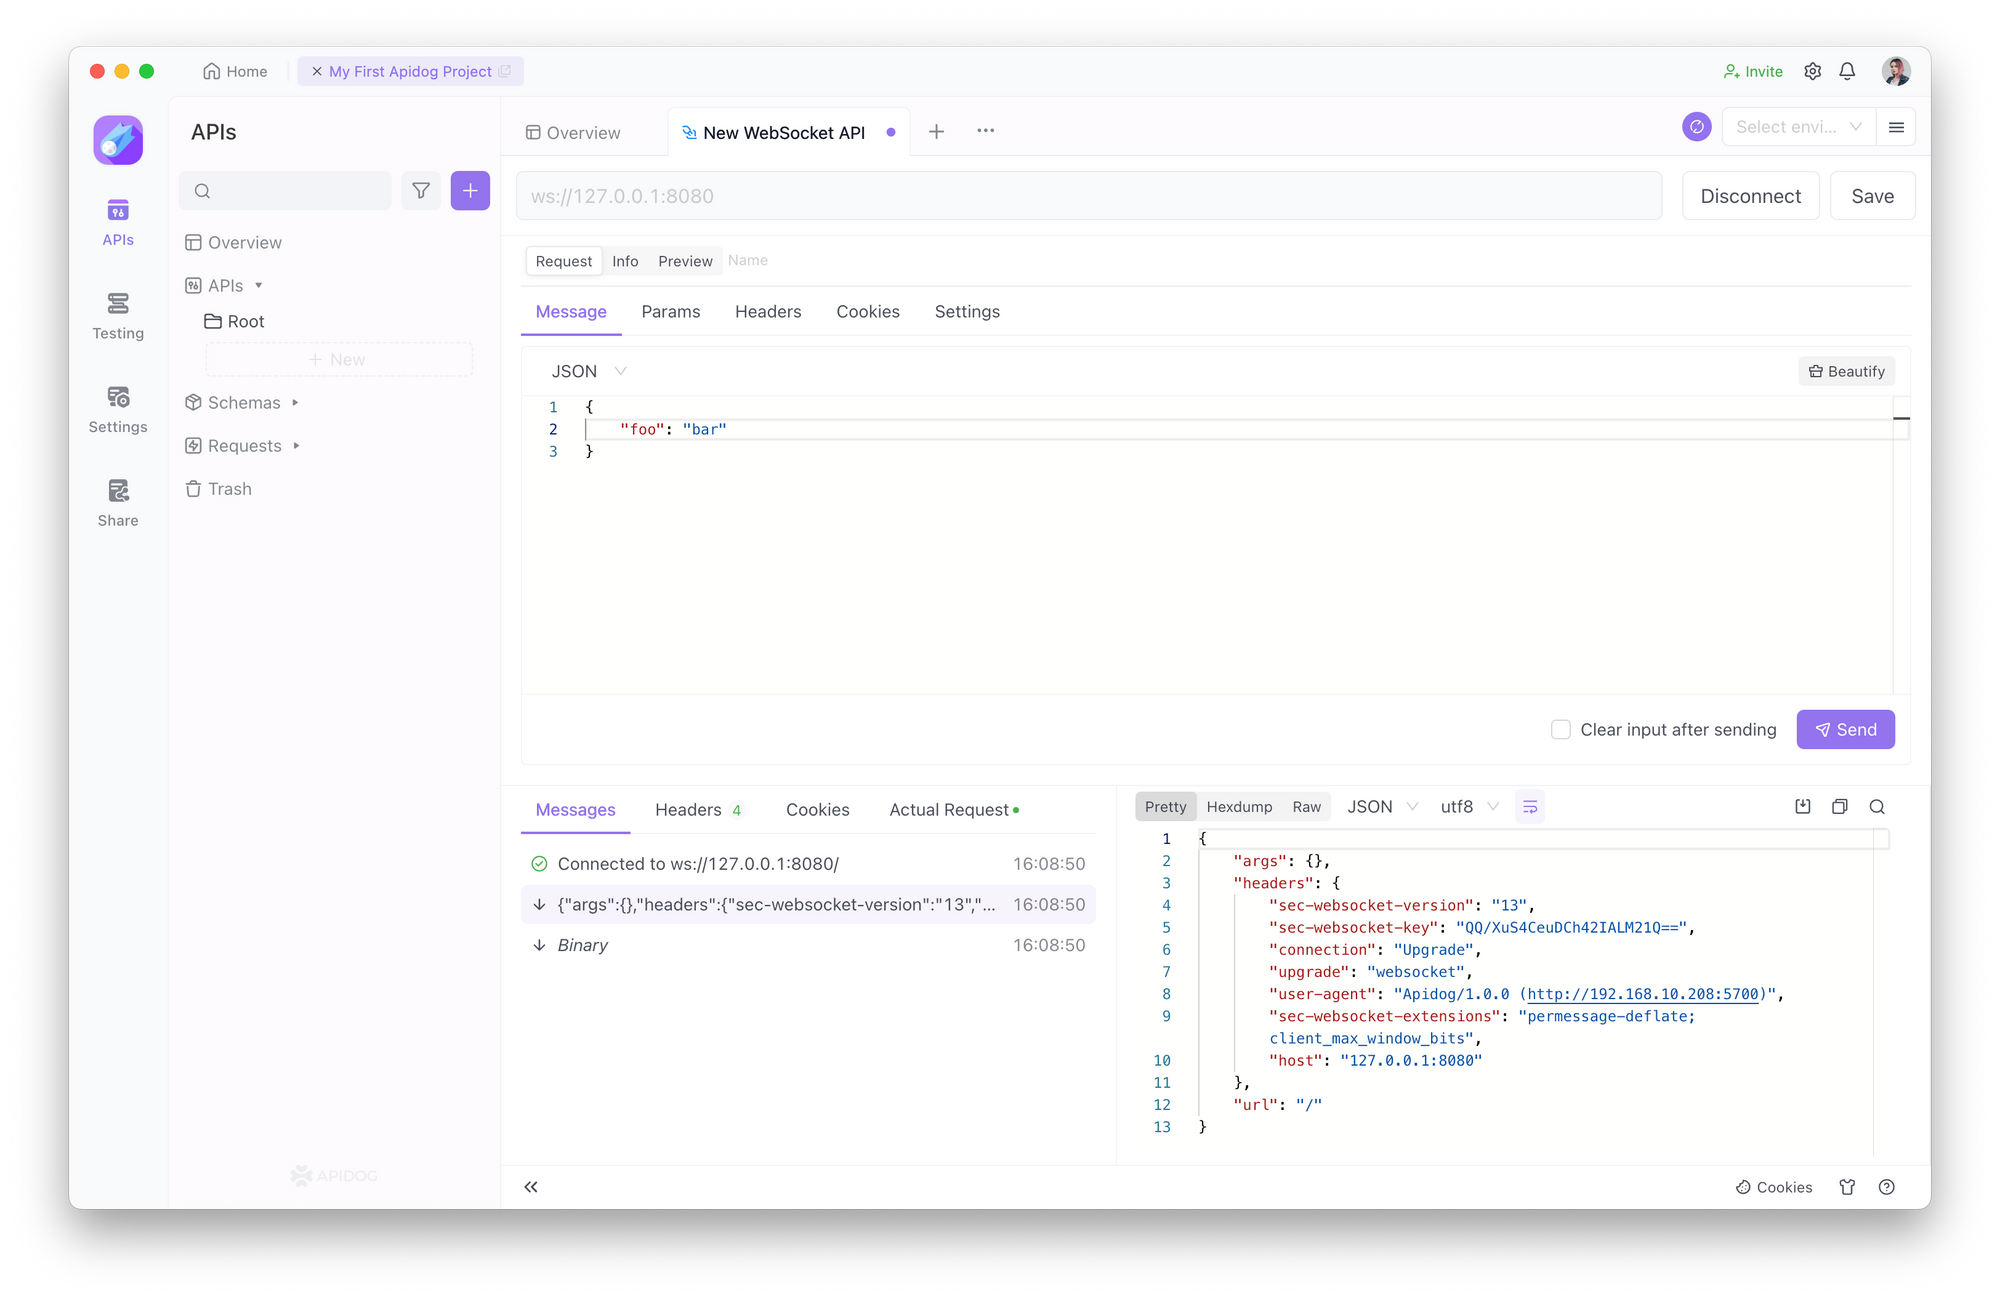
Setting and Sending Request Information and Parameters
In the "Message" section of the Apidog WebSocket request, you can enter the information you want to send to the server. The server will receive the message you send.
During the transmission, you can also carry parameters by adding query parameters to the URL.
In Apidog, you can include various types of data as parameters, such as strings, integers, numbers, arrays, and more.
Saving the Request
After you have completed filling in the required information, you can click the "Save" button to save the request. This allows you to reuse the request for future use, greatly enhancing your work efficiency.
Connecting and Sending WebSocket Request
If we want to communicate with the server via WebSocket, we need to establish a WebSocket connection first. We just need to click the Connect button.
After a successful connection, Apidog will indicate success and the server will respond with a successful connection. Use Apidog to send Messages and Params to the server by clicking the Send button.
Communicating with WebSocket services
After the message is sent, the server can also communicate by sending data to the client. For example, here I set the server to send the current timestamp to the client every second, which is the WebSocket feature of Apidog, very convenient and useful.
If you don't want to connect anymore, you can click the disconnect button.