
When making a GET request, params allow us to include additional information in the request URL. These parameters can filter, sort, or paginate the response data, providing a more tailored and specific result.
What Are Axios GET Request Parameters?
Axios allows you to pass parameters through the params object in the configuration of a GET request. This object enables the inclusion of key-value pairs representing the parameters you wish to send to the server. By doing so, you can tailor your request based on specific criteria.
For example, let's say we have an API endpoint that returns a list of products. By including params in our GET request, we can specify criteria such as the price range, category, or even a search query to retrieve only the relevant products. This flexibility allows us to recover the exact data we need, reducing unnecessary network traffic and improving the overall performance of our application.
Using params in Axios GET requests is essential when working with APIs that require specific query parameters. However, manually constructing the URL with the necessary parameters can be time-consuming and error-prone. This is where Apidog comes to the rescue.

What is Axios and How to Install It?
Axios is a popular JavaScript library that allows you to make HTTP requests from your browser or Node.js. It is a promise-based library that provides an easy-to-use interface for making HTTP requests. You can install Axios using npm or yarn. Here’s how to install it :
Using npm:
$ npm install axios
Using bower:
$ bower install axios
Using yarn:
$ yarn add axios
Using jsDelivr CDN:
<script src="https://cdn.jsdelivr.net/npm/axios/dist/axios.min.js"></script>
Using unpkg CDN:
<script src="https://unpkg.com/axios/dist/axios.min.js"></script>
What Params You Can Use with GET Request?
When making a GET request, there are several parameters that you can use to customize and enhance the request. These parameters include:
Params: An object containing the query string parameters to be appended to the URL. This allows you to pass specific data or filters to the server.
Headers: An object containing the headers to be sent with the request. This can include important information such as authentication tokens, content type, and more.
Timeout: This parameter specifies the number of milliseconds before the request times out. It's useful for controlling the maximum time a request can take before being canceled.
ResponseType: This parameter defines the type of data expected in the response. It allows you to specify whether the response should be parsed as JSON, Blob, Document, Text, or other formats.
By utilizing these parameters, you can tailor your GET requests to suit specific requirements and handle various scenarios effectively.
How to Add and Send Params in Axios GET Request?
Here’s a step-by-step tutorial on how to add params in Axios GET request:
1. Pass Data with Params Object in Axios GET Requests
If you are going to send GET requests with Axios, you can follow the below steps to pass data to the API server-side with Axios' params object. And based on the data you have passed, your client can get the specific response data from server.
Step 1: Import Axios
First, you need to import Axios into your project. You can do this by adding the following line at the top of your JavaScript file:
import axios from 'axios';
Step 2: Create a GET Request
Next, you need to create a GET request using Axios. Here’s an example:
axios.get('/api', {
  params: {
    id: 123,
    name: 'John Doe'
  }
})
In this example, we are making a GET request to the ‘/api’ endpoint with two query string parameters: ‘id’ and ‘name’.
Step 3: Send the Request
Finally, you need to send the request using the then() method. Here’s an example:
axios.get('/api', {
  params: {
    id: 123,
    name: 'John Doe'
  }
})
  .then(function (response) {
    console.log(response);
  })
  .catch(function (error) {
    console.log(error);
  });
In this example, we are logging the response to the console if the request is successful. If there is an error, we are logging the error to the console.
Sample Code:
Here’s a sample code that demonstrates how to add params in Axios GET request:
import axios from 'axios';

axios.get('/api', {
  params: {
    id: 123,
    name: 'John Doe'
  }
})
  .then(function (response) {
    console.log(response);
  })
  .catch(function (error) {
    console.log(error);
  });
2. Passing Query Parameters in the URL
For cases where you prefer to directly append URL query parameters, Axios allows you to construct the URL with template literals. Here's an example:
// Define your query parameters
const id = 1;
const category = 'animal';

// Use template literals to construct the URL with query parameters
const apiUrl = `https://api.example.com/data?id=${id}&category=${category}`;

// Make the GET request
axios.get(apiUrl)
  .then(function (response) {
    console.log(response);
  })
  .catch(function (error) {
    console.log(error);
  });
In this instance, we're constructing the URL using template literals and appending the query parameters directly to it. This approach is particularly handy for simpler cases with fewer parameters.
Common Errors and Troubleshooting Tips
While working with parameters in Axios GET requests, you may encounter certain errors or face challenges. Here are some common issues and troubleshooting tips to help you overcome them:
- Missing or incorrect parameter names: Make sure you provide the correct parameter names as expected by the server. Check the API documentation or consult the server-side developers to ensure the accuracy of the parameter names.
- Unexpected response or missing data: If you are not receiving the expected response or certain data is missing, double-check the values of your parameters. Ensure they are correctly passed and match the requirements of the server.
- URL encoding issues: Axios automatically encodes the parameters for you, but in some cases, you may need to manually handle URL encoding. Certain characters, such as spaces or special characters, may need to be encoded using the appropriate encoding scheme (e.g., replacing spaces with
%20). - Server-side validation errors: If the server performs validation on the parameters, make sure you pass valid values. If you encounter validation errors, check the server-side validation rules and adjust your parameter values accordingly.
Using Apidog to Send GET Requests with Params Easier
Apidog offers several advanced features that further enhance its ability to automate GET requests with params. These features allow you to customize your requests and handle more complex scenarios effortlessly. You can easily send GET requests with params.
Here’s how to use Apidog to send GET requests with params:
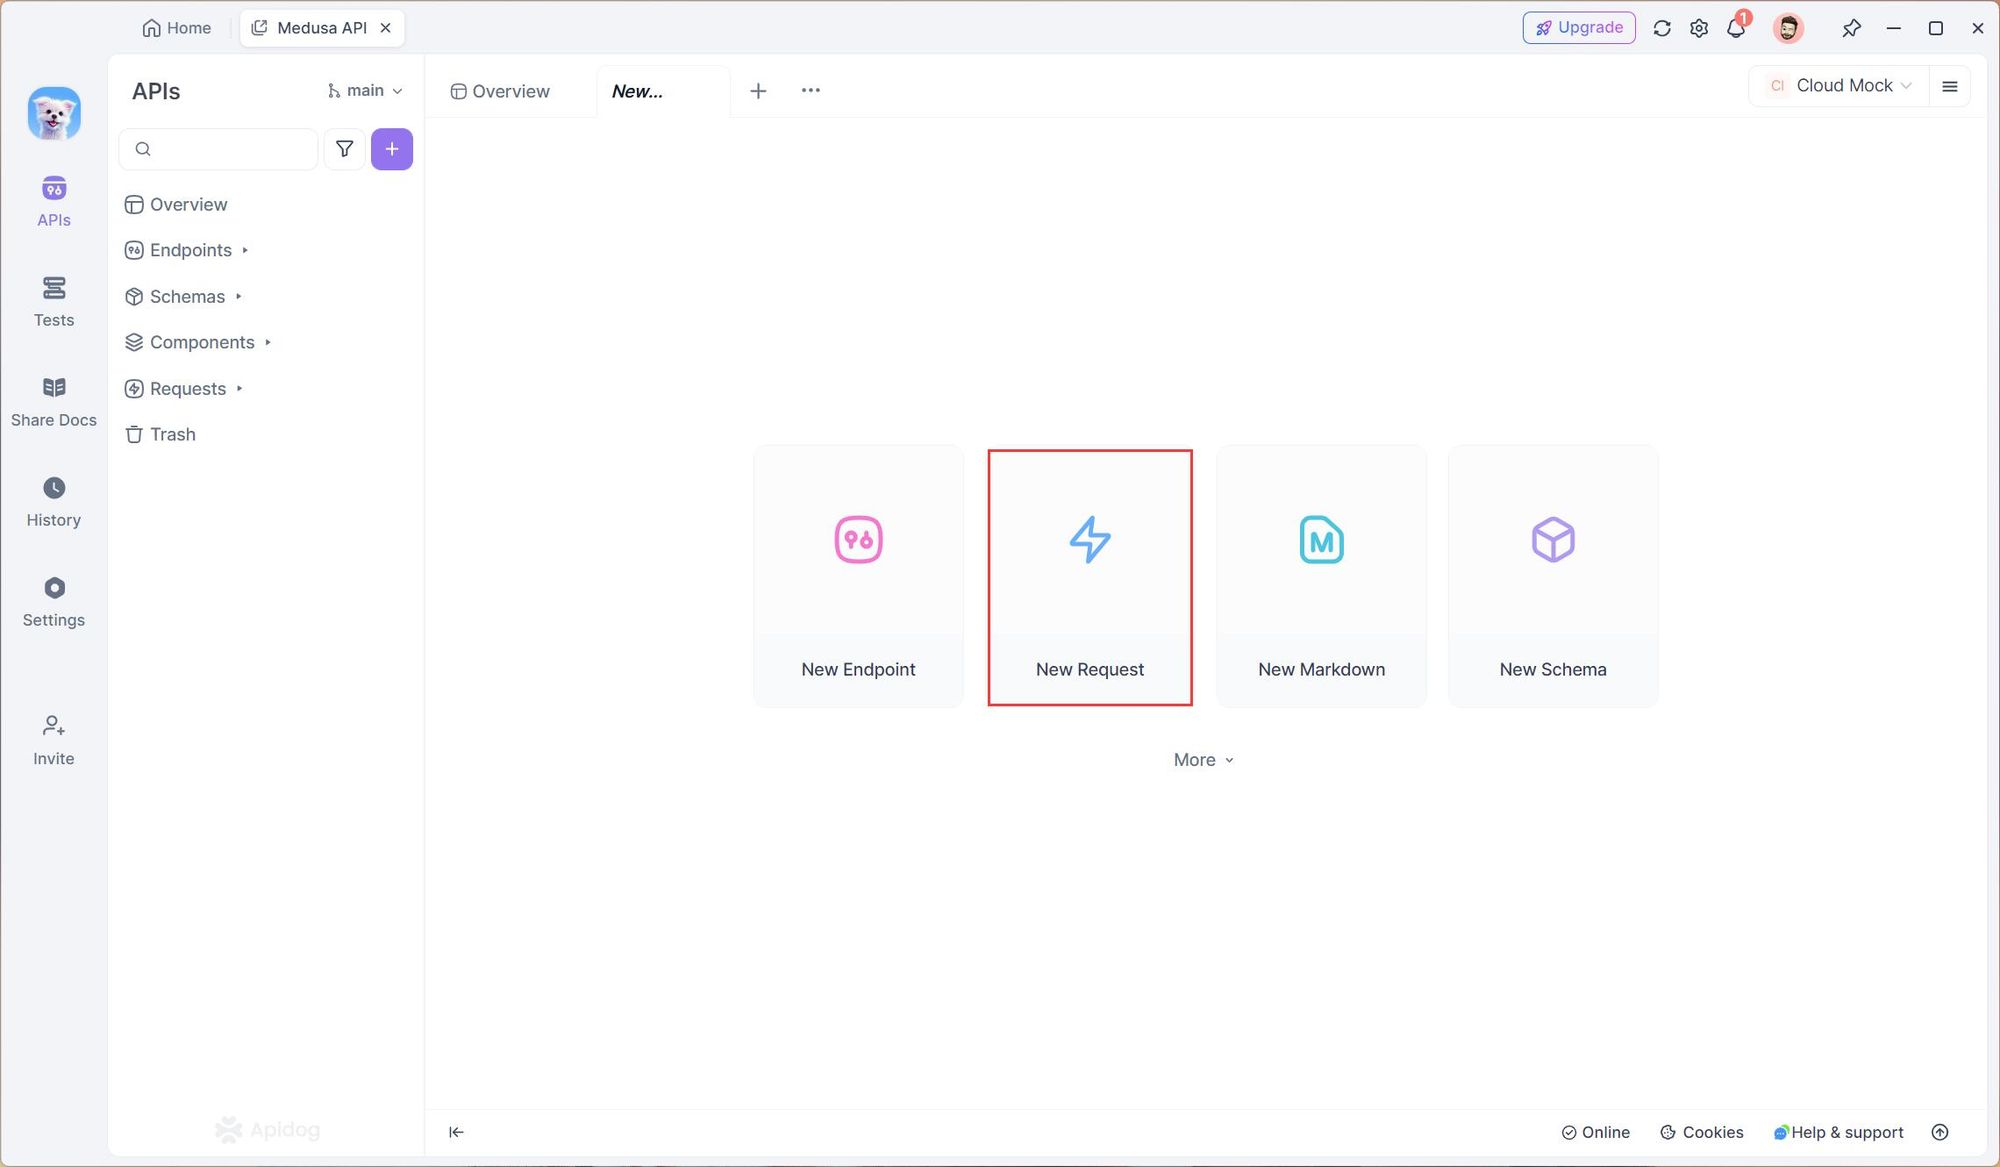
- Open Apidog and click on the New Request button.
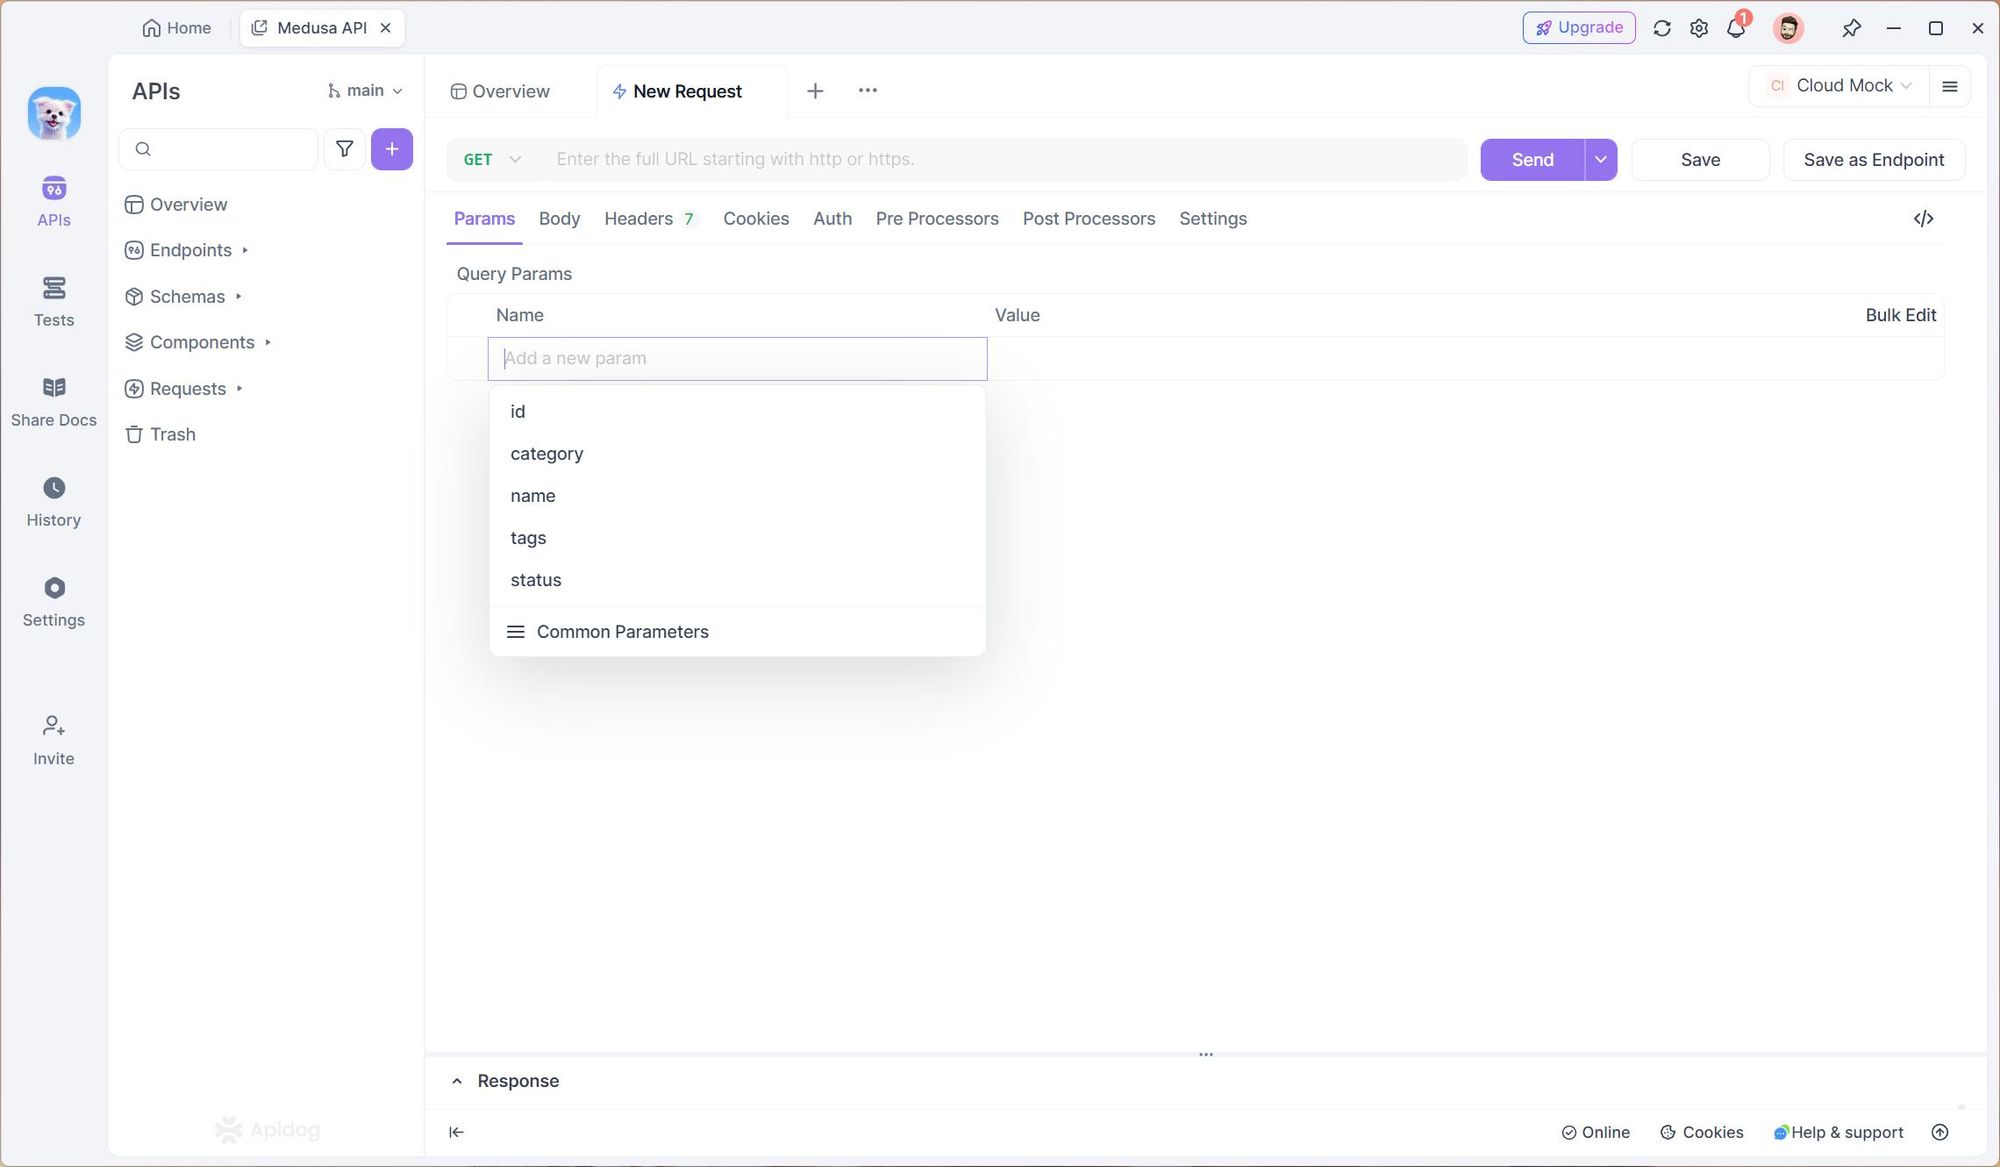
2. Enter the URL of the API endpoint you want to send a GET request to, then click on the Query Params tab and enter the query string parameters you want to send with the request and enter the query string parameters. After finishing setting up the query params, simply "Send" to send the Get request with query params. Apidog will then return a detailed report on the API request.
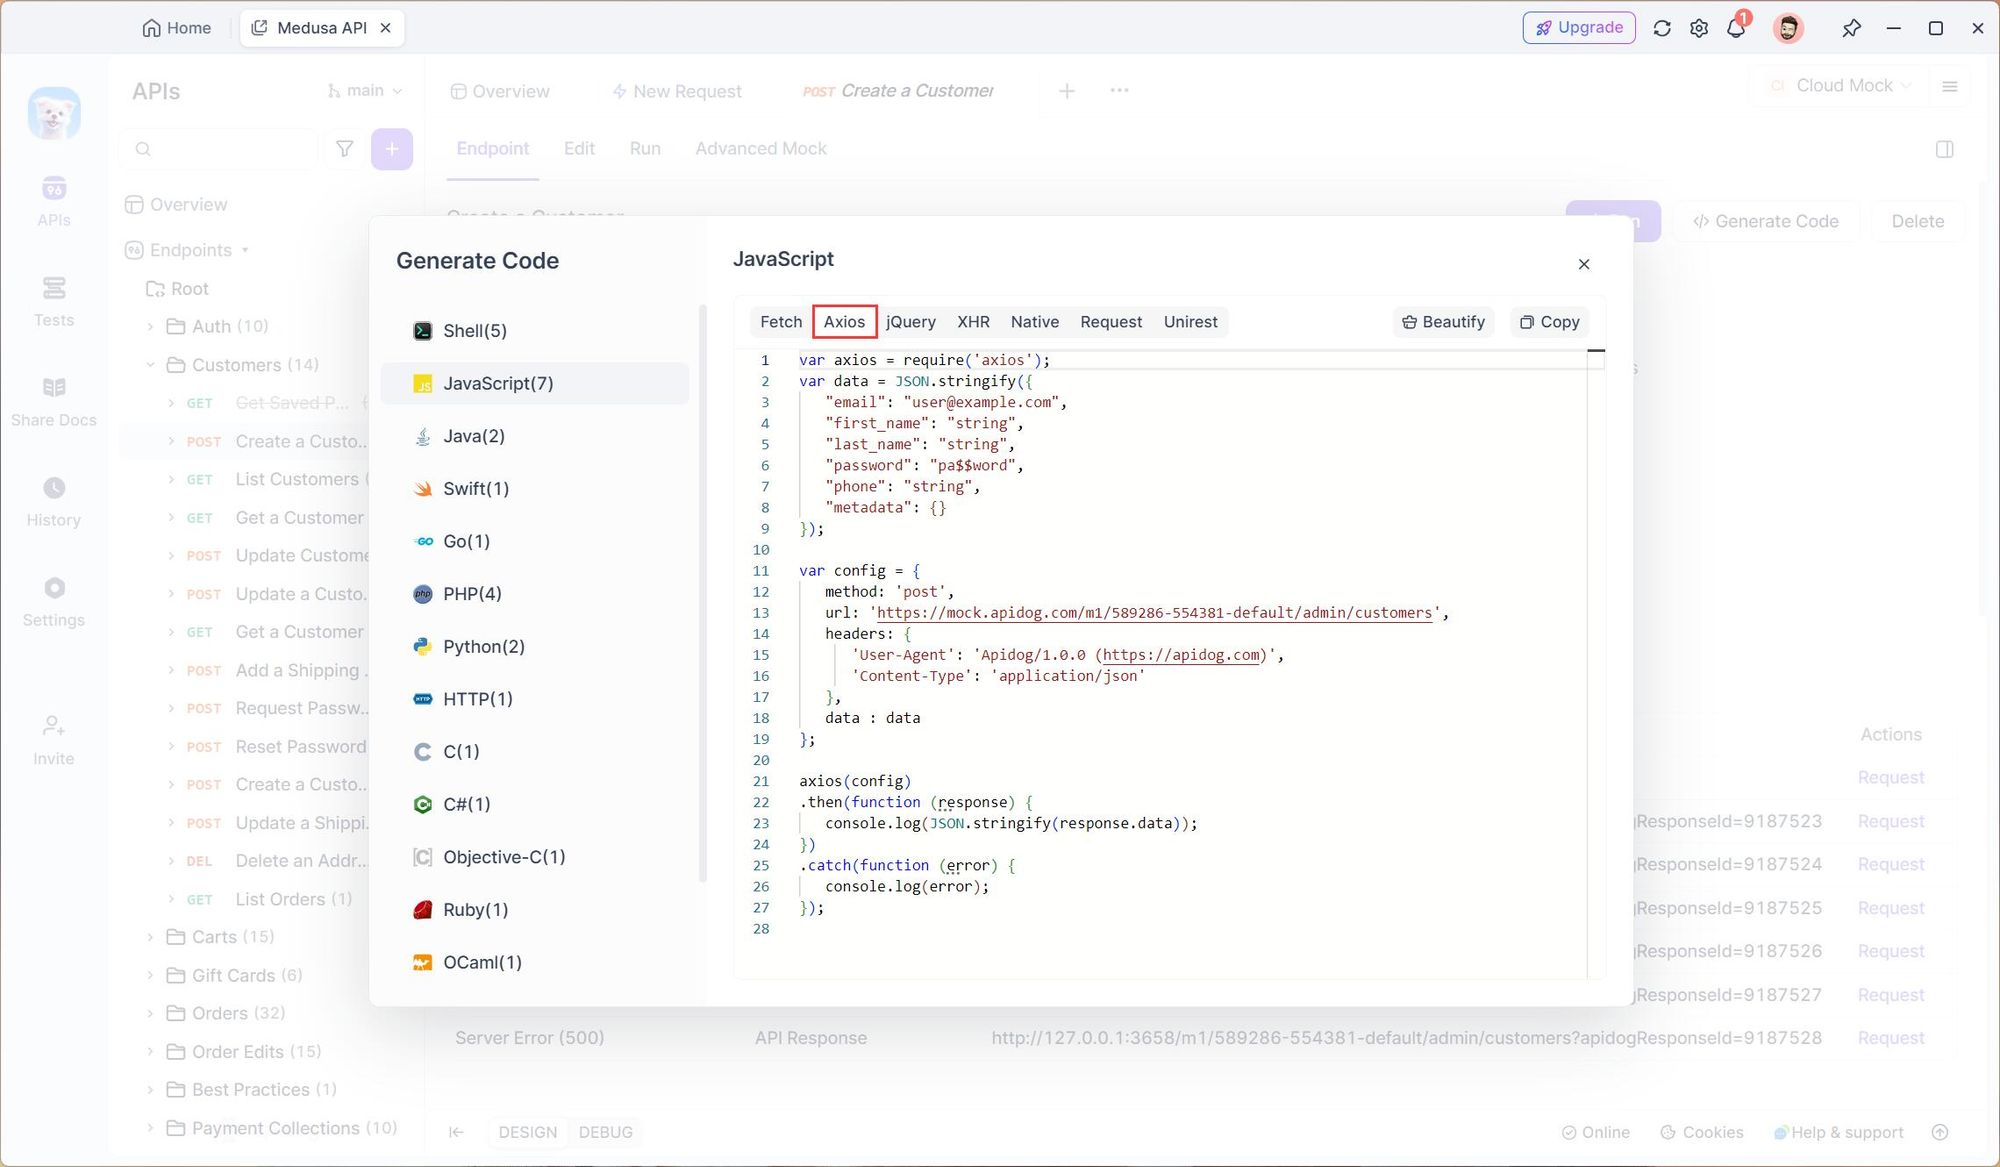
Using Apidog to Generate Axios Code Automatically
Apidog also allows you to automatically generate Axios code for making HTTP requests. Here’s how to use Apidog to generate Axios code:
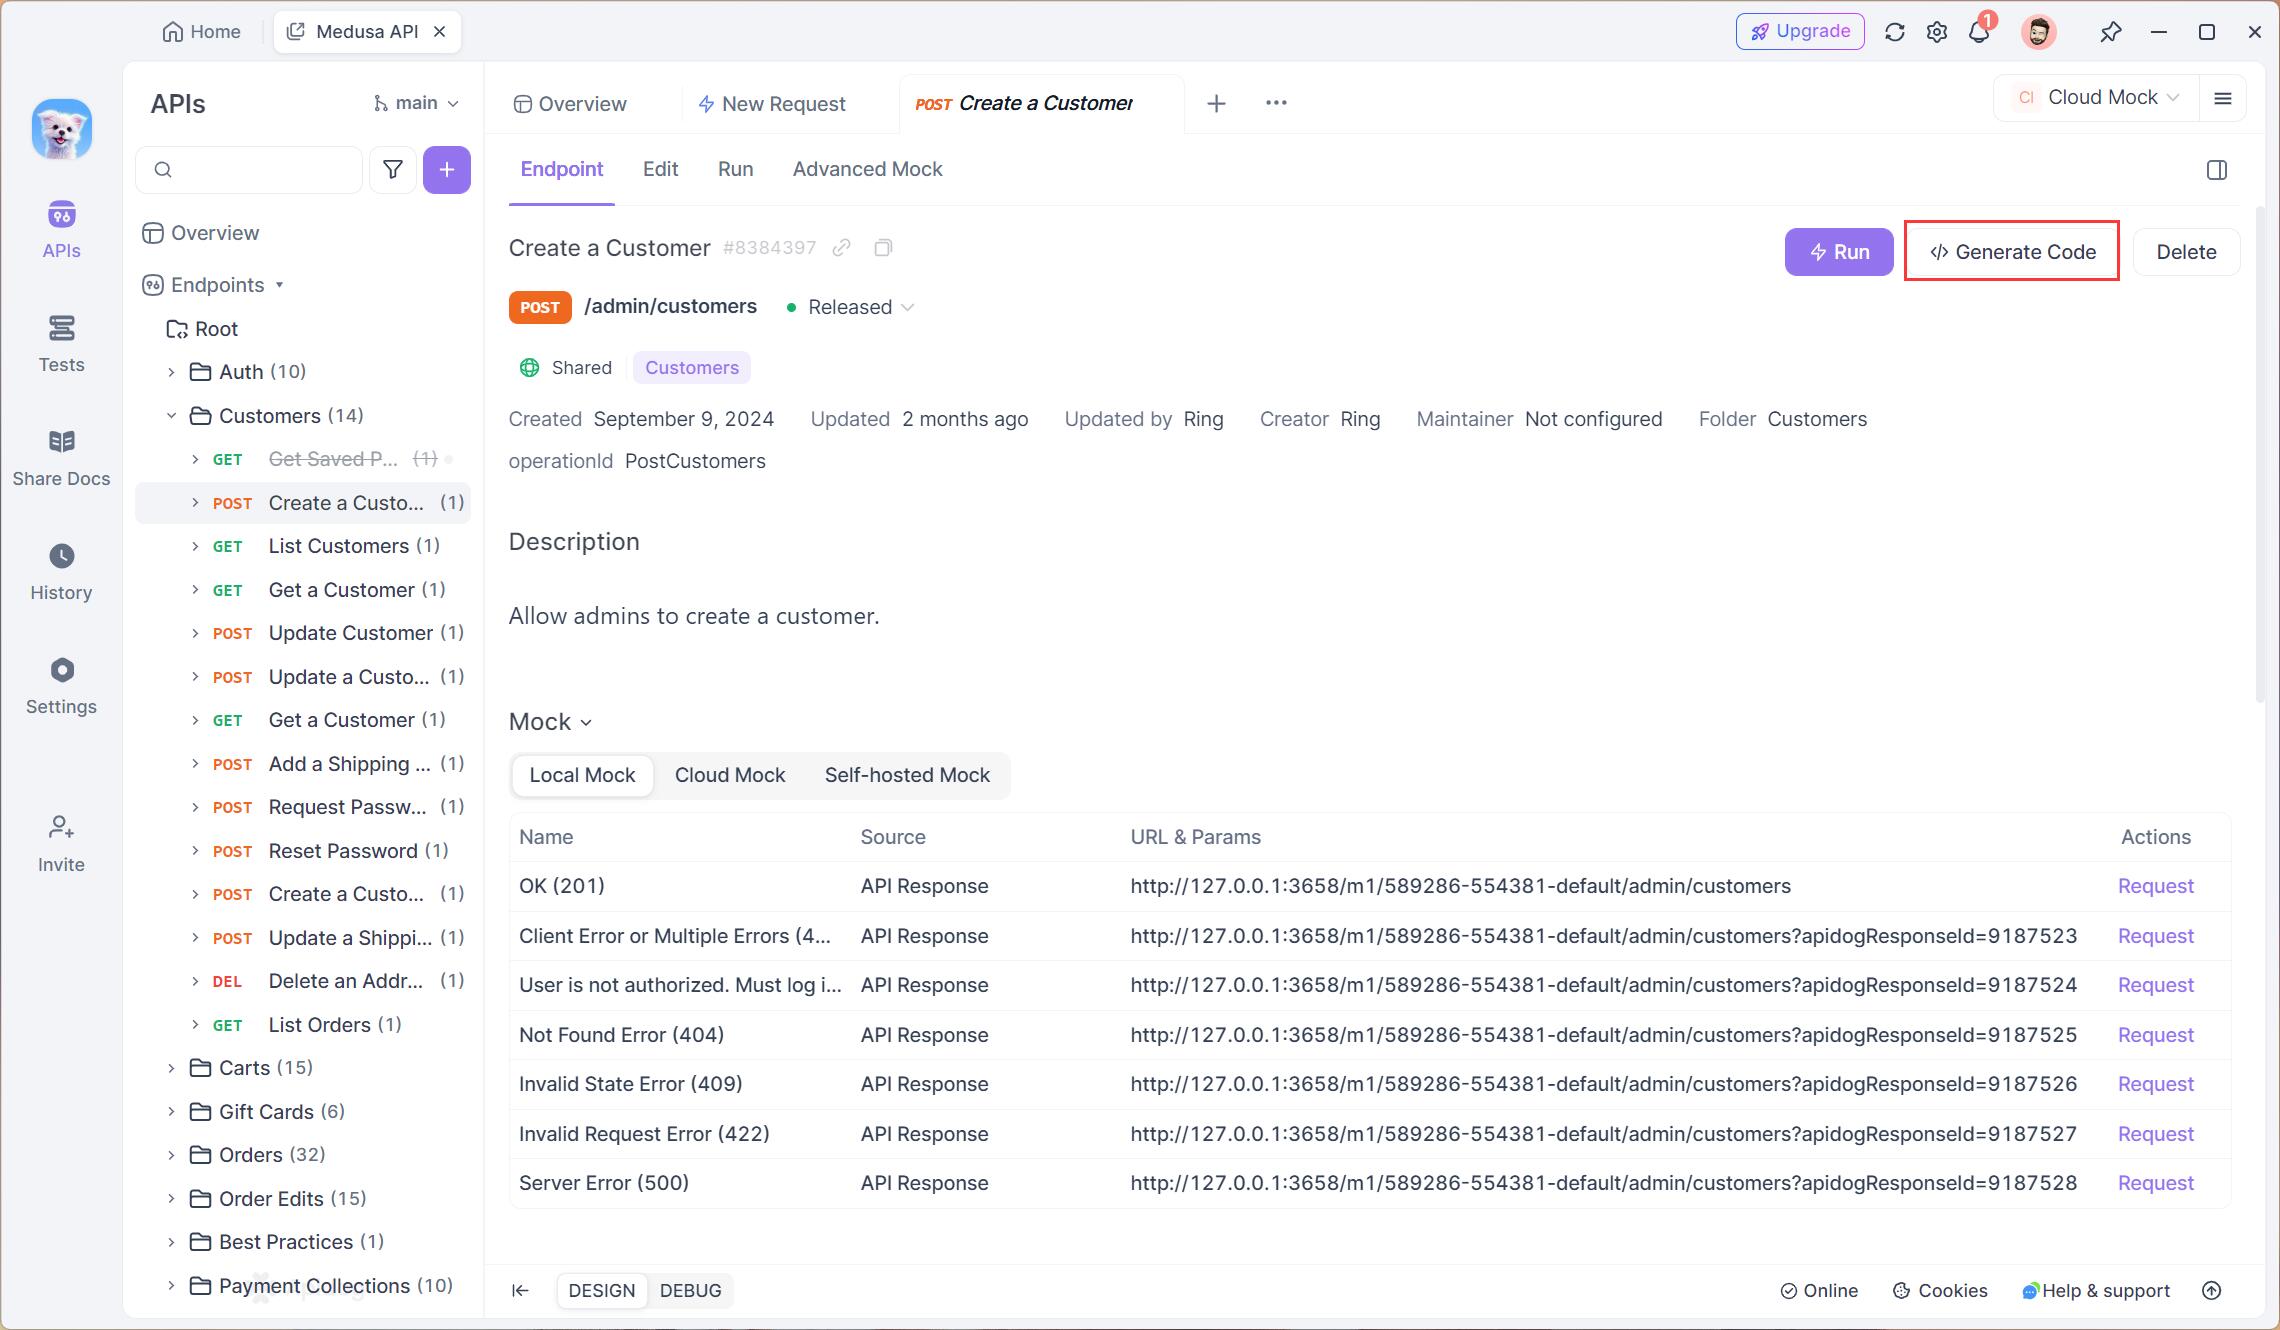
- Enter any headers or query string parameters you want to send with the request, then click on the Generate Code button.
2. Copy the generated Axios code and paste it into your project.
Best Practices for Axios GET Requests Params
To ensure the effective use of parameters in your Axios GET requests, consider the following best practices:
- Choose descriptive parameter names: Use meaningful names for your parameters to enhance the readability and maintainability of your code. This makes it easier for other developers (including your future self) to understand the purpose of each parameter.
- Validate and sanitize user input: When accepting user input as parameters, validate and sanitize the values to prevent potential security vulnerabilities such as SQL injection or cross-site scripting (XSS). Use server-side validation and sanitization techniques to ensure the safety of your application.
- Handle default or optional parameters: In some cases, you may want to include default or optional parameters in your GET requests. To handle this, you can conditionally add parameters to the
paramsobject based on certain criteria. This allows you to provide a fallback value when a parameter is not explicitly provided. - Consider pagination and limit the data: If you are dealing with a large dataset, consider implementing pagination to limit the amount of data retrieved in each request. This helps improve performance and reduces the load on both the client and server. You can include parameters such as
pageandlimitto control the pagination process.
If query parameter handling starts feeling cumbersome as your integration grows,several well-maintained Axios alternativesoffer different ergonomics around request configuration and interceptors.
Conclusion
In this article, we discussed what Axios is and how to install it. We also talked about the different parameters you can use with the GET request and how to add params in Axios GET request.
By following the step-by-step guide, you can easily set up Apidog for your Axios requests and leverage its intuitive interface to generate precise and efficient code. Additionally, we covered some common mistakes to avoid, advanced features of Apidog, best practices for using params, and troubleshooting tips.
Using Apidog not only saves you valuable time and effort but also ensures that your code is accurate and error-free. With its user-friendly interface and intuitive features, Apidog is a must-have tool for any developer working with Axios GET requests and params.


