A Grok API key is the credential xAI issues from its developer console so your code can call Grok models over HTTPS. You create it once, send it as a Bearer token on every request, and xAI bills the tokens you use against your team’s prepaid credits. If the concept is new, what an API key is covers the basics; this guide is for developers who want the key working today.
Here’s the sequence: create the key on console.x.ai, make one request with curl and one with Python, then move the key into Apidog so you can store it safely, send requests without pasting it into a shell, and turn that first request into a saved test. The current flagship model is grok-4.6, and every example below uses it.
What you need before you start
- An xAI account. Sign up at console.x.ai.
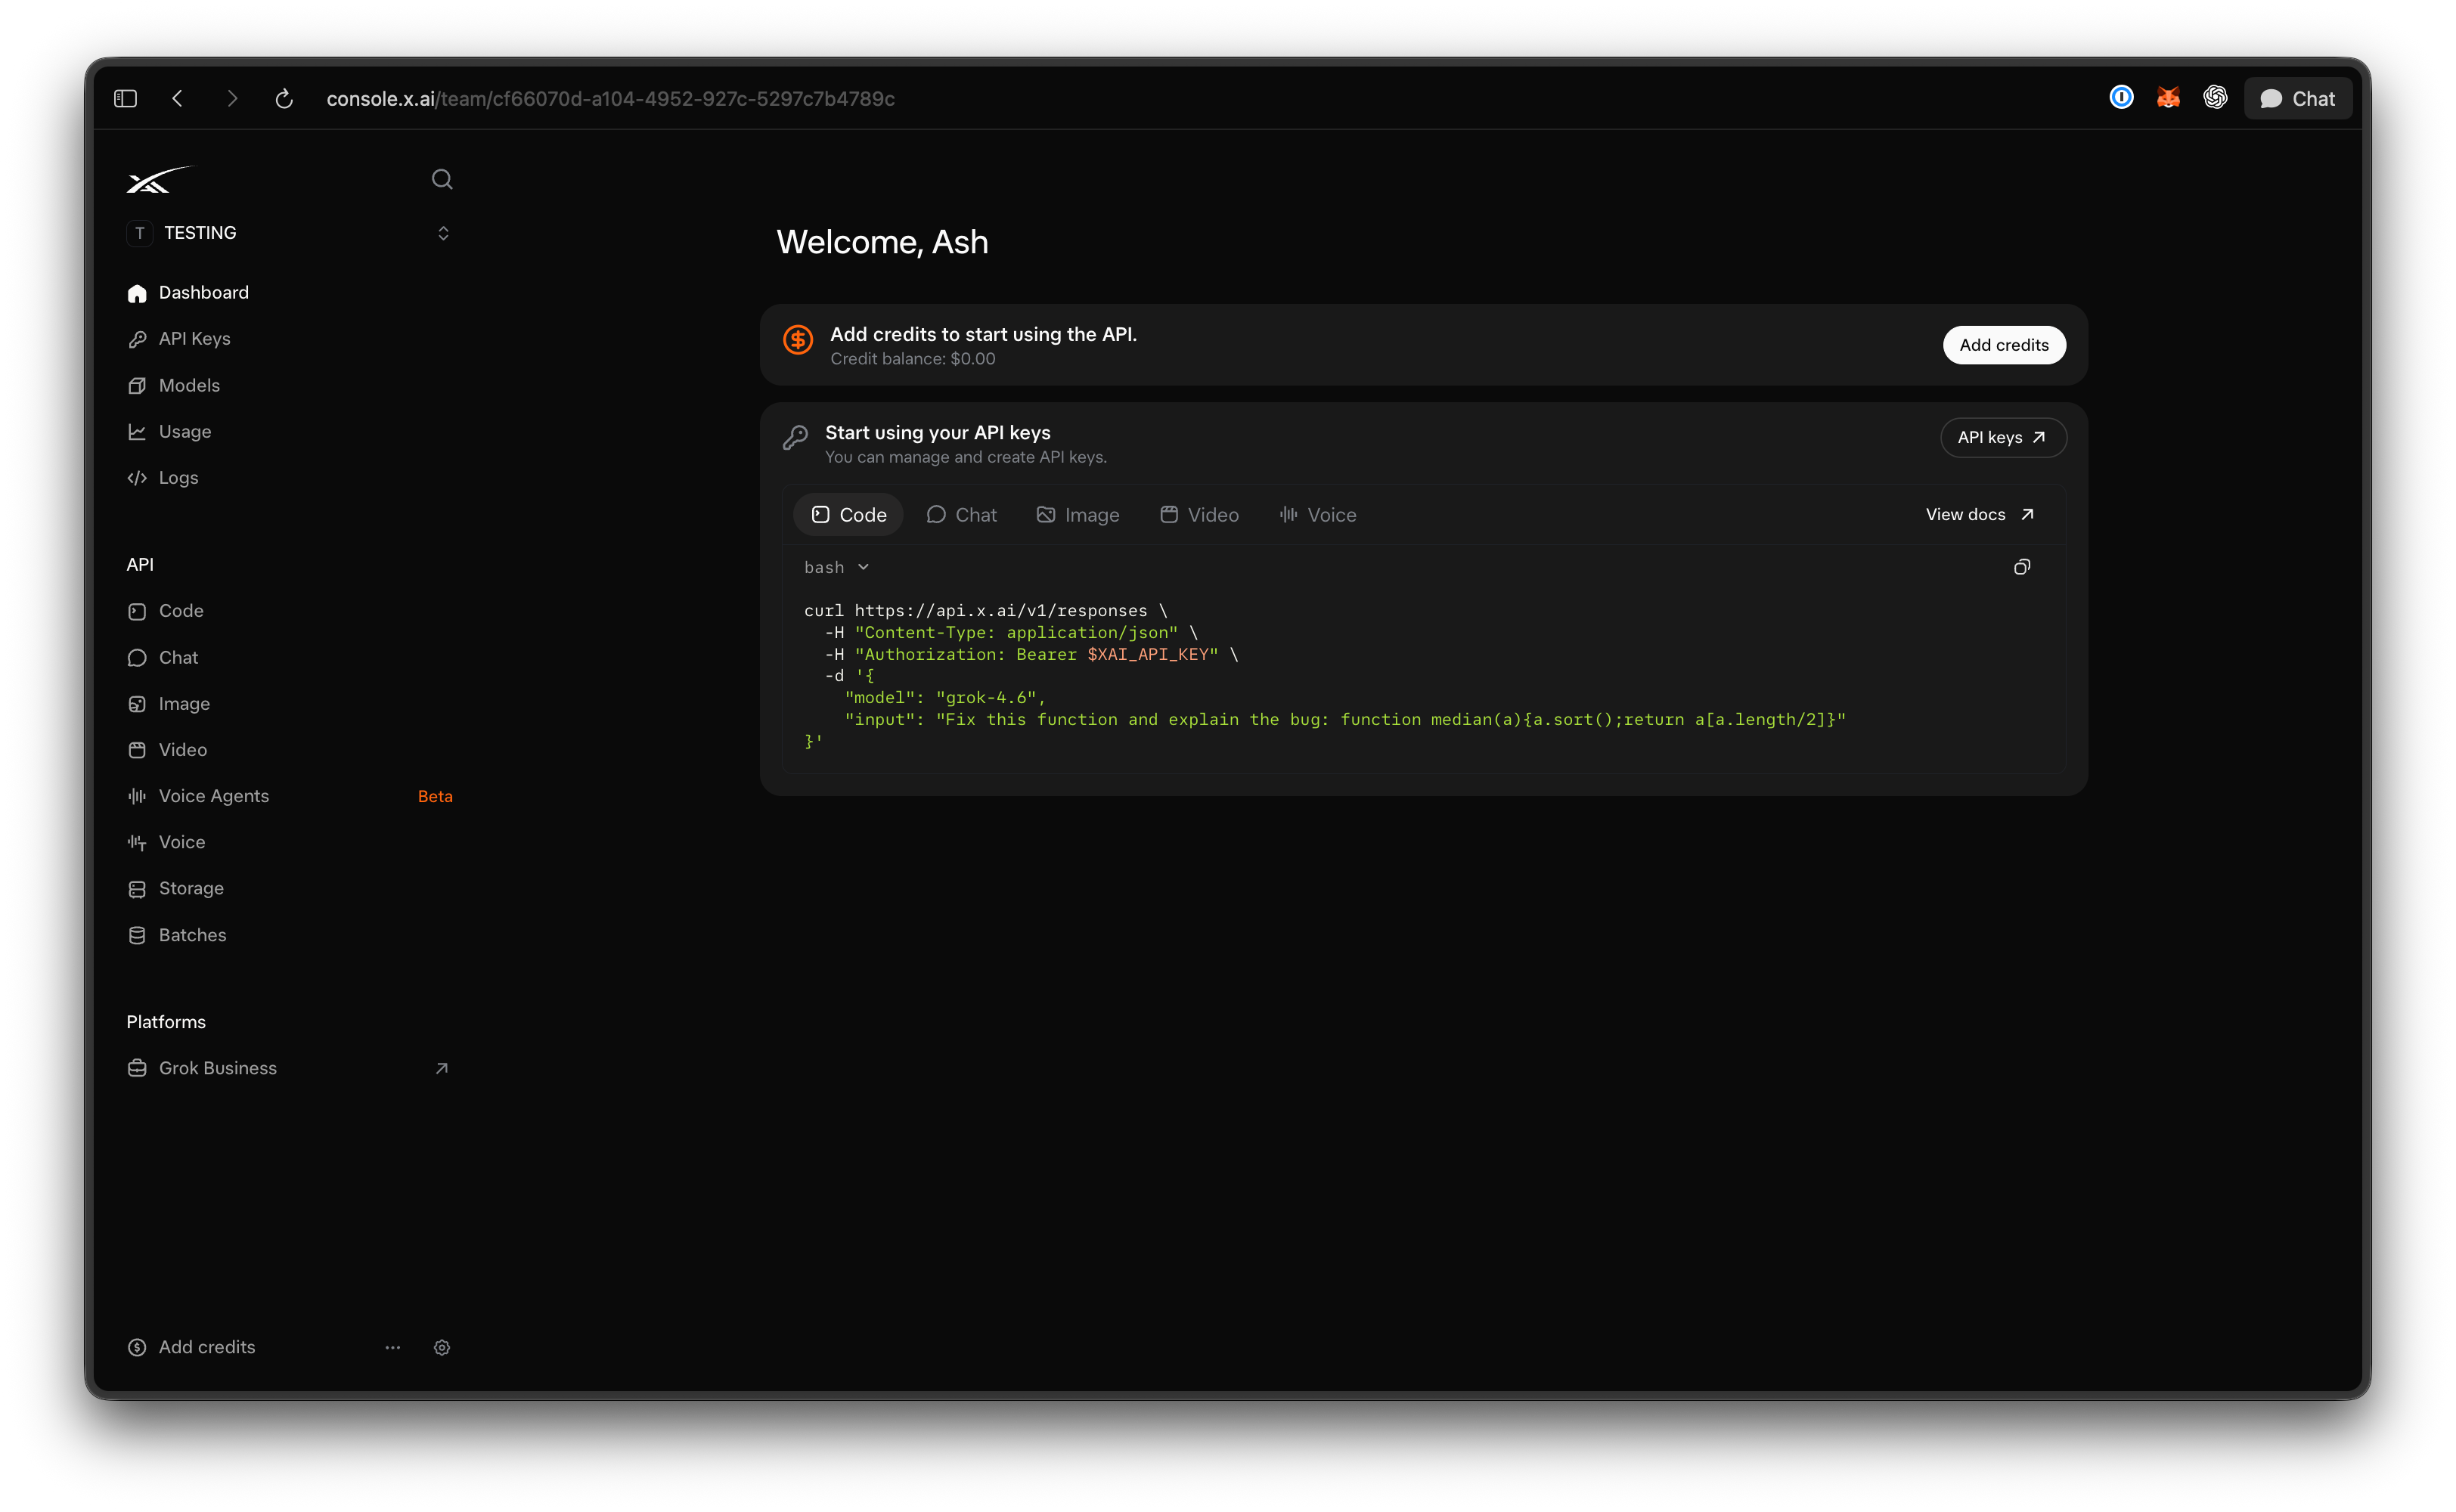
- Credits on the account. The console runs on prepaid credits, and the official quickstart tells you to load credits right after sign-up. With a zero balance, requests are rejected.
- curl (ships with macOS and most Linux distros) and Python 3.9 or later with
pip. - Apidog if you want the request stored, tested, and shareable. The free plan covers 4 users, which is enough for a small team. Download Apidog before Step 4.
Step 1: create the key on the xAI console
- Sign in and open Billing. Under API spend management, buy credits by card (they land immediately) or bank transfer (two to three business days, per the billing docs).
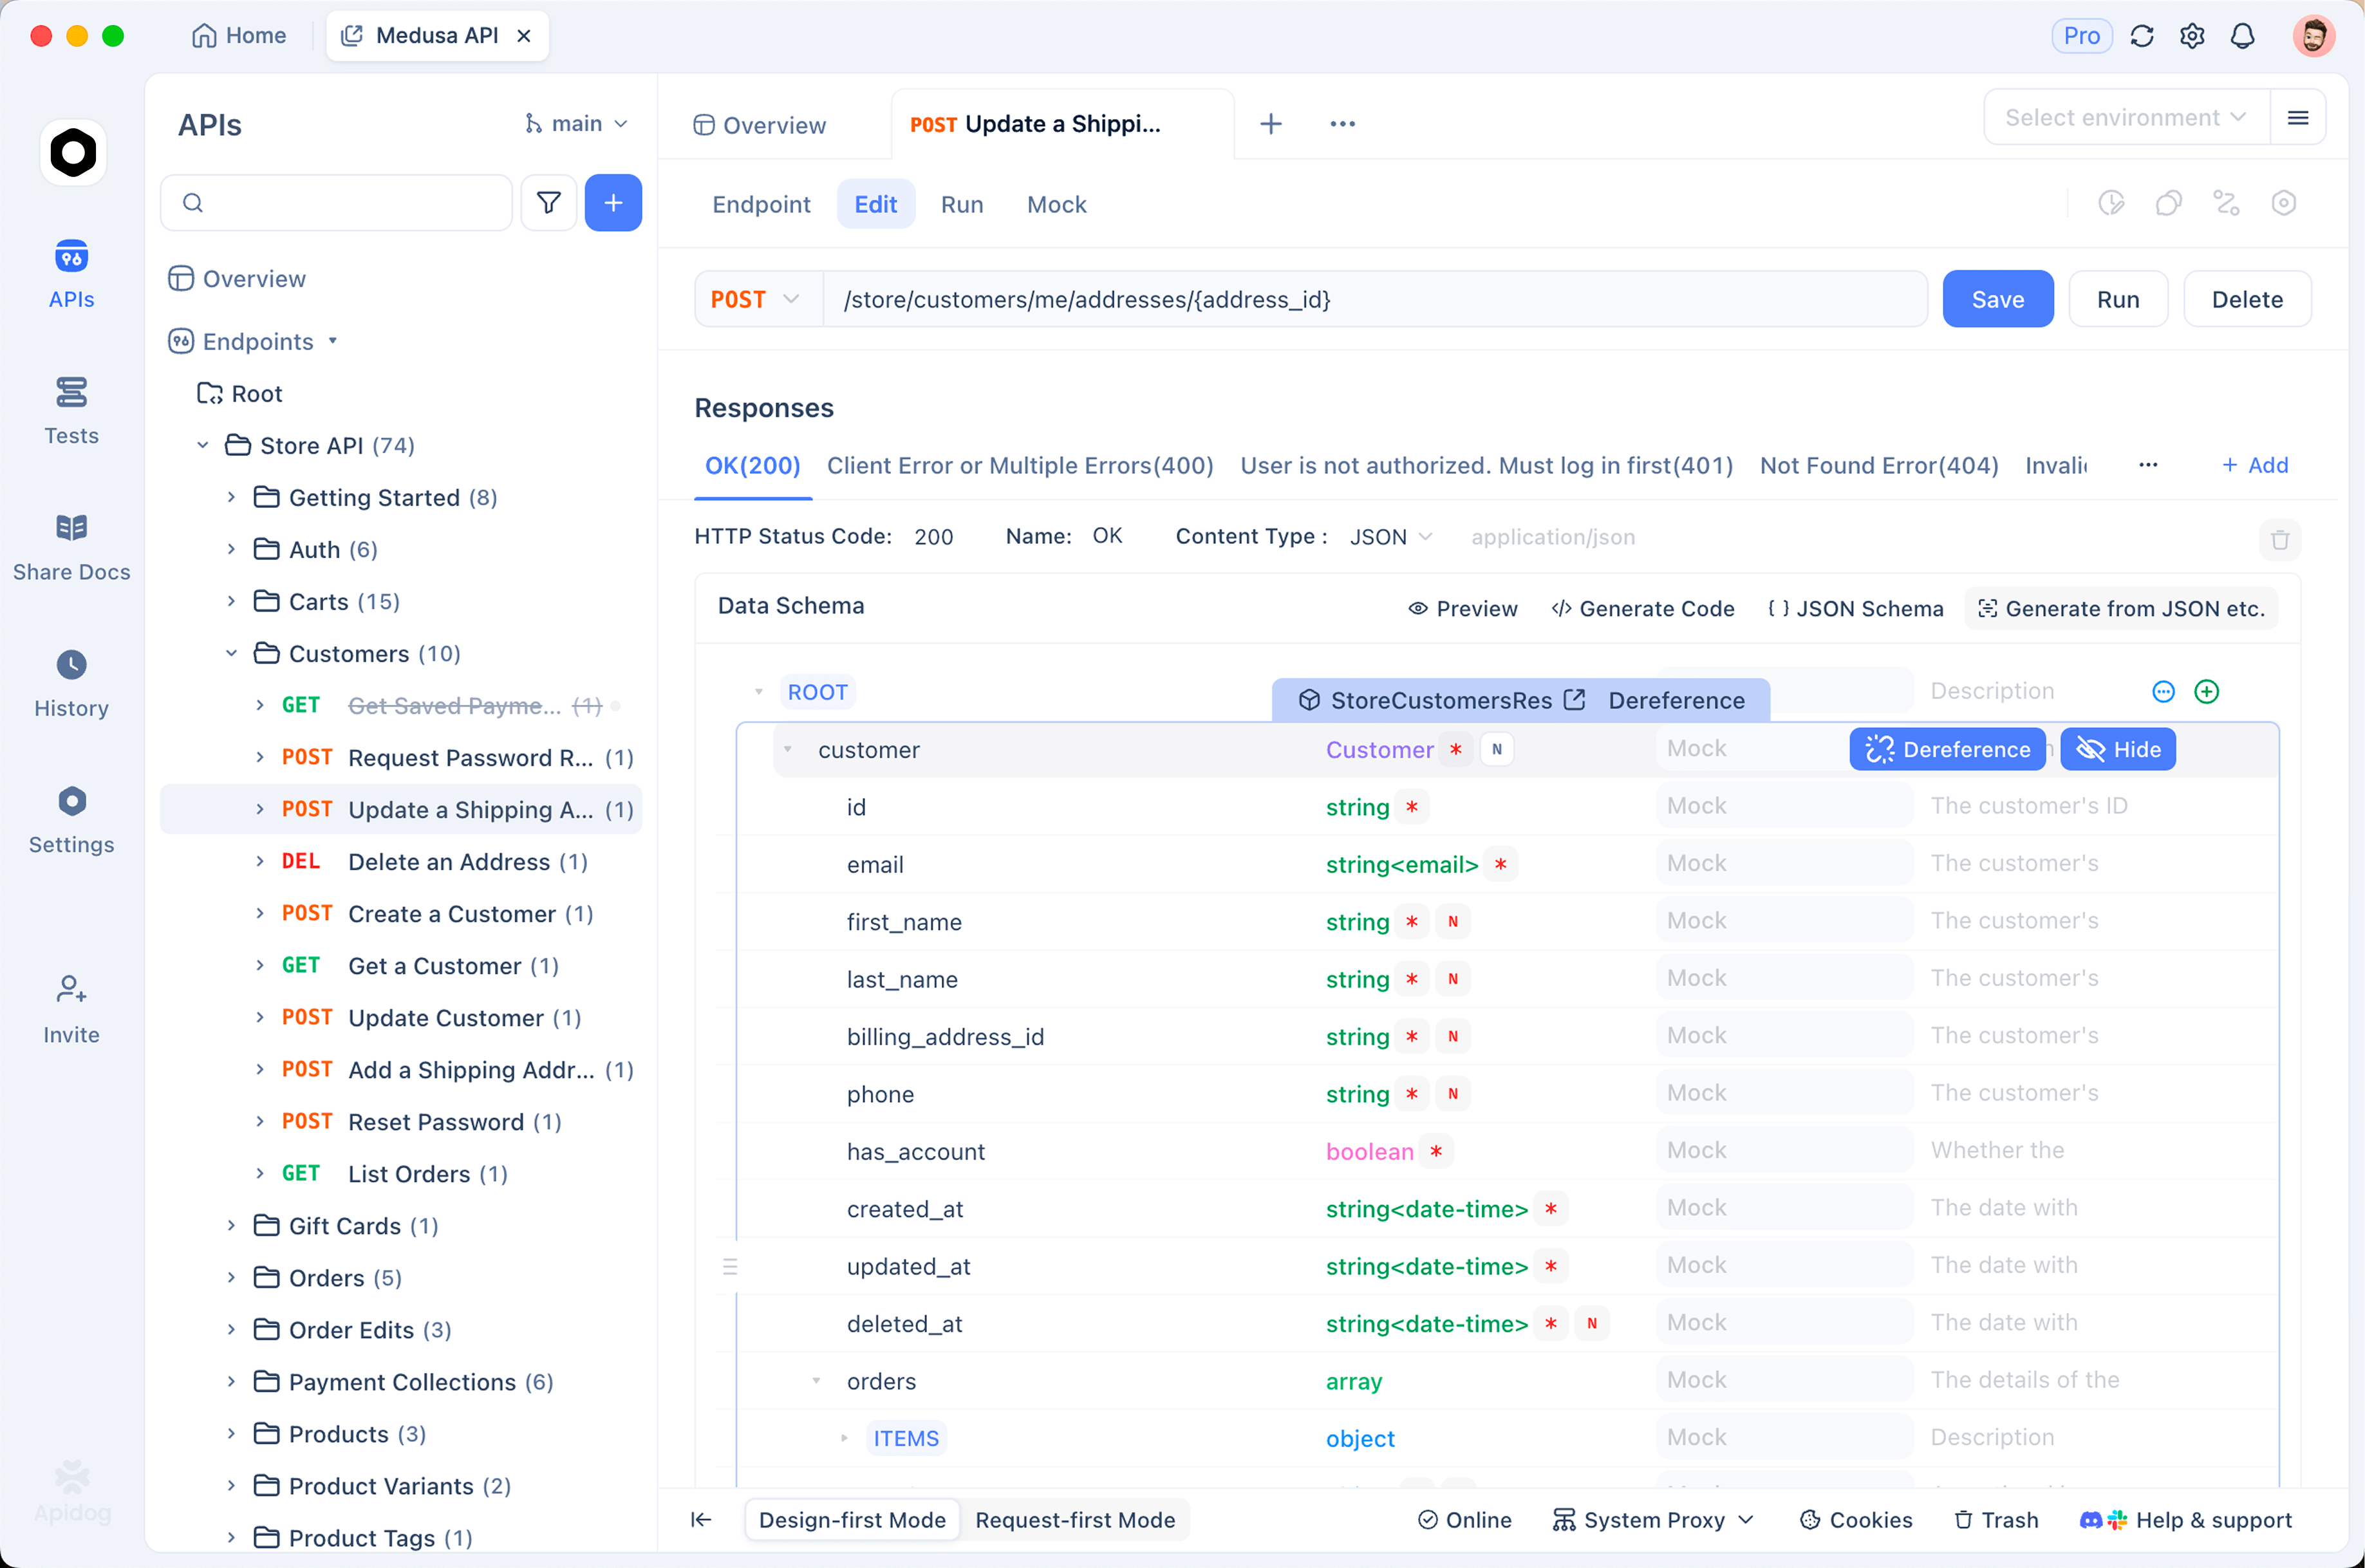
- Open the API Keys page. The quickstart links it at
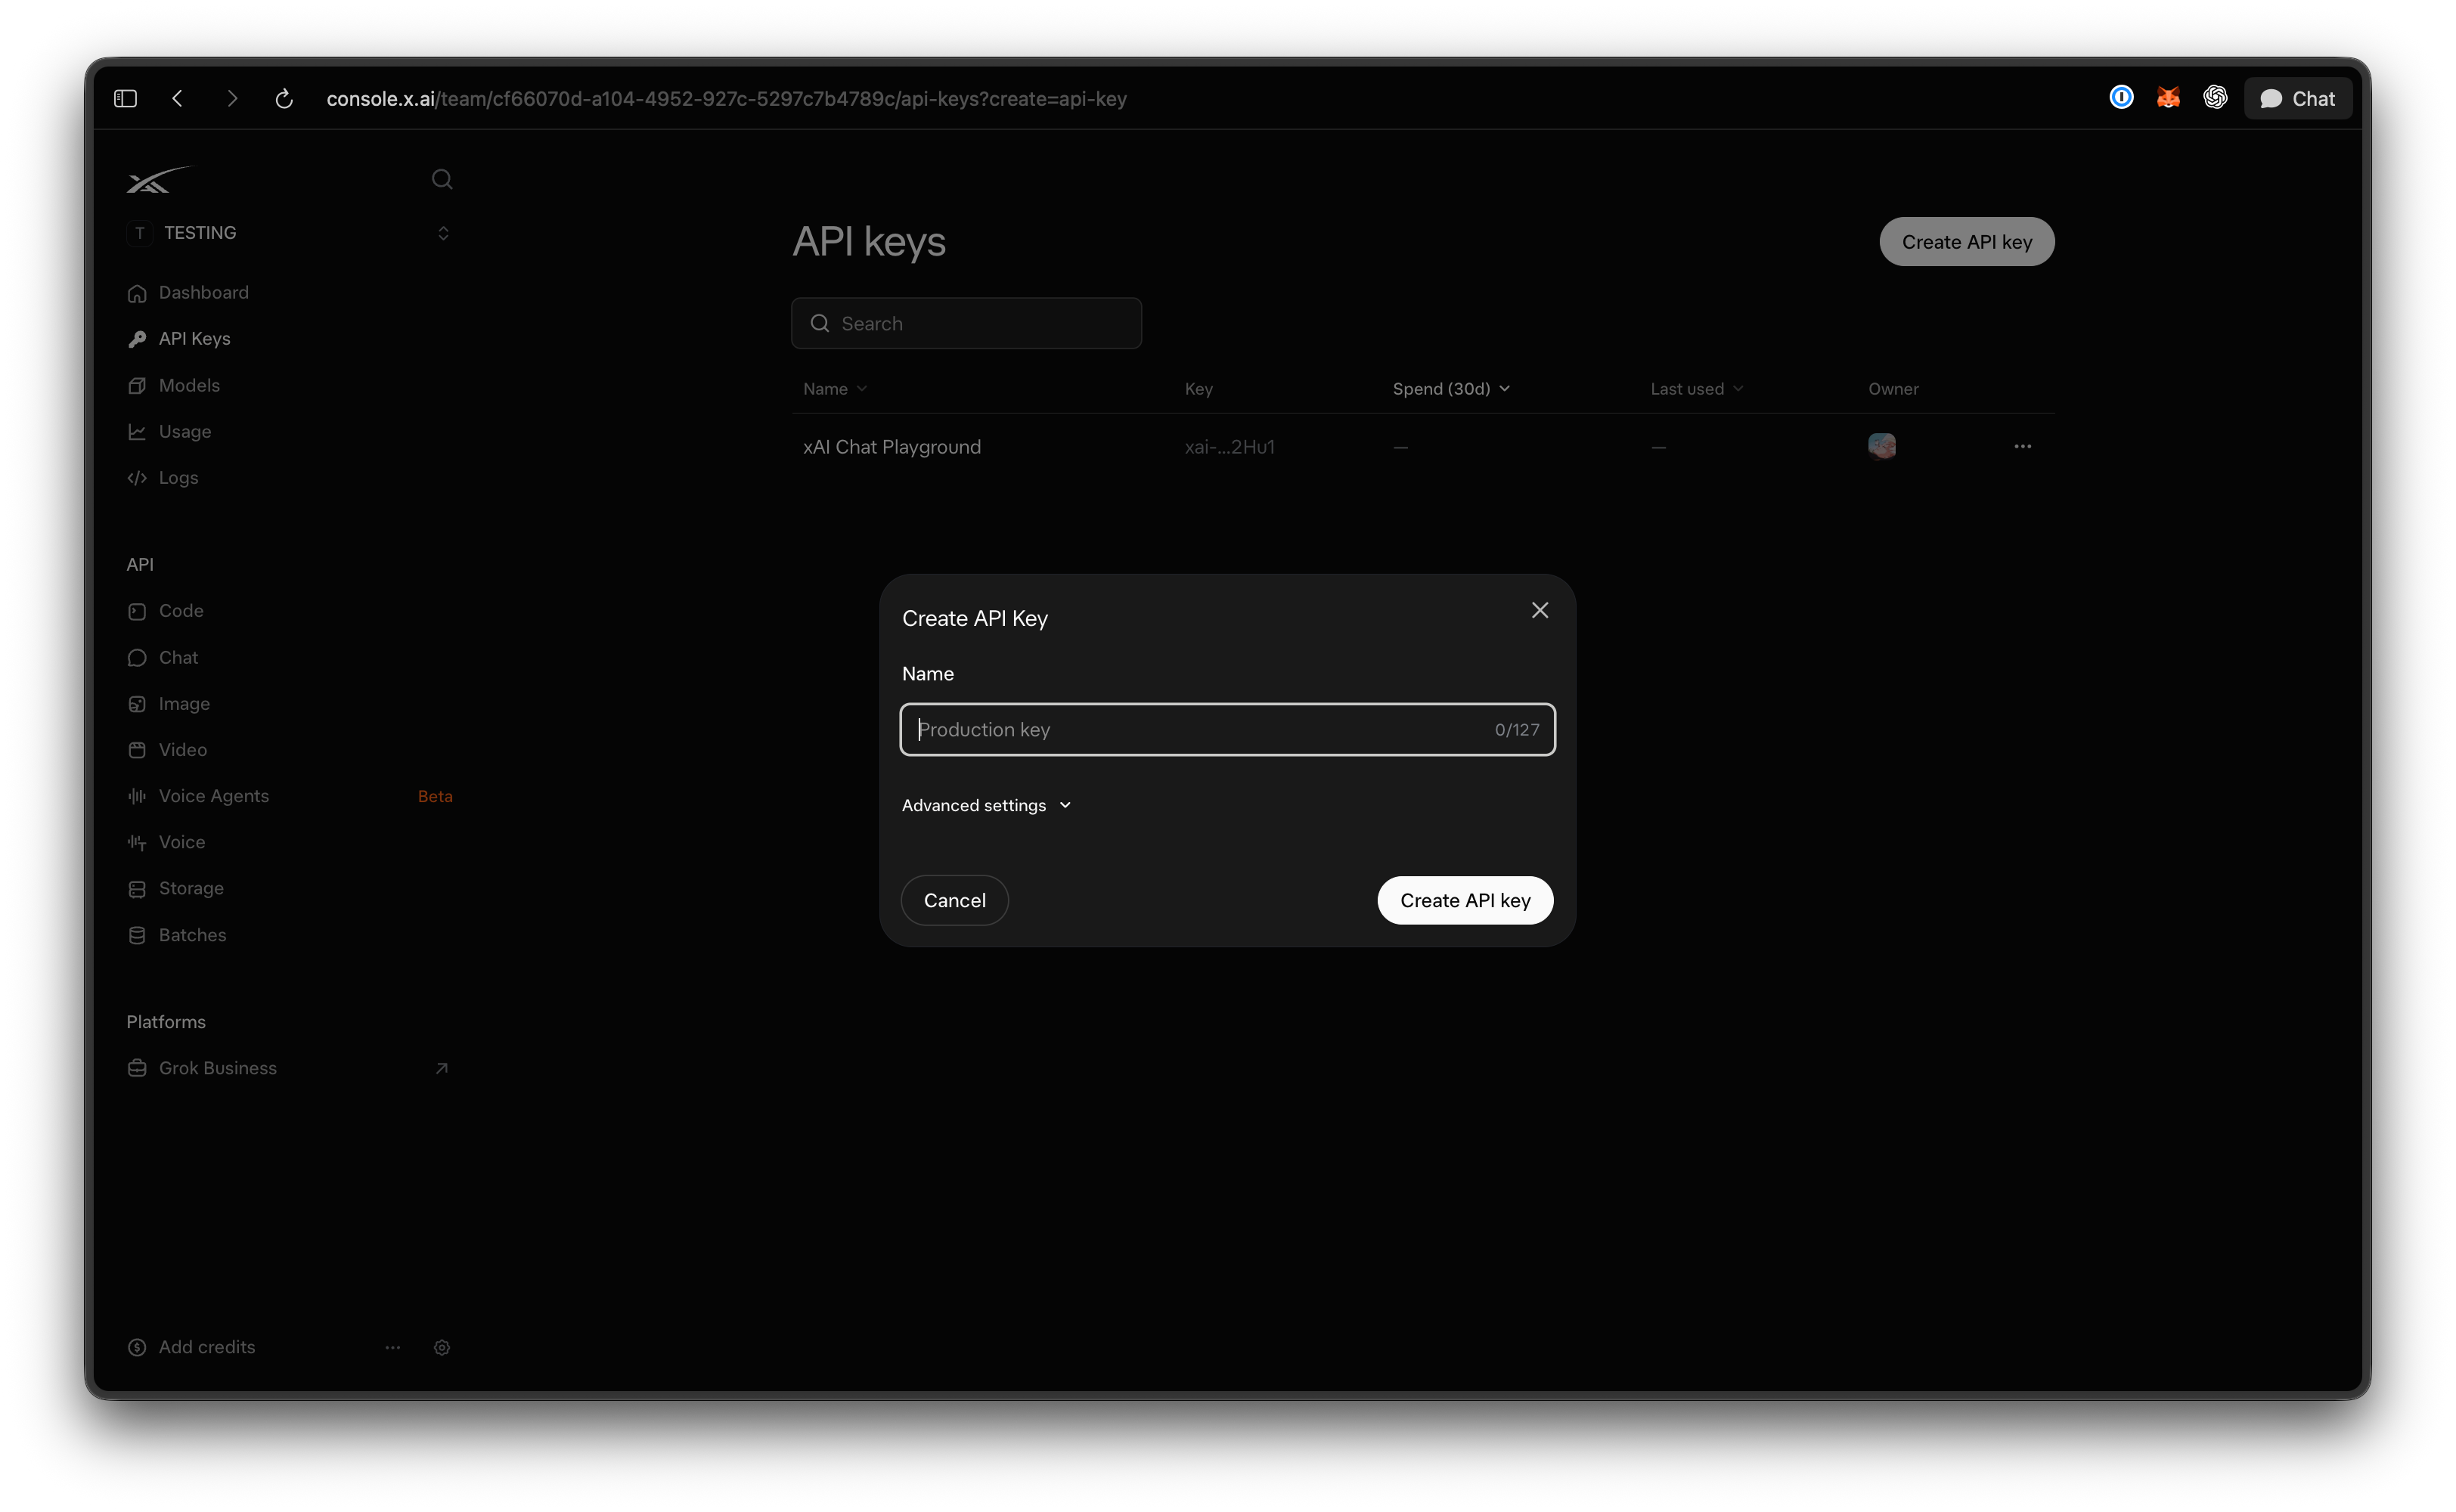
console.x.ai/team/default/api-keys. Theteamsegment matters: keys belong to a team, not to your personal login. - Click Create API key and give it a name you’ll recognize in six months. “apidog-local-dev” beats “key1”.
- Copy the key as soon as it’s created. Treat this as the only time you’ll see the full value.
- Store it as an environment variable rather than in code:
export XAI_API_KEY="paste-your-key-here"
XAI_API_KEY is the variable name the official docs use, so xAI’s own SDK and most community integrations pick it up without extra configuration.
One key per environment is a good habit. Separate keys for local development, CI, and production mean a leaked laptop key can be deleted without touching anything else.
Step 2: make your first call with curl
xAI’s primary text endpoint is POST https://api.x.ai/v1/responses. Send the key in the Authorization header, JSON in the body, and the model id in the model field:
curl https://api.x.ai/v1/responses \
  -H "Authorization: Bearer $XAI_API_KEY" \
  -H "Content-Type: application/json" \
  -d '{
    "model": "grok-4.6",
    "instructions": "You are a senior backend engineer. Answer in three sentences.",
    "input": "My API returns 429 to a client that retries instantly. What should the client change?"
  }'
A successful response is JSON with an output array. The text lives at output[].content[].text with "type": "output_text", and a usage object reports input_tokens, output_tokens, and total_tokens, plus breakdowns for reasoning and cached tokens. Those usage numbers are what you’re billed on, so log them from day one.
Two details worth knowing:
instructionsis the system prompt. You can also passinputas an array of{role, content}messages if you prefer the chat shape.- If you have existing OpenAI-style code,
POST https://api.x.ai/v1/chat/completionsstill works with the same key and model id. xAI labels it a legacy endpoint and ships new features to Responses first, so start new projects on/v1/responses.
For streaming, tool calls, and image input on this same endpoint, see how to use the Grok 4.6 API.
Step 3: the same call from Python
xAI’s REST API is compatible with the OpenAI SDK, so you don’t need a new client library. Point base_url at xAI and read the key from the environment:
import os
from openai import OpenAI

client = OpenAI(
    api_key=os.environ["XAI_API_KEY"],
    base_url="https://api.x.ai/v1",
)

response = client.responses.create(
    model="grok-4.6",
    instructions="You are a senior backend engineer. Answer in three sentences.",
    input="My API returns 429 to a client that retries instantly. What should the client change?",
)

print(response.output_text)
print(response.usage.input_tokens, response.usage.output_tokens)
Install the SDK with pip install openai. Reading os.environ["XAI_API_KEY"] raises a clear KeyError if the variable is missing, which beats sending an empty Bearer header and debugging a 401.
xAI also publishes a native Python SDK (xai-sdk) with gRPC transport and extra features such as Collections and the Voice API. For a first call, the OpenAI client is the shorter path.
Step 4: store and test the key in Apidog
Pasting a key into a terminal works once. Sharing the request with a teammate, re-running it after a model update, or putting it in CI is where an API client earns its place. Here’s the flow in Apidog.
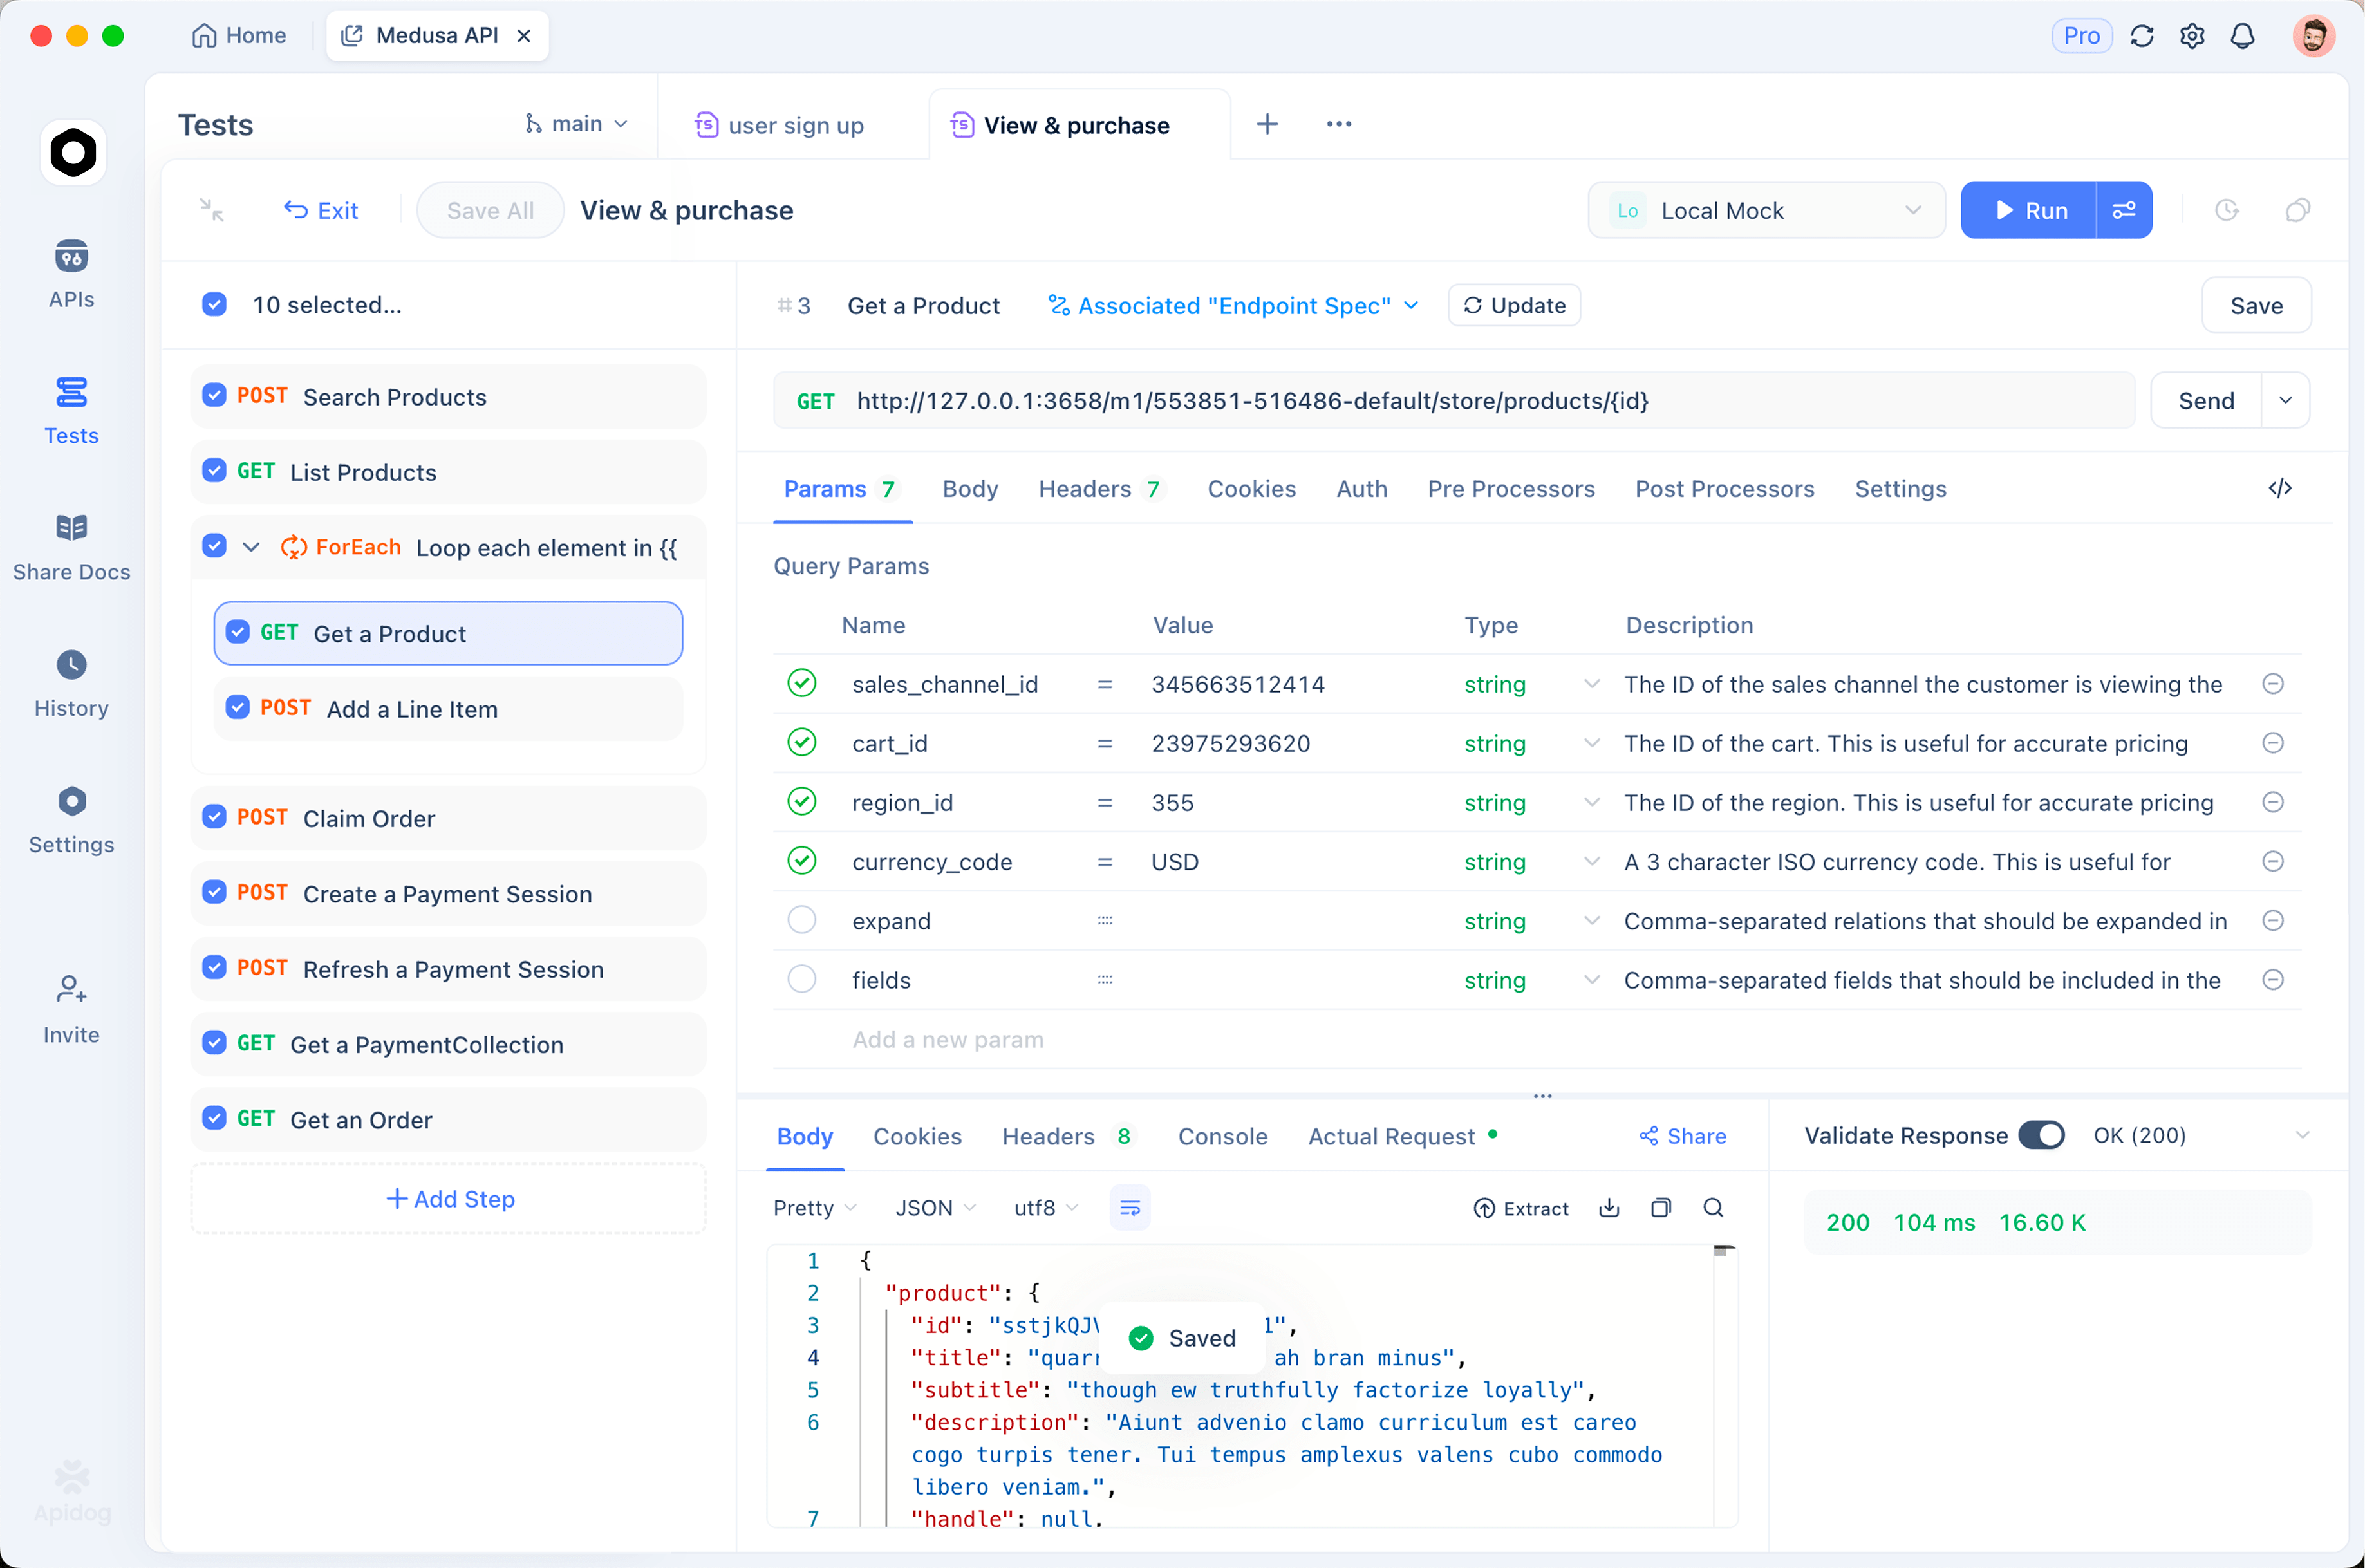
Store the key as a local value. Open Environments, create one called “xAI”, and add two variables: baseUrl with the shared value https://api.x.ai/v1, and XAI_API_KEY with a placeholder as its shared value and your real key in its local value. Shared values sync to teammates; local values stay in your client’s cache on your machine and never reach Apidog’s servers. The variable name ships with the project, the secret doesn’t. Apidog environments and secret variables covers the shared-versus-local split in depth, including how CI injects its own key.
Send the first request. Create a new endpoint: POST {{baseUrl}}/responses. On the Auth tab pick Bearer Token and enter {{XAI_API_KEY}}. Paste the JSON body from Step 2, select the xAI environment, and hit Send. The response panel shows status, timing, and the parsed body, so you can click into output and usage instead of reading raw JSON.
Save it as a test. In Post Processors, add an Assert step: status code equals 200, and a JSONPath check that $.model equals grok-4.6. Add a second assertion that $.usage.output_tokens is greater than 0. Save the endpoint, open Tests, create a test scenario, and import the endpoint into it. From then on, one click re-runs the call and tells you whether the key, the model id, and the response shape still work.
Optional: mock it. Save the real response as an example on the endpoint and switch to Apidog’s mock URL. Front-end work and unit tests can run against a fake Grok response without spending credits or hitting rate limits.
Limits, credits, and pricing
Billing. Credits are prepaid per team. Auto top-up can buy more when your balance drops below a threshold you set (minimum $5 per top-up), with a monthly cap and a warning at 80% of it. Monthly invoicing exists but is off by default and goes through xAI sales; with the default $0 invoiced limit, requests are rejected the moment prepaid credits run out.
Grok 4.6 pricing per million tokens, from the official pricing page:
| Prompt size | Input | Cached input | Output |
|---|---|---|---|
| Under 200k tokens | $2.00 | $0.50 | $6.00 |
| 200k tokens or more | $4.00 | $1.00 | $12.00 |
The context window is 500k tokens. A request whose prompt crosses the 200k threshold is billed at the higher rate for all of its tokens, not only the overflow.
Rate limits. xAI limits requests per second and tokens per minute. The numbers depend on your tier: five tiers (0 through 4) plus Enterprise, unlocked automatically by cumulative spend since 1 January 2026, and a tier never downgrades. Your team’s current limits are on the Models page in the console. Every token counts toward TPM, including reasoning tokens and cached prompt tokens.
Free credits. xAI’s docs describe a prepaid model and don’t advertise a standing free tier for the API. Promotional credits have appeared in the console at times; check your own Billing page rather than relying on a blog post.
Common errors and how to fix them
401 Unauthorized. The key was missing, malformed, or deleted. Check the header reads Authorization: Bearer <key> with a single space, that $XAI_API_KEY is set in the shell running curl (echo $XAI_API_KEY | wc -c should print more than 1), and that the key still exists on the console. A trailing newline from a copy-paste is a classic cause.
403 Forbidden. The key is valid but not allowed to do what you asked. Likely reasons: the key or team is blocked, credits are exhausted with a $0 invoiced limit, or the team doesn’t have access to the model. Check Billing first, then the key on the API Keys page.
429 Too Many Requests. You’ve hit the RPS or TPM ceiling for your tier. Add exponential backoff with jitter, cap concurrency, trim prompt size, and move bulk work to the Batch API. If you sit at the ceiling all day, the fix is spend tier, not code.
400 Bad Request. Usually a wrong model id (grok-4.6, not grok-4-6) or invalid JSON. The error body names the field.
A fuller walkthrough of reading these responses, including streaming and tool-call failures, is in how to test and debug Grok 4.6 API requests.
FAQ
Is there a free Grok API key?
Not as a documented standing offer. The API runs on prepaid credits, and the quickstart tells you to load credits before the first call. If your goal is trying Grok rather than building on it, how to use Grok for free covers the consumer routes that don’t need a key.
Does a Grok API key work with the OpenAI SDK?
Yes. Set base_url="https://api.x.ai/v1" and pass your xAI key as api_key. Both client.responses.create() and the legacy client.chat.completions.create() work with model="grok-4.6".
Which model id should I put in requests?
grok-4.6 for the flagship. The alias grok-4.6-latest tracks the newest revision. Older ids such as grok-4.5 and grok-4.3 remain listed with their own pricing, but new work should start on 4.6.
What should I do if my key leaks?
Delete it on the API Keys page immediately, create a replacement, and update the environment variable everywhere it’s used. Then search your repositories and CI logs for the old value. On Apidog’s Enterprise plan, Secret Scanner flags keys sitting in requests, variables, scripts, and docs, which catches the case where someone pasted a key into a shared value instead of a local one.
Next step
You now have a working Grok API key, a passing curl and Python call, and the request saved in Apidog as a repeatable test. Point that test at your real prompts, watch the usage numbers, and you’ll know your spend and rate-limit headroom before production traffic does.