Hermes Agent runs from your terminal, remembers what it learns across sessions, and reaches for real shell commands to get work done. That last part is the opening: if it can run a command, it can run your API tests.
The runner that connects them is the Apidog CLI, an npm package named apidog-cli. It runs the test scenarios you built visually in Apidog straight from a terminal and exits with a status code Hermes can act on. This guide covers the Hermes-specific half: the terminal tool that runs the command, the context file that teaches Hermes your workflow, how the run folds into its loop, and the optional Apidog MCP server that hands Hermes your API spec while it works.
If the CLI isn’t installed yet, start with how to install the Apidog CLI with an AI coding agent, which walks an agent through install and auth. Come back once apidog --version prints a number. You also need an Apidog account with at least one saved test scenario; download Apidog if you don’t have one.
What “use the CLI in Hermes” means
Hermes Agent, built by Nous Research, runs in your terminal, talks to your AI models, and acts through built-in tools. The one that matters here is the terminal tool: Hermes runs shell commands by calling it in your working directory, then reads the output back into its reasoning. There’s no Apidog plugin to install, and you don’t need one. Using the Apidog CLI in Hermes means three things:
- Teach Hermes the workflow once by writing it into a context file Hermes loads at startup, so it knows the command, the flags, and that the exit code is the source of truth.
- Have Hermes run
apidog runthrough theterminaltool, like any other command. - Optionally connect the Apidog MCP server, so Hermes can read your API spec while it writes the code those tests check.
The context file is what makes this Hermes-shaped instead of a generic “open a terminal and type” guide, turning a one-off “run my tests” into something it reaches for on its own.
The mechanism: a context file, not a chat reminder
Hermes loads project context at the start of a session. Its context engine scans your working directory for instruction files, including CLAUDE.md and AGENTS.md, and injects them into the system prompt. That’s the same convention Claude Code and Codex use, so if your repo already has an AGENTS.md, Hermes reads it too.
This is why you write the CLI into a context file instead of mentioning it in chat. A scenario ID typed into a session is gone when it ends; one in AGENTS.md is there for every teammate and every Hermes run from now on. (Hermes also reads a SOUL.md, but that’s for the agent’s persona, not your project. Keep testing instructions in AGENTS.md.)
Step 1: Add an Apidog block to your context file
Open AGENTS.md in your repository root, or create it, and add a section telling Hermes the CLI exists, how to run it, and how to read the result. Give it the real command and ID, not a description.
## API testing with the Apidog CLI

This repo uses the Apidog CLI (`apidog-cli`, the `apidog` command) to run API
test scenarios. The scenarios live in our Apidog project, not in this repo.

When you change an API handler, route, or response shape, run the relevant
Apidog scenario through the terminal tool before considering the change done:

    apidog run -t 605067 -e 1629989 -n 1 -r cli

- `-t 605067` is the checkout-flow test scenario.
- `-e 1629989` is the staging environment.
- The machine is already authenticated via `apidog login`, so do NOT pass
  an access token and do NOT print one.

Treat the exit code as the source of truth: `0` means every assertion passed,
non-zero means a failure. If it exits non-zero, read the failing assertion in
the report and fix the code, then re-run. Do not report a pass on a non-zero
exit.
Replace 605067 with your real scenario ID and 1629989 with the environment Hermes should hit during normal work, usually staging or local dev, never production. To get the right IDs, copy the apidog run command Apidog generates in the scenario’s CI/CD tab (covered next), and drop the access token before pasting it in, since the machine is already logged in and a token does not belong in a committed file.
Two things make this block work. It names the command exactly, so Hermes does not guess flags. And it states the pass/fail rule in plain language, so Hermes knows the exit code outranks its own summary, which saves you from the most common agent failure: a confident “tests passed” on top of a red run.
Step 2: Get the command from Apidog
Get a known-good command before you ask Hermes to run anything. Open your scenario in Apidog, switch to its CI/CD tab, and choose the command-line option. Apidog builds the full apidog run command with the IDs and an access token already filled in:
apidog run --access-token YOUR_ACCESS_TOKEN -t 605067 -e 1629989 -n 1 -r cli
605067 is the scenario ID and 1629989 is the environment ID; yours will differ. Since you authenticated the CLI during install, drop the --access-token part and keep the IDs. That’s the command your context file told Hermes to use.
Step 3: Have Hermes run the test
Start Hermes in your repo, then ask it to run the check. With the block in place, the prompt is short:
Run our Apidog API test scenario the way AGENTS.md describes. I’m already authenticated, so don’t pass an access token. Use apidog run -t 605067 -e 1629989 -n 1 -r cli. Show me the full output and tell me the exit code.Hermes calls its terminal tool to execute the command in your working directory, and the -r cli reporter streams a step-by-step result back into its context, where you watch each request and assertion. Because Hermes routes commands through an approval layer, you may see a prompt before it runs, depending on your config. A read-only test scenario against staging is exactly the kind of safe, in-workspace command that’s fine to allow.
Your check: look at the exit code, not the summary. apidog run exits 0 when every assertion passes and non-zero when one fails. That behavior is the whole reason this works as a gate, for CI and for Hermes. If Hermes says “tests passed” but the exit code was non-zero, it’s wrong; trust the code. This is the failure the Step 1 block prevents.
For a different report format or more iterations, have Hermes run apidog run --help so it reads the real flag list. The complete Apidog CLI guide documents every flag, including the html, json, and junit reporters.
Step 4: Hermes testing inside its own loop
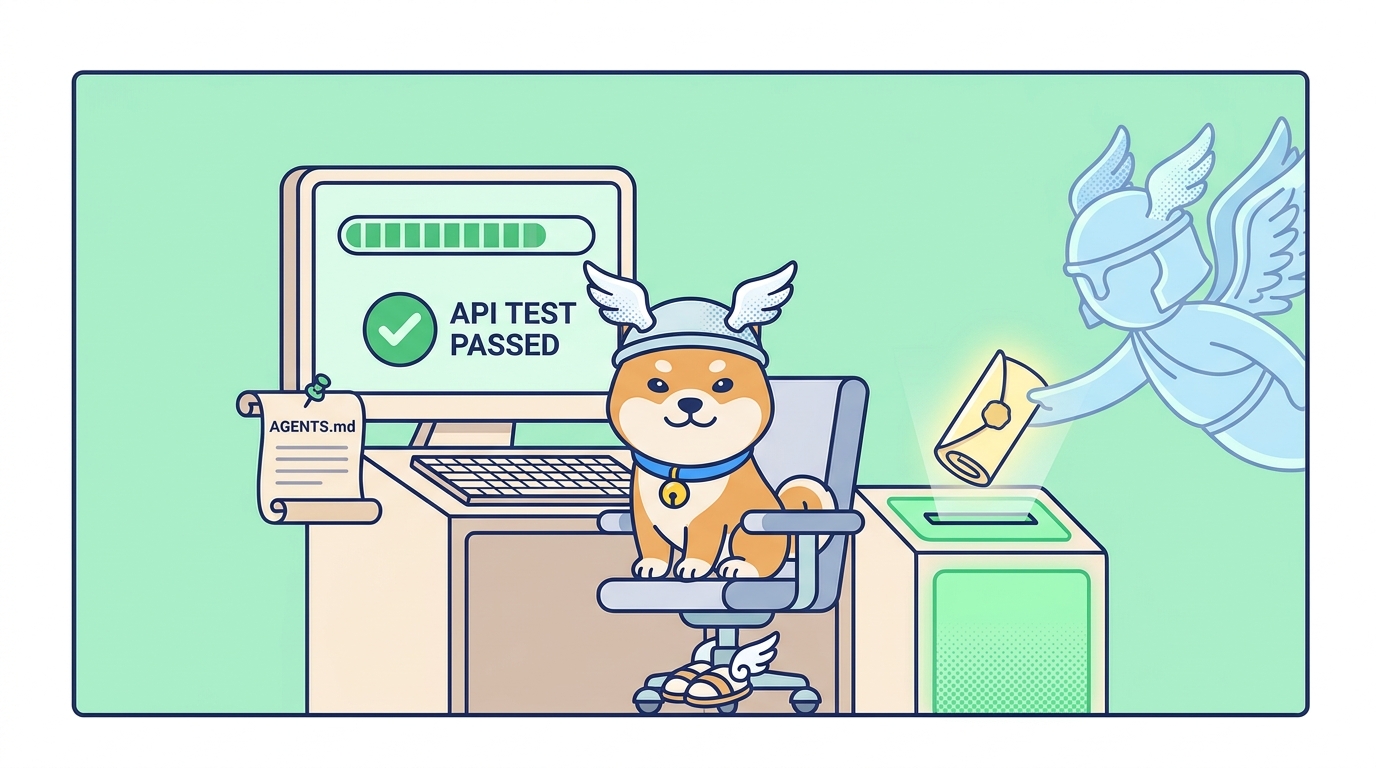
The point is what happens when you stop asking and Hermes runs the scenario on its own because AGENTS.md told it to. Picture it editing a handler that builds a checkout response: it edits the code, runs your Apidog scenario against staging through the terminal tool, reads the exit code, and acts on it. Green, it moves on. Red, it opens the report, reads which assertion failed (the status code, the missing field, the wrong value), tries a fix, and re-runs. The API test becomes part of the same edit-test-fix loop it already runs your unit tests through. You wrote one instruction and it folded the command into how it already works.
This is the delegate-then-verify model that makes any agent workflow safe. Hermes runs the command and reads the result; you keep authoring scenarios in Apidog and spot-check that it reads exit codes honestly. For a slow run, a large folder or high iteration count, the terminal tool takes a background=true flag, so Hermes can launch the sweep, keep working, and poll for the exit code instead of blocking. For the broader pattern, see how to use AI agents for API testing and the Apidog AI test harness.
Optional: connect the Apidog MCP server
The CLI lets Hermes run your tests; the Apidog MCP server lets it read your API spec while it writes code. The two stack: MCP feeds Hermes your schema so it generates code matching the contract, and the CLI verifies that code against real scenarios.
Hermes supports the Model Context Protocol out of the box. Edit ~/.hermes/config.yaml and add an entry under the mcp_servers section. For a local stdio server like Apidog’s, that’s a command, an args array, and any env values:
mcp_servers:
  apidog:
    command: "npx"
    args: ["-y", "apidog-mcp-server@latest", "--project=YOUR_PROJECT_ID"]
    env:
      APIDOG_ACCESS_TOKEN: "YOUR_ACCESS_TOKEN"
After saving, run /reload-mcp inside Hermes, or restart it. Hermes discovers MCP servers at startup and registers their tools into its normal registry, namespaced as mcp_apidog_<tool>, so the agent reaches for them during normal reasoning. For the full setup, including the project ID and token, see the Apidog MCP server guide. For a packaged version of this loop, see the Apidog CLI with Claude Skills guide.
From local loop to CI
Once Hermes has run the scenario locally and acted on the exit code, you’ve validated the exact command your pipeline will use. The jump to CI is small: same apidog run, with the token passed as a masked secret instead of a stored login. Ask Hermes to write the step, since it knows the command from your context file:
Write a GitHub Actions step that installs apidog-cli and runs apidog run -t 605067 -e 1629989 -r junit, reading the access token from a repository secret named APIDOG_ACCESS_TOKEN.The mechanics of that step (secrets, reporters, exit-code gating) live in Apidog CLI in GitHub Actions. The same command then runs in three places, your terminal, Hermes’s loop, and CI, all on one exit code.
Common snags
Hermes ignores the context block. If it runs a generic command or none at all, confirm the file is named exactly AGENTS.md (or CLAUDE.md) and sits in the directory Hermes started in. Restarting the session forces a fresh read.
It only suggests the command instead of running it. Hermes runs commands through the terminal tool behind an approval layer. Approve a waiting run; if your config denies terminal commands, loosen the permission for apidog run.
apidog whoami shows you’re not authenticated. The login is stored on your machine, not in Hermes. Run apidog login --with-token yourself with a fresh token, then ask Hermes to confirm with apidog whoami. Keep the token out of chat.
It invents a flag. An “unknown option” error means Hermes guessed a flag that doesn’t exist in your version. Have it run apidog run --help and copy the real flag.
It reports a pass on a failed run. The costliest one, and the reason the exit-code rule is in both your AGENTS.md and your manual check. When the summary and the exit code disagree, the code wins.
Wrapping up
The Hermes setup is one file and one habit: an AGENTS.md block that pins the command, the auth source, and the exit-code rule, plus the habit of letting Hermes run apidog run through its terminal tool and checking the exit code yourself. Add the Apidog MCP server via ~/.hermes/config.yaml and it can read your spec while it codes too.
You keep authoring scenarios visually in Apidog; Hermes just runs them. From here, point the same command at your pipeline with Apidog CLI in GitHub Actions, or read the full flag reference in the complete guide.
Frequently asked questions
Do I need a Hermes plugin to use the Apidog CLI?
No. Hermes runs shell commands through its terminal tool, so it calls apidog run directly. The only Hermes-specific setup is the AGENTS.md block, plus the optional MCP server.
Where do I put the instructions that teach Hermes the workflow?
In a context file Hermes loads at startup. Its context engine scans the working directory for files like AGENTS.md and CLAUDE.md and injects them into the system prompt. Put your Apidog block in AGENTS.md at the repo root and every session in that repo reads it.
How do I make sure Hermes doesn’t fake a passing test?
Make it report the exit code, not just a summary, and check that code yourself. apidog run exits 0 only when every assertion passes. When prose and code disagree, trust the code.
How do I connect the Apidog MCP server to Hermes?
Add a mcp_servers entry to ~/.hermes/config.yaml with the apidog-mcp-server command and your project ID, then run /reload-mcp or restart Hermes. It discovers the server at startup and registers its tools. The Apidog MCP server guide covers the project ID and token.
Does this work the same in other AI coding agents?
The CLI is the same everywhere; only the way you teach the agent differs. Hermes reads AGENTS.md and runs commands through its terminal tool; other agents use their own instructions files. Install and auth are identical, so the install guide applies to any agent.