
Next.js has emerged as a powerful and flexible solution for building high-performance applications. One of its many capabilities includes the ability to build a REST API.
In this comprehensive guide, we will delve deep into the process of building a REST API using Next.js. Whether you’re a seasoned developer or just starting out, this guide is designed to provide you with all the knowledge you need to create a robust, scalable, and efficient API.
What's Next Js
Next.js is an open-source web development framework created by Vercel. It’s built on top of React.js, a popular JavaScript library for building user interfaces.
Here are some key features of Next.js:
Server-Side Rendering (SSR) and Static Site Generation (SSG): Next.js provides out-of-the-box support for both SSR and SSG. This means you can pre-render your pages on the server, which can lead to improved performance and SEO.
Built-in API Routes: Next.js has built-in support for API routes, allowing you to easily create your own API endpoints.
Automatic Optimizations: Next.js automatically optimizes your application for the best performance by optimizing images, fonts, and scripts.
Dynamic HTML Streaming: Next.js supports instantly streaming UI from the server, integrated with the App Router and React Suspense.
Data Fetching: Next.js supports both server and client data fetching. You can make your React component async and await your data.
Middleware: With Next.js, you can take control of the incoming request. Use code to define routing and access rules for authentication, experimentation, and internationalization.
CSS Support: Next.js supports various styling methods, including CSS Modules, Tailwind CSS, and popular community libraries.
Advanced Routing & Nested Layouts: Next.js allows you to create routes using the file system, including support for more advanced routing patterns and UI layouts.

In essence, Next.js abstracts and automatically configures tooling needed for React, like bundling, compiling, and more. This allows you to focus on building your application instead of spending time with configuration. Whether you’re an individual developer or part of a larger team, Next.js can help you build interactive, dynamic, and fast React applications.
Introduction to REST APIs
Now, let’s move on to REST APIs. API stands for Application Programming Interface, and REST (Representational State Transfer) is an architectural style that defines a set of constraints for creating web services. It’s often referred to as a protocol, but it’s more accurately an architectural style. It defines how applications communicate over the Hypertext Transfer Protocol (HTTP). Applications that use REST are loosely-coupled and transfer information quickly and efficiently.
REST APIs provide a flexible, lightweight way to integrate applications and to connect components in microservices architectures. They facilitate communication between computer systems using HTTP, enabling real-time data sharing among various services.
REST doesn’t define data formats, but it’s usually associated with exchanging JSON or XML documents between a client and a server. All communication done via REST API uses only HTTP requests.
In HTTP, five methods are commonly used in a REST-based Architecture i.e., POST, GET, PUT, PATCH, and DELETE. These correspond to create, read, update, and delete (or CRUD) operations respectively.

Why Next.js for Building REST APIs?
You might be wondering, “Why should I use Next.js for building REST APIs?” Well, Next.js provides an easy solution to build server-side rendered applications, and it also has built-in API routes support which we can leverage to build our REST API.
Next.js offers several benefits when it comes to building APIs, making it a popular choice among developers. Here are some key advantages:
- Improved Performance: Next.js provides server-side rendering (SSR) and automatic code splitting, which result in faster page loads and better performance.
- SEO-Friendly: The server-side rendering feature of Next.js improves the SEO friendliness of your application.
- Developer Experience: Next.js streamlines the developer workflow, making it easier to read and manage projects.
- Built-in File-based Routing: Next.js has a built-in file-based routing system.
- API Routes: Next.js simplifies the creation of serverless applications by providing built-in support for API routes that can run entirely on the client-side.
- Middleware Support: Next.js supports middleware, which allows you to run server-side code before rendering a page.
- CSS and Styling Support: Next.js has built-in CSS support.
- Serverless Deployment: Next.js supports serverless deployment, which can help reduce costs and improve scalability.
- TypeScript Support: With TypeScript support, improving code quality becomes a lot easier.
- SWC: Next.js uses a rust-based compiler, SWC, which helps in reducing build-time, thereby reducing the overall time to market.
These features make Next.js a versatile and efficient tool for web development, particularly for building APIs.

Getting Started with Next.js and REST APIs
To start building our REST API with Next.js, we first need to set up a new Next.js project. Don’t worry, it’s a piece of cake with the create-next-app command.
npx create-next-app@latest my-app
This command sets up a new Next.js application in a directory called my-app. Once the setup is complete, navigate into the new directory with cd my-app.
Building Our First API Endpoint
In Next.js, any file inside the folder pages/api is mapped to /api/* and will be treated as an API endpoint instead of a page. So, let’s create our first API endpoint.
mkdir pages/api
touch pages/api/hello.js
In hello.js, let’s write a simple function to return a JSON response with a greeting message.
export default function handler(req, res) {
  res.status(200).json({ message: 'Hello, Next.js!' })
}
And voila! You’ve just created your first API endpoint with Next.js. You can access this endpoint at http://localhost:3000/api/hello.
Using Apidog for API Testing
Testing is a crucial part of any API. Apidog is a great tool for testing APIs. It’s easy to use. Let's go through a brief tutorial on how to use Apidog for making a POST request.
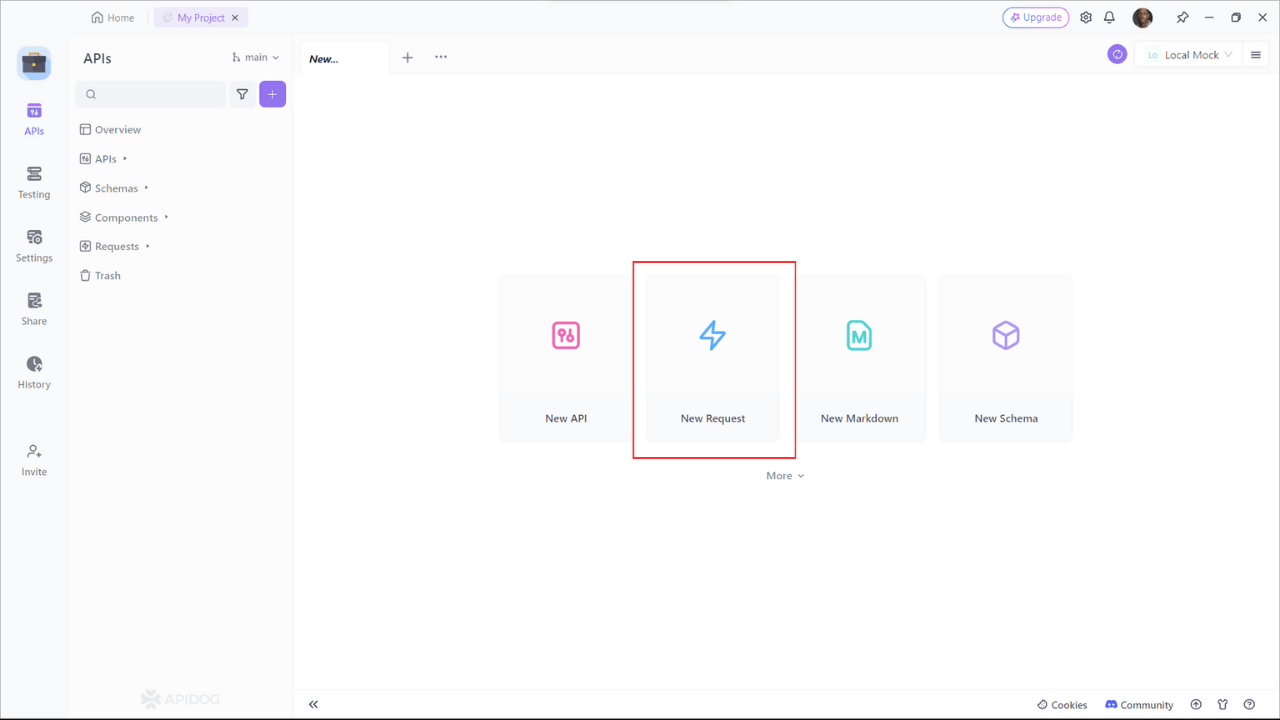
Step 1: Open Apidog and create a new request.
- Start Apidog and select New Request
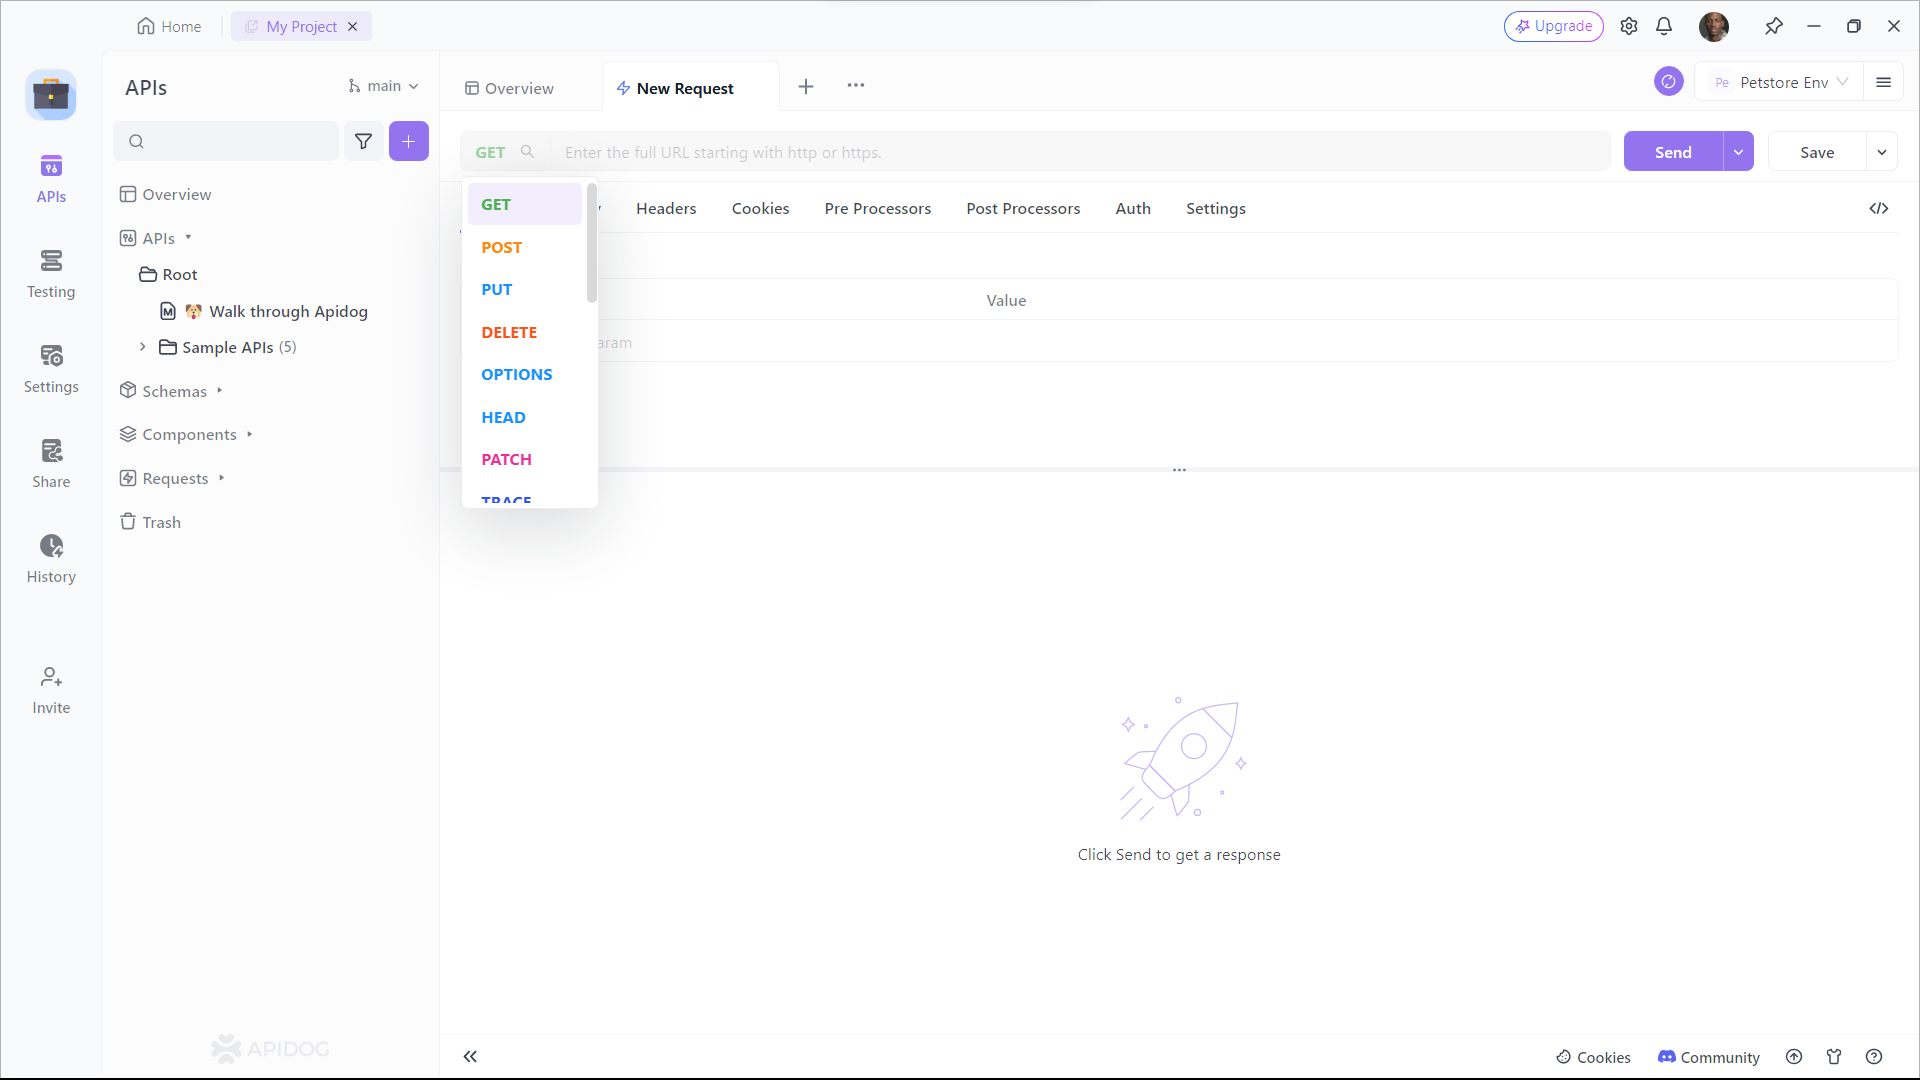
Step 2: Input the API
- Find or manually input the API details for the POST request you want to make.
Step 3: Input Parameters
- Fill in the required parameters and any data you want to include in the request body.
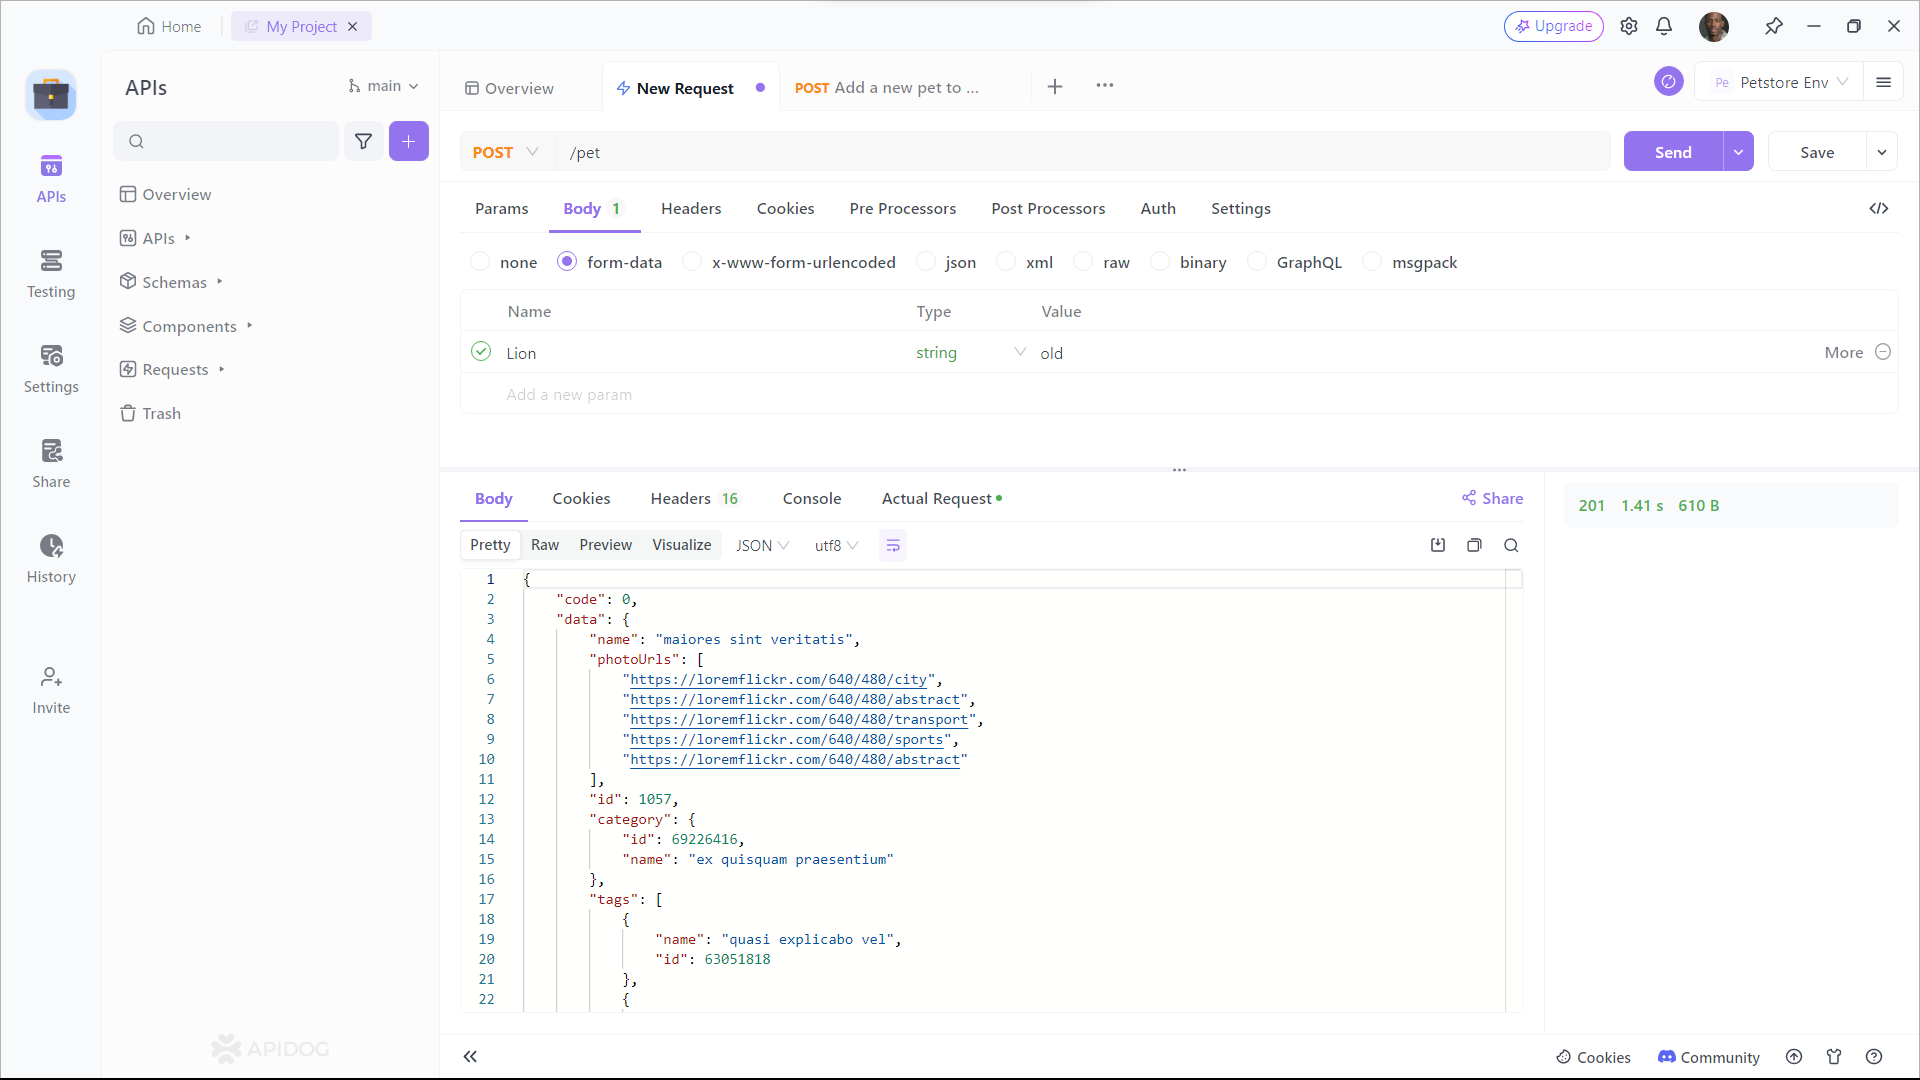
Using Apidog can save you time and effort when working with POST requests.
Conclusion
Building a REST API with Next.js is a breeze. With its built-in support for API routes, you can quickly set up robust APIs. Plus, with tools like Apidog, documenting your API is just as straightforward..
Remember, the key to mastering any technology is practice. So, roll up your sleeves and start building with Next.js and REST APIs.


