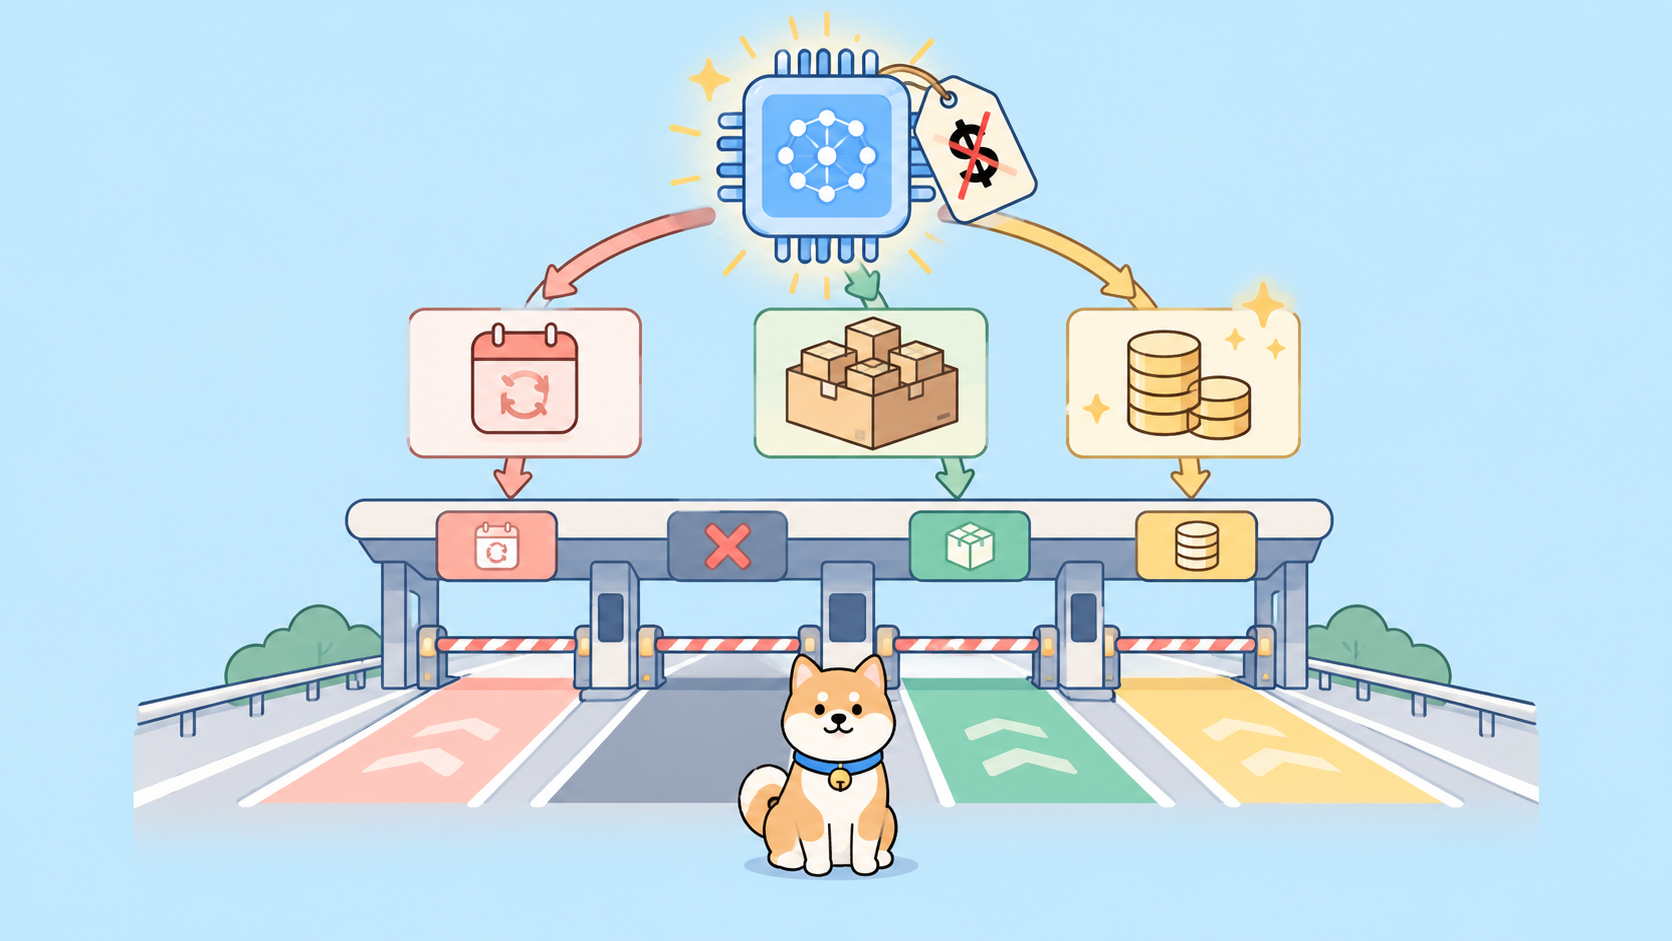
A customer pays, Stripe fires a payment_intent.succeeded event at your backend, and your endpoint is supposed to mark the order paid. That last step is the one that breaks quietly. The webhook lands, your handler throws, and nobody notices until a support ticket says “I paid but my account still shows unpaid.” You want a test in CI that proves the event arrived and was handled correctly, every time you ship.
The tricky part is that a webhook is an inbound HTTP call from Stripe to you, not a request you make. Most API test tools are built to send a request and check the response, which is the opposite shape. So the question becomes: how do you assert on something that arrives on its own schedule, inside a CI run, without a human watching? This guide shows the honest, supported way to do it with Apidog, and it starts with a limitation you need to know up front. If you want the broader picture of testing event-driven endpoints first, our guide on how to test webhooks sets the stage, and Stripe’s own webhooks documentation covers the event delivery model.
The constraint you have to design around
Here’s the load-bearing fact, stated plainly in Apidog’s own docs: “ApiDog does not natively support listening for webhooks.” Apidog does not sit on a public URL and catch Stripe’s inbound calls in real time. If you were hoping to point Stripe at an Apidog listener and watch events roll in, that path does not exist.
That sounds like a dead end. It isn’t. It just changes the shape of the test. Instead of intercepting the webhook as it arrives, you capture it in your own backend, store it, and then have Apidog query that stored record and assert on it. Capture first, validate second. Once you accept that split, the whole workflow becomes straightforward and, importantly, it fits CI perfectly because a database query is deterministic and repeatable.
What the capture-then-query pattern looks like
The pattern Apidog’s docs recommend has four moving parts:
- Create an endpoint in your backend service to capture incoming Stripe webhooks.
- Store the webhook event data in a
Stripe event logstable in your database. - Use Apidog’s Post-Request Processor to query your database.
- Retrieve the stored webhook event and validate it against expected results.
Two of those steps live in your code, and two live in Apidog. The capture endpoint and the logging table are your responsibility to build, because they run inside your own application. Apidog’s job starts once the event is in your database: it connects to that database and reads the row back to confirm the event was handled the way you expect. Keep that division clear and the rest falls into place.
Step 1: build the capture endpoint
Your backend needs a route that Stripe can POST to. This is ordinary application code, not an Apidog feature. A minimal Express handler that verifies the signature and logs the event looks like this:
import express from "express";
import Stripe from "stripe";

const app = express();
const stripe = new Stripe(process.env.STRIPE_SECRET_KEY);
const endpointSecret = process.env.STRIPE_WEBHOOK_SECRET;

app.post(
  "/webhooks/stripe",
  express.raw({ type: "application/json" }),
  async (req, res) => {
    let event;
    try {
      event = stripe.webhooks.constructEvent(
        req.body,
        req.headers["stripe-signature"],
        endpointSecret
      );
    } catch (err) {
      return res.status(400).send(`Signature check failed: ${err.message}`);
    }

    // Persist the event so a test can read it back later.
    await db.query(
      `INSERT INTO stripe_event_logs (event_id, type, payload, handled_at)
       VALUES ($1, $2, $3, now())
       ON CONFLICT (event_id) DO NOTHING`,
      [event.id, event.type, JSON.stringify(event.data.object)]
    );

    if (event.type === "payment_intent.succeeded") {
      const intent = event.data.object;
      await markOrderPaid(intent.metadata.order_id);
    }

    res.json({ received: true });
  }
);
Two things matter here. First, you verify the Stripe signature with constructEvent before trusting anything, which is the non-negotiable security step for any webhook receiver. If you want the full reasoning behind that check, our walkthrough on webhook signature verification goes into why a raw-body comparison is the only safe way to do it. Second, you write the event to a Stripe event logs table. That row is what Apidog will read. The ON CONFLICT DO NOTHING clause keeps the log idempotent, since Stripe can deliver the same event more than once.
Step 2: connect your database in the Apidog environment
Apidog supports connecting to a database in the corresponding environment, and that connection is what makes this whole pattern work. Set up a database connection for the environment your CI run targets, whether that’s a staging Postgres or a dedicated test database. Once the connection is in place, a test step can run SQL against it and pull real rows back.
Match the connection to the environment you’re testing. A test that runs against staging should query the staging database, so the event your test triggers is the event your test reads. Mismatched environments are the most common reason a passing capture endpoint still fails the assertion.
Step 3: add a Post-Request Processor to query the log
This is the heart of it. The Post-Request Processor is the Apidog feature that queries your database and validates the logged webhook event inside a test. You attach it to a request in your test scenario. After the request runs, the processor executes your SQL, reads the stored event, and lets you assert on the result.
A realistic flow for the payment_intent.succeeded case:
- Your test scenario triggers the payment. That might be a request that creates a payment intent and confirms it in Stripe test mode, or a fixture that fires a known test event at your capture endpoint.
- Stripe delivers the webhook to your
/webhooks/striperoute, which verifies the signature and writes a row tostripe_event_logs. - A
Post-Request Processoron the next step queries that table for the event.
The query the processor runs is plain SQL:
SELECT event_id, type, payload, handled_at
FROM stripe_event_logs
WHERE type = 'payment_intent.succeeded'
ORDER BY handled_at DESC
LIMIT 1;
You then assert against the returned row. The test passes when the logged data matches your expectations: the type is payment_intent.succeeded, the event_id matches the one you triggered, the payload amount equals what you charged, and handled_at is populated, which proves your handler actually ran rather than the row being a placeholder. Retrieve the stored webhook event, compare it to the expected result, and let the assertion decide pass or fail.
Because the timing of webhook delivery is not instant, give the event a moment to arrive before you query. A short delay step, or a polling loop that retries the query a few times before failing, keeps the test from racing Stripe’s delivery. This is the one place where the asynchronous nature of webhooks leaks into your test design, and a small retry window handles it cleanly.
A note on real-time forwarding during local development
The capture-then-query pattern is built for CI, where a database and a stored record are exactly what you want. Local development is a different situation. When you’re writing the handler on your laptop, Stripe can’t reach localhost directly, so you need something to forward events to your machine in real time.
For that, Apidog’s docs point to a webhook relay service, naming the Stripe CLI and Ngrok as examples. The Stripe CLI can listen and forward events straight to your local port:
stripe listen --forward-to localhost:3000/webhooks/stripe
That gives you live events while you build the handler. Ngrok does the same job by exposing your local port on a public URL that you register as a Stripe endpoint. Use these for the inner development loop, then rely on the database plus Post-Request Processor flow for the assertions that run in your pipeline. The two are complementary: relay for building, capture-then-query for proving.
Don’t confuse this with Apidog’s native Webhook feature
Apidog does have a feature literally called Webhook, and it’s easy to assume that’s how you catch Stripe events. It isn’t, and mixing them up will cost you an afternoon. The native Webhook feature is for defining and documenting an outbound webhook, meaning an HTTP endpoint your own system calls when an event occurs. The system initiates the call to an external URL, which is the opposite of a regular endpoint where clients call you. It’s used for describing state-change notifications and async task results in your API docs, not for receiving Stripe’s inbound calls.
If you do want to document one of your own outbound webhooks, the flow is short:
- Click the
+icon in the left sidebar. - Select
New Other Protocol APIs, thenWebhook. - Fill in the required fields:
Request Method(typically POST), aWebhook Name, an optionalDebug URLfor testing only, andOther Infofor the request body, headers, and configuration. - Click
Save.
To try it, enter a URL in the Debug URL field and click Send to simulate the webhook call. One caveat worth remembering: the Debug URL is testing-only and will not appear in your published documentation or your OpenAPI export. For a fuller treatment of designing and documenting event callbacks, our piece on webhooks in API design covers where they fit. The short version for this article: the native Webhook feature defines your outbound events, and the capture-then-query pattern validates Stripe’s inbound ones. Keep them in separate mental boxes.
Variations and hardening
Once the basic assertion works, a few refinements make it production-grade. First, assert on more than the event type. Check the event_id end to end so you know the exact event you triggered is the one you validated, not a leftover from a previous run. Truncate or scope the stripe_event_logs table per test run if events pile up.
Second, test the failure paths. Fire an event your handler should reject, a bad signature or an unexpected type, and assert that no handled_at timestamp gets written. A webhook test suite that only checks the happy path misses the cases that actually page you at 2 a.m. Our notes on payment webhook best practices cover the idempotency and retry behavior worth encoding into these tests.
Third, keep the assertion tight to business meaning, not just delivery. “The event arrived” is weaker than “the order moved to paid.” If your handler updates an orders table, add a second query that confirms the downstream state changed, so the test proves the whole chain and not just the log write.
You can also take this beyond the merge gate. Once the scenario is saved in Apidog, schedule it to run on a cadence so a broken webhook handler surfaces even between deploys. Our guide on how to schedule API tests in Apidog shows how to put this same validation on a timer.
Automate the workflow with the Apidog CLI
Everything above pays off when it runs unattended, and that’s where the Apidog CLI comes in. This is intrinsically a CI story, so wiring the saved scenario into your pipeline is the natural finish. Install the CLI and authenticate with your token:
npm install -g apidog-cli
apidog login --with-token <YOUR_ACCESS_TOKEN>
Then run your saved webhook-validation scenario headlessly against the environment whose database holds the event logs:
apidog run --access-token $APIDOG_ACCESS_TOKEN -t <SCENARIO_ID> -e <ENV_ID> -r cli
Here -t is the test scenario id, -e is the environment id, and -r picks the reporter. Use -r html,cli if you want a browsable report alongside the console output for your CI artifacts. The scenario carries the Post-Request Processor and its database query, so a single command triggers the flow, reads the stripe_event_logs row, and returns a non-zero exit code if the assertion fails, which is exactly what a pipeline needs to gate a merge. The Apidog CLI installation guide covers token setup, and our CI/CD pipeline walkthrough shows the full GitHub Actions wiring around this command.
Frequently asked questions
Can Apidog receive a Stripe webhook directly? No. Apidog’s docs state plainly that it “does not natively support listening for webhooks.” You capture the event in your own backend endpoint, store it in a database, and Apidog reads it back with a Post-Request Processor. For real-time forwarding during local development, use a relay like the Stripe CLI or Ngrok instead.
Where do the assertions actually happen? Inside the Post-Request Processor step on a request in your test scenario. It queries your Stripe event logs table over the database connection you configured in the environment, retrieves the stored event, and compares it to your expected values. The test passes when the logged data matches.
Do I need a paid plan for the database validation flow? Apidog’s docs for this workflow don’t state any plan gating, so this guide won’t invent one. The honest answer is to check current plan details on the pricing page. You can Download Apidog and set up a test project to see the Post-Request Processor and environment database connection for yourself.
How do I handle the delay between triggering and delivery? Webhook delivery isn’t instant, so add a short wait or a polling retry before the query so your test doesn’t race Stripe. A few retries over a couple of seconds is usually enough. If you’re new to asserting on asynchronous endpoints, start with the general how to test webhooks guide before layering in the Stripe specifics.
Is the native Webhook feature useful here at all? Not for capturing Stripe events. That feature defines and documents your own outbound webhooks, where your system calls an external URL. It’s a documentation and design tool, separate from the inbound capture-then-query pattern this article uses. Keep the two clearly apart.
Wrapping up
You can’t point Stripe at Apidog and catch events live, and pretending otherwise leads to a frustrating afternoon. The supported path is cleaner than it first looks: capture the webhook in your own endpoint, log it to a Stripe event logs table, then let Apidog’s Post-Request Processor query that record and assert the event was handled. Wrap the saved scenario in apidog run and your pipeline proves, on every merge, that a real payment event moves your order to paid. Try it free, no credit card required, and put a real assertion behind the webhook that matters most.