
Postman is a powerful tool that allows developers to test APIs efficiently. Postman can both import and export various types of data, such as collections, environments, globals, and data dumps. Additionally, it can import API definitions from sources outside of Postman, enabling you to streamline your API development process.
In this post, we will dive into 2 parts for you: one is how to export data, and the other is how to import collection data in Postman.
What is a Postman Collections
A Postman Collection is a set of API endpoints or requests, including authorization, parameters, headers, bodies, tests, and settings, grouped under the same ID. Collections enable organizing requests with different method types into folders. You can share and import/export these collections.
Postman also lets you export all collections as a JSON file and data. The exported file contains all requests, folders, and metadata. You can share these collection files with teammates and import them into other Postman instances. This enables collaboration and reusability.
Importing Data into Postman
When your team is using Postman and needs to transfer data or share project configurations, you can easily import data previously exported from Postman, including collections, environments, data dumps, and globals.
Postman automatically recognizes Postman-specific data during the import process, simplifying the entire workflow.
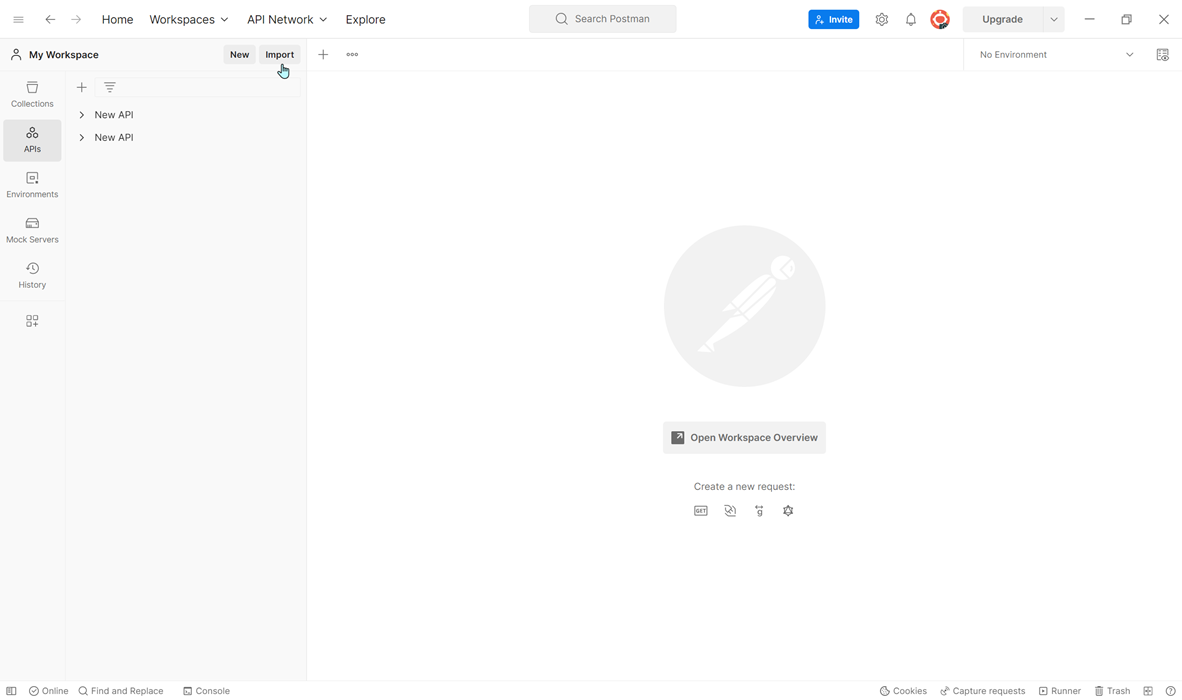
Step 1. Open Postman and navigate to the Collections tab on the left-hand side. Click on the "Import" button located in the top-left corner of the screen.
Step 2. In the "Import File" modal, click on the "Choose Files" button and select the Postman collection file you need to import. Or you can paste cURL in the request bar to import as well.
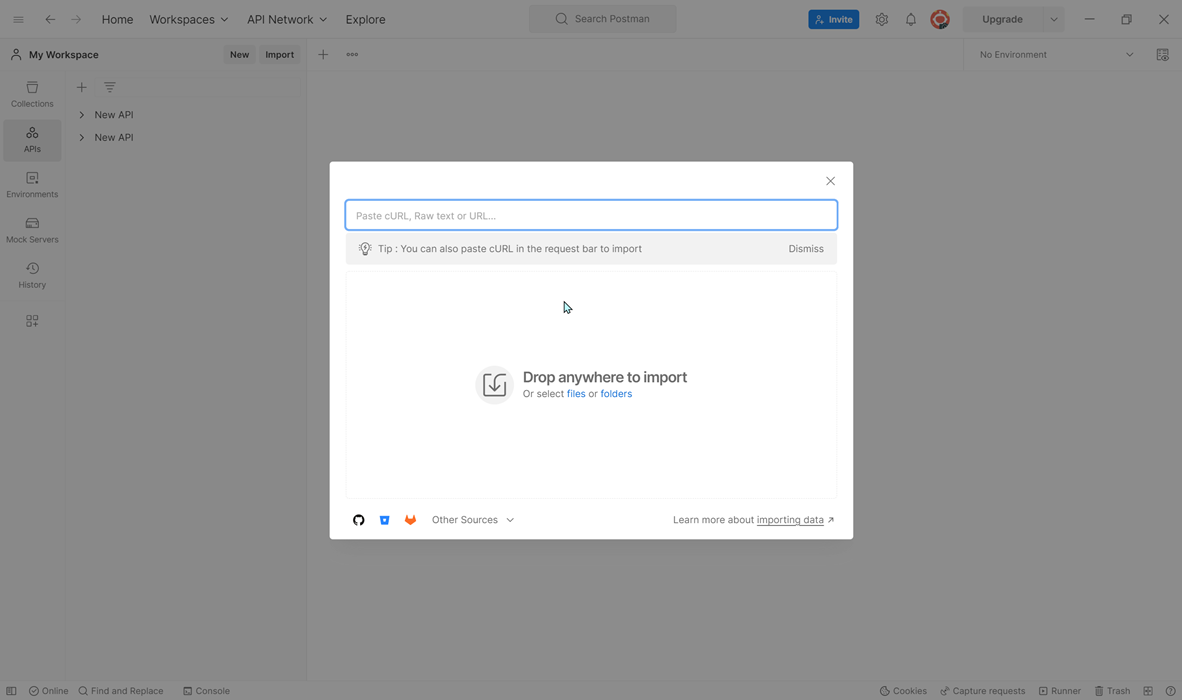
Step 3. Once the file has been selected, click on the "Import" button to initiate the import process.
Step 4. After the import process is complete, you should see your newly imported collection listed in the Collections tab.
Postman's new plans restrict Free and Basic users to 25 runs/month, with 250 for Professional and unlimited for Enterprise. Frustrated by these limits on running local collections, many developers are switching to other API tools. If you're in the same boat, let's move on to export the data from data to local.
Exporting Postman All Collections
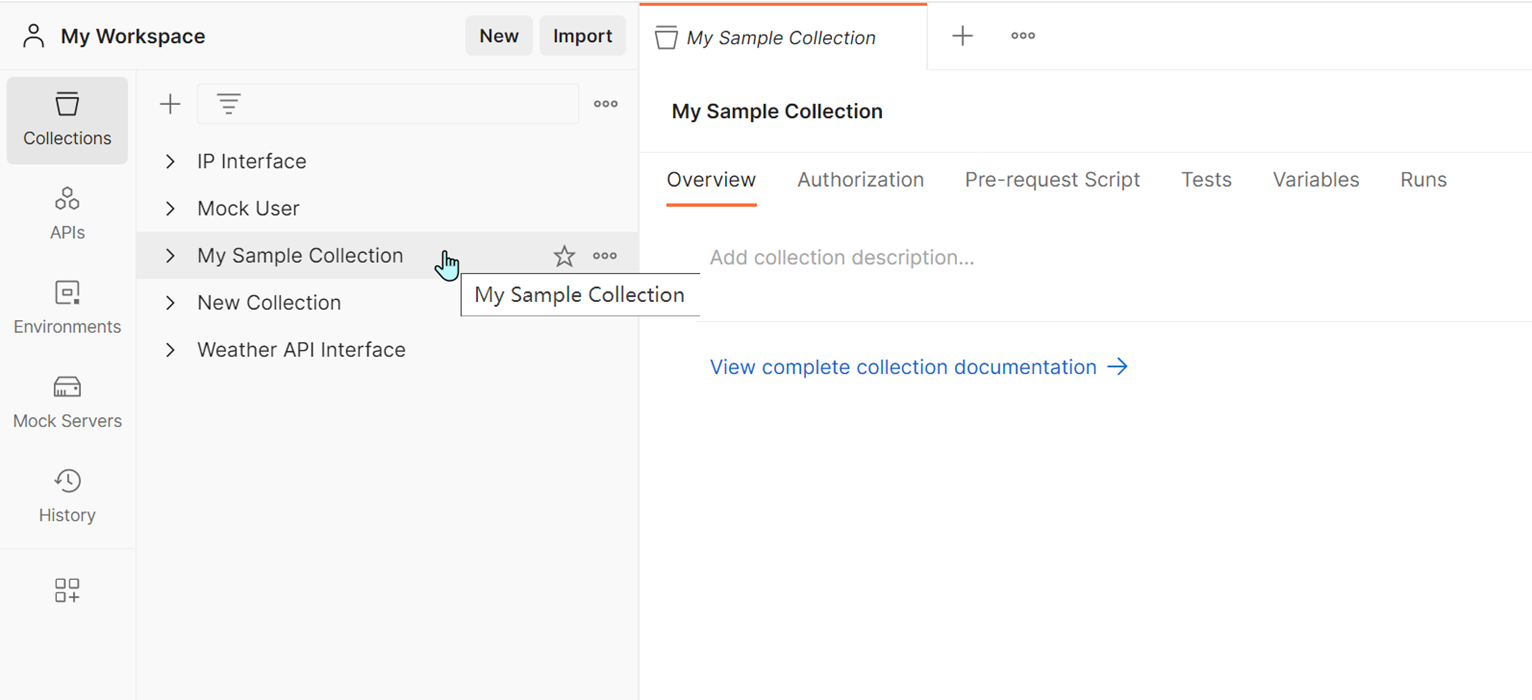
Step 1. Open Postman and navigate to the collection you want to export. Click on the ellipsis (...) icon next to the collection name.
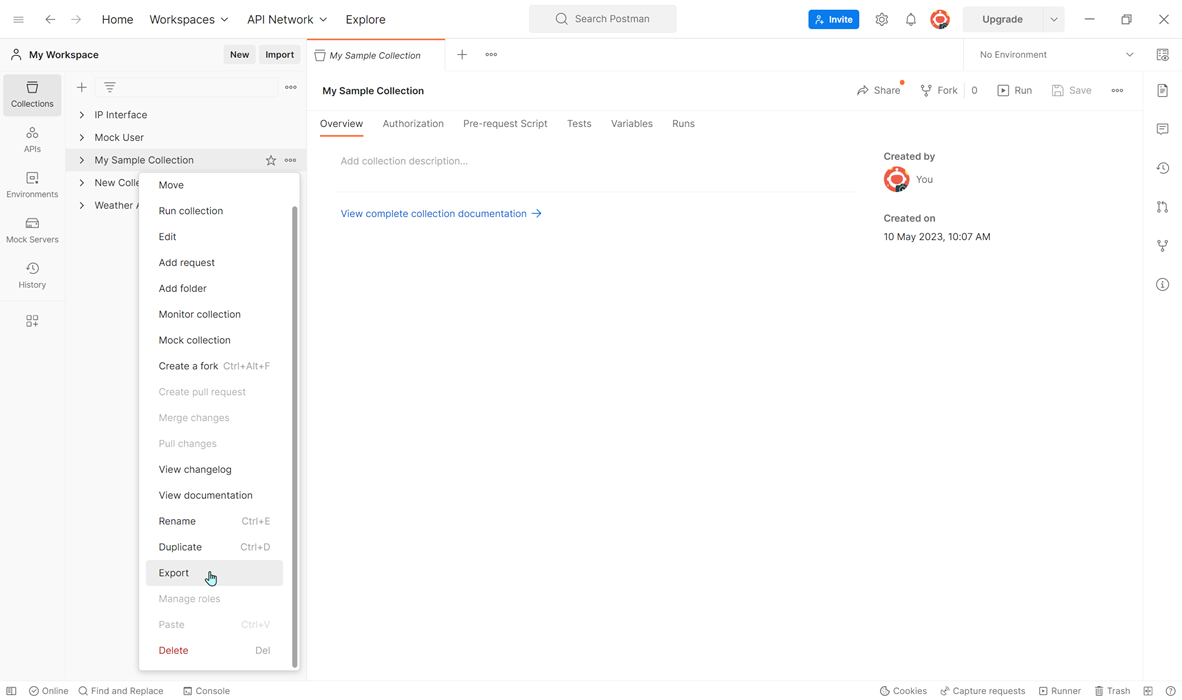
Step 2. Select "Export" from the drop-down menu. Choose the format in which you want to export the collection. Postman supports a variety of formats including JSON, CSV, and YAML.
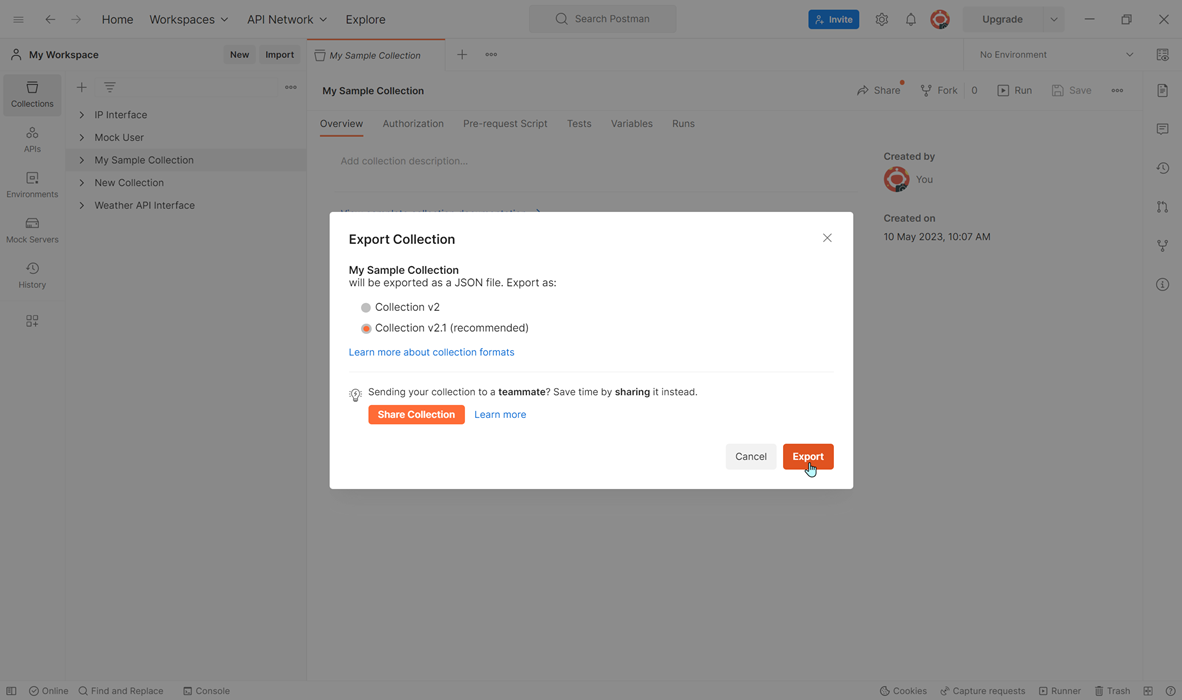
Step 3. Choose the location on your computer where you want to save the exported file.
Step 4. Click "Save" to export the collection.
In Postman, accessing the Data tab via Settings allows you to export all Collections, Environments, Globals, and Header Presets into a single zip file.
Navigate to Settings > Data> Request Date Export within the app. Upon selecting "Export Data," you'll be directed to an area where you can download all your Postman workspace data.
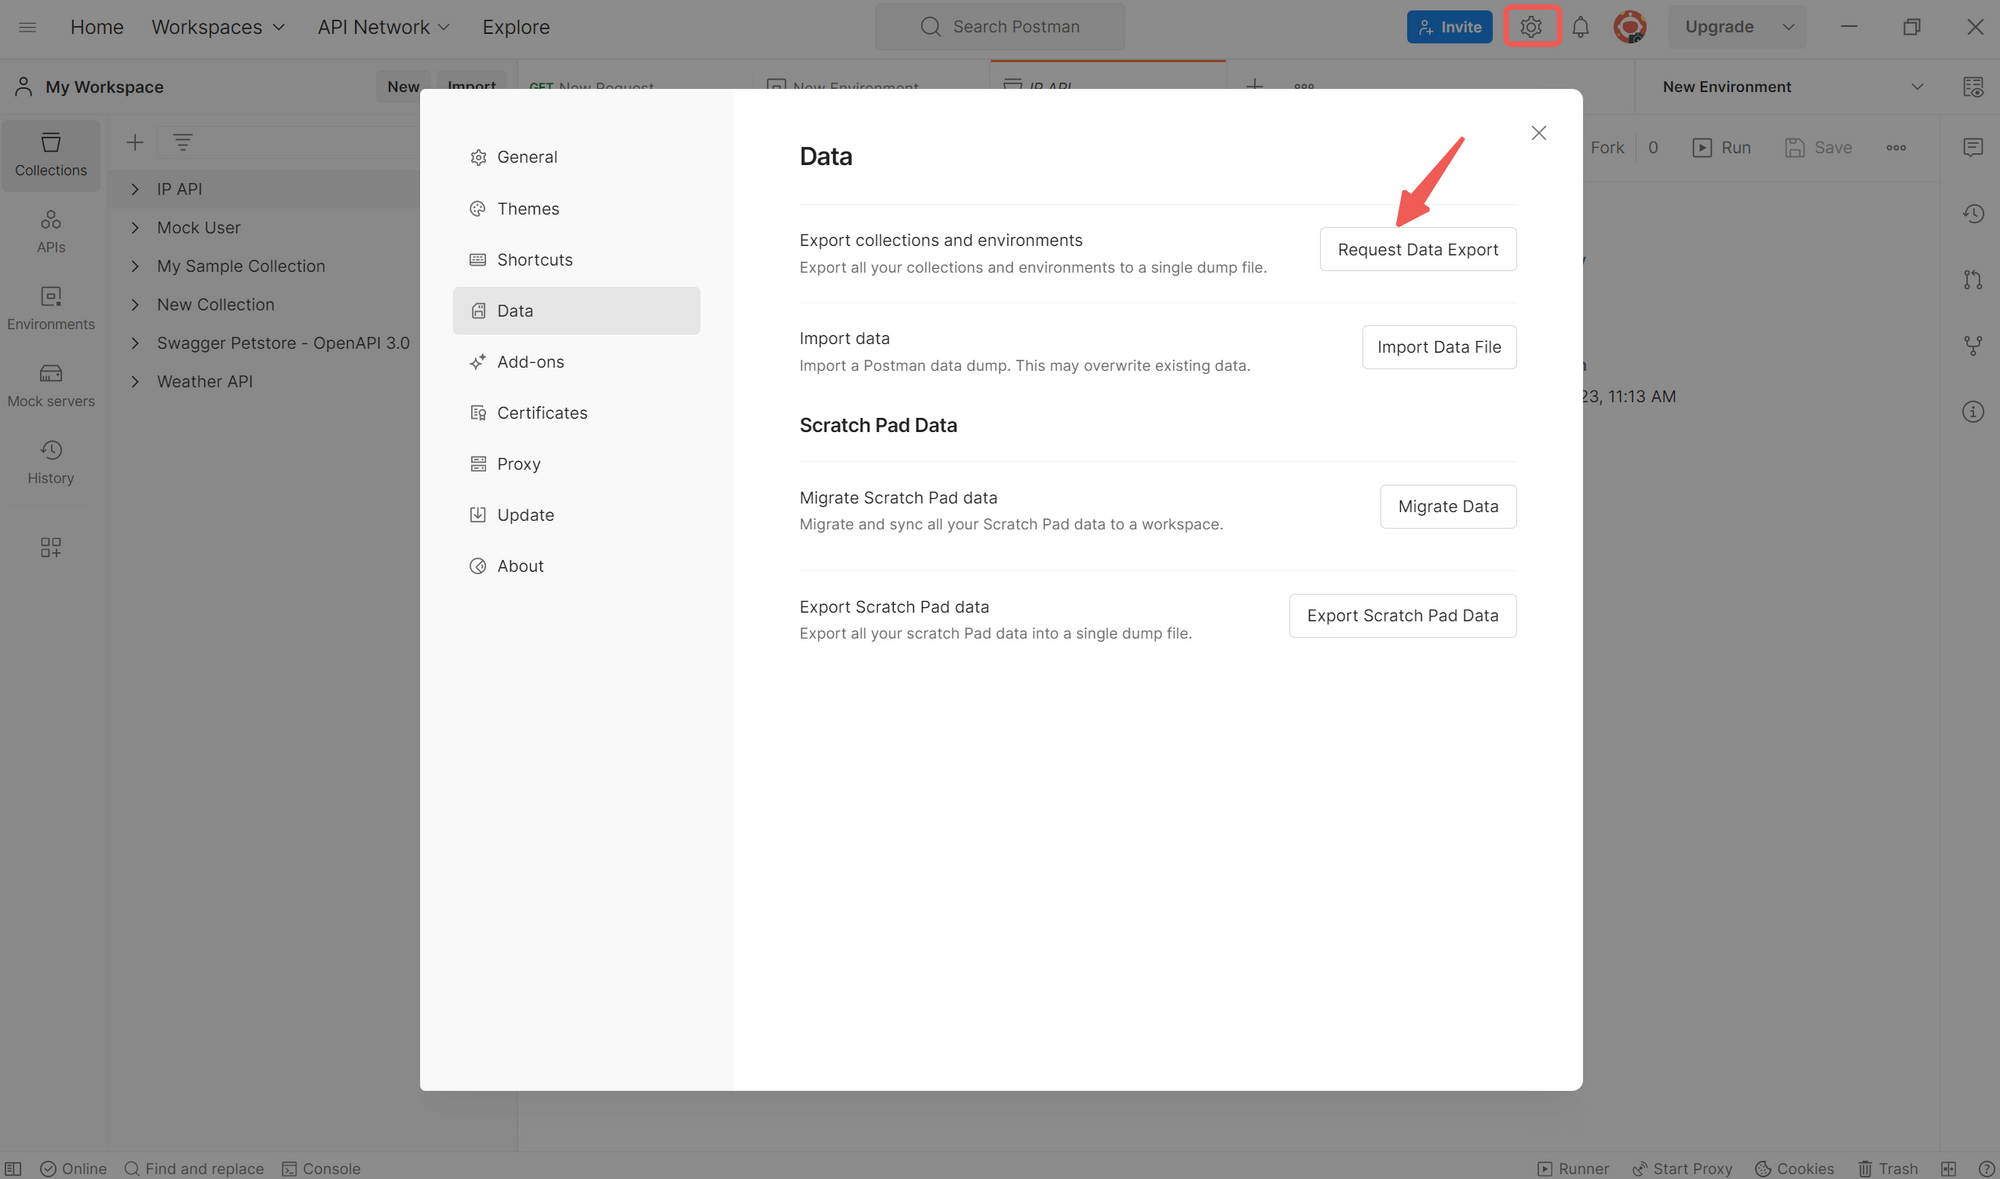
You'll receive an email notification when the data is ready for download. Depending on the data size, refreshing the page will display the download status until the Download button appears for retrieval.
Postman Collection Runner Restriction and Solution
You certainly know that Postman now raising plan pricing and limits the number of runs for its Free and Basic plans to 25 runs per month, with 250 runs per month for Professional plans, and unlimited runs for Enterprise plans. Postman pricing plan like:
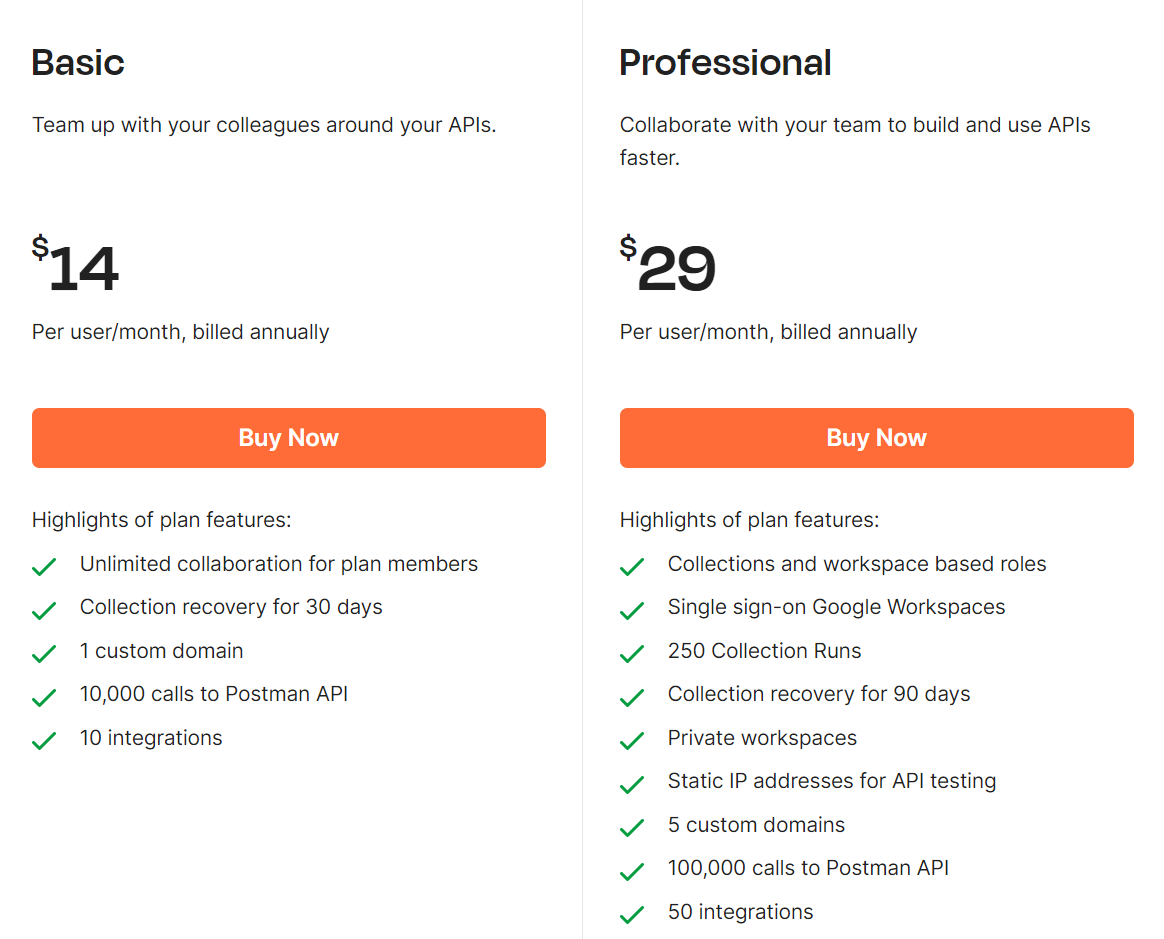
This change has left many developers feeling frustrated, as they face restrictions on running their local collections. This is the main reason why many developers migrate the Postman data to other API tools. If you also encounter the same question, Let's move on.
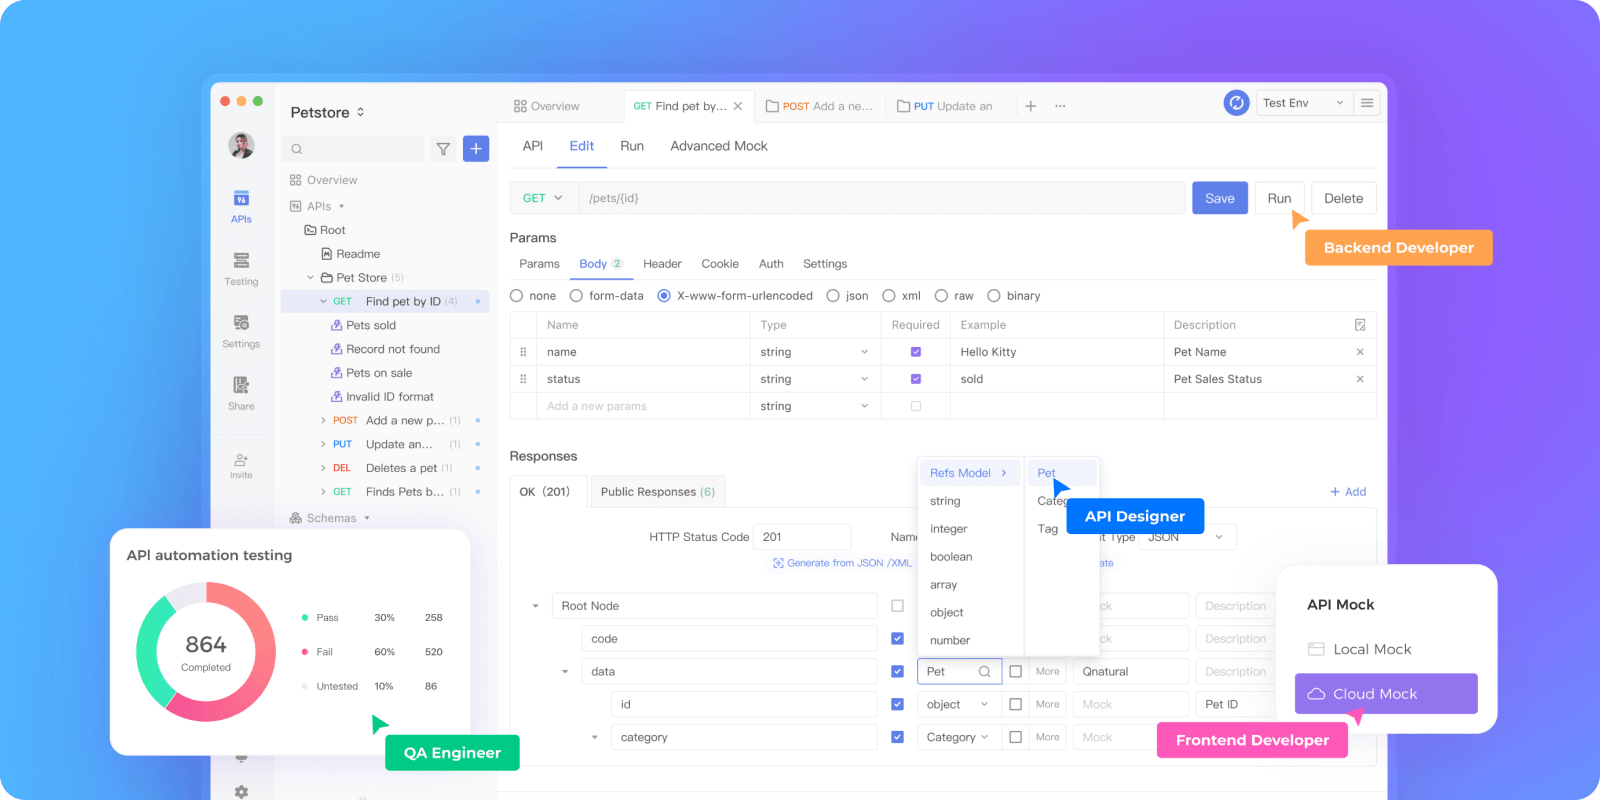
Here is a solution. If you want to run local collections without any restrictions, we highly recommend Apidog, a powerful testing tool that offers more flexibility and a superior testing framework to Postman.
With real-time feedback, comprehensive test reports, and seamless integration with other testing tools, Apidog enables developers to efficiently create, test, and manage APIs without any limitations, resulting in a more efficient and productive development process.
If you think Apidog is more suitable for your reference, here is a detailed guide for you.
Alternative Method: Import Postman Collection in Apidog with one click
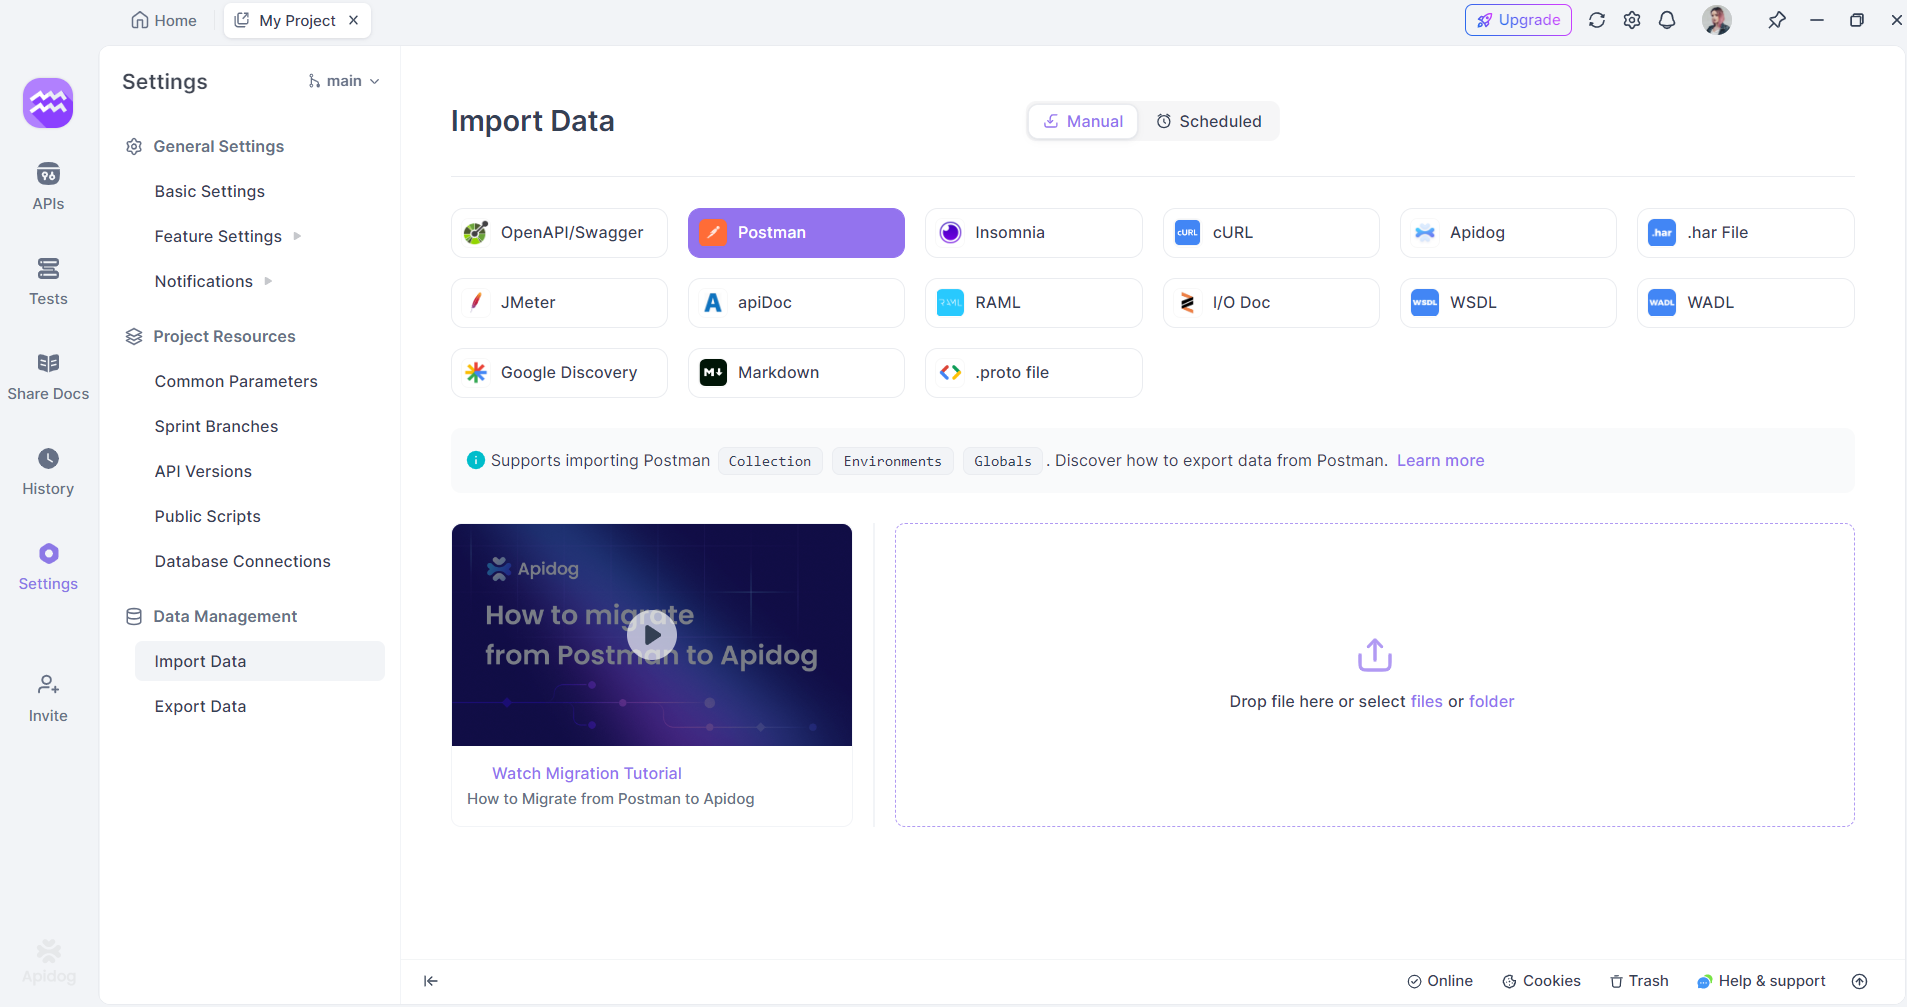
Step 1. Log into Apidog, select "Settings" from the left menu, and then select "Import " to import the exported file as displayed in the image.
Step 2. Select "Postman" and upload file from downloads. In the latest version of Apidog 2.4.9, you can import Postman data, including one `collection` and multiple `environments` in a single import.
Step 3. Upload output data source from Postman. Click “Confirm” as displayed below.
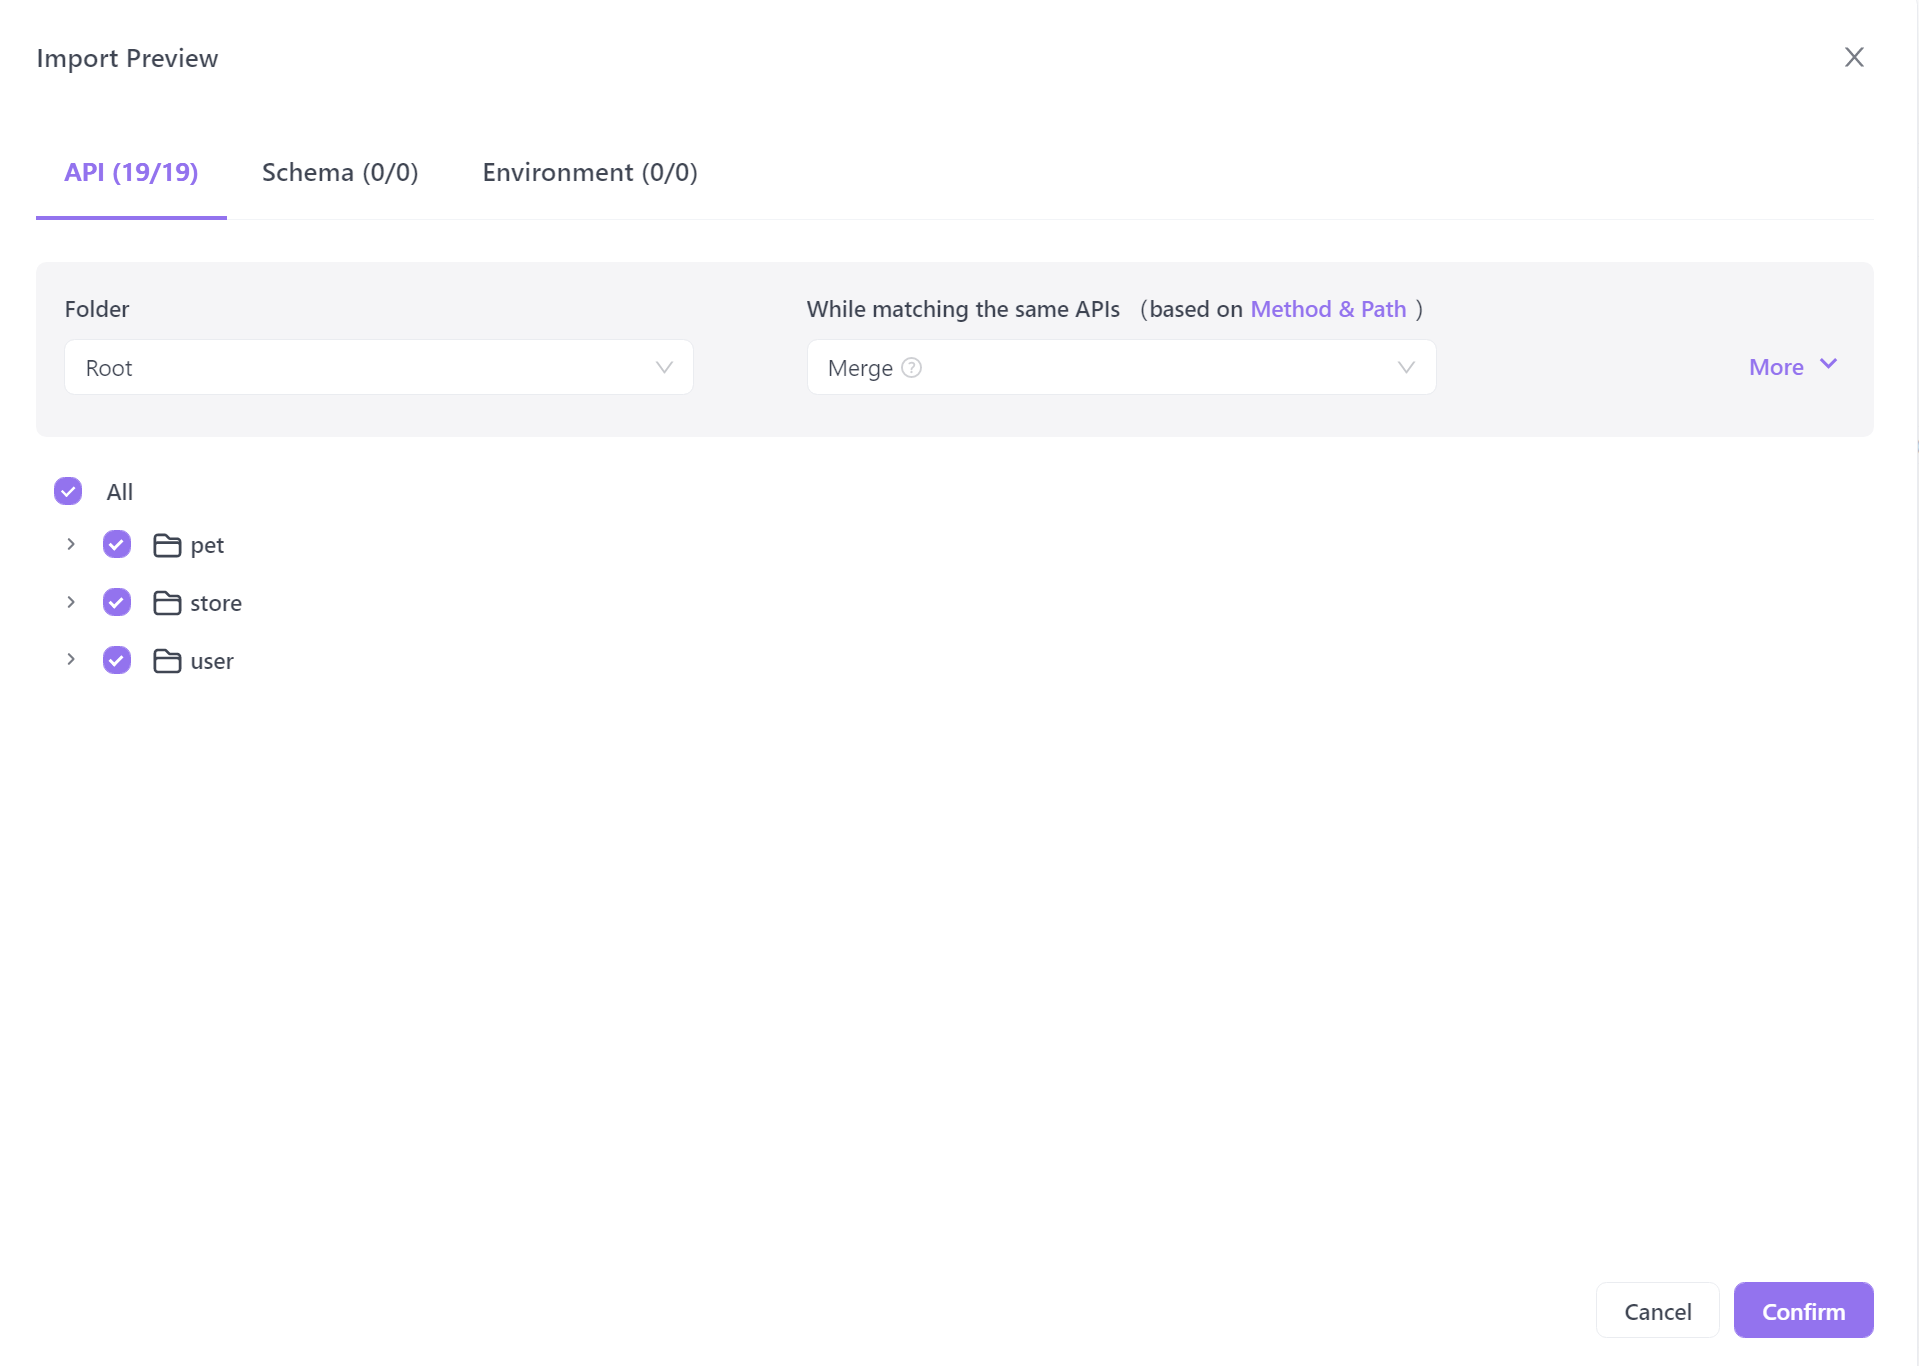
Step 4. After importing your Postman collection into Apidog, you can easily manage it.
You'll have full access to your requests and can modify them as needed. Additionally, requests can be organized into folders, making it easier to navigate through your collection. Overall, Apidog provides a user-friendly interface for managing and organizing collections.

Getting the export right is only half the battle when you're migrating tools — if Bruno then rejects the file, here's why Bruno imports of Postman collections fail and how to repair them.
Collections aren't the only thing Postman can ingest — if your starting point is a raw command copied from your terminal or browser dev tools, importing a cURL request into Postman takes only a few clicks.
When you need to move more than a single collection between accounts or environments,exporting an entire Postman workspace bundles environments, globals, and all collections into one portable snapshot.
Conclusion
In conclusion, importing and exporting Postman collection data is essential for efficient API testing and management. While Postman offers this functionality, its limitations on collection runs can be frustrating for many users.
Therefore, we recommend switching to Apidog, which not only provides unlimited runs but also allows you to seamlessly import existing Postman collections with just one click. With its advanced testing features and flexible testing framework, Apidog is an ideal alternative to Postman for developers looking for a more powerful and efficient API testing tool.
FAQs of Postman Collections
How do I import a JSON collection into Postman?
Here are the steps to import a JSON collection into Postman:
- Open Postman and click on the "Import" button in the top left.
- In the import modal, select "Import File" and choose the JSON collection file from your local file system.
- Click on the "Import" button to load the collection.
- The collection will now be available in Postman under "Collections" on the left sidebar. All the requests, folders, etc will be imported.
How to export collections from one workspace to another in Postman?
To export a collection from one workspace to another in Postman:
- Open the source workspace and find the collection you want to import.
- Click on the three dots next to the collection name and select "Export".
- Save the exported JSON file to your local machine.


