
Hey there, tech enthusiasts! If you're here, you’re probably curious about how to harness the power of GraphQL using Python. Well, you've come to the right place. Today, we’re diving deep into the fascinating world of GraphQL and Python, exploring how these two can work together to build efficient and robust APIs. Along the way, we’ll introduce you to a fantastic tool called Apidog that can make your development journey even smoother.
What is GraphQL?
First things first, let’s break down what GraphQL is. In simple terms, GraphQL is a query language for your API, and a runtime for executing those queries by using a type system you define for your data. Unlike REST, where you have to make multiple requests to different endpoints to fetch related data, GraphQL lets you get all the information you need in a single request. This can drastically reduce the amount of data transfer and improve the efficiency of your applications.

Why Choose GraphQL Over REST?
You might be wondering, why should I choose GraphQL over the traditional REST API? Here are a few compelling reasons:
- Flexible Queries: With GraphQL, you can request exactly the data you need, nothing more, nothing less.
- Efficient Data Loading: It helps in fetching nested resources in a single request.
- Strongly Typed Schema: GraphQL uses a type system to describe the capabilities of an API, which helps in validating queries and avoiding common errors.
- Introspection: GraphQL APIs are self-documenting, which means developers can query the API itself to understand what operations are supported.
Setting Up GraphQL with Python
Now, let’s roll up our sleeves and get our hands dirty with some code. We’ll be using the graphene library, a powerful tool for building GraphQL APIs in Python.
Step 1: Install the Required Packages
First, you need to install the necessary packages. Open your terminal and run:
pip install graphene
pip install flask
pip install flask-graphql
Step 2: Create a Simple GraphQL Server
Let’s create a simple GraphQL server using Flask and Graphene. Create a file named app.py and add the following code:
from flask import Flask
from flask_graphql import GraphQLView
import graphene

# Define a simple query
class Query(graphene.ObjectType):
    hello = graphene.String(name=graphene.String(default_value="stranger"))

    def resolve_hello(self, info, name):
        return f'Hello {name}!'

schema = graphene.Schema(query=Query)

app = Flask(__name__)
app.add_url_rule('/graphql', view_func=GraphQLView.as_view('graphql', schema=schema, graphiql=True))

if __name__ == '__main__':
    app.run(debug=True)
This code sets up a simple GraphQL server with one query that returns a greeting message. You can start the server by running:
python app.py
Open your browser and navigate to http://localhost:5000/graphql. You’ll see the GraphiQL interface where you can run your GraphQL queries.
Step 3: Extend the Schema with More Types and Resolvers
Let’s extend our schema to include more complex types and resolvers. Imagine you’re building a blog API. You’ll need types for User, Post, and Comment.
class User(graphene.ObjectType):
    id = graphene.ID()
    username = graphene.String()
    email = graphene.String()

class Post(graphene.ObjectType):
    id = graphene.ID()
    title = graphene.String()
    content = graphene.String()
    author = graphene.Field(User)

class Comment(graphene.ObjectType):
    id = graphene.ID()
    content = graphene.String()
    author = graphene.Field(User)
    post = graphene.Field(Post)

class Query(graphene.ObjectType):
    hello = graphene.String(name=graphene.String(default_value="stranger"))
    users = graphene.List(User)
    posts = graphene.List(Post)

    def resolve_hello(self, info, name):
        return f'Hello {name}!'

    def resolve_users(self, info):
        return [
            User(id="1", username="john_doe", email="john@example.com"),
            User(id="2", username="jane_doe", email="jane@example.com")
        ]

    def resolve_posts(self, info):
        return [
            Post(id="1", title="First Post", content="This is my first post", author=User(id="1", username="john_doe", email="john@example.com")),
            Post(id="2", title="Second Post", content="This is my second post", author=User(id="2", username="jane_doe", email="jane@example.com"))
        ]

schema = graphene.Schema(query=Query)
Testing and Debugging with Apidog
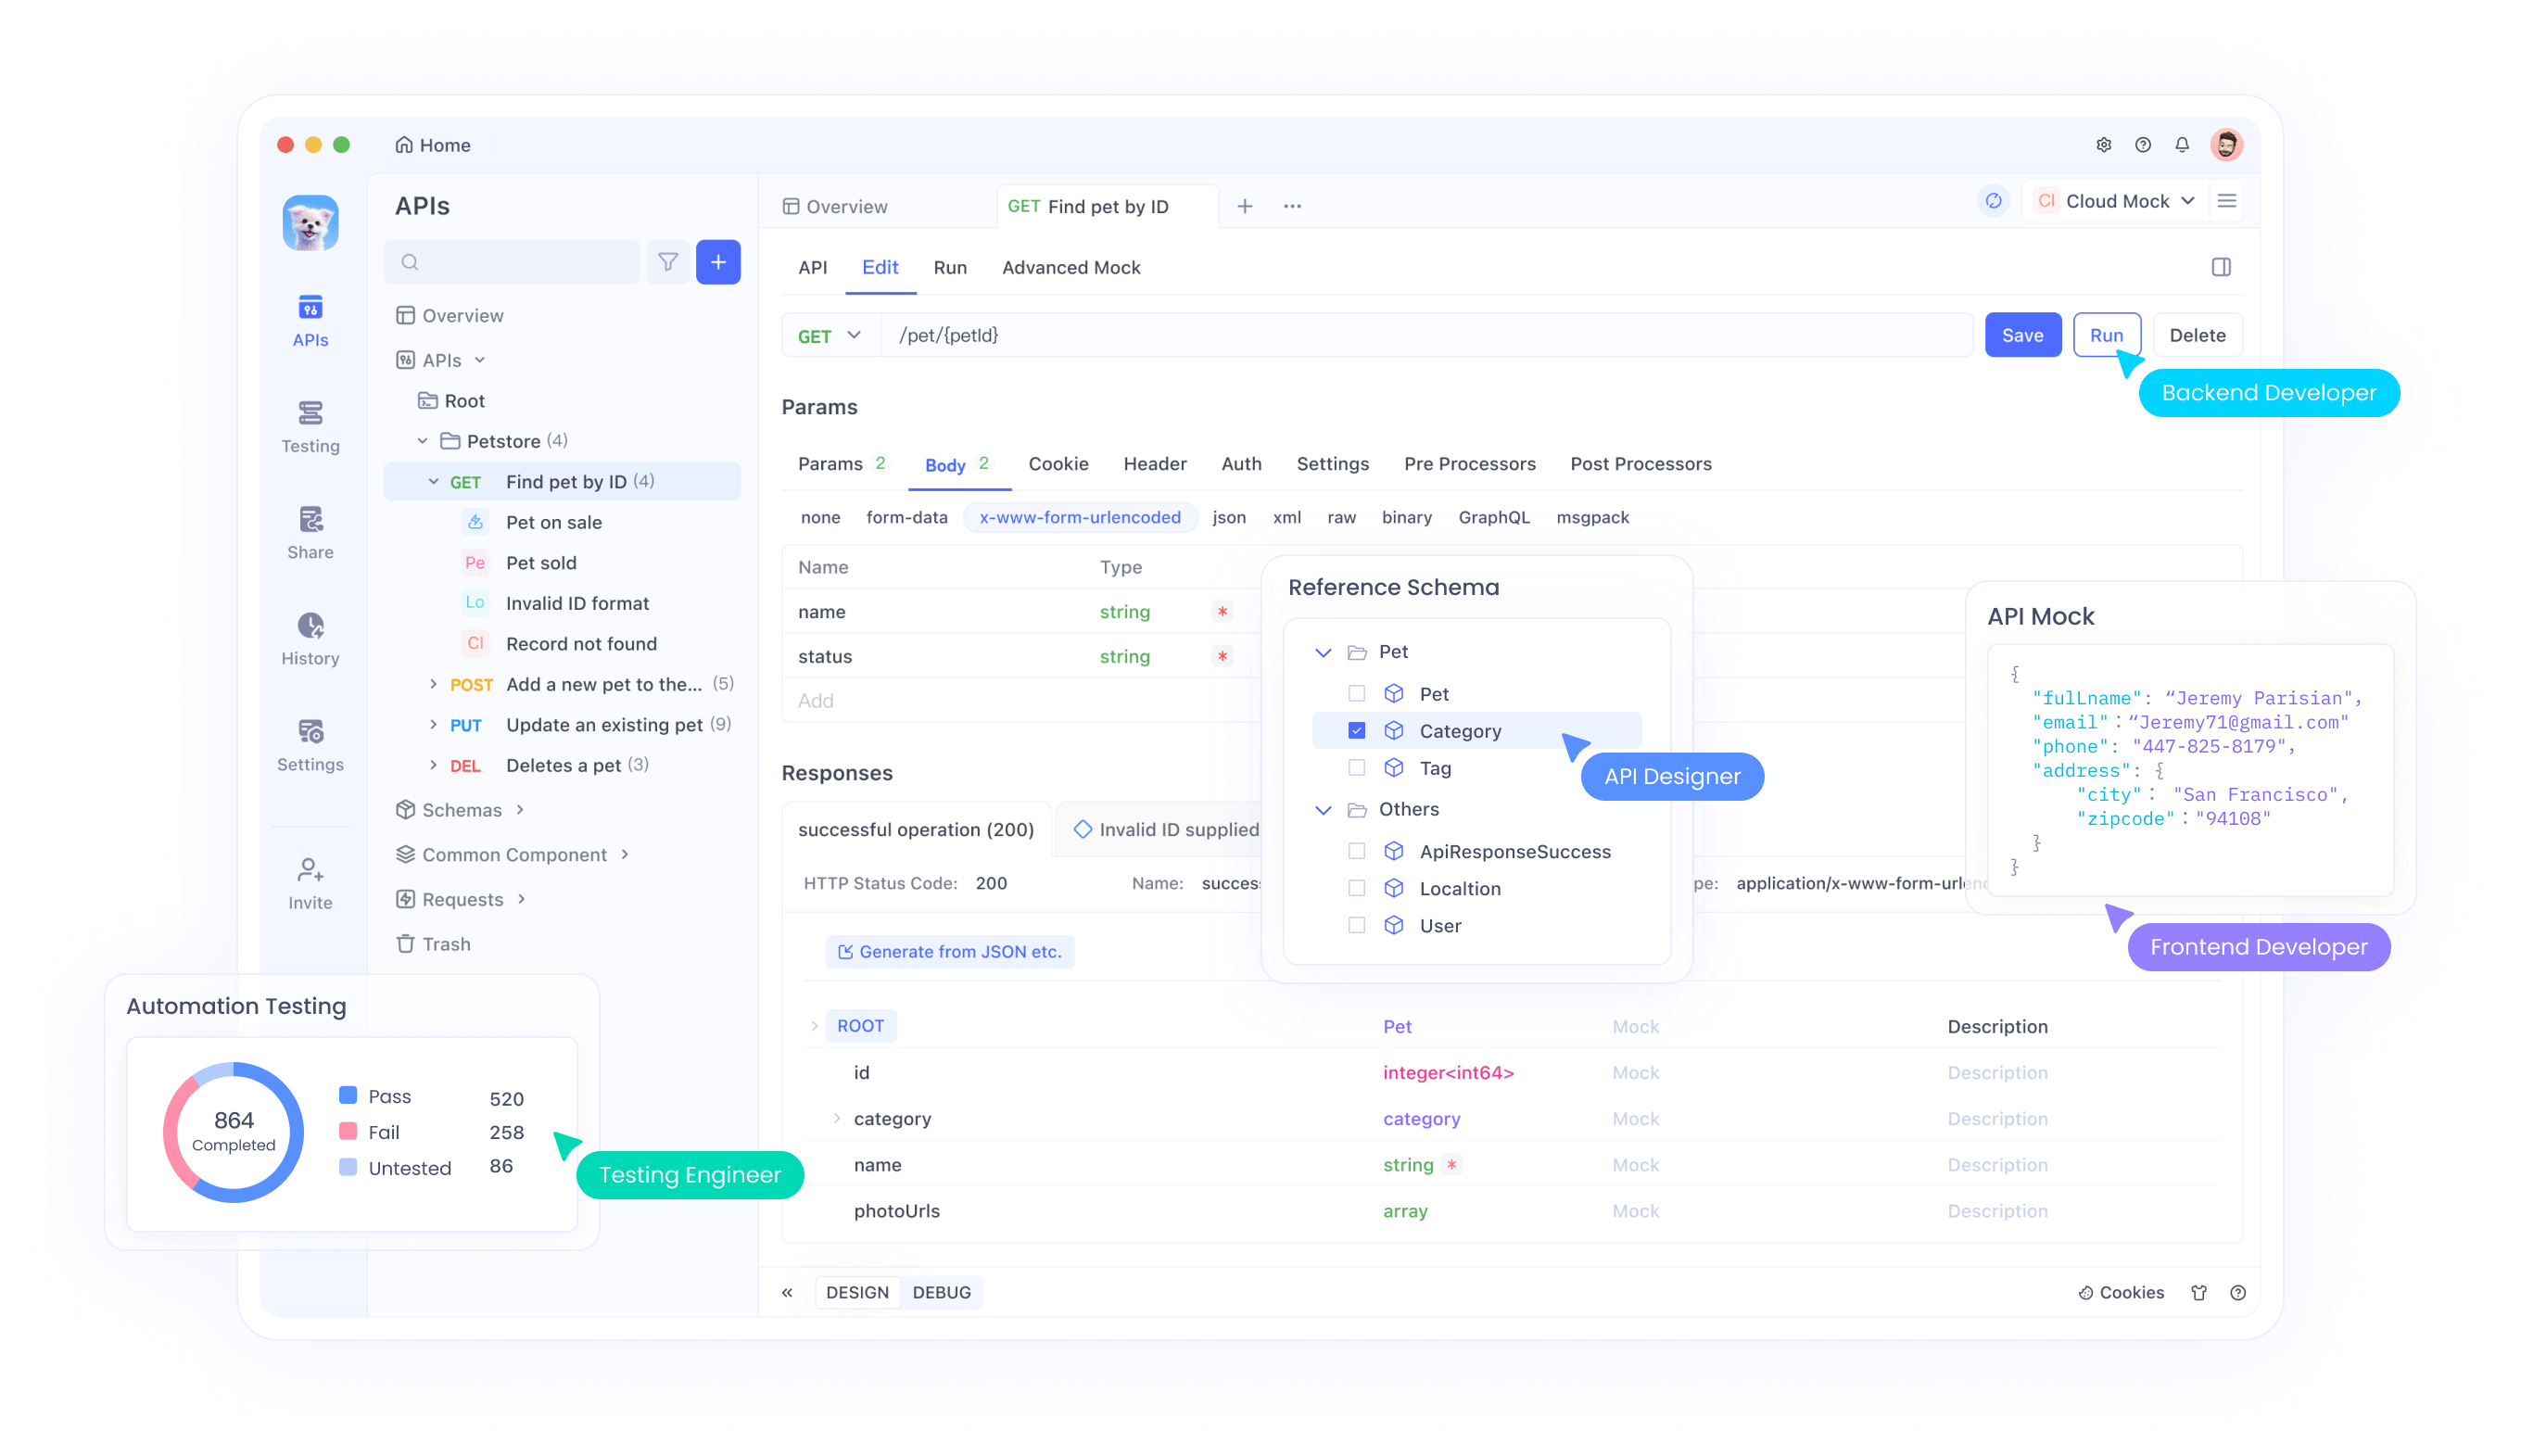
When it comes to testing and debugging your GraphQL API, you need a robust tool. That's where Apidog comes in handy. Apidog is a powerful API development tool that helps you design, test, and document APIs efficiently. With its intuitive interface and advanced features, Apidog simplifies the entire API lifecycle.
Why Use Apidog?
- Ease of Use: Apidog’s user-friendly interface makes it easy to create and manage APIs.
- Comprehensive Testing: It offers advanced testing capabilities to ensure your APIs work as expected.
- Detailed Documentation: Apidog automatically generates detailed documentation for your APIs.
- Collaborative Features: It allows multiple team members to collaborate on API development and testing.
Getting Started with Apidog
Download Apidog for free from their official website. Once you have it installed, follow these steps to start using it with your GraphQL API:
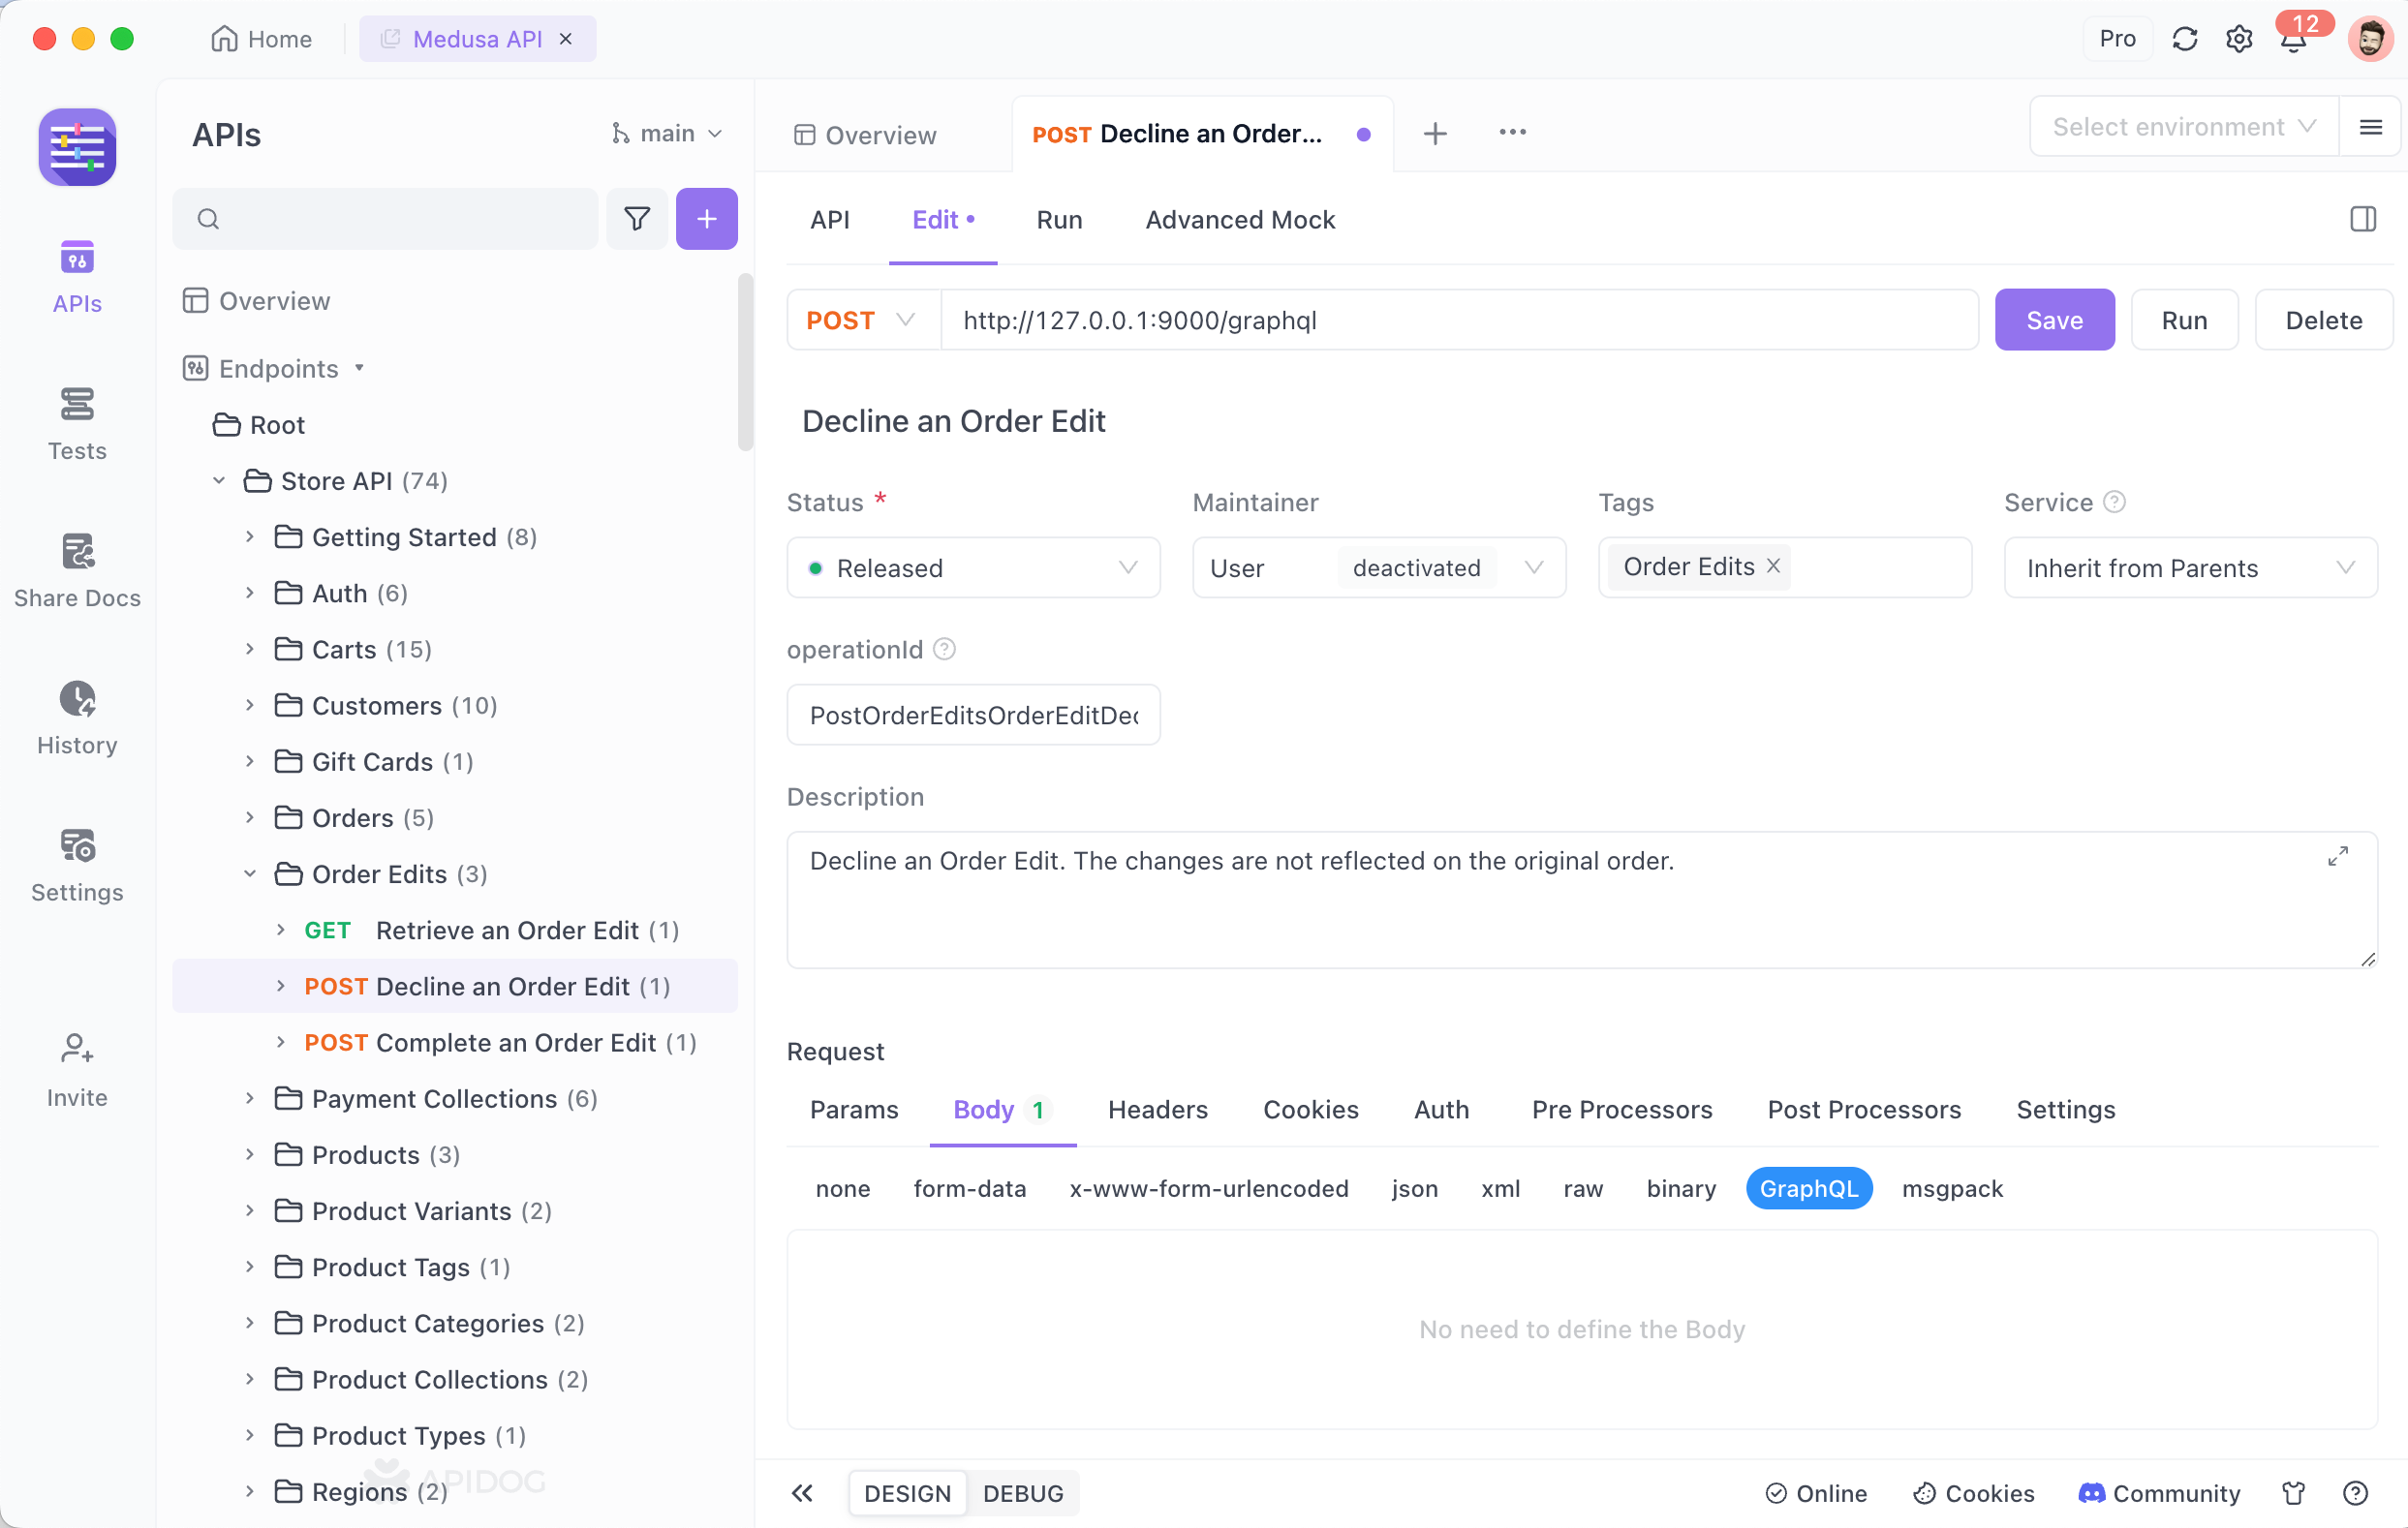
To create a new GraphQL request in a project, click on "Body" → "GraphQL" in sequence.
Enter your query in the Query box on the "Run" tab. You can also click the manual Fetch Schema button in the input box to enable the "code completion" feature for Query expressions, assisting in entering Query statements.
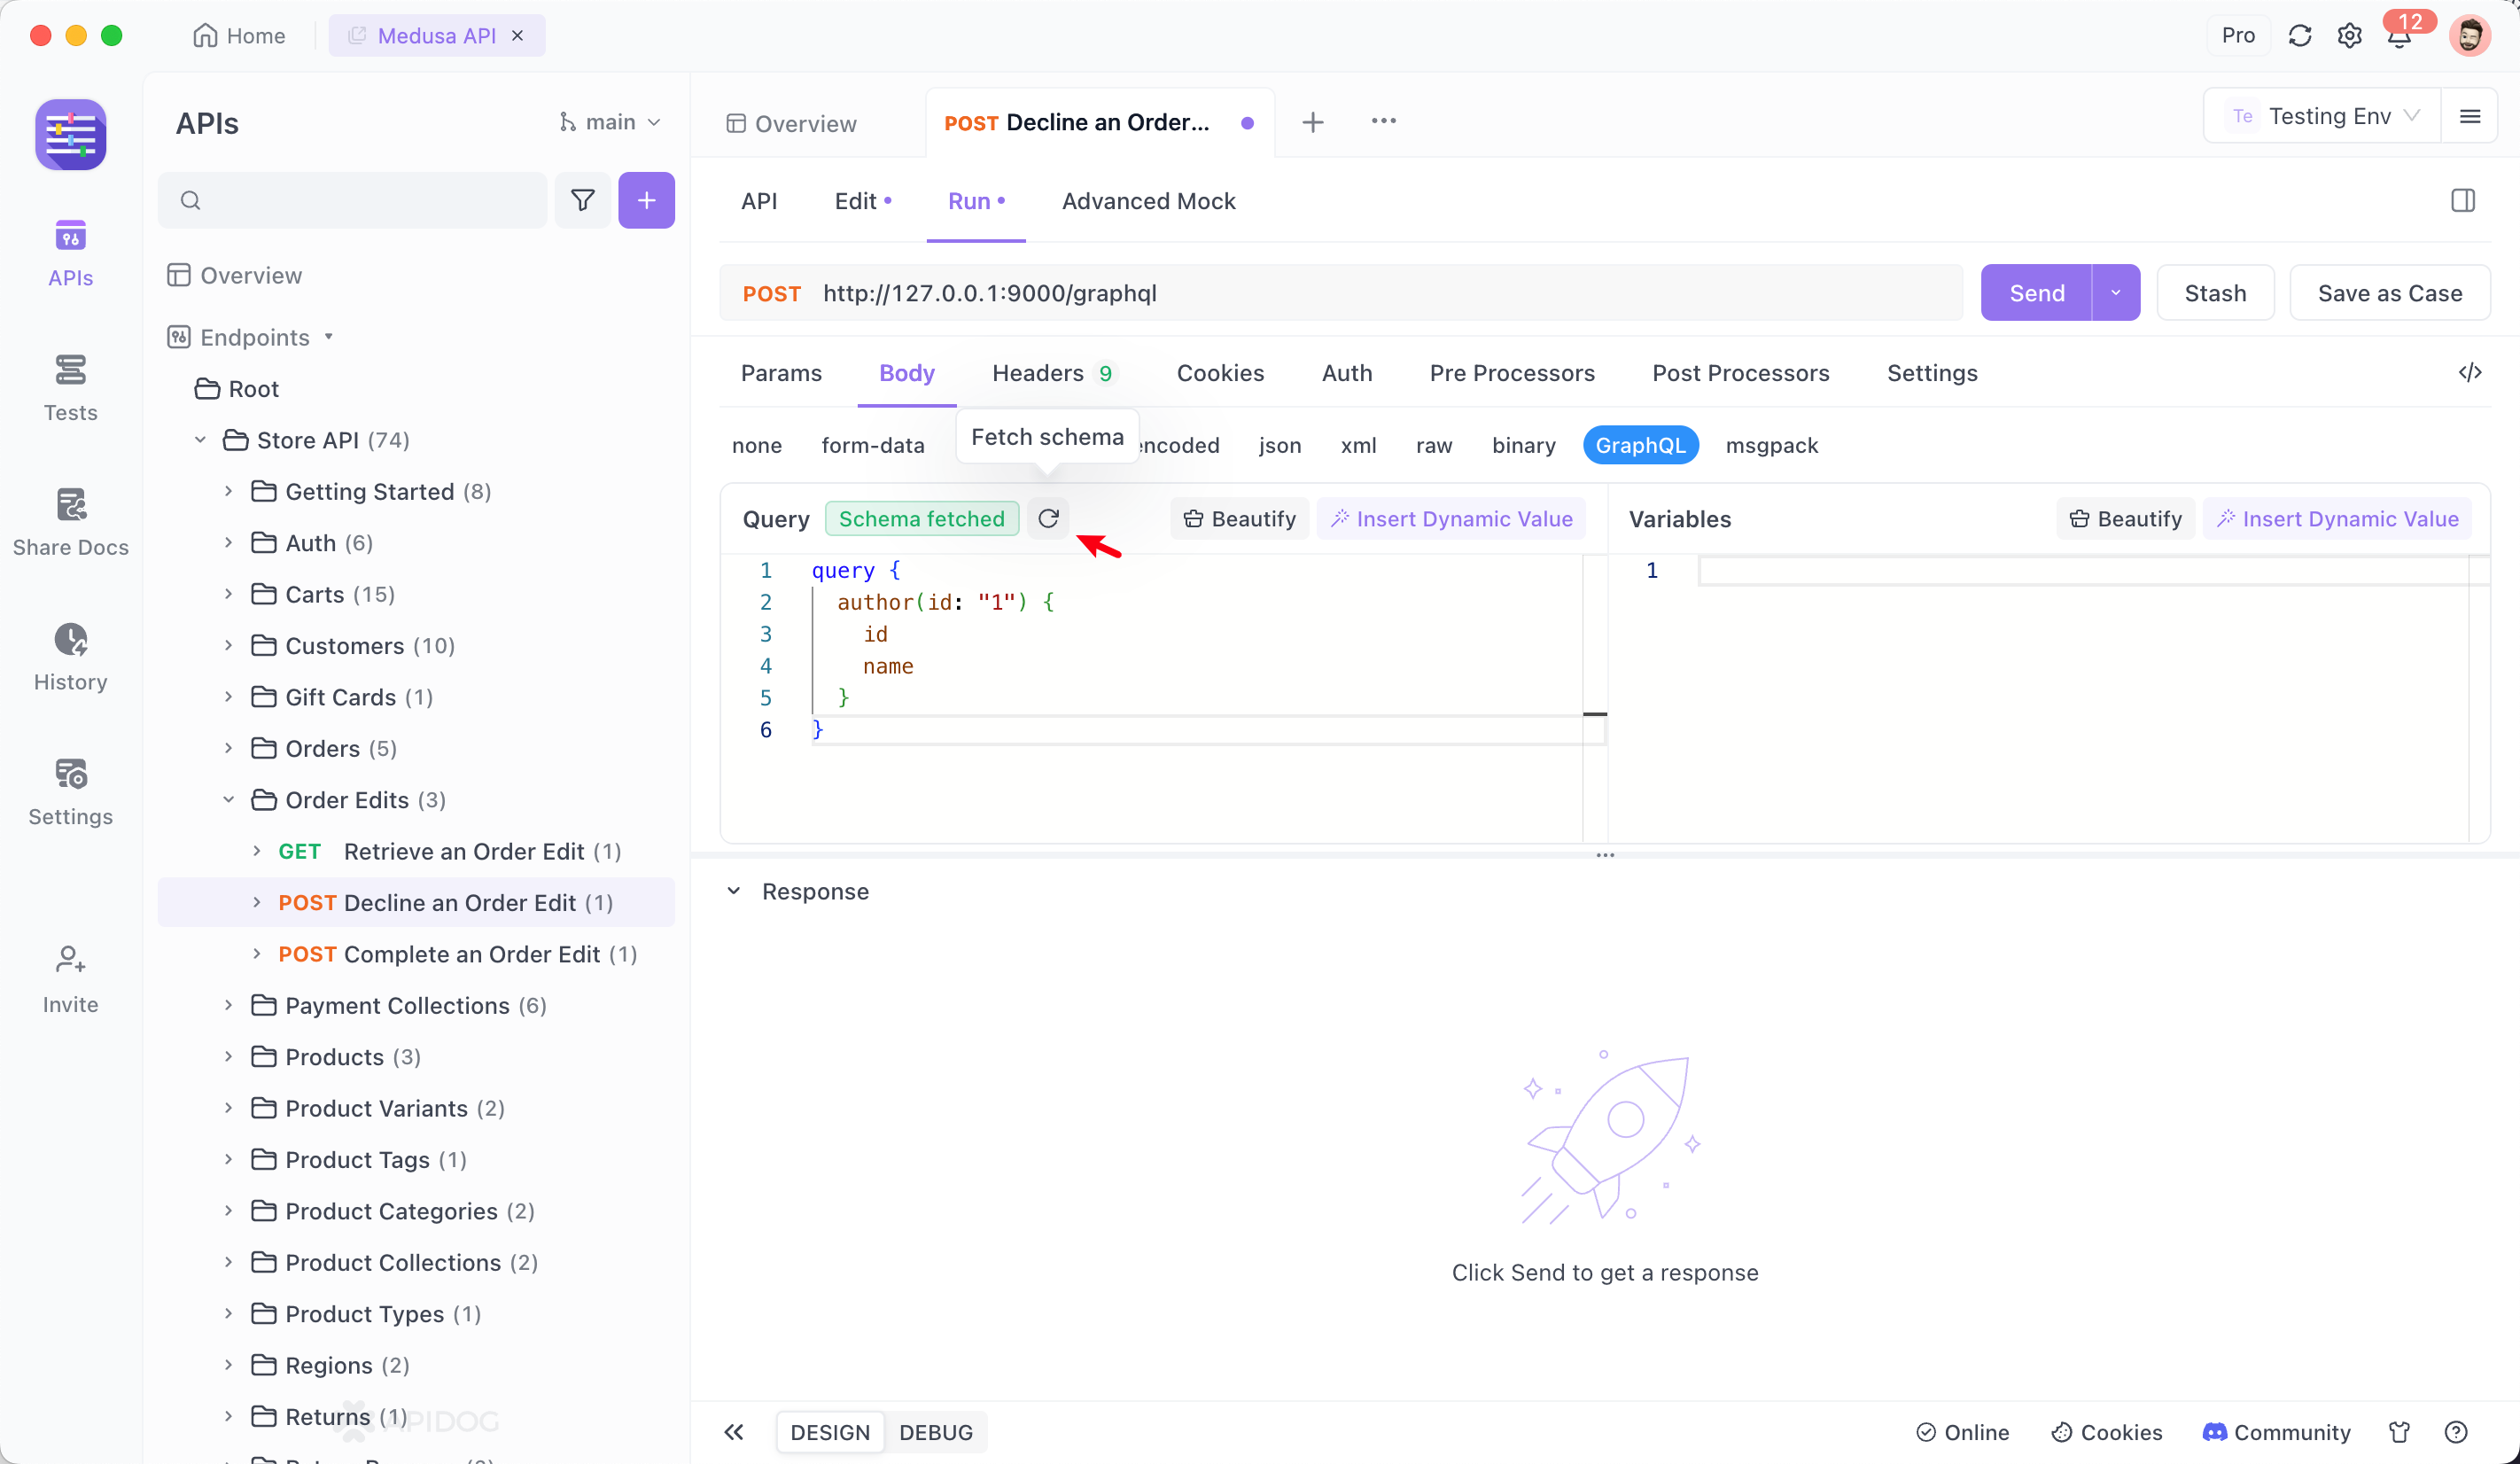
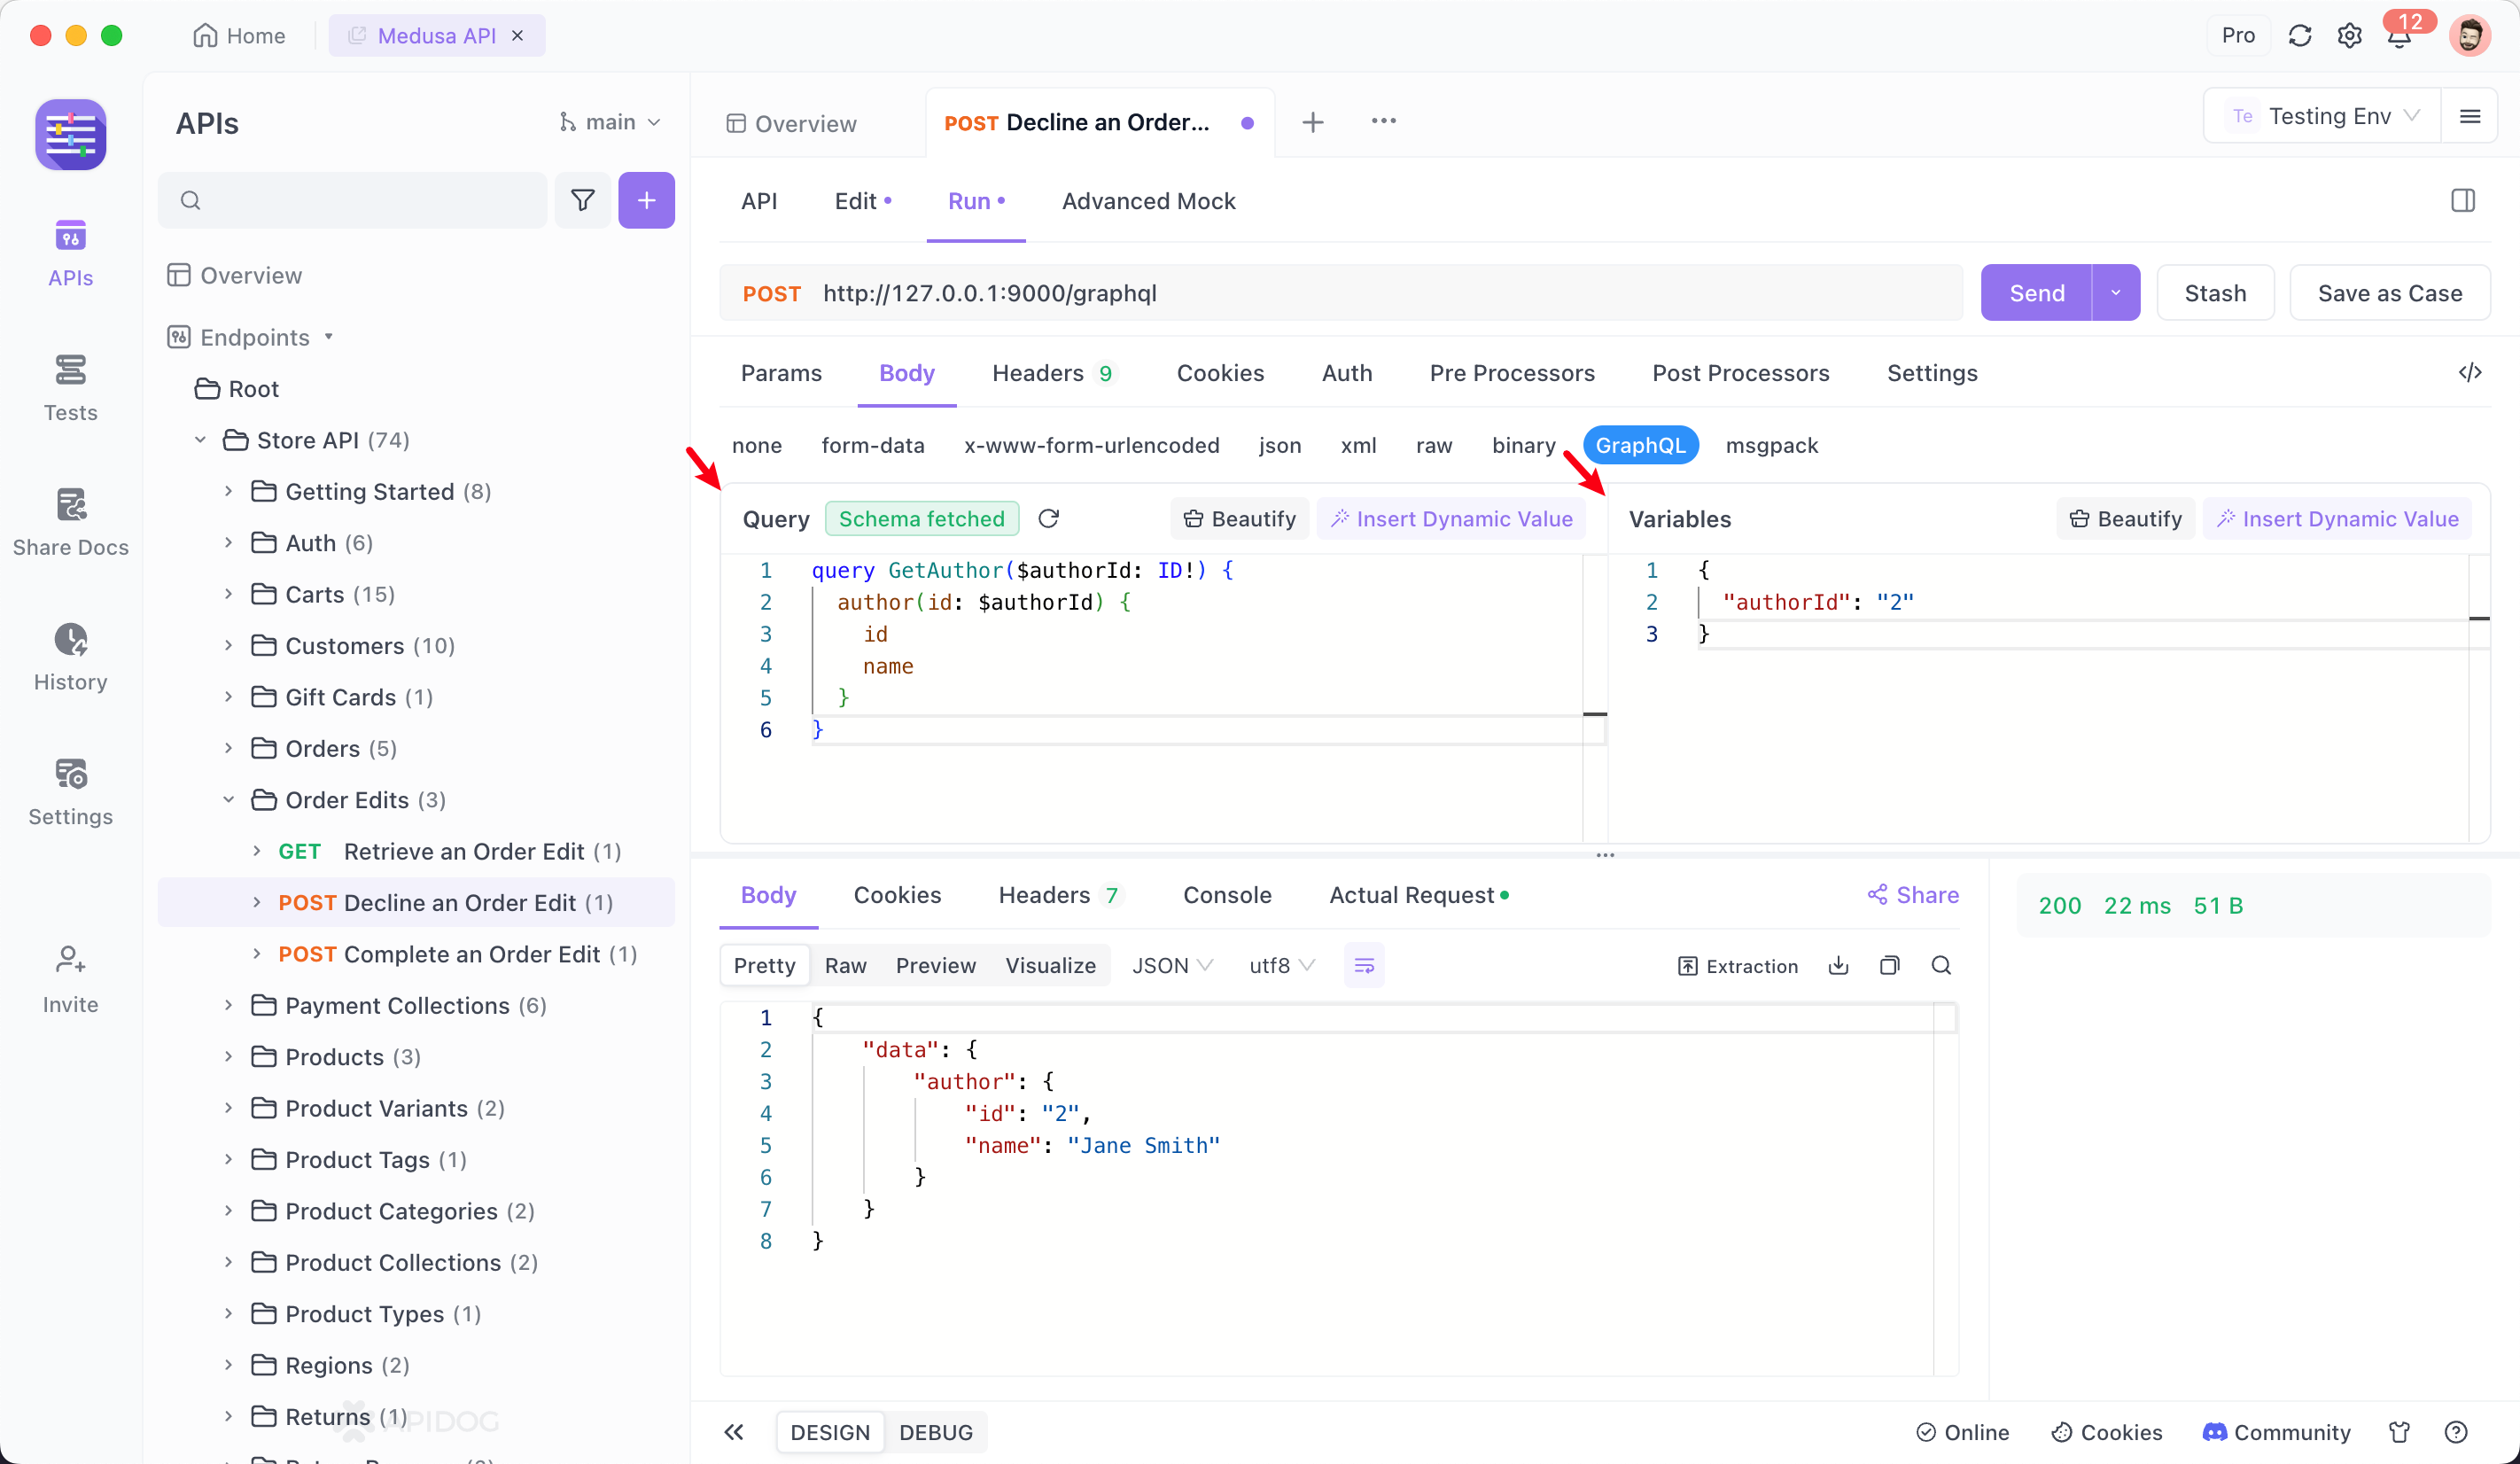
Query statements support using GraphQL variables for requesting. For specific usage, please refer to the GraphQL syntax.
Advanced GraphQL Features
GraphQL offers several advanced features that can further enhance your API development experience. Let's explore a few of them:
Mutations
In addition to querying data, you can also modify data using GraphQL mutations. Let’s add a mutation to create a new post.
class CreatePost(graphene.Mutation):
    class Arguments:
        title = graphene.String(required=True)
        content = graphene.String(required=True)
        author_id = graphene.ID(required=True)

    post = graphene.Field(lambda: Post)

    def mutate(self, info, title, content, author_id):
        author = User(id=author_id, username="john_doe", email="john@example.com")
        post = Post(id="3", title=title, content=content, author=author)
        return CreatePost(post=post)

class Mutation(graphene.ObjectType):
    create_post = CreatePost.Field()

schema = graphene.Schema(query=Query, mutation=Mutation)
Subscriptions
GraphQL subscriptions allow you to listen for real-time updates. This is particularly useful for applications that require live updates, such as chat applications or live sports scores.
import asyncio
import graphene
import websockets
from graphql import GraphQLError

class Message(graphene.ObjectType):
    content = graphene.String()
    author = graphene.String()

class Subscription(graphene.ObjectType):
    message_sent = graphene.Field(Message)

    async def subscribe_message_sent(root, info):
        while True:
            message = await get_new_message()
            yield {"message_sent": message}

async def get_new_message():
    # Simulate receiving a new message
    await asyncio.sleep(2)
    return Message(content="Hello, World!", author="john_doe")

schema = graphene.Schema(query=Query, mutation=Mutation, subscription=Subscription)
Security Considerations
When building APIs, security should always be a top priority. Here are a few best practices for securing your GraphQL APIs:
- Rate Limiting: Implement rate limiting to prevent abuse of your API.
- Authentication and Authorization: Ensure that only authorized users can access certain parts of your API.
- Input Validation: Validate all inputs to prevent injection attacks.
- Logging and Monitoring: Keep track of all API requests and monitor for suspicious activity.
Conclusion
GraphQL and Python make a powerful combination for building efficient and flexible APIs. With the help of libraries like Graphene and tools like Apidog, you can streamline your development process and build robust APIs that cater to your specific needs. Whether you’re building a simple blog API or a complex real-time application, the principles and techniques discussed in this guide will help you get started on the right foot.
So, what are you waiting for? Dive into the world of GraphQL with Python, and don’t forget to download Apidog for free to make your development journey even smoother. Happy coding!


