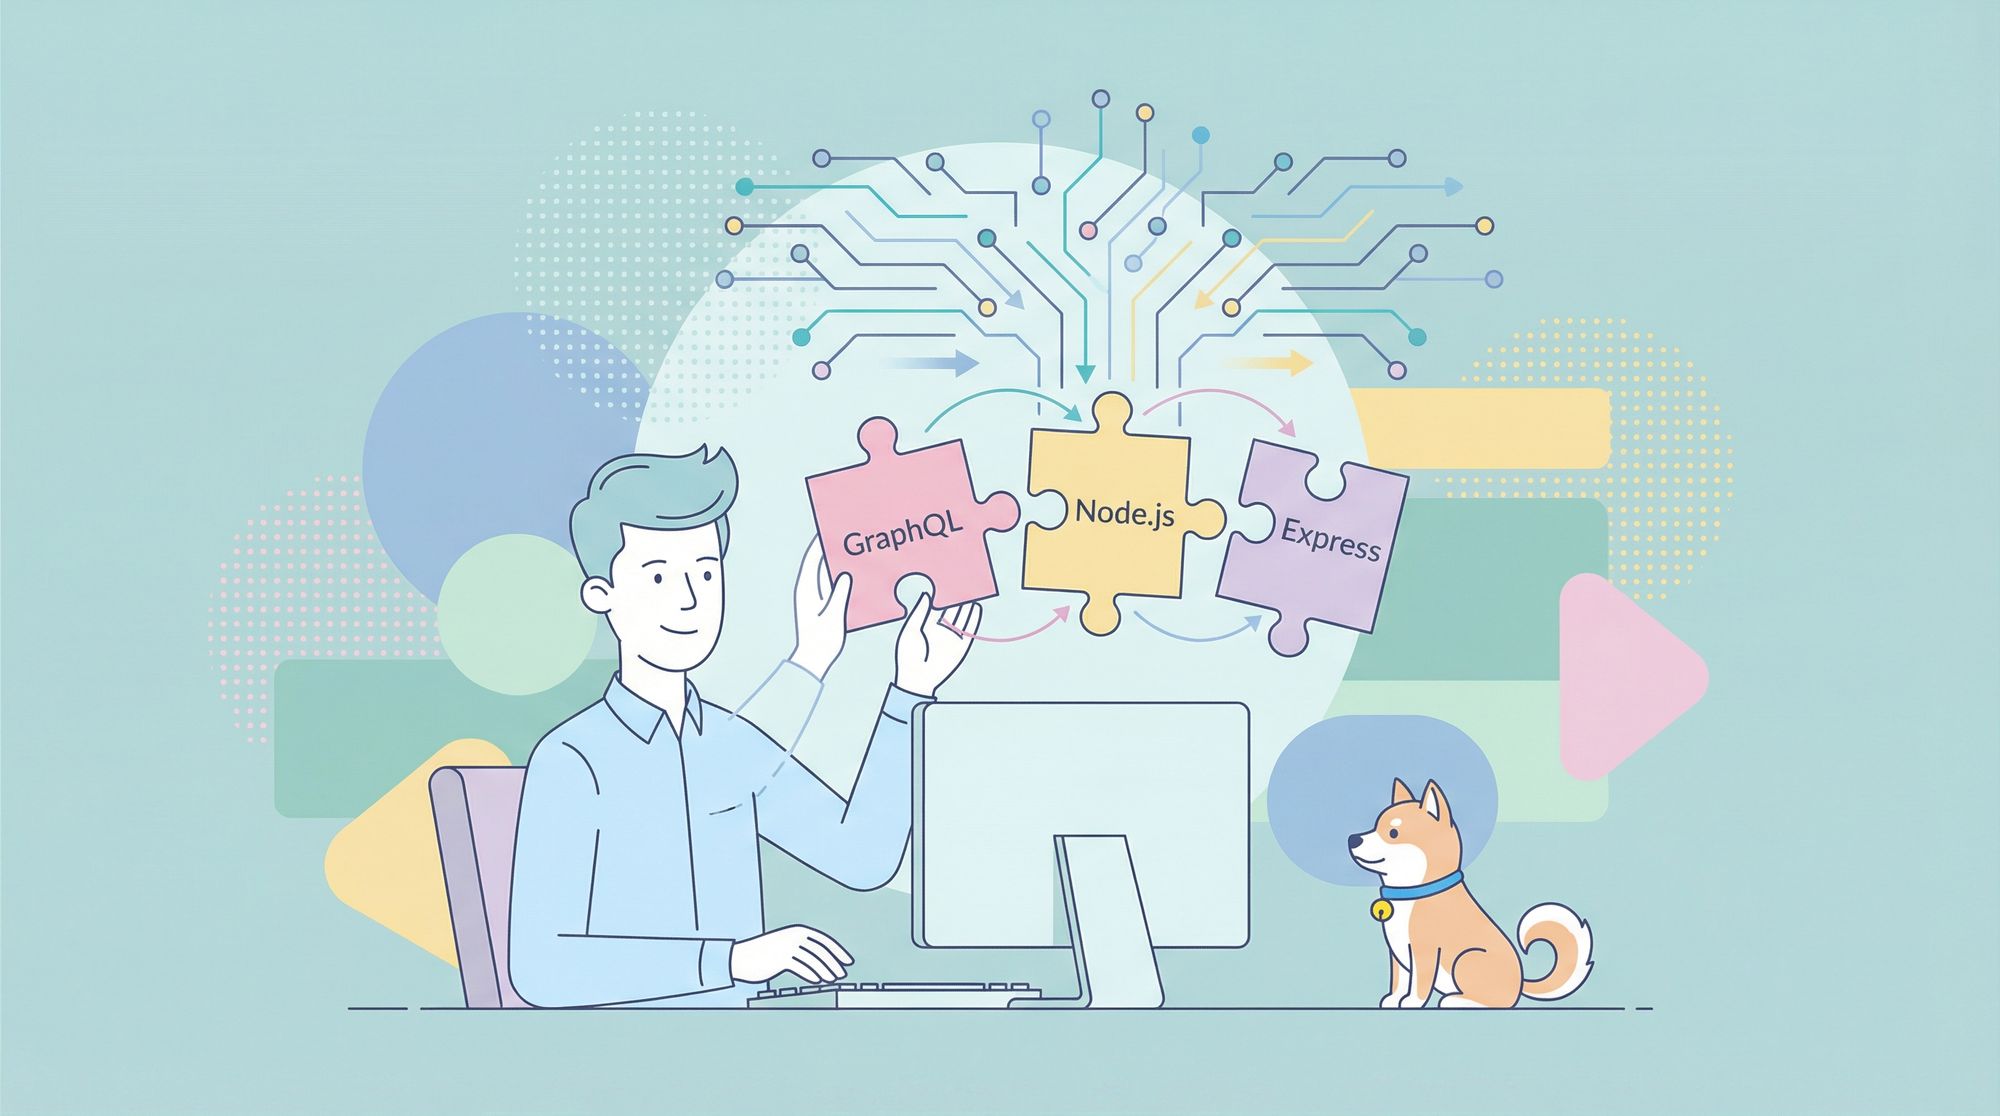
Are you ready to revolutionize the way you build APIs? If you’ve been in the development world for a while, you've likely heard about GraphQL, Node.js, and Express. Together, these technologies create a powerful toolkit for building modern, efficient APIs. Today, we're diving deep into the world of GraphQL with Node.js and Express to help you understand and implement this combination in your projects.
But first, let me introduce you to a tool that will make your API development even smoother: Apidog. Apidog is a free API testing and management tool that integrates seamlessly with GraphQL, Node.js, and Express. If you want to streamline your API development process, download Apidogfor free and see the difference it makes!
Introduction to GraphQL, Node.js, and Express
What is GraphQL?
GraphQL is a query language for your API, and a server-side runtime for executing queries by using a type system you define for your data. Developed by Facebook, it provides a more efficient, powerful, and flexible alternative to REST. With GraphQL, you can request exactly the data you need, avoiding over-fetching or under-fetching of data.
What is Node.js?
Node.js is a JavaScript runtime built on Chrome's V8 JavaScript engine. It allows developers to build scalable network applications using JavaScript on the server-side. Node.js is known for its event-driven, non-blocking I/O model that makes it lightweight and efficient.
What is Express?
Express is a minimal and flexible Node.js web application framework that provides a robust set of features to develop web and mobile applications. It facilitates the rapid development of Node-based web applications and is often used as the backbone for building RESTful APIs.
Setting Up Your Development Environment
Before we start building our API, let's set up our development environment. Here’s what you’ll need:
- Node.js and npm (Node Package Manager) installed
- A code editor (like Visual Studio Code)
- A terminal or command prompt
Installing Node.js and npm
Download and install Node.js from the official Node.js website. npm comes bundled with Node.js, so you don’t need to install it separately.
Initializing a New Node.js Project
Open your terminal and create a new directory for your project. Navigate into your project directory and run the following command to initialize a new Node.js project:
npm init -y
This command will create a package.json file in your project directory.
Creating a Basic Express Server
Now that our project is set up, let's create a basic Express server.
Installing Express
Run the following command to install Express:
npm install express
Creating the Server
Create a new file named server.js and add the following code:
const express = require('express');
const app = express();
const PORT = process.env.PORT || 4000;

app.get('/', (req, res) => {
  res.send('Hello World!');
});

app.listen(PORT, () => {
  console.log(`Server is running on port ${PORT}`);
});
This code sets up a basic Express server that listens on port 4000 and responds with "Hello World!" when accessed at the root URL.
To start the server, run:
node server.js
Visit http://localhost:4000 in your browser to see the "Hello World!" message.
Integrating GraphQL with Express
With our basic server up and running, it's time to integrate GraphQL.
Installing GraphQL and Apollo Server
Apollo Server is a community-maintained, open-source GraphQL server that's compatible with any GraphQL client. We'll use it to handle our GraphQL requests.
Install Apollo Server and GraphQL:
npm install apollo-server-express graphql
Setting Up Apollo Server
Modify server.js to set up Apollo Server with Express:
const express = require('express');
const { ApolloServer, gql } = require('apollo-server-express');
const app = express();
const PORT = process.env.PORT || 4000;

// Define the schema
const typeDefs = gql`
  type Query {
    hello: String
  }
`;

// Define the resolvers
const resolvers = {
  Query: {
    hello: () => 'Hello World!',
  },
};

// Create an instance of ApolloServer
const server = new ApolloServer({ typeDefs, resolvers });

// Apply middleware to connect ApolloServer with Express
server.applyMiddleware({ app });

app.listen(PORT, () => {
  console.log(`Server is running on port ${PORT}${server.graphqlPath}`);
});
This code sets up a basic Apollo Server with a single hello query that returns "Hello World!".
Defining GraphQL Schemas and Resolvers
Now that we have a basic GraphQL server running, let's dive deeper into schemas and resolvers.
What is a Schema?
A GraphQL schema defines the types and relationships in your API. It describes what queries can be made and what data can be fetched.
What are Resolvers?
Resolvers are functions that handle fetching the data for a particular field in your schema. They tell GraphQL how to get the data for each query.
Defining More Complex Schemas
Expand your typeDefs and resolvers in server.js:
const typeDefs = gql`
  type Book {
    title: String
    author: String
  }

  type Query {
    books: [Book]
  }
`;

const books = [
  {
    title: 'The Awakening',
    author: 'Kate Chopin',
  },
  {
    title: 'City of Glass',
    author: 'Paul Auster',
  },
];

const resolvers = {
  Query: {
    books: () => books,
  },
};
This schema defines a Book type and a books query that returns a list of books.
Connecting to a Database
For a real-world application, you’ll need to connect your API to a database. Let's use MongoDB for this example.
Setting Up MongoDB
Sign up for a free MongoDB Atlas account or set up a local MongoDB instance. Then, install mongoose to interact with MongoDB from Node.js:
npm install mongoose
Connecting to MongoDB
Modify server.js to connect to MongoDB:
const mongoose = require('mongoose');

mongoose.connect('mongodb://localhost:27017/graphql', {
  useNewUrlParser: true,
  useUnifiedTopology: true,
});

const db = mongoose.connection;
db.on('error', console.error.bind(console, 'connection error:'));
db.once('open', () => {
  console.log('Connected to MongoDB');
});

// Define a Mongoose schema and model
const bookSchema = new mongoose.Schema({
  title: String,
  author: String,
});

const Book = mongoose.model('Book', bookSchema);

// Modify the resolver to fetch data from MongoDB
const resolvers = {
  Query: {
    books: async () => await Book.find(),
  },
};
Now, the books query fetches data from MongoDB.
Optimizing Your GraphQL API
To ensure your GraphQL API is efficient and performant, consider the following optimization techniques:
DataLoader for Efficient Batch Loading
DataLoader is a utility to batch and cache data fetching. It helps reduce the number of database requests.
Install DataLoader:
npm install dataloader
Use DataLoader in your resolvers:
const DataLoader = require('dataloader');

const bookLoader = new DataLoader(async (keys) => {
  const books = await Book.find({ _id: { $in: keys } });
  return keys.map((key) => books.find((book) => book.id === key));
});

const resolvers = {
  Query: {
    books: async () => await bookLoader.loadAll(),
  },
};
Caching
Implement caching strategies to avoid redundant data fetching. You can use in-memory caches like Redis to store frequently requested data.
Pagination
For queries that return large datasets, implement pagination to fetch data in chunks. Use limit and skip parameters to paginate results.
Testing Your API with Apidog
Testing your API is crucial to ensure it works as expected. Apidog simplifies this process with its intuitive interface and powerful features.
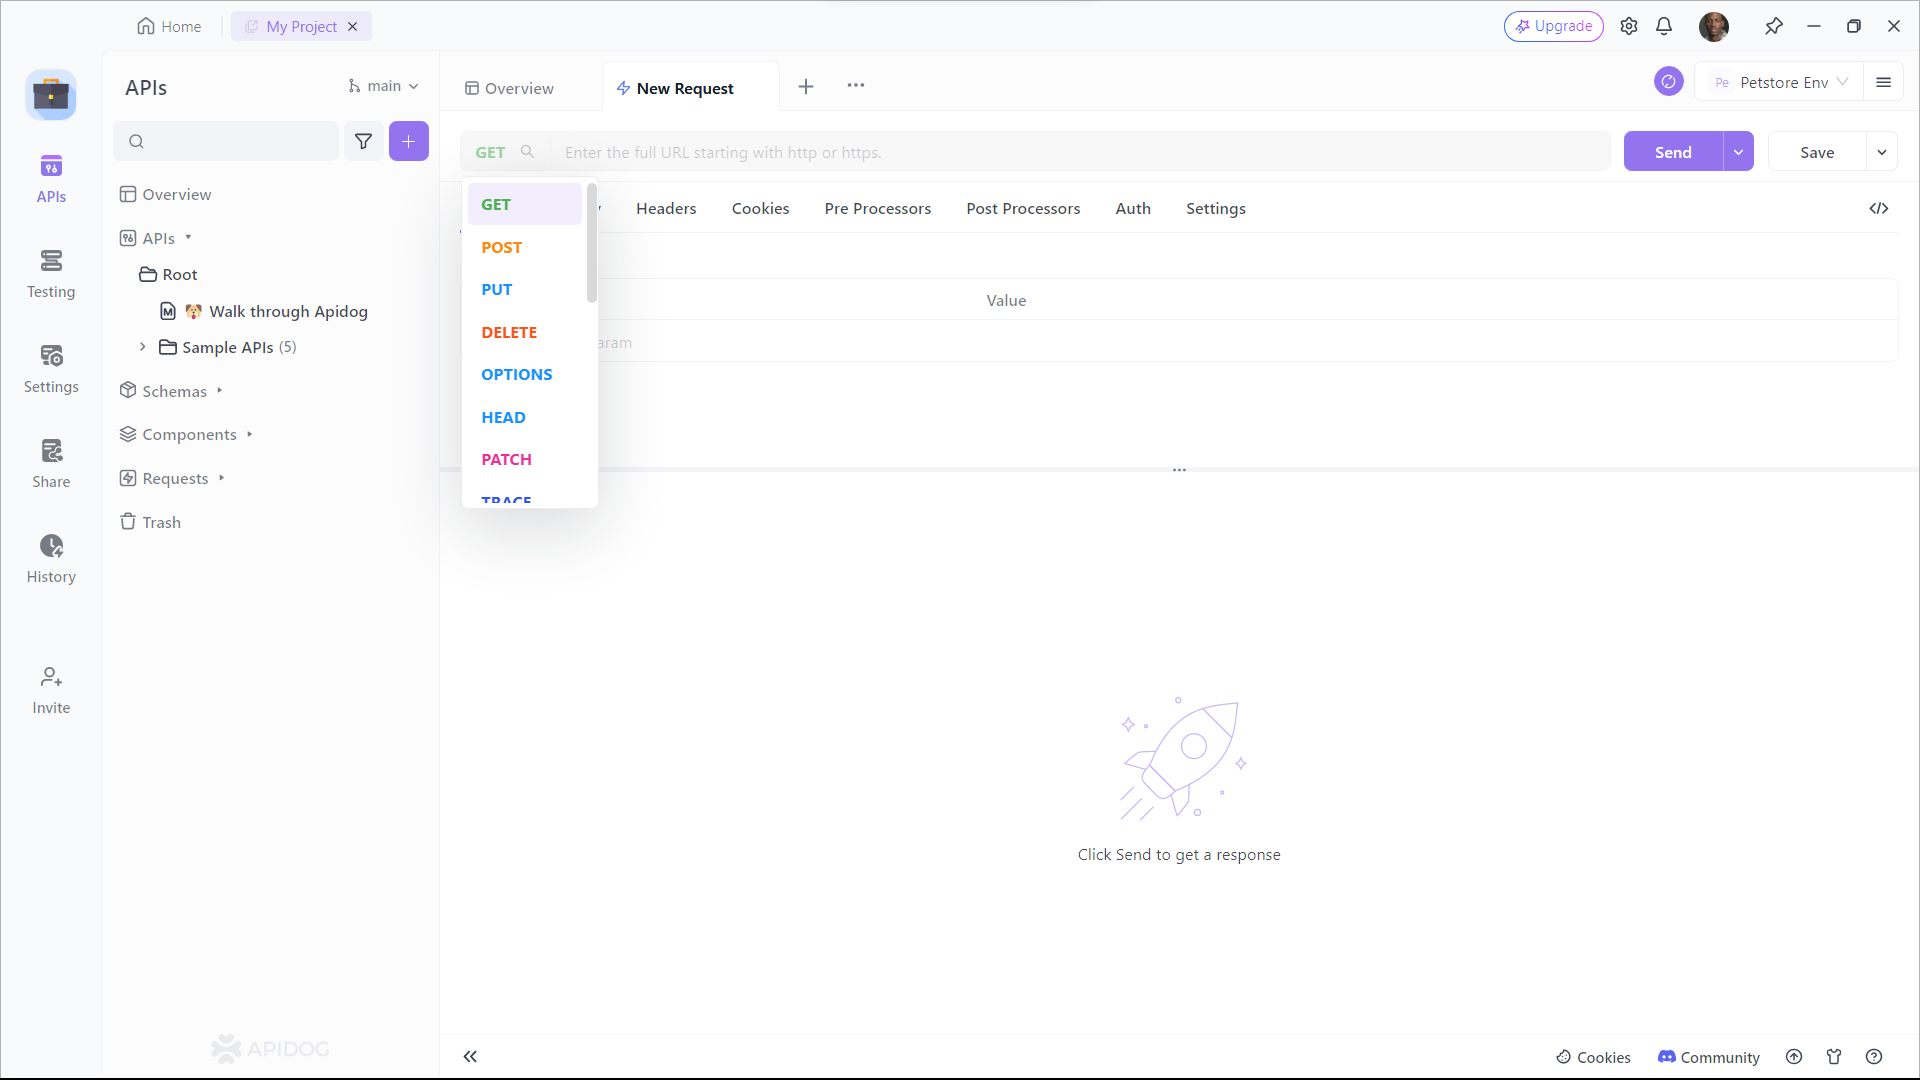
Step 1: Open Apidog and create a new request.
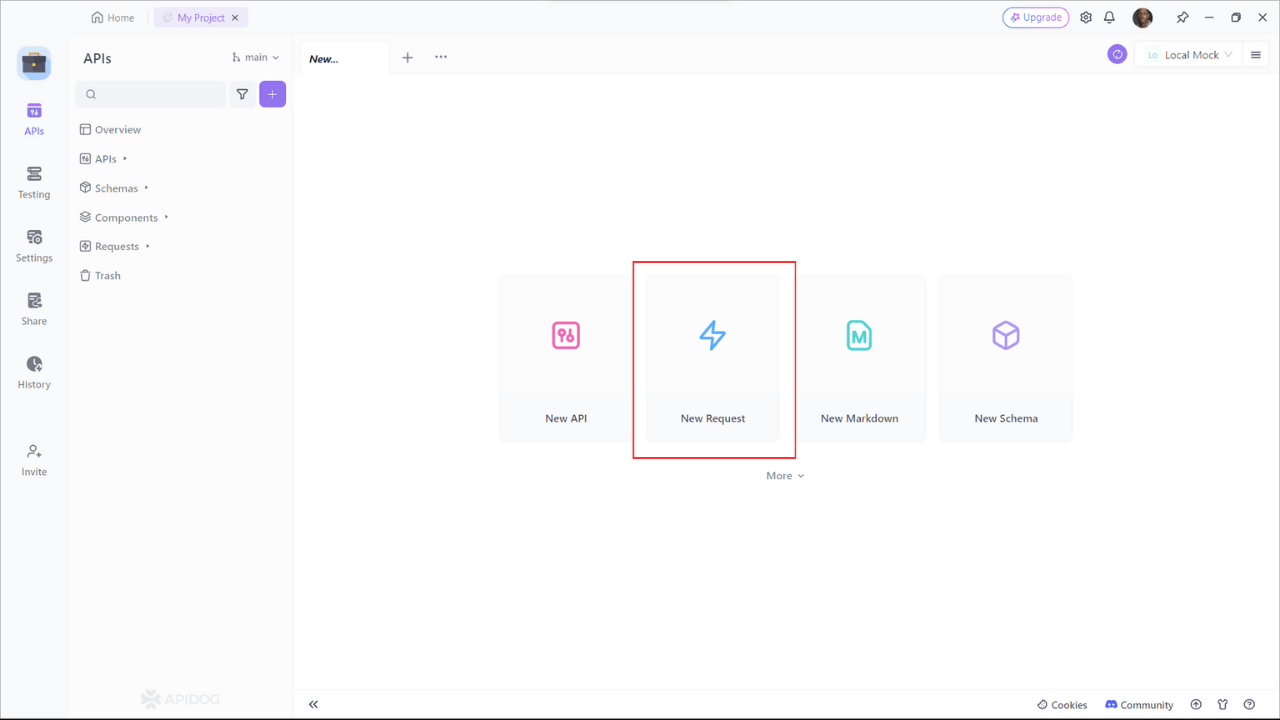
Step 2: Find or manually input the API details for the POST request you want to make.
Step 3: Fill in the required parameters and any data you want to include in the request body.
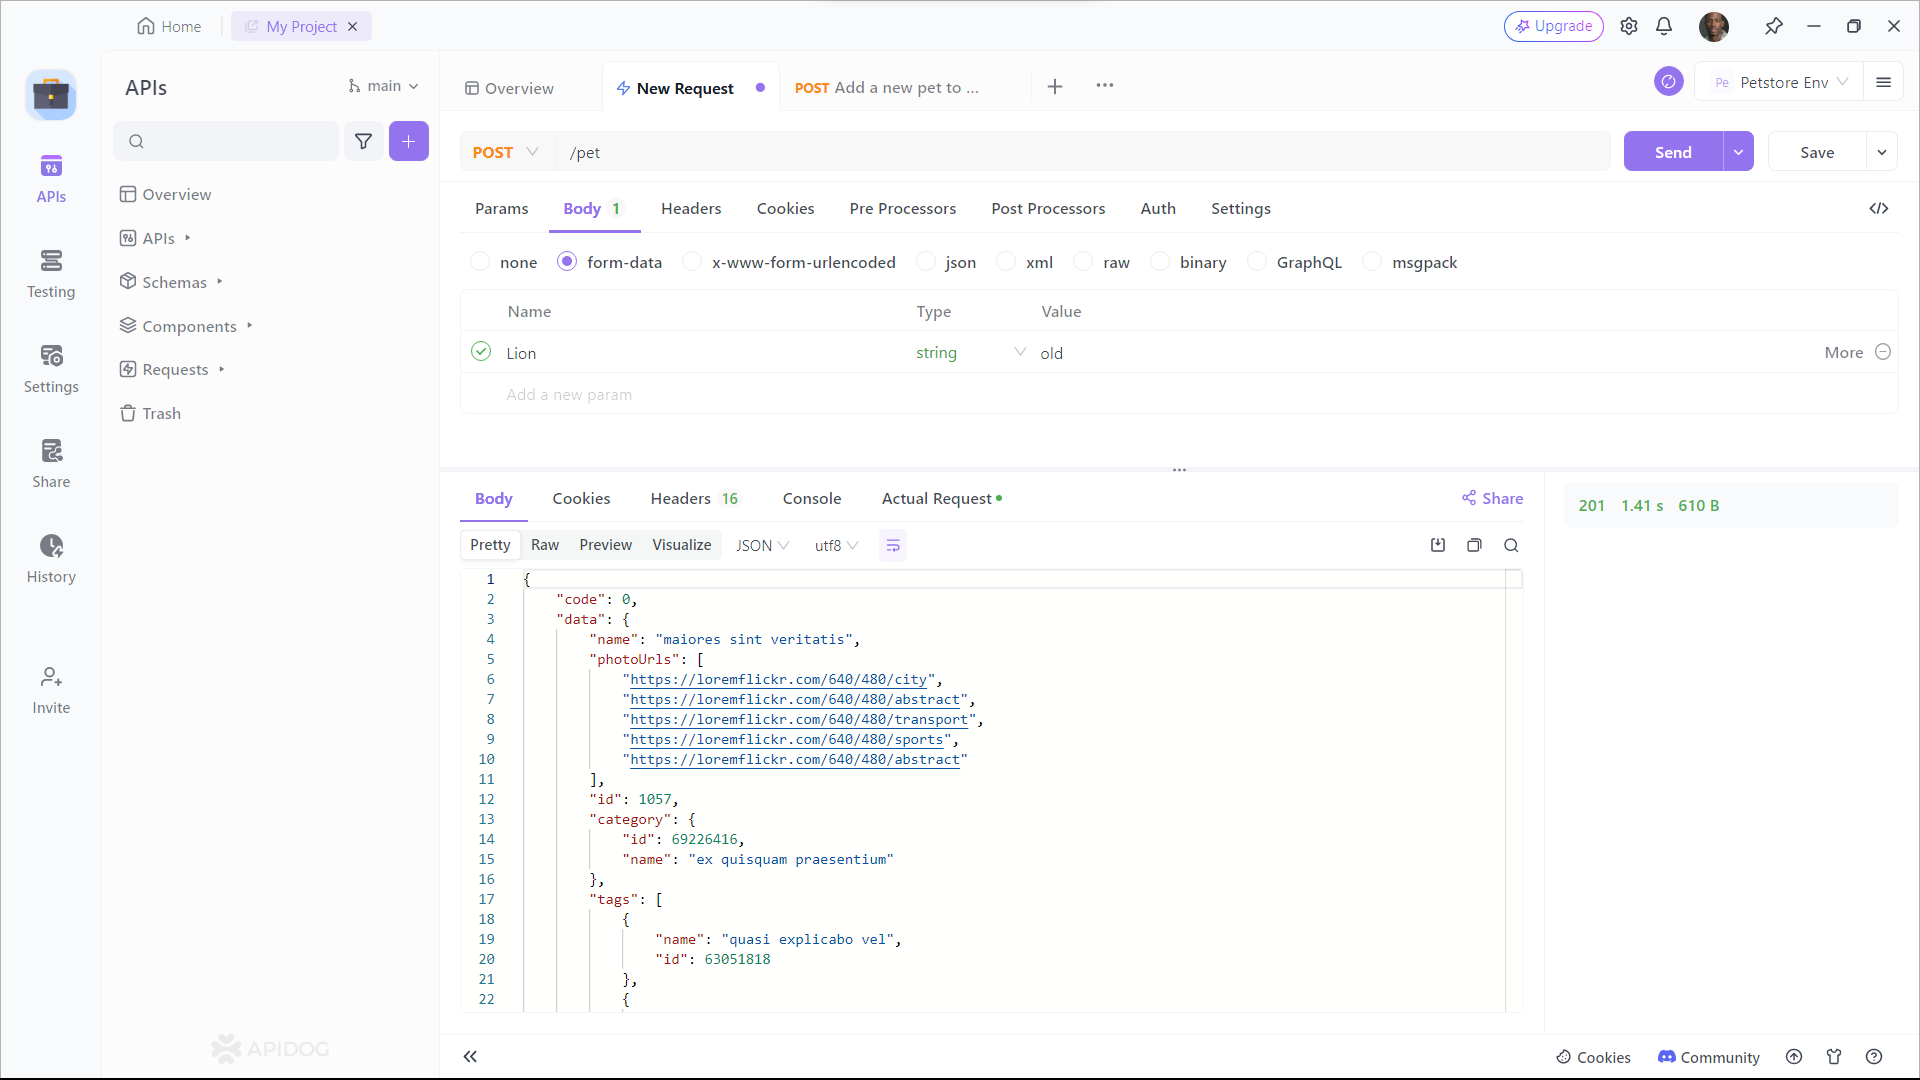
By integrating Apidog into your workflow, you can save time and avoid common pitfalls in API development. Plus, it's free to download and use!
Apidog with Your GraphQL
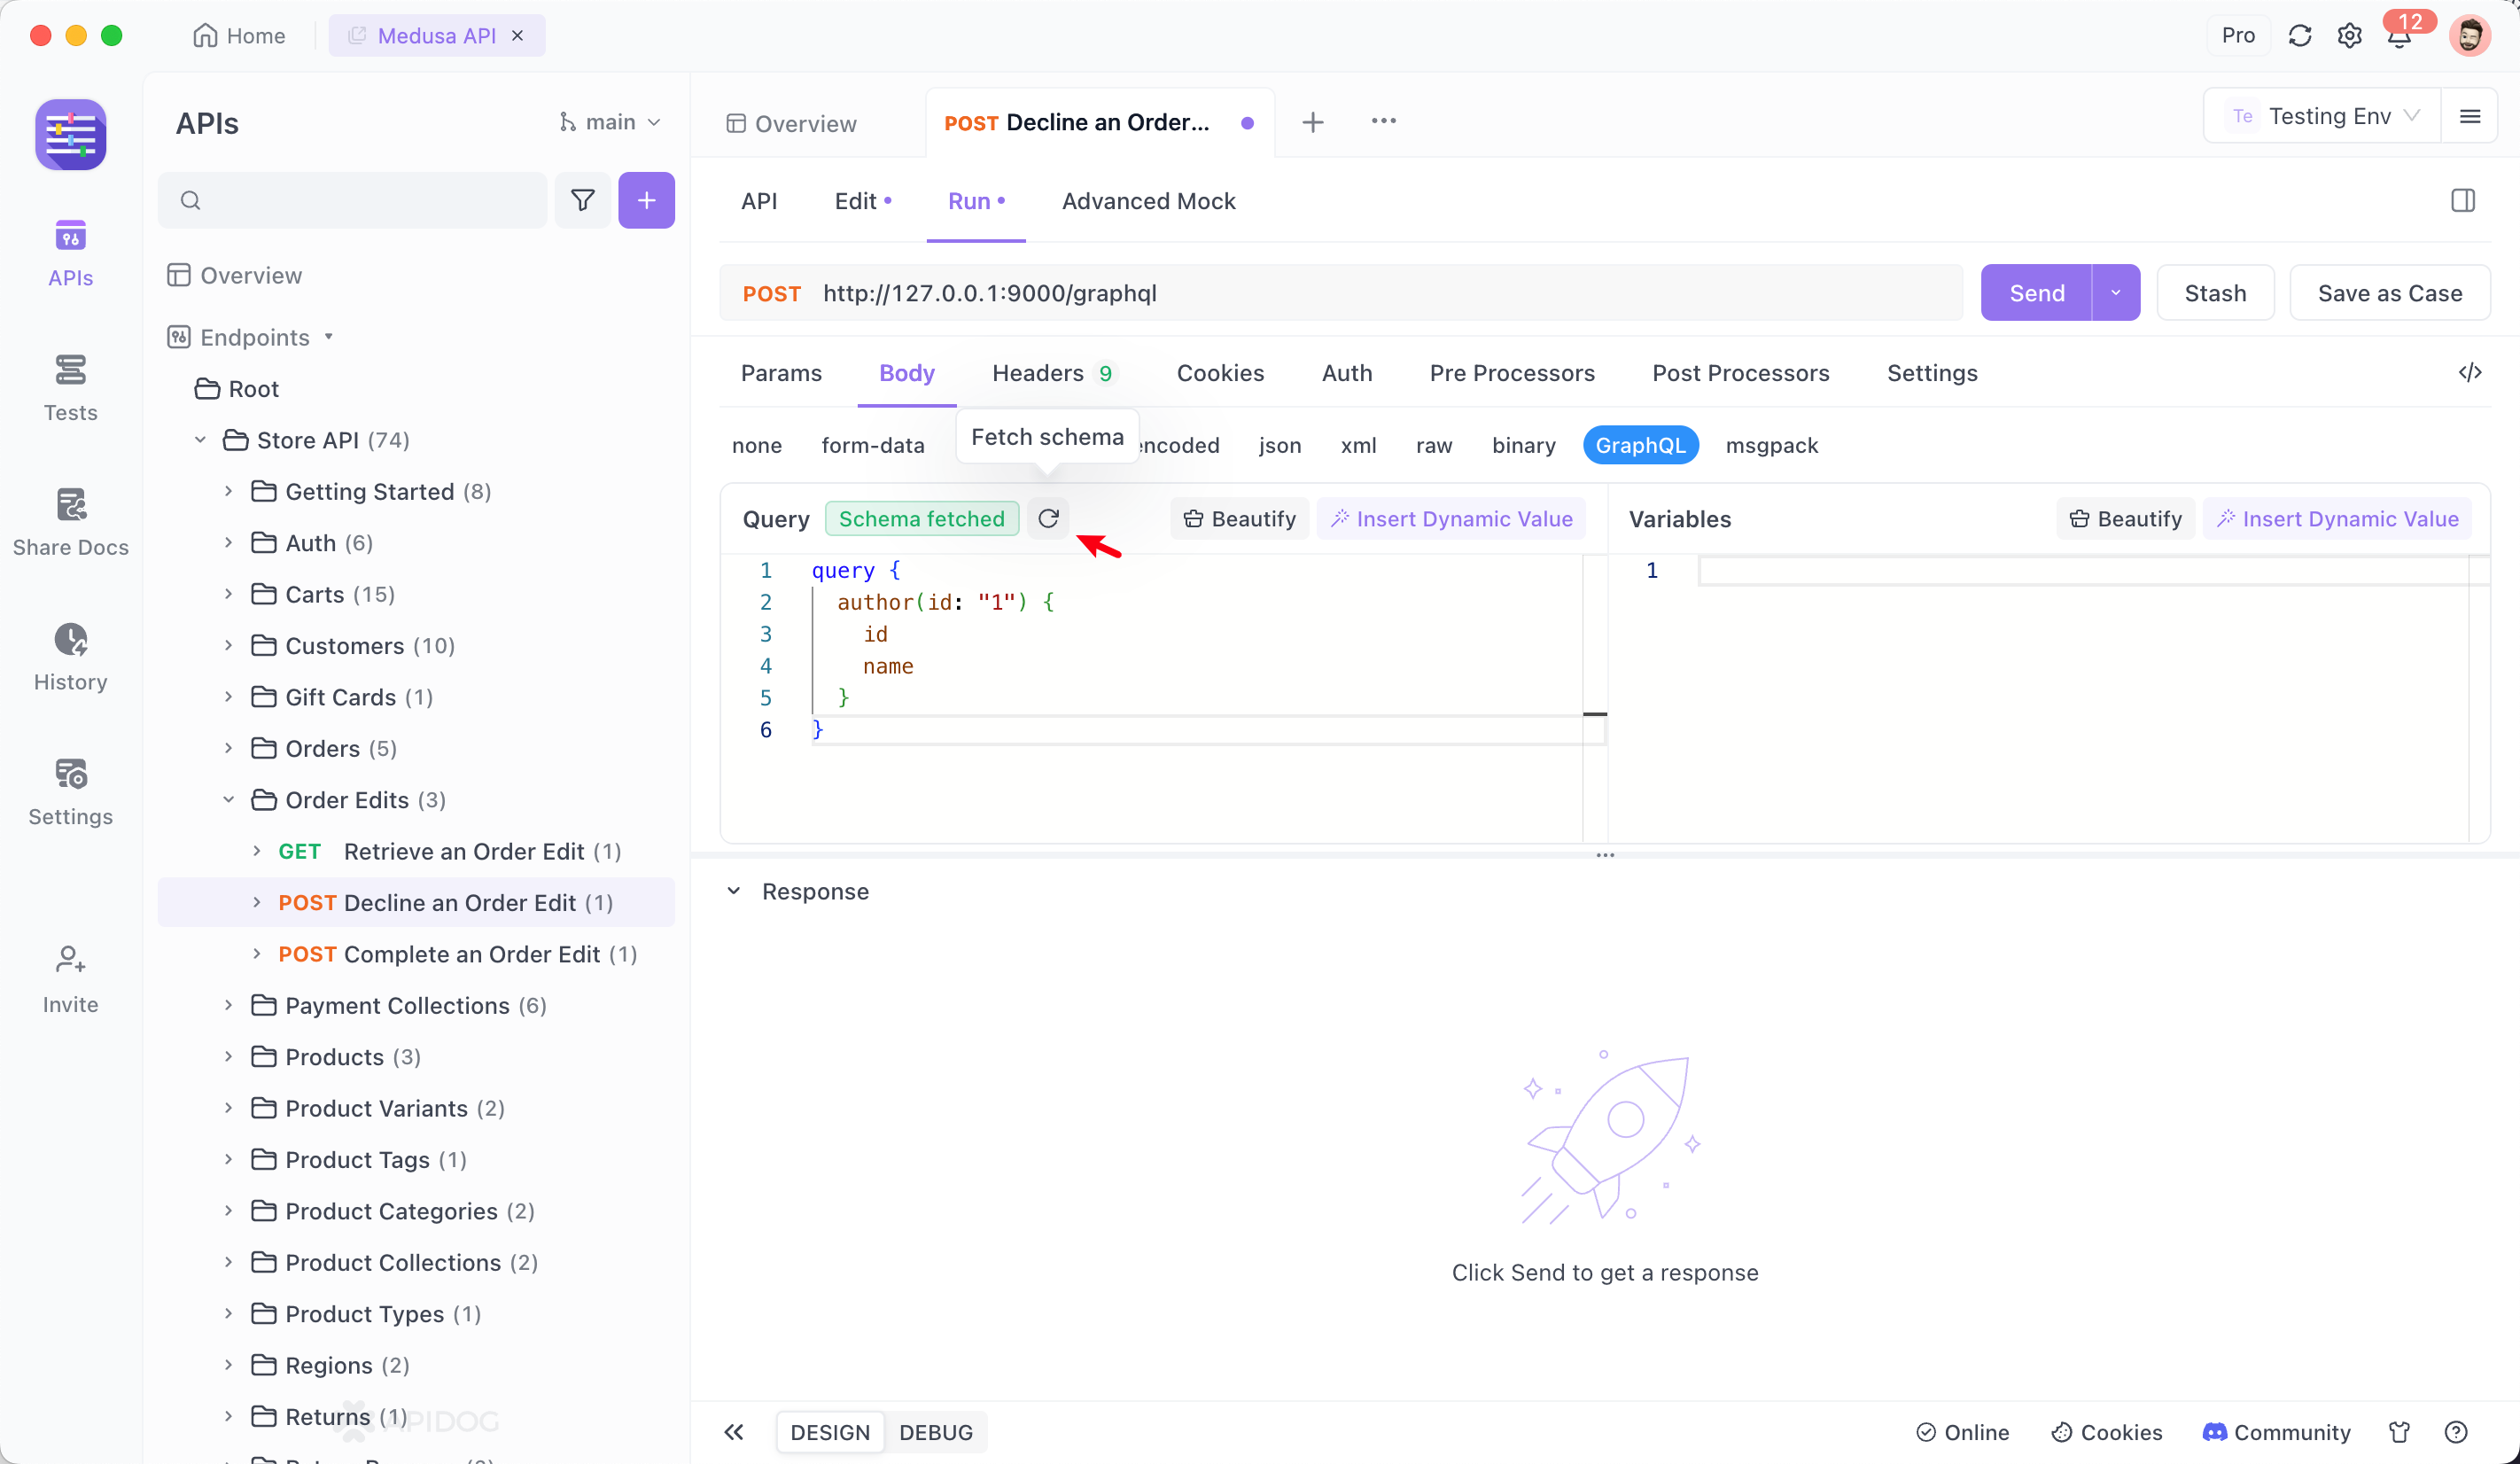
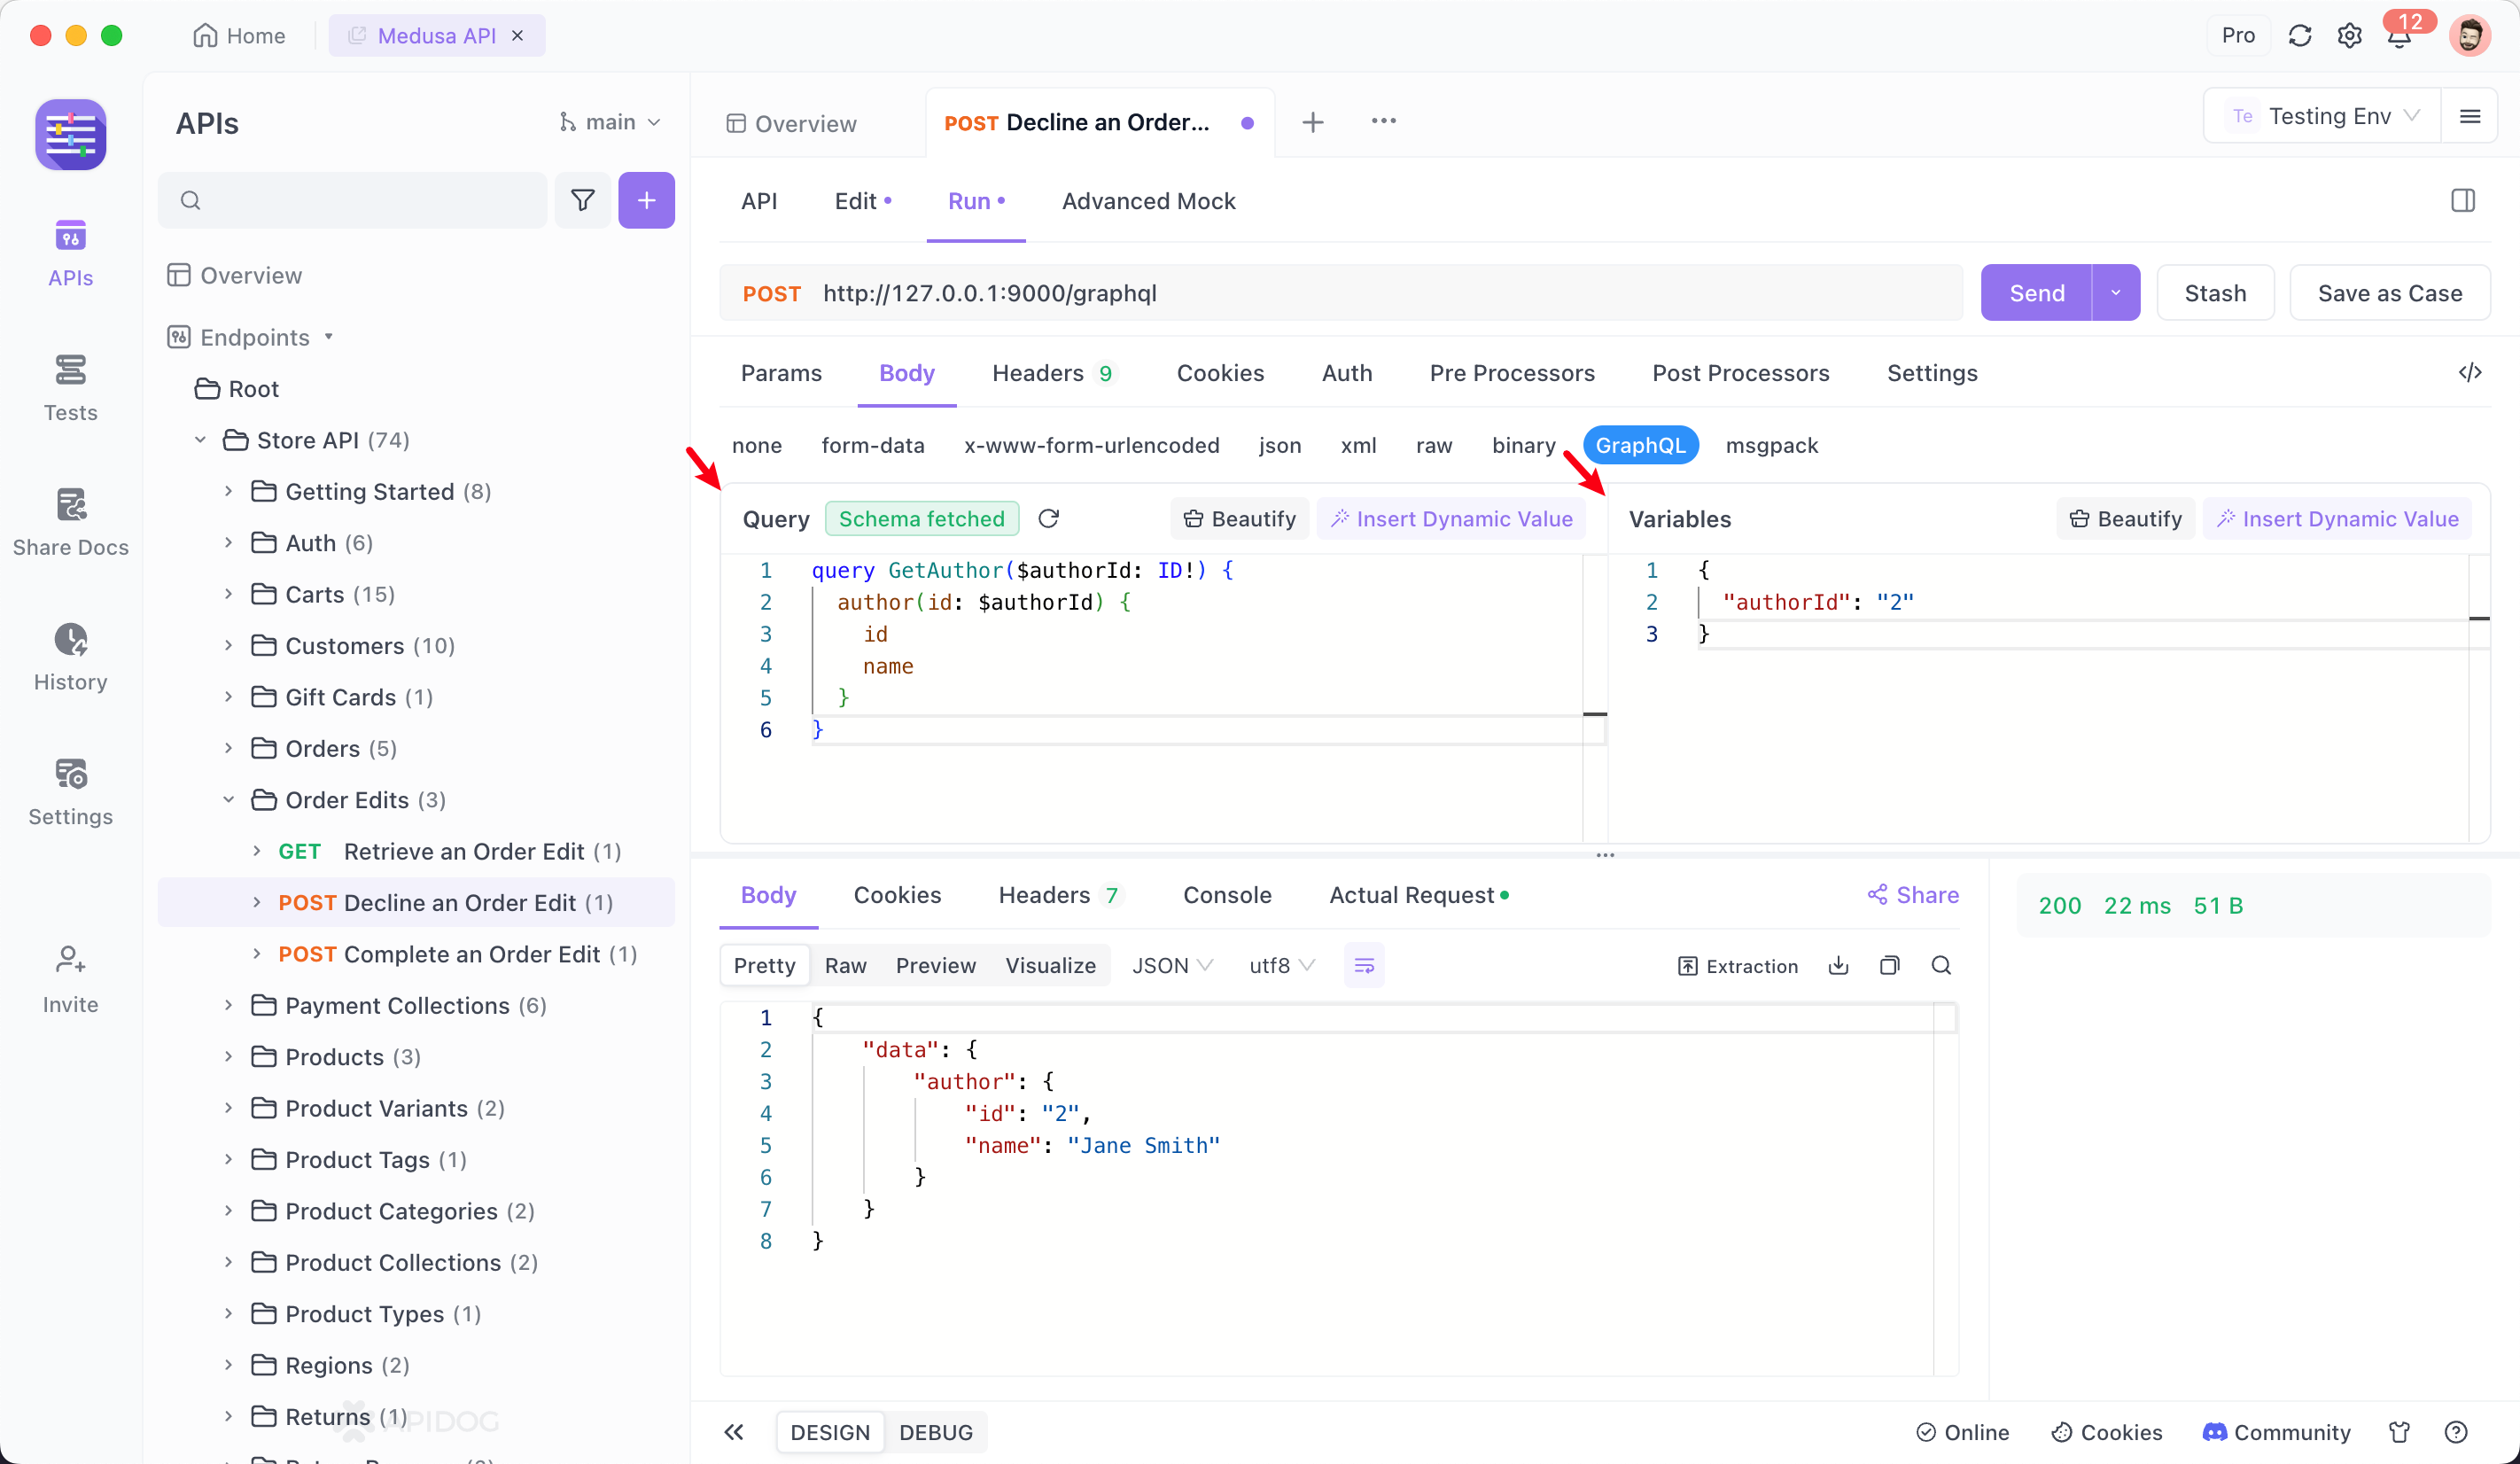
Once you have Apidog installed, you can import your GraphQL schema to manage and test your API more efficiently. Navigate to the import section in Apidog and upload your schema.graphqls file.
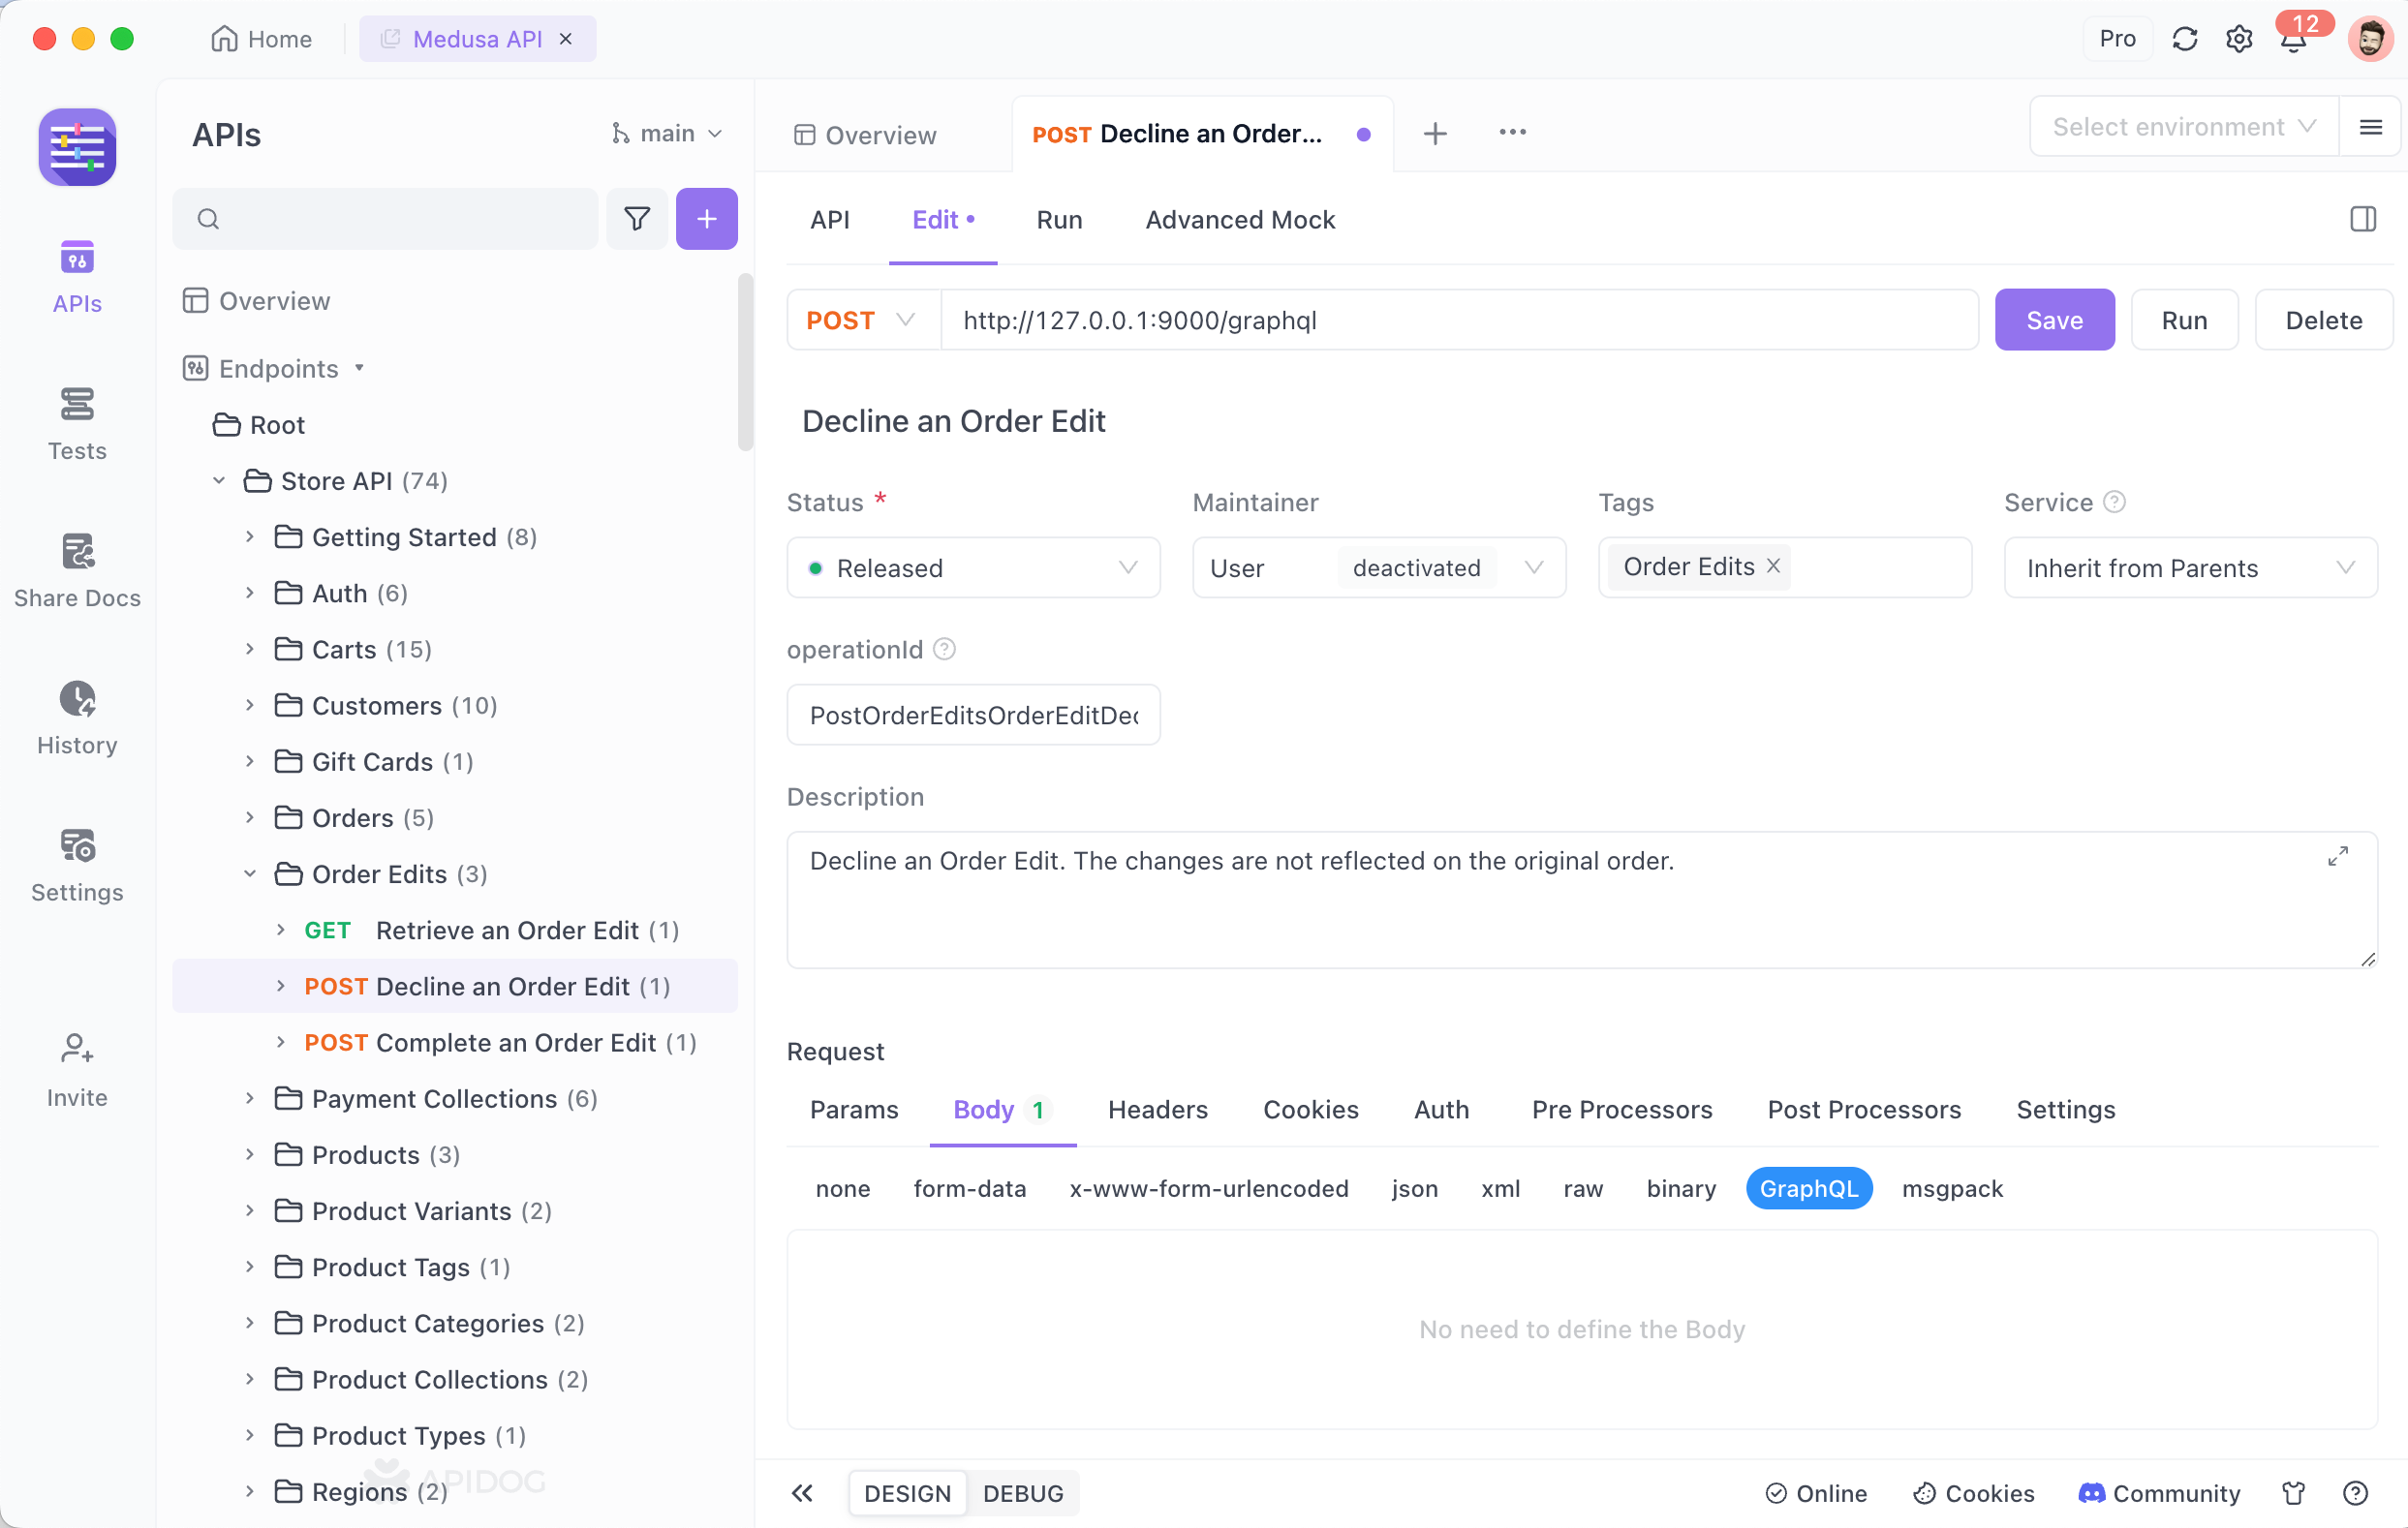
Enter your query in the Query box on the "Run" tab. You can also click the manual Fetch Schema button in the input box to enable the "code completion" feature for Query expressions, assisting in entering Query statements.
With your schema imported, you can use Apidog to test your queries and mutations, generate documentation, and even mock responses. This will help you ensure your API is working as expected and provide a comprehensive guide for your API users.
Use Apidog's automated testing features to run your test cases on a schedule. This helps catch any issues early and ensures your API remains reliable.
Best Practices for Building APIs
Building robust and scalable APIs requires following best practices. Here are some key tips:
Use Descriptive Error Messages
Ensure your API returns meaningful error messages to help clients understand what went wrong.
Secure Your API
Implement authentication and authorization mechanisms to protect your API from unauthorized access.
Document Your API
Provide clear and comprehensive documentation for your API. Tools like Swagger and GraphQL Playground can help generate interactive documentation.
Monitor Performance
Use monitoring tools to track the performance of your API. Identify and resolve performance bottlenecks promptly.
Keep Your Codebase Organized
Follow a consistent code structure and naming conventions to keep your codebase clean and maintainable.
Conclusion
Congratulations! You’ve learned how to build a powerful GraphQL API with Node.js and Express. We’ve covered everything from setting up your development environment to defining schemas and resolvers, connecting to a database, optimizing your API, and testing it with Apidog.
Remember, building great APIs is an ongoing process. Continuously refine your skills, stay updated with the latest developments in the GraphQL ecosystem, and keep experimenting with new tools and techniques.


