Your OpenAPI spec is the contract between your API and its consumers. But where does that contract live?
Too often, API specifications sit in isolated tools—exported once, forgotten, and rarely updated when the implementation changes. Documentation drifts. Test collections diverge. Reviewers approve code changes without ever seeing the corresponding spec updates.
Spec-first Mode flips this model. Your OpenAPI or Swagger files become the source of truth, stored directly in your Git repository alongside the implementation code. Every spec change flows through the same branches, pull requests, and review process you already use. API design, testing, and documentation all stay synchronized—automatically.
In this tutorial, I'll walk you through setting up a Spec-first project in Apidog, editing specifications with your team, and keeping everything in sync with your Git workflow.
What is Spec-first Mode?
In a typical API project, you create endpoints through visual forms or import existing specs as a starting point. The tool stores API definitions internally, and Git integration (if available) is an export step.
Spec-first Mode is different. The primary workspace is file-based:
openapi.yamloropenapi.jsonlive in your repo- Apidog parses these files and generates a navigable API structure
- You edit the files directly (or through supported forms)
- Changes sync back to Git automatically
The specification file is always authoritative. Apidog reads from it, writes to it, and keeps it synchronized with your repository.
Prerequisites
To follow along, you'll need:
- An Apidog account (free tier works)
- A Git repository with an OpenAPI/Swagger file, or an empty repo to start fresh
- Write access to the repository
- Basic familiarity with OpenAPI or Swagger syntax
Step 1: Create a Spec-first Project
Click + New Project in Apidog and choose Spec-first Mode as the project type.
Next, connect your Git provider:
- Select your provider (GitHub, GitLab, Azure DevOps, or Bitbucket)
- Choose an organization or workspace
- Pick an existing repository or create a new one
- Select the main branch for synchronization
Apidog will sync with your repository's default branch. If it's not named main, Apidog adapts automatically.
Step 2: Configure Webhook Sync (Recommended)
During setup, you'll see an option to install a webhook. This enables automatic synchronization whenever your team pushes to the repository.
Note: Webhook installation typically requires admin permission on the repository. If you don't have admin access, skip this step—you can still sync manually using Git Pull.
Webhook benefits:
- Team pushes changes → Apidog syncs automatically
- No manual refresh needed
- Everyone sees the latest spec state
If you skipped webhook setup initially, you can add it later from Project Settings > Git & Branches.
Step 3: Explore the Specs Workspace
After creation, your project opens the Specs workspace—the central hub for file-based editing and Git operations.
Three panels work together:
| Panel | What it shows |
|---|---|
| File Explorer | All files and folders from your synced repository |
| API Structure Tree | Parsed OpenAPI content: endpoints, schemas, definitions, overview |
| Editor | Edit files in code view or form view |
Click an endpoint in the structure tree → Apidog highlights the corresponding section in your source file. Navigate from high-level API view to low-level YAML without switching tabs.
Step 4: Edit Your Specification Files
Code View: Direct Editing
For most files—YAML, JSON, Markdown—use Code view to edit the raw text.
Your edits stay in the file. Apidog doesn't transform or store them separately. The spec file remains the single source of truth.
Form View: Structured Editing
For supported OpenAPI nodes—endpoints, schemas, definitions, and API overview—switch to Form view.
Form view is useful when:
- Adding endpoints with all required fields without memorizing YAML structure
- Editing schemas visually
- Updating security definitions and API metadata
If a node doesn't support form editing, Apidog keeps you in code view.
Step 5: Validate and Preview Instantly
Spec-first Mode includes real-time validation and documentation preview—no external tools required.
Check for Issues with Validation
Click Validation in the editor header. A panel shows all warnings and errors in your current spec.
The badge displays the total issue count. Catch:
- Syntax errors
- Missing required fields
- Schema violations
- Naming convention problems
Fix issues before committing. Your team's reviewers won't need to spot these manually.
Preview Your Documentation
Click Preview to see how your spec renders as API documentation.
For endpoints, preview includes two tabs:
| Tab | Content |
|---|---|
| Docs | Generated endpoint documentation |
| Try it out | Live request panel based on the endpoint definition |
For schemas and definitions, preview shows the rendered documentation view.
Validation and Preview share the same side panel. Opening one automatically closes the other.
Step 6: Pull Updates from Your Team
When collaborators push changes to your repository, bring them into Apidog:
- Open the Specs workspace
- Click the current branch name in the sidebar
- Select Git Pull
If webhook sync is active, Apidog pulls automatically on repository push events—no manual step needed.
Step 7: Commit and Push Your Changes
After editing files in Apidog, send your updates back to Git:
- Make changes in the Specs workspace
- Click Changes in the sidebar to see modified, added, renamed, and deleted files
- Click Commit & Push
- Select which files to include
- Write a commit message
- Click Push
Your spec updates now appear in the same pull request workflow as your code changes. Teammates can review, comment, and approve—both implementation and API contract in one place.
Tip: Use Discard all changes if you want to abandon local edits before pushing.
Step 8: Work with Branches
Spec-first Mode supports full branch-based collaboration. Apidog maps Git branches to project branches, letting you switch between spec versions.
Common Branch Operations
| Action | How to do it |
|---|---|
| Switch branches | Click branch name → select another branch |
| Import existing Git branch | Click Import New Branch → select → import |
| Create new branch | Project Settings > Git & Branches → New Branch |
| Fix sync issues | Use Re-sync in branch settings |
| View sync logs | Branch actions → View Logs |
Branch management works the same way you expect from Git—feature branches, releases, and parallel development all sync correctly.
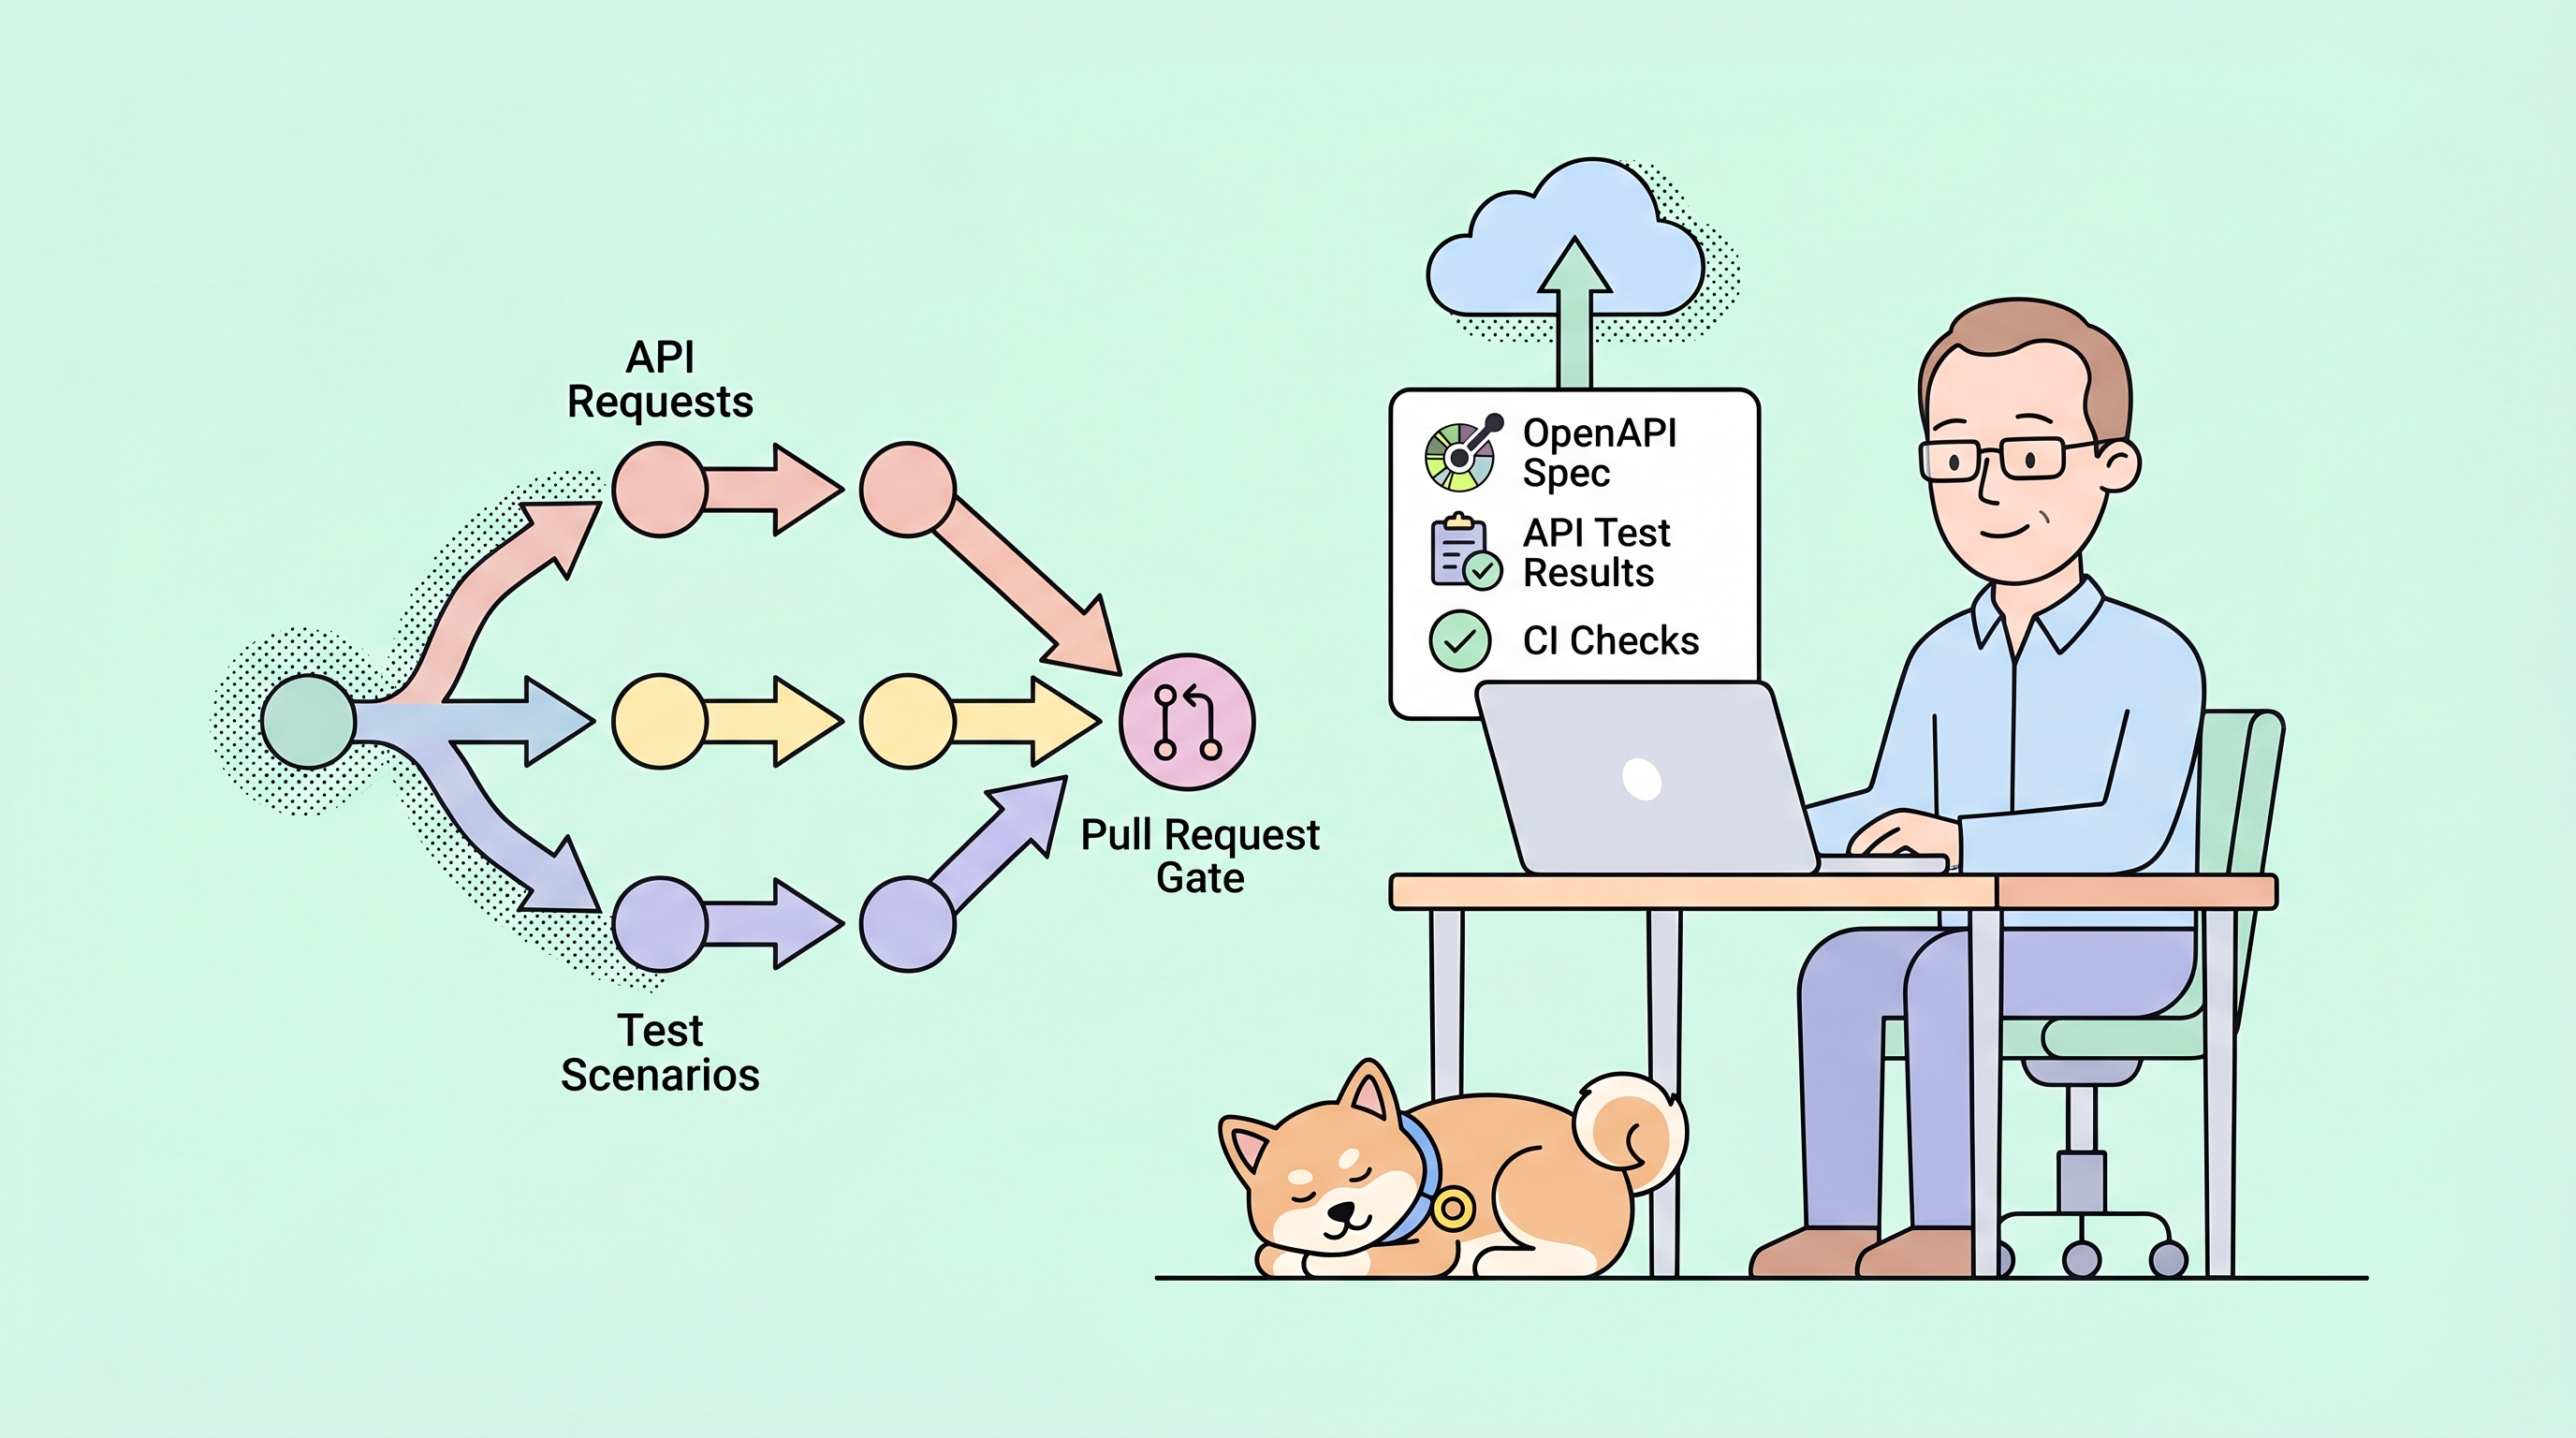
Step 9: Integrate with CI/CD
Since your specs live in Git, they fit naturally into automation pipelines:
- Lint specs on every PR using Apidog validation or tools like Spectral
- Generate documentation automatically when specs merge to main
- Run API tests triggered by spec changes
- Sync to downstream systems—API gateways, mock servers, SDK generators
Example GitHub Actions workflow:
name: Validate and Test API Spec

on:
  push:
    branches: [main]
  pull_request:
    branches: [main]

jobs:
  validate:
    runs-on: ubuntu-latest
    steps:
      - uses: actions/checkout@v4

      - name: Lint OpenAPI Spec
        run: npx spectral lint openapi.yaml

      - name: Run API Tests
        run: apidog run tests --spec openapi.yaml
Your API specifications now pass through the same quality gates as your application code.
Alternative: Storage-backed Projects
If you're not ready to connect an external Git repository, Apidog offers storage-backed Spec-first projects.
These projects use Apidog's internal storage but still provide:
- File-based editing
- Validation and preview
- Branch management
UI labels adjust slightly:
- Git Pull becomes Sync
- Commit & Push becomes Save
Migrate to external Git whenever your team is ready.
Summary
With Spec-first Mode, your API workflow becomes:
| Before Spec-first | After Spec-first |
|---|---|
| Specs live in a separate tool | Specs live in your Git repo |
| Export/import to sync | Automatic sync on push |
| Reviews happen outside code reviews | Reviews happen in pull requests |
| Documentation generated separately | Preview while editing |
| Tests disconnected from spec changes | Tests triggered by spec updates |
Spec-first Mode makes OpenAPI files the contract they should be—versioned, reviewed, and always aligned with your code.
Ready to try? Create a Spec-first project in Apidog and connect your first repository.


