
Welcome to the exciting world of FastAPI and WebSockets! Today, we're going to dive deep into the mechanics of WebSockets using FastAPI. Whether you're a seasoned developer or just starting out, this guide will walk you through the essential concepts and practical implementations of WebSockets. But before we jump in, let’s not forget about a handy tool that will make your API development a breeze—Apidog. You can download Apidog for free and streamline your API testing and documentation effortlessly.
What is FastAPI?
FastAPI is a modern, fast (high-performance), web framework for building APIs with Python 3.7+ based on standard Python-type hints. It allows you to quickly create web APIs that are robust and performant. One of the standout features of FastAPI is its ability to handle asynchronous programming and WebSockets with ease.
What are WebSockets?
WebSockets are a communication protocol that provides full-duplex communication channels over a single TCP connection. Unlike HTTP, which is a request-response protocol, WebSockets enable bidirectional communication between the client and the server. This makes them perfect for real-time applications such as chat applications, live notifications, and gaming.
Why Use FastAPI with WebSockets?
FastAPI's design makes it easy to create APIs that support WebSockets. With FastAPI, you can build APIs that are not only fast and reliable but also support asynchronous communication using WebSockets. This combination is perfect for developing modern, real-time applications.
Getting Started with FastAPI WebSockets
To get started, you’ll need to install FastAPI and Uvicorn, which is an ASGI server for serving your FastAPI applications.
pip install fastapi uvicorn
Once you have the necessary packages installed, you can start creating your FastAPI application with WebSocket support.
Creating a Basic FastAPI WebSocket Application
Let’s start with a simple example to understand the basics of WebSocket communication in FastAPI.
from fastapi import FastAPI, WebSocket
from fastapi.responses import HTMLResponse

app = FastAPI()

html = """
<!DOCTYPE html>
<html>
    <head>
        <title>WebSocket Example</title>
    </head>
    <body>
        <h1>WebSocket Example</h1>
        <button onclick="connectWebSocket()">Connect</button>
        <script>
            function connectWebSocket() {
                const ws = new WebSocket("ws://localhost:8000/ws");
                ws.onmessage = function(event) {
                    const message = event.data;
                    alert("Message from server: " + message);
                };
                ws.onopen = function() {
                    ws.send("Hello Server");
                };
            }
        </script>
    </body>
</html>
"""

@app.get("/")
async def get():
    return HTMLResponse(html)

@app.websocket("/ws")
async def websocket_endpoint(websocket: WebSocket):
    await websocket.accept()
    data = await websocket.receive_text()
    await websocket.send_text(f"Message text was: {data}")
In this example, we have a simple HTML page that connects to a WebSocket server when a button is clicked. The server receives the message "Hello Server" and responds with "Message text was: Hello Server".
Handling Multiple Connections
One of the strengths of WebSockets is handling multiple client connections simultaneously. Let’s expand our example to handle multiple connections and broadcast messages to all connected clients.
from fastapi import FastAPI, WebSocket
from typing import List

app = FastAPI()

class ConnectionManager:
    def __init__(self):
        self.active_connections: List[WebSocket] = []

    async def connect(self, websocket: WebSocket):
        await websocket.accept()
        self.active_connections.append(websocket)

    def disconnect(self, websocket: WebSocket):
        self.active_connections.remove(websocket)

    async def broadcast(self, message: str):
        for connection in self.active_connections:
            await connection.send_text(message)

manager = ConnectionManager()

@app.websocket("/ws")
async def websocket_endpoint(websocket: WebSocket):
    await manager.connect(websocket)
    try:
        while True:
            data = await websocket.receive_text()
            await manager.broadcast(f"Client says: {data}")
    except:
        manager.disconnect(websocket)
In this updated example, we introduced a ConnectionManager class to manage multiple WebSocket connections. The broadcast method sends a message to all connected clients. This way, every client receives any message sent by any other client.
Passing Parameters to WebSocket Endpoints
Sometimes, you might need to pass parameters to your WebSocket endpoints. FastAPI makes it easy to do this. Here’s an example:
from fastapi import FastAPI, WebSocket

app = FastAPI()

@app.websocket("/ws/{client_id}")
async def websocket_endpoint(websocket: WebSocket, client_id: str):
    await websocket.accept()
    await websocket.send_text(f"Hello, Client {client_id}")
    while True:
        data = await websocket.receive_text()
        await websocket.send_text(f"Message from {client_id}: {data}")
In this example, we define a WebSocket endpoint that accepts a client_id parameter. This parameter can be used to identify the client and personalize the messages.
Integrating WebSockets with API Endpoints
FastAPI allows you to integrate WebSocket communication with your existing API endpoints. This is useful when you need to combine real-time communication with traditional API requests.
from fastapi import FastAPI, WebSocket, HTTPException

app = FastAPI()

@app.get("/items/{item_id}")
async def read_item(item_id: int):
    if item_id == 0:
        raise HTTPException(status_code=404, detail="Item not found")
    return {"item_id": item_id, "name": "Item name"}

@app.websocket("/ws")
async def websocket_endpoint(websocket: WebSocket):
    await websocket.accept()
    await websocket.send_text("Connected to WebSocket")
    while True:
        data = await websocket.receive_text()
        await websocket.send_text(f"Received: {data}")
In this example, we have a traditional API endpoint /items/{item_id} alongside a WebSocket endpoint /ws. Both endpoints can be used simultaneously, allowing you to handle both synchronous and asynchronous communication in your application.
Security Considerations
When working with WebSockets, it's important to consider security aspects, such as authentication and authorization. FastAPI provides tools to secure your WebSocket connections.
Securing WebSocket Connections
You can use FastAPI’s dependency injection system to secure your WebSocket endpoints. Here’s an example of how to secure a WebSocket endpoint with a simple token-based authentication.
from fastapi import FastAPI, WebSocket, Depends, HTTPException, status

app = FastAPI()

def get_token_header(token: str = None):
    if token != "mysecrettoken":
        raise HTTPException(status_code=status.HTTP_403_FORBIDDEN, detail="Invalid token")

@app.websocket("/ws")
async def websocket_endpoint(websocket: WebSocket, token: str = Depends(get_token_header)):
    await websocket.accept()
    await websocket.send_text("Connected to WebSocket")
    while True:
        data = await websocket.receive_text()
        await websocket.send_text(f"Received: {data}")
In this example, we use the Depends function to inject the get_token_header dependency, which checks the validity of the token. If the token is invalid, an HTTP 403 Forbidden error is raised.
Handling Binary Data
WebSockets also support binary data transmission. This can be useful for sending files or images. FastAPI makes it easy to handle binary data.
from fastapi import FastAPI, WebSocket

app = FastAPI()

@app.websocket("/ws")
async def websocket_endpoint(websocket: WebSocket):
    await websocket.accept()
    await websocket.send_text("Connected to WebSocket")
    while True:
        data = await websocket.receive_bytes()
        await websocket.send_bytes(data)
In this example, the WebSocket endpoint receives binary data using receive_bytes and sends it back to the client using send_bytes.
Real-world Applications of FastAPI WebSockets
WebSockets are incredibly versatile and can be used in a variety of real-world applications. Here are a few examples:
Real-time Chat Application
One of the most common use cases for WebSockets is building real-time chat applications. With FastAPI, you can easily create a chat server that handles multiple clients and broadcasts messages in real-time.
Live Notifications
WebSockets are perfect for delivering live notifications. For example, you can use WebSockets to notify users of new messages, updates, or alerts in real-time.
Online Gaming
WebSockets are widely used in online gaming to enable real-time communication between players. FastAPI’s support for asynchronous programming makes it a great choice for building gaming servers.
How you can use Apidog to debug a WebSocket client ?
Managing APIs and real-time data can be challenging. That's where Apidog comes in. Apidog simplifies API development, testing, and management, making it easier to handle both HTTP requests with FastAPI and real-time updates with WebSockets.
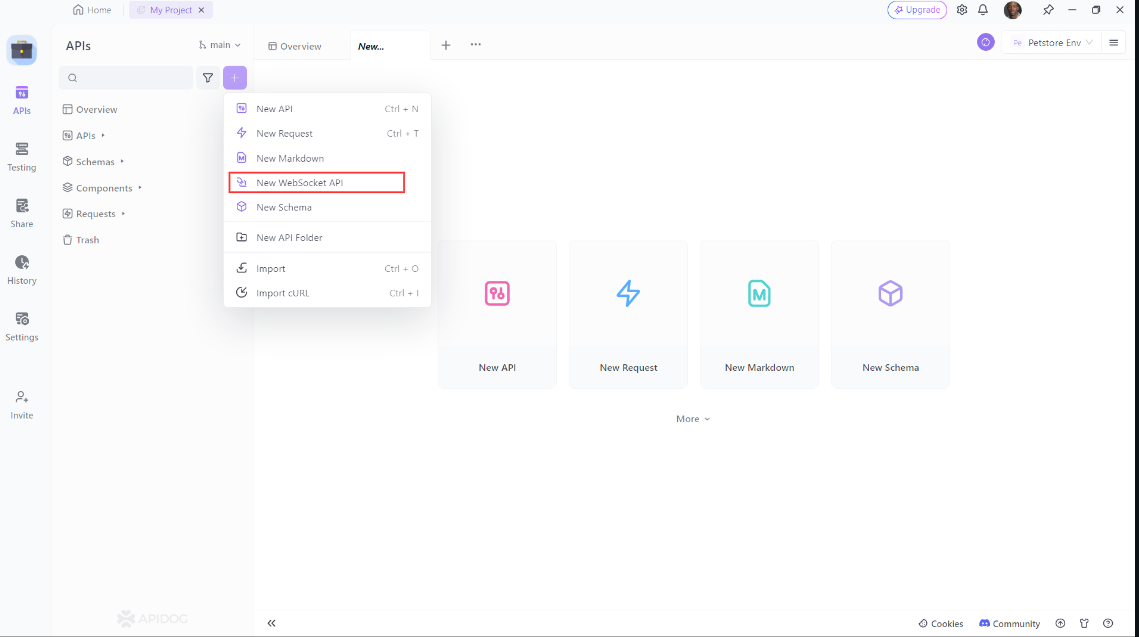
- Open Apidog: First, start the Apidog application and click on the "+" button on the left side, A new drop-down will be opened. From there choose "New WebSocket API":
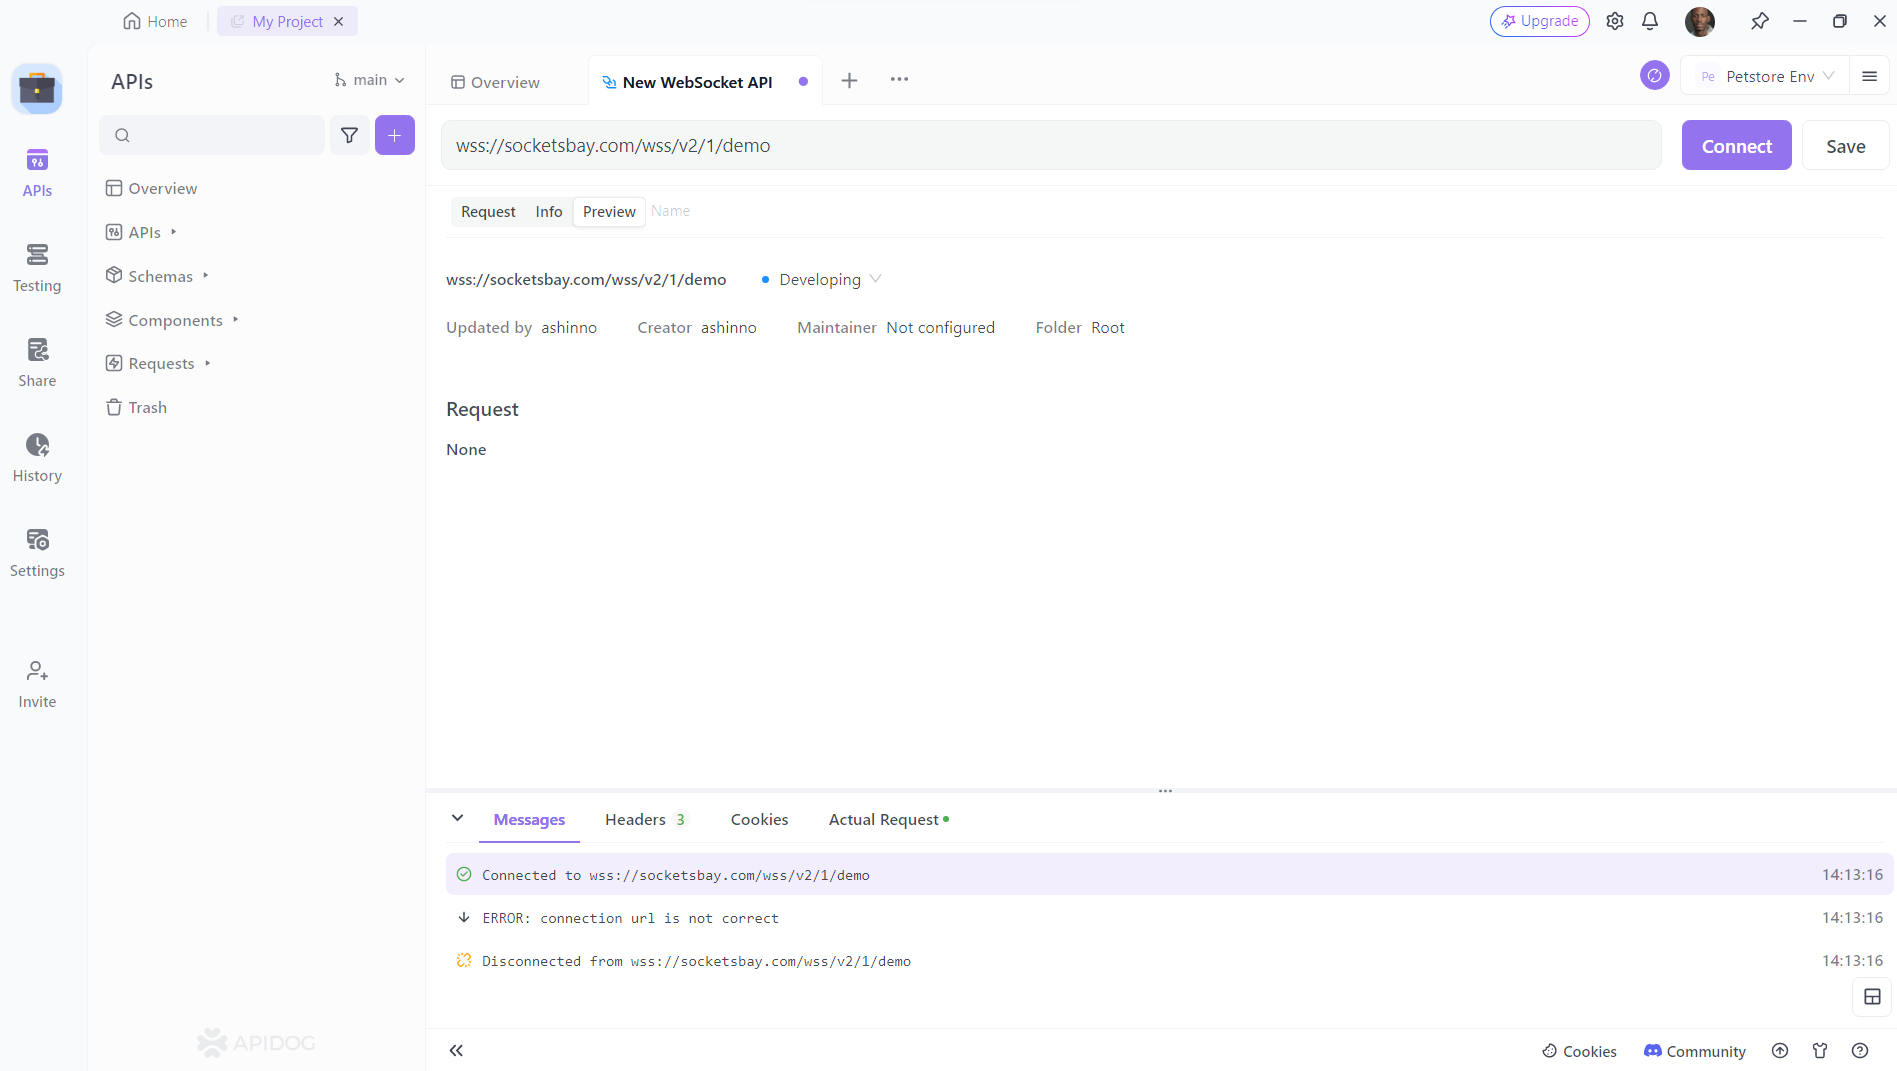
2. Establish a Connection: Start by entering the WebSocket API URL in Apidog’s address bar. You can then click the “Connect” button to initiate the handshake process and establish a connection. Apidog allows you to customize parameters such as Params, Headers, and Cookies during the handshake.
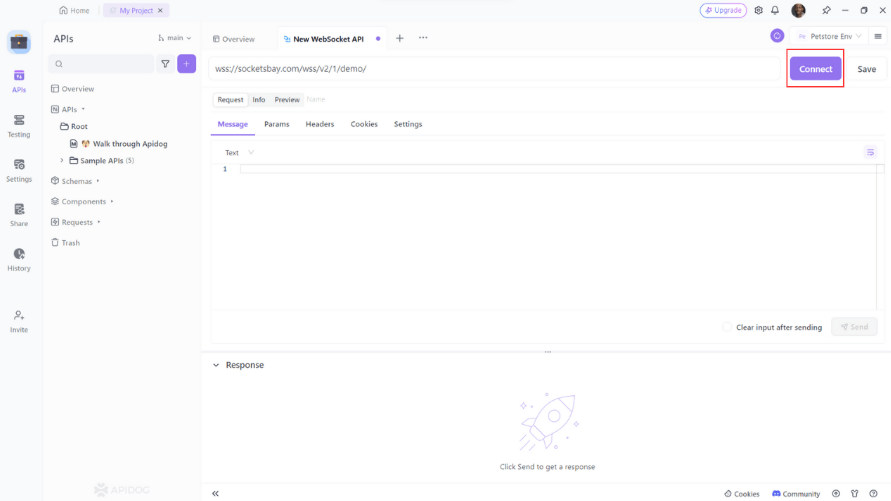
3. Send and Receive Messages: Once the connection is established, you can send messages under the "Message" tab. You can write text, JSON, XML, HTML, and other text format messages, as well as binary format messages using Base64 or Hexadecimal. Apidog's new timeline view shows the connection status, sent messages and received messages in chronological order. When you click on a message, you can easily view its details.

4. API Documentation: Apidog inherits its robust API documentation functionality for WebSocket APIs, allowing you to document your WebSocket interactions effectively.
Remember to check for common WebSocket issues such as connection problems, message format errors, and security concerns during your debugging process.
Using Apidog to Send HTTP Requests
Apidog offers several advanced features that further enhance its ability to test HTTP requests. These features allow you to customize your requests and handle more complex scenarios effortlessly.
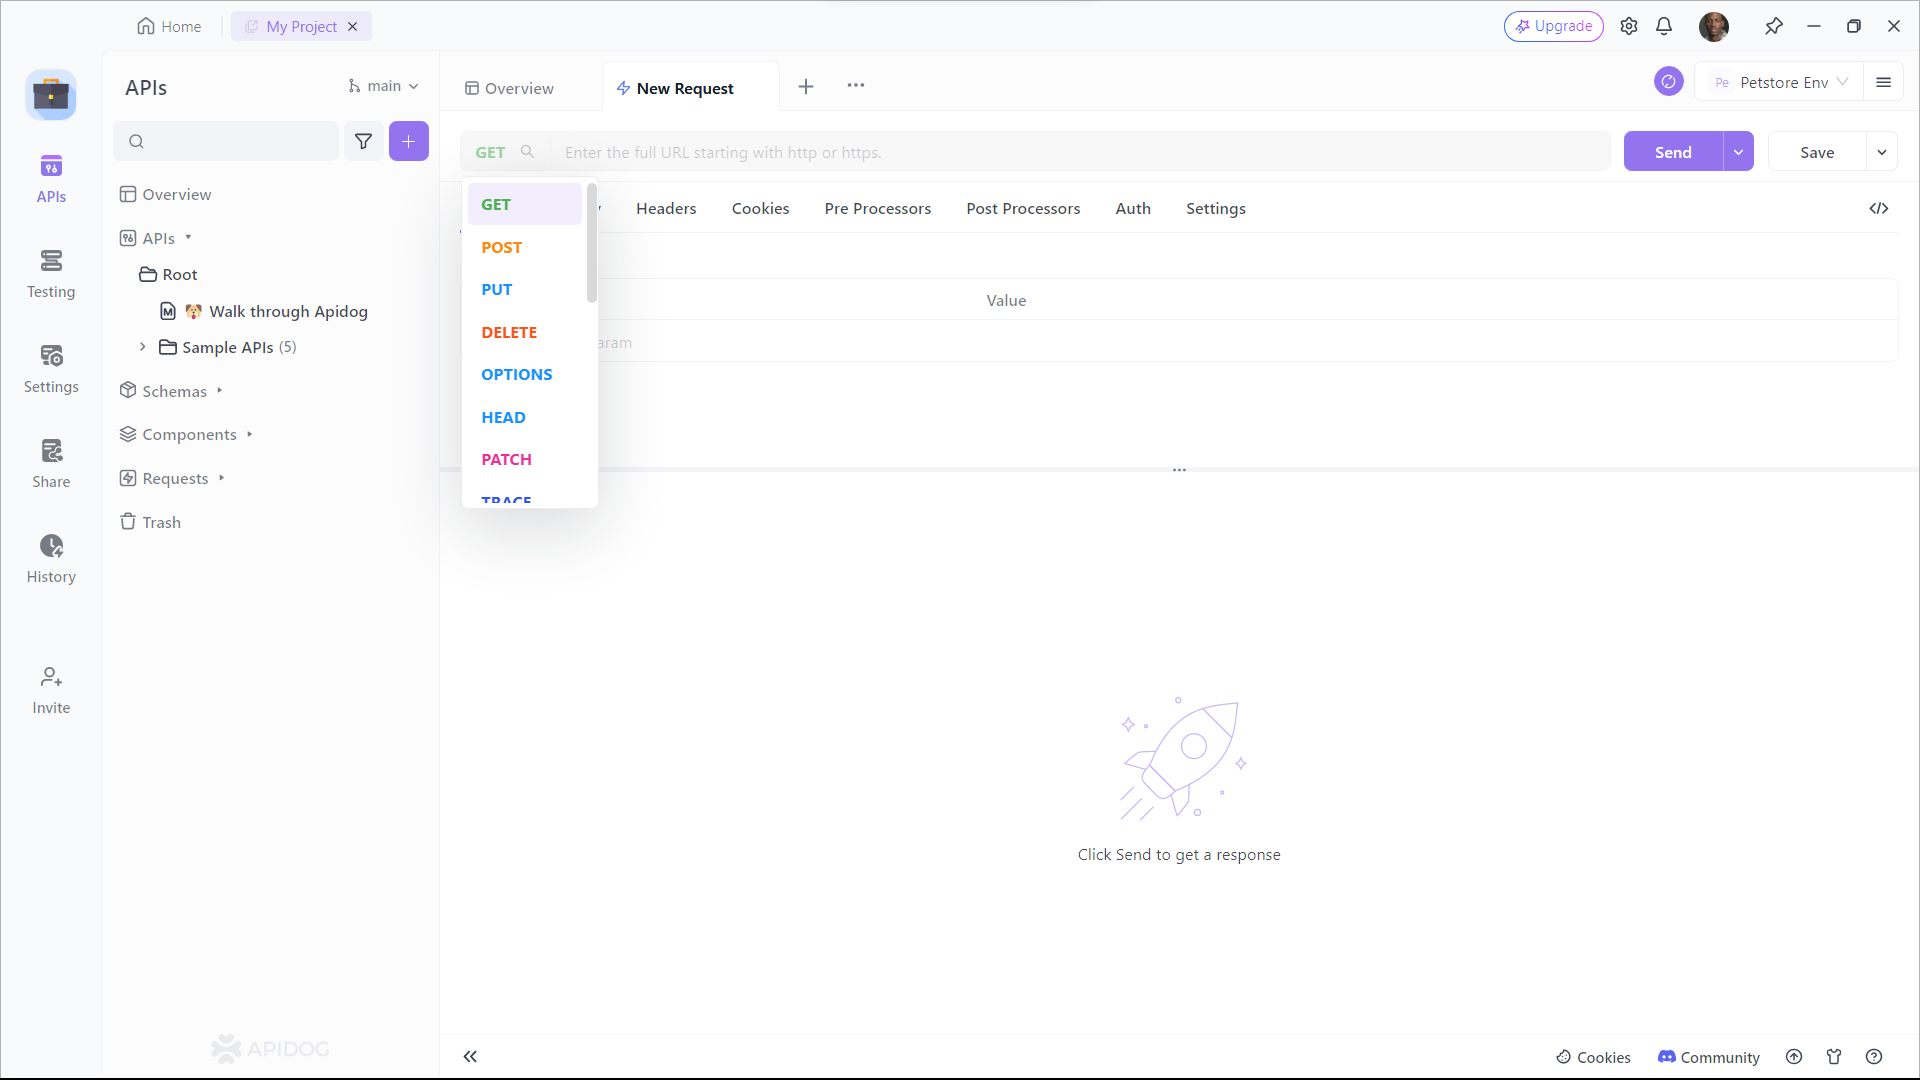
Step 1: Open Apidog and create a new request.
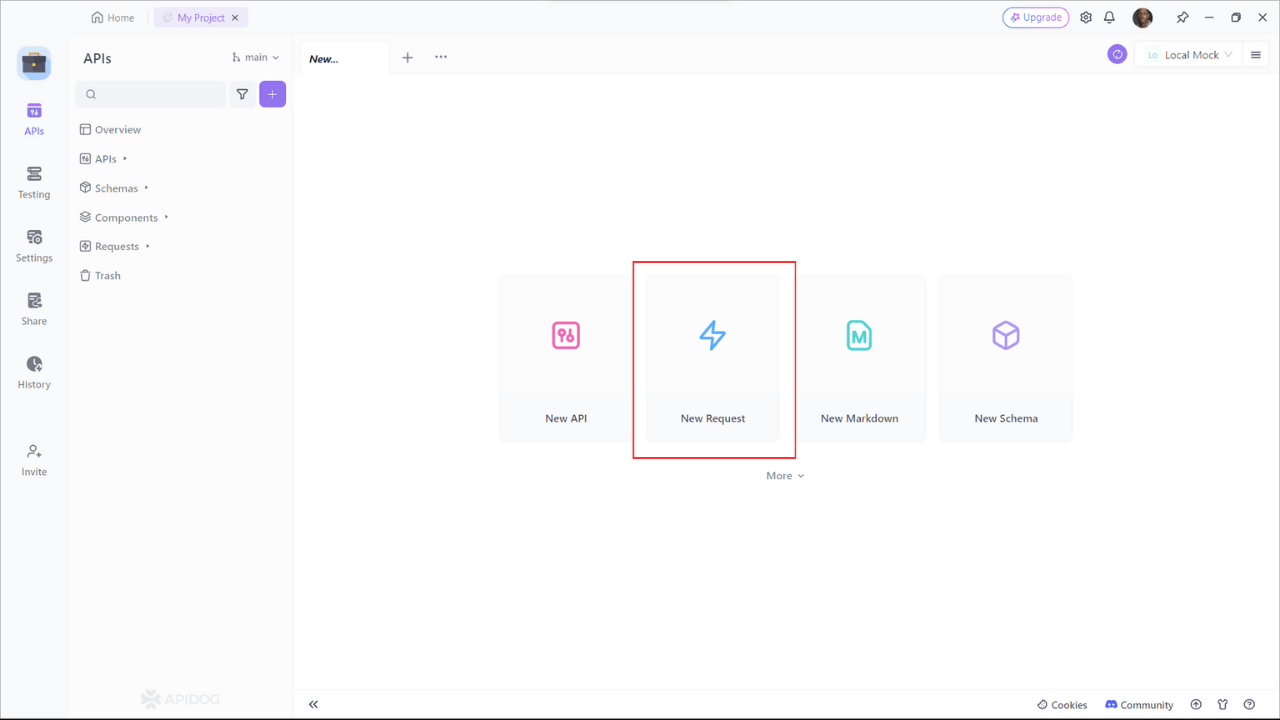
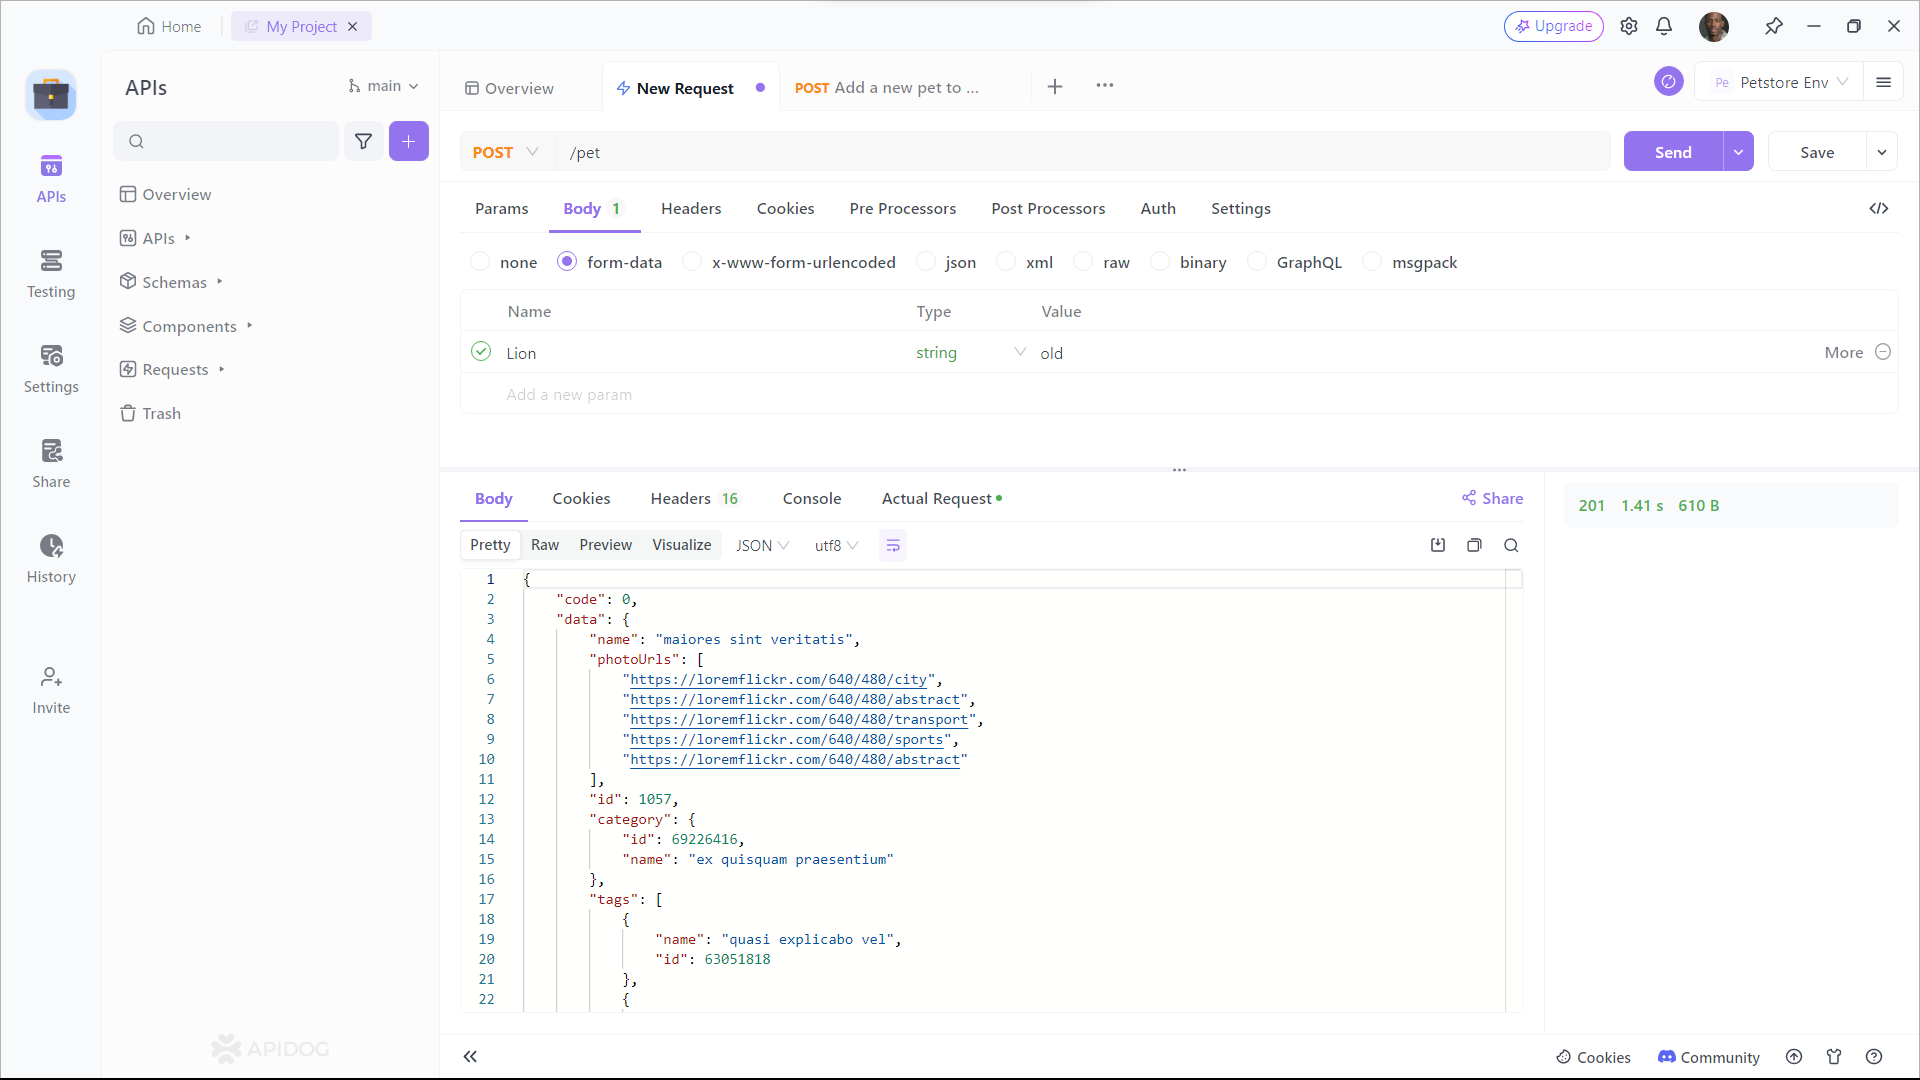
Step 2: Find or manually input the API details for the POST request you want to make.
Step 3: Fill in the required parameters and any data you want to include in the request body.
Conclusion
FastAPI and WebSockets are a powerful combination for building modern, real-time applications. Whether you’re building a chat application, live notification system, or online game, FastAPI provides the tools you need to handle WebSocket communication efficiently.
Don’t forget to download Apidog for free to streamline your API development process. Apidog makes it easy to test and document your APIs, saving you time and effort.


