
Hey there, fellow developers! Are you navigating the maze of APIs, Axios, and WebSockets and feeling a bit lost? You're in the right place! Today, we're diving deep into the intriguing question: Can Axios be used with WebSockets? This journey promises to be both enlightening and fun. Plus, we've got a special treat for you—the ultimate tool to streamline your API development.
What Are Axios and WebSockets?
Before we jump into the heart of the matter, let's get acquainted with our key players: Axios and WebSockets.
Axios
Axios is a popular promise-based HTTP client for JavaScript, particularly in the context of web applications. It's renowned for its simplicity and powerful capabilities. With Axios, you can make HTTP requests to fetch data from APIs, send data to servers, and handle complex request and response transformations with ease.
WebSockets
WebSockets , on the other hand, offer a different approach to client-server communication. They provide a persistent, full-duplex communication channel over a single TCP connection. This means you can send and receive data in real-time without the overhead of constantly opening and closing connections, making WebSockets ideal for applications requiring instant data updates, such as chat apps, live sports scores, and collaborative tools.
The Key Question: Can Axios Be Used with WebSockets?
Now, let’s address the burning question: Can Axios be used with WebSockets? The short answer is no—Axios and WebSockets serve different purposes and operate on different communication protocols. Axios works with HTTP, while WebSockets use the WebSocket protocol. However, understanding how they complement each other can significantly enhance your development toolkit.
How Axios and WebSockets Differ
Communication Protocols
Axios relies on HTTP, which is a request-response protocol. This means each client request expects a server response, and the connection is closed once the response is received.
WebSockets, conversely, maintain an open connection between the client and server, allowing for continuous data exchange. This makes WebSockets perfect for real-time applications where data needs to be pushed to clients instantly.
Use Cases
Axios is ideal for:
- Fetching data from RESTful APIs
- Submitting forms
- Handling CRUD operations
- Making asynchronous HTTP requests
WebSockets shine in scenarios like:
- Real-time chat applications
- Live sports updates
- Online gaming
- Collaborative editing tools
Combining Axios and WebSockets: A Practical Approach
While Axios and WebSockets cannot be used interchangeably, they can be combined to build powerful web applications. Here’s how you can leverage both technologies effectively.
Initial Data Fetch with Axios
For many applications, you need to load initial data when the user first accesses the app. Axios is perfect for this. You can use Axios to fetch data from your RESTful API and populate your application with the necessary information.
import axios from 'axios';

async function fetchData() {
  try {
    const response = await axios.get('https://api.example.com/data');
    console.log(response.data);
  } catch (error) {
    console.error('Error fetching data:', error);
  }
}

fetchData();
Real-Time Updates with WebSockets
Once the initial data is loaded, you might want to keep the data updated in real-time. This is where WebSockets come into play. By establishing a WebSocket connection, you can push updates to the client as soon as they occur.
const socket = new WebSocket('wss://example.com/socket');

socket.onopen = () => {
  console.log('WebSocket connection established');
};

socket.onmessage = (event) => {
  const data = JSON.parse(event.data);
  console.log('Real-time update:', data);
};

socket.onerror = (error) => {
  console.error('WebSocket error:', error);
};

socket.onclose = () => {
  console.log('WebSocket connection closed');
};
Bridging the Gap with Apidog
Managing APIs and real-time data can be challenging. That's where Apidog comes in. Apidog simplifies API development, testing, and management, making it easier to handle both HTTP requests with Axios and real-time updates with WebSockets.
Apidog and Axios
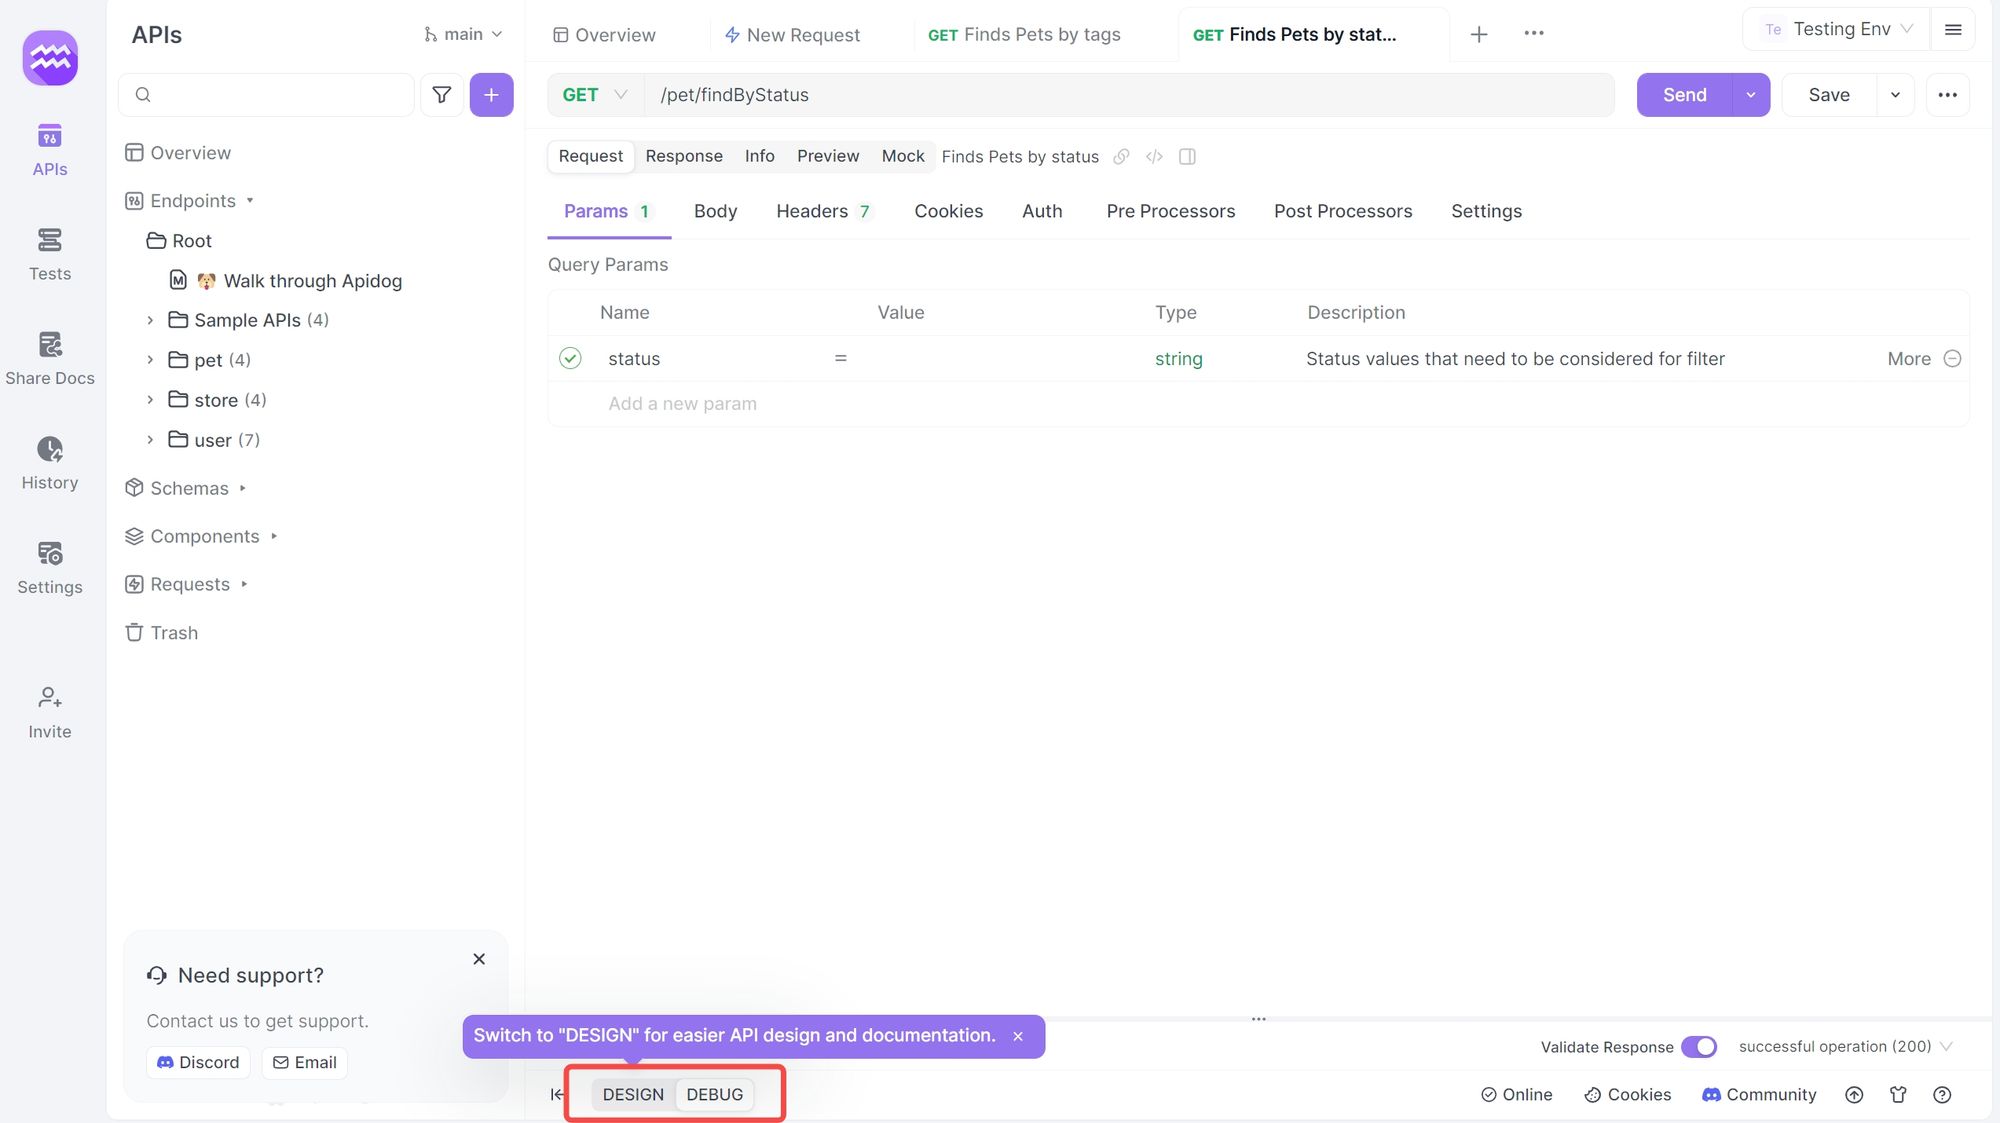
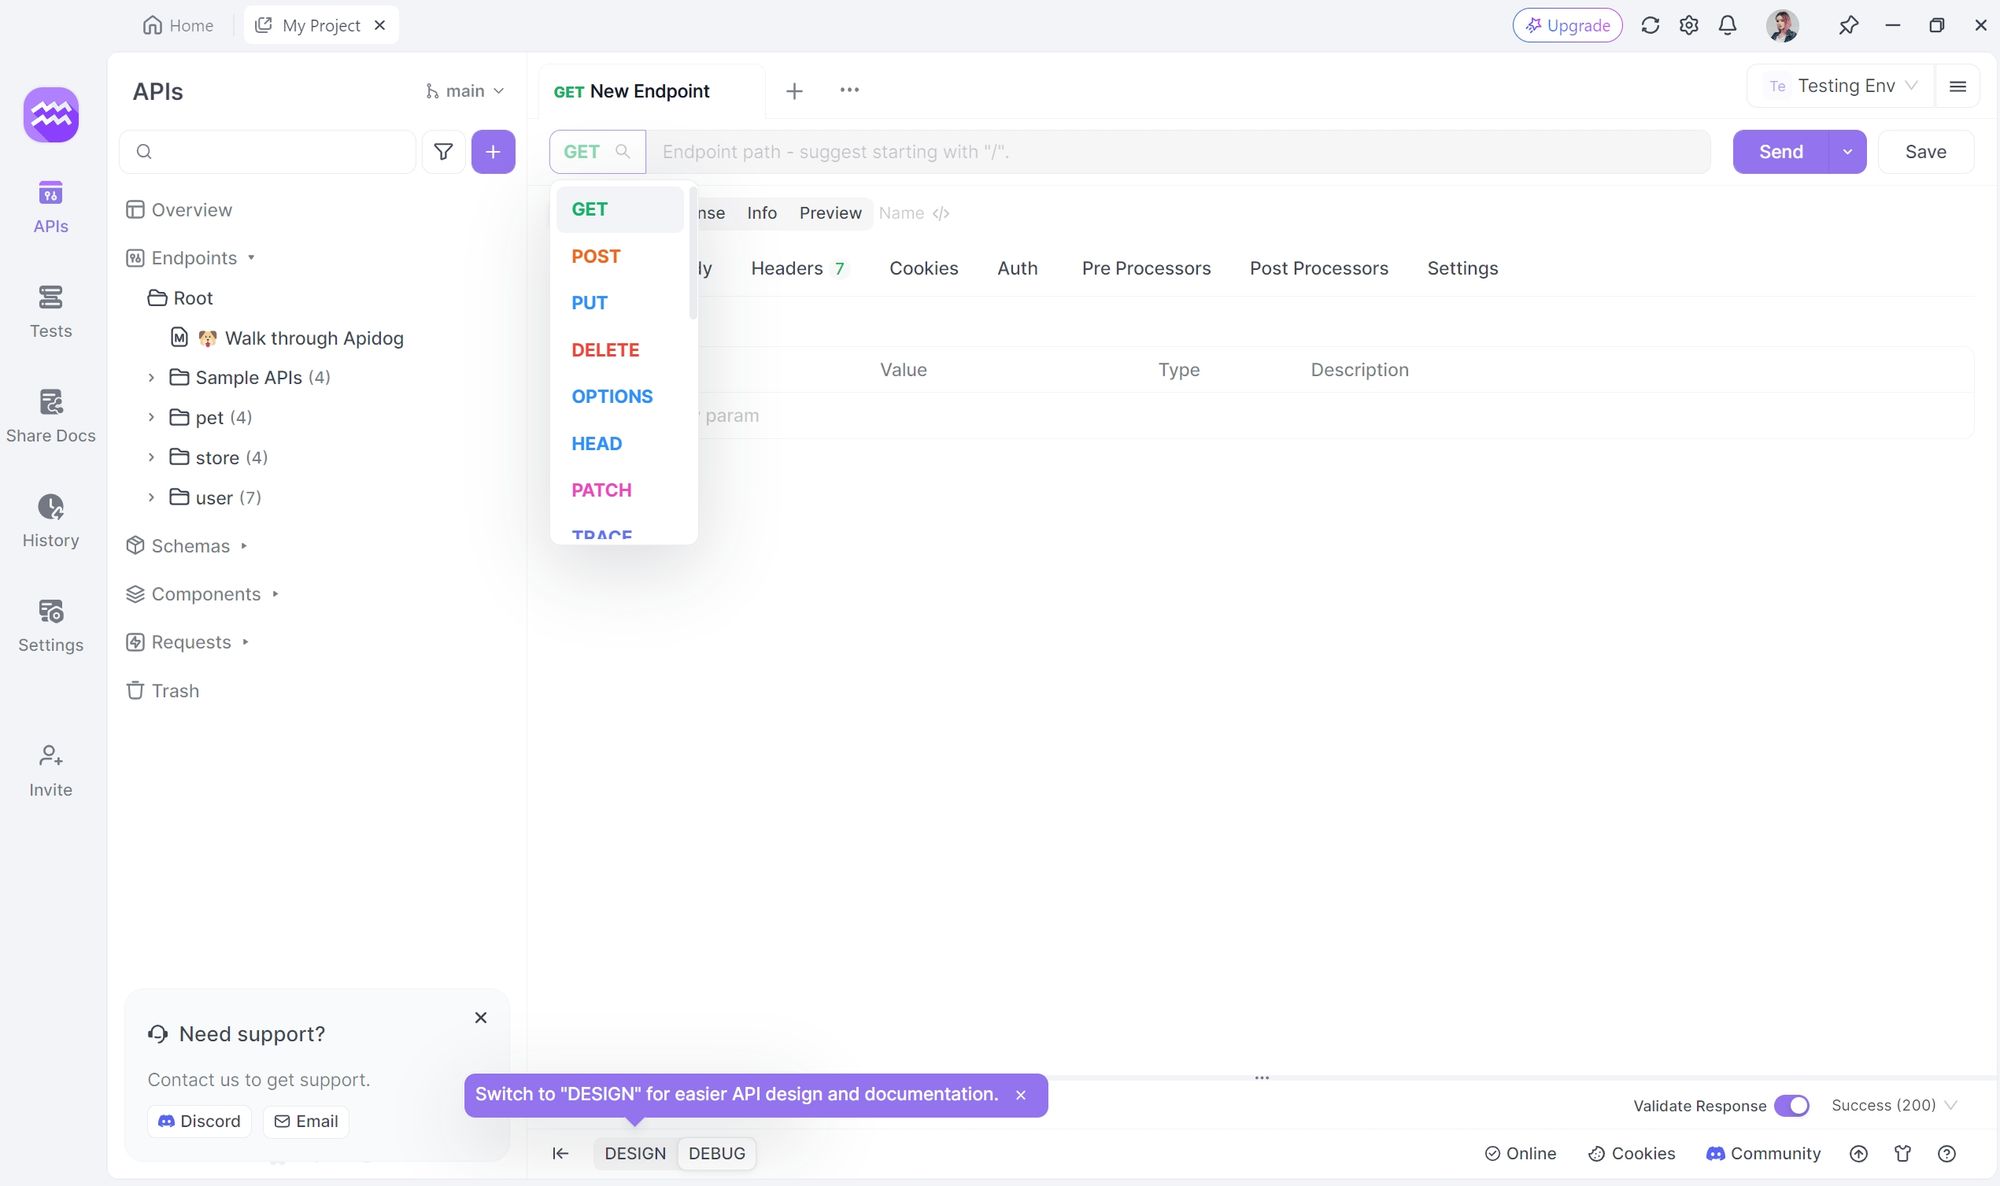
Step 1: Open Apidog and select new request
Step 2: Enter the URL of the API endpoint you want to send a request to,input any headers or query string parameters you wish to include with the request, then click on the "Design" to switch to the design interface of Apidog.
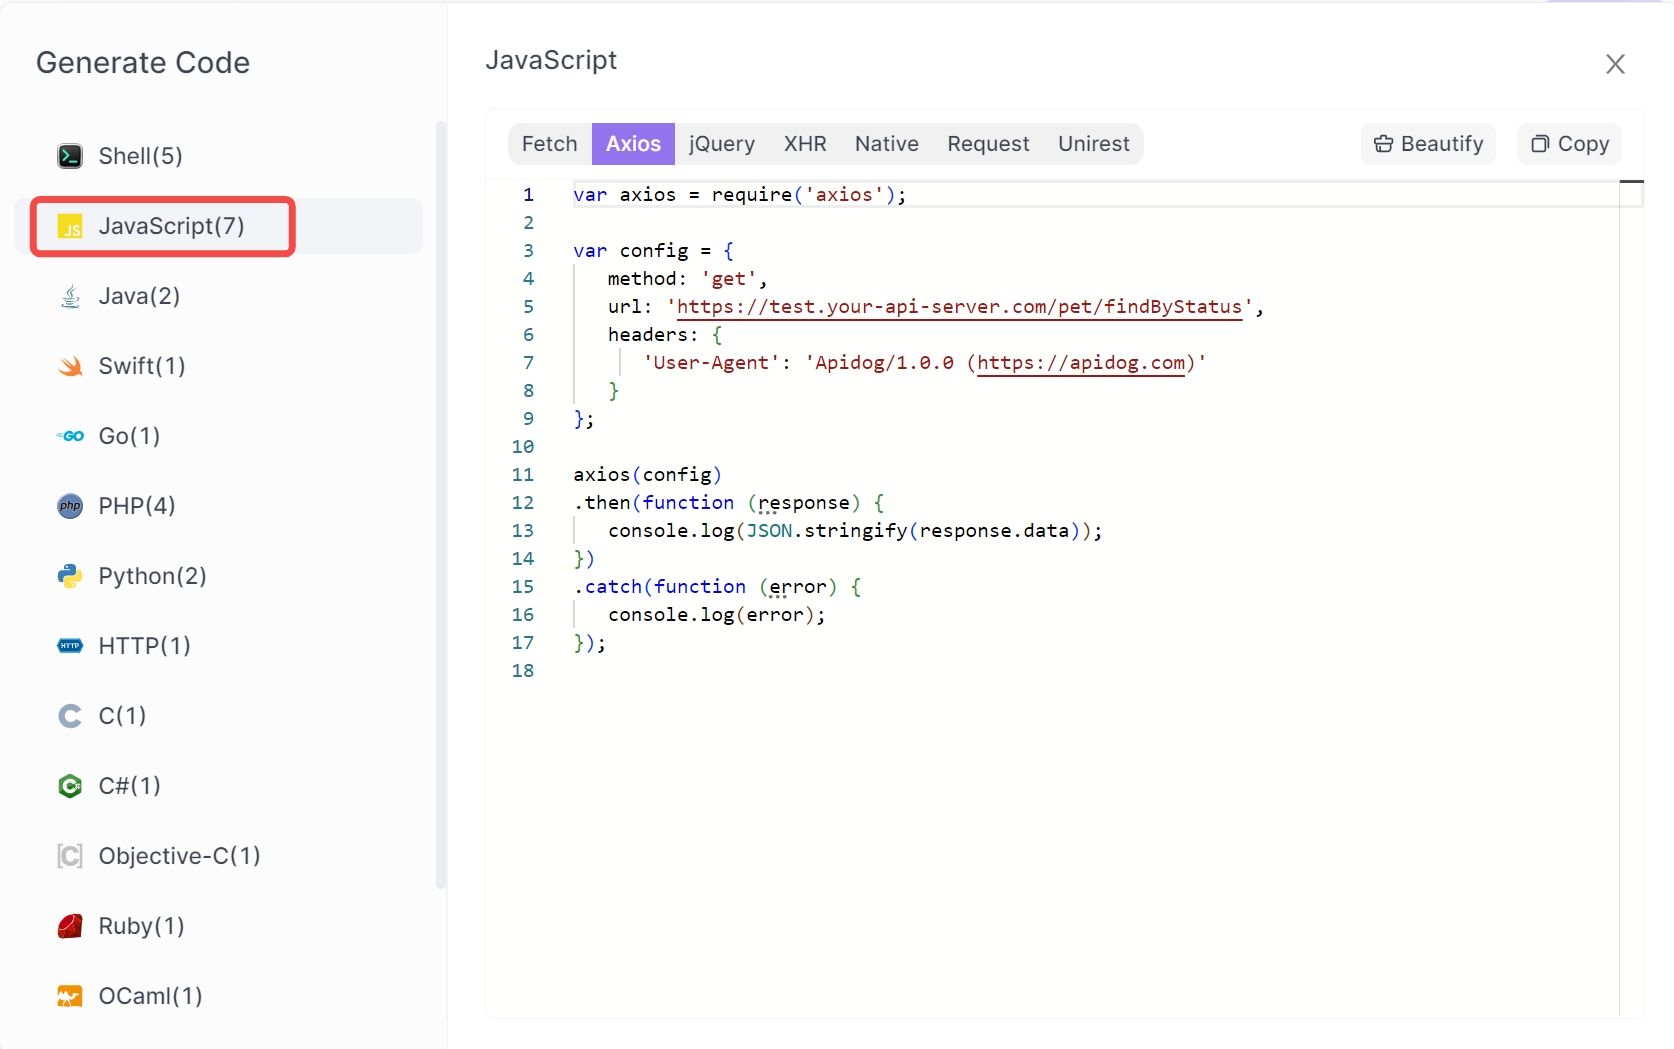
Step 3: Select "Generate client code " to generate your code.
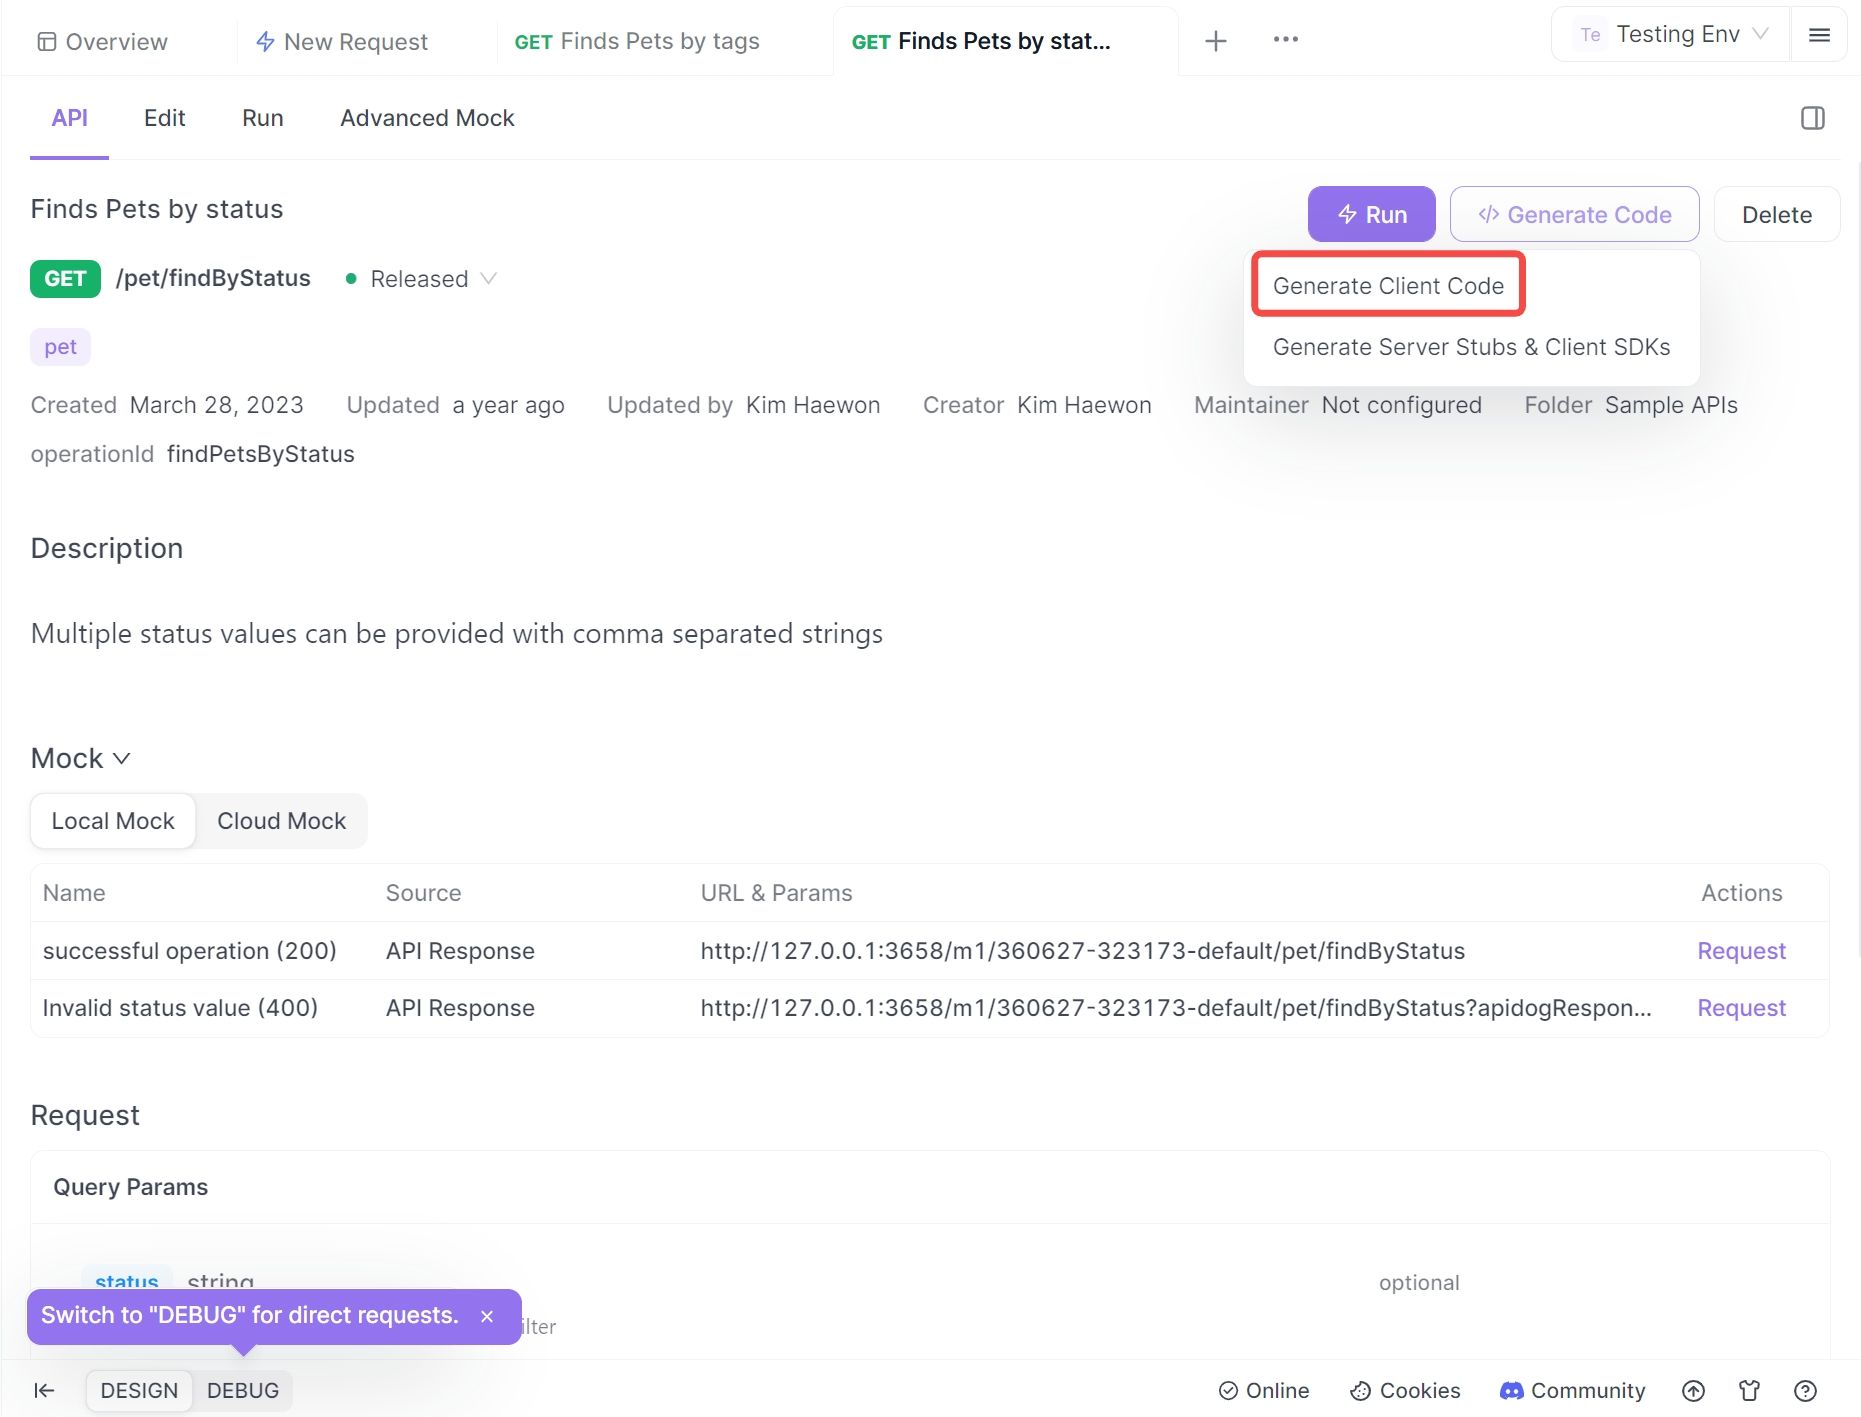
Step 4: Copy the generated Axios code and paste it into your project.
How you can use Apidog to debug a WebSocket client ?
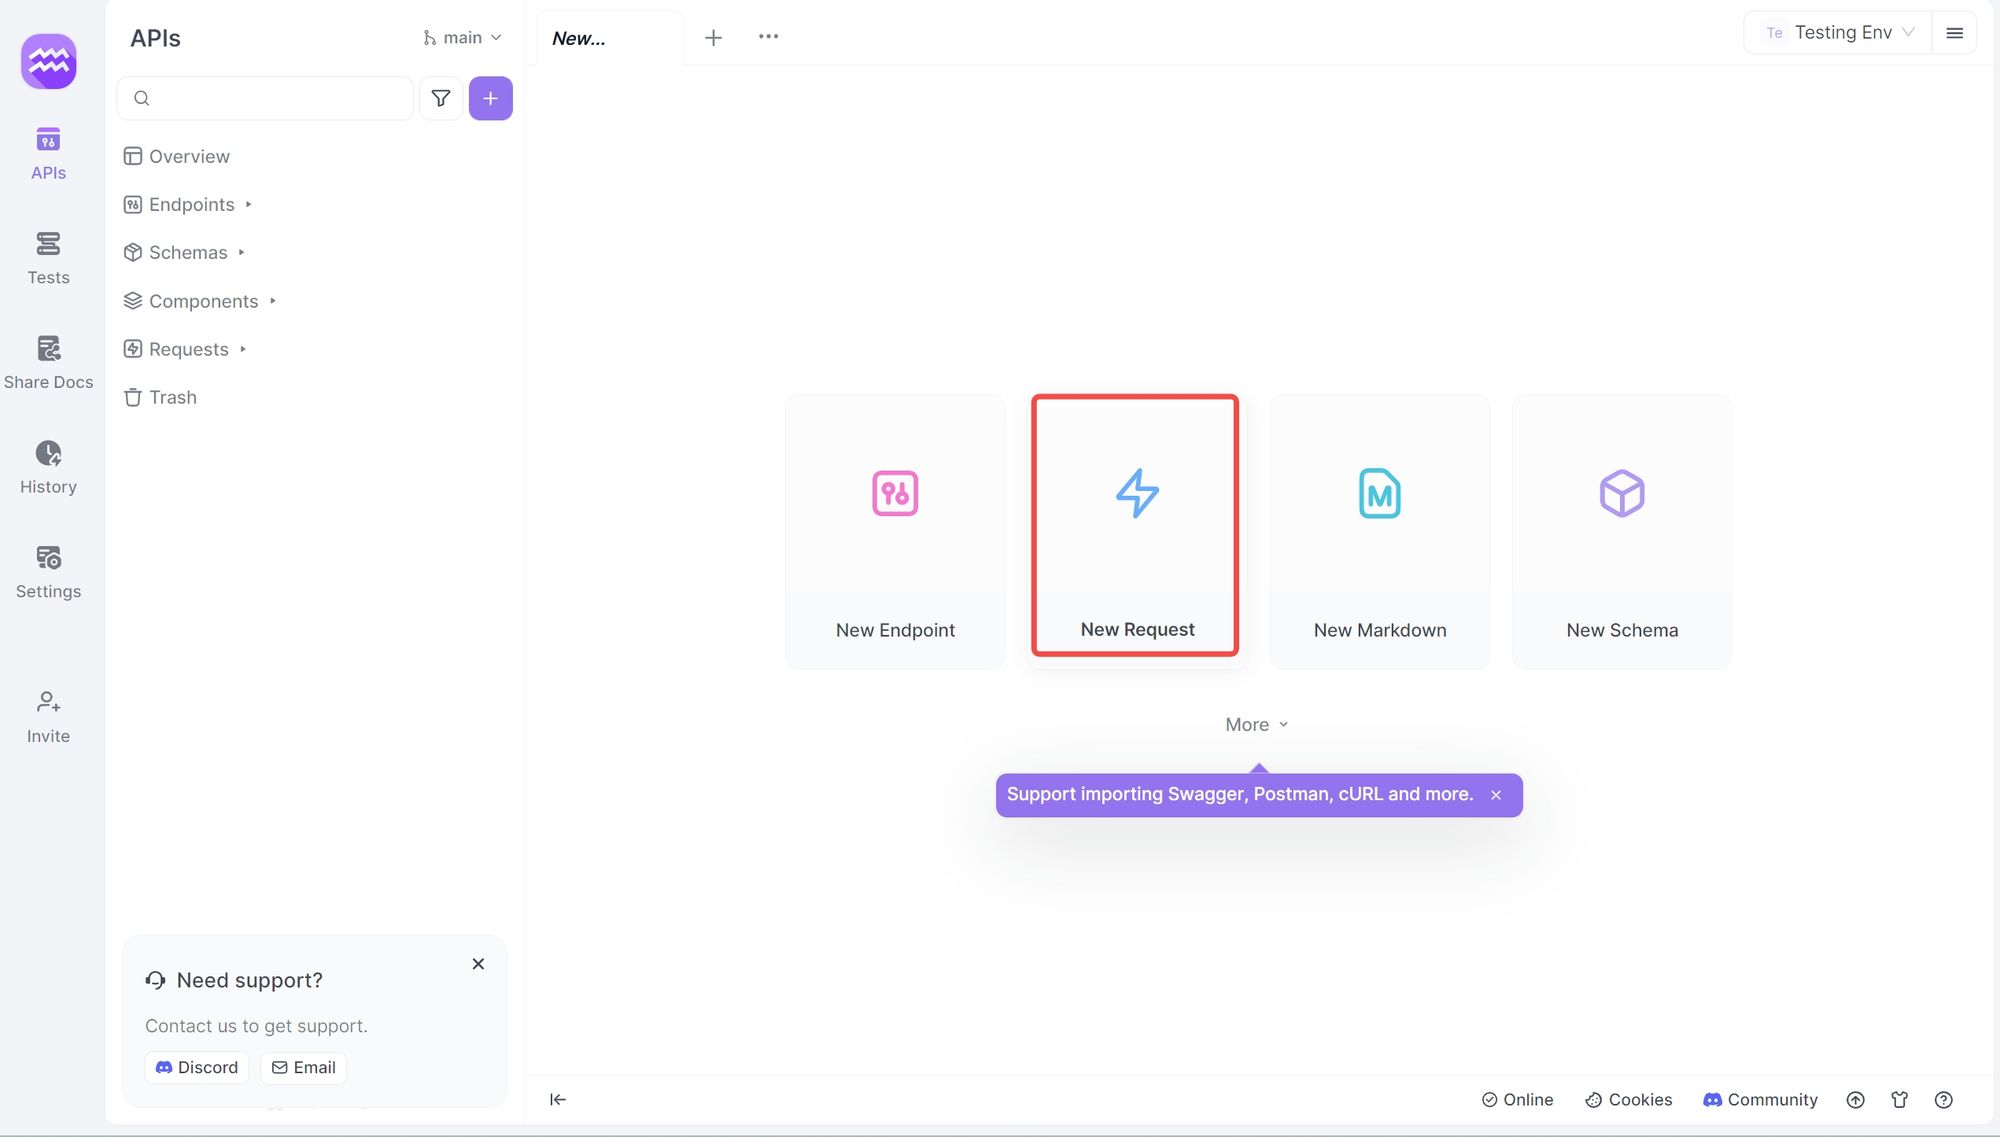
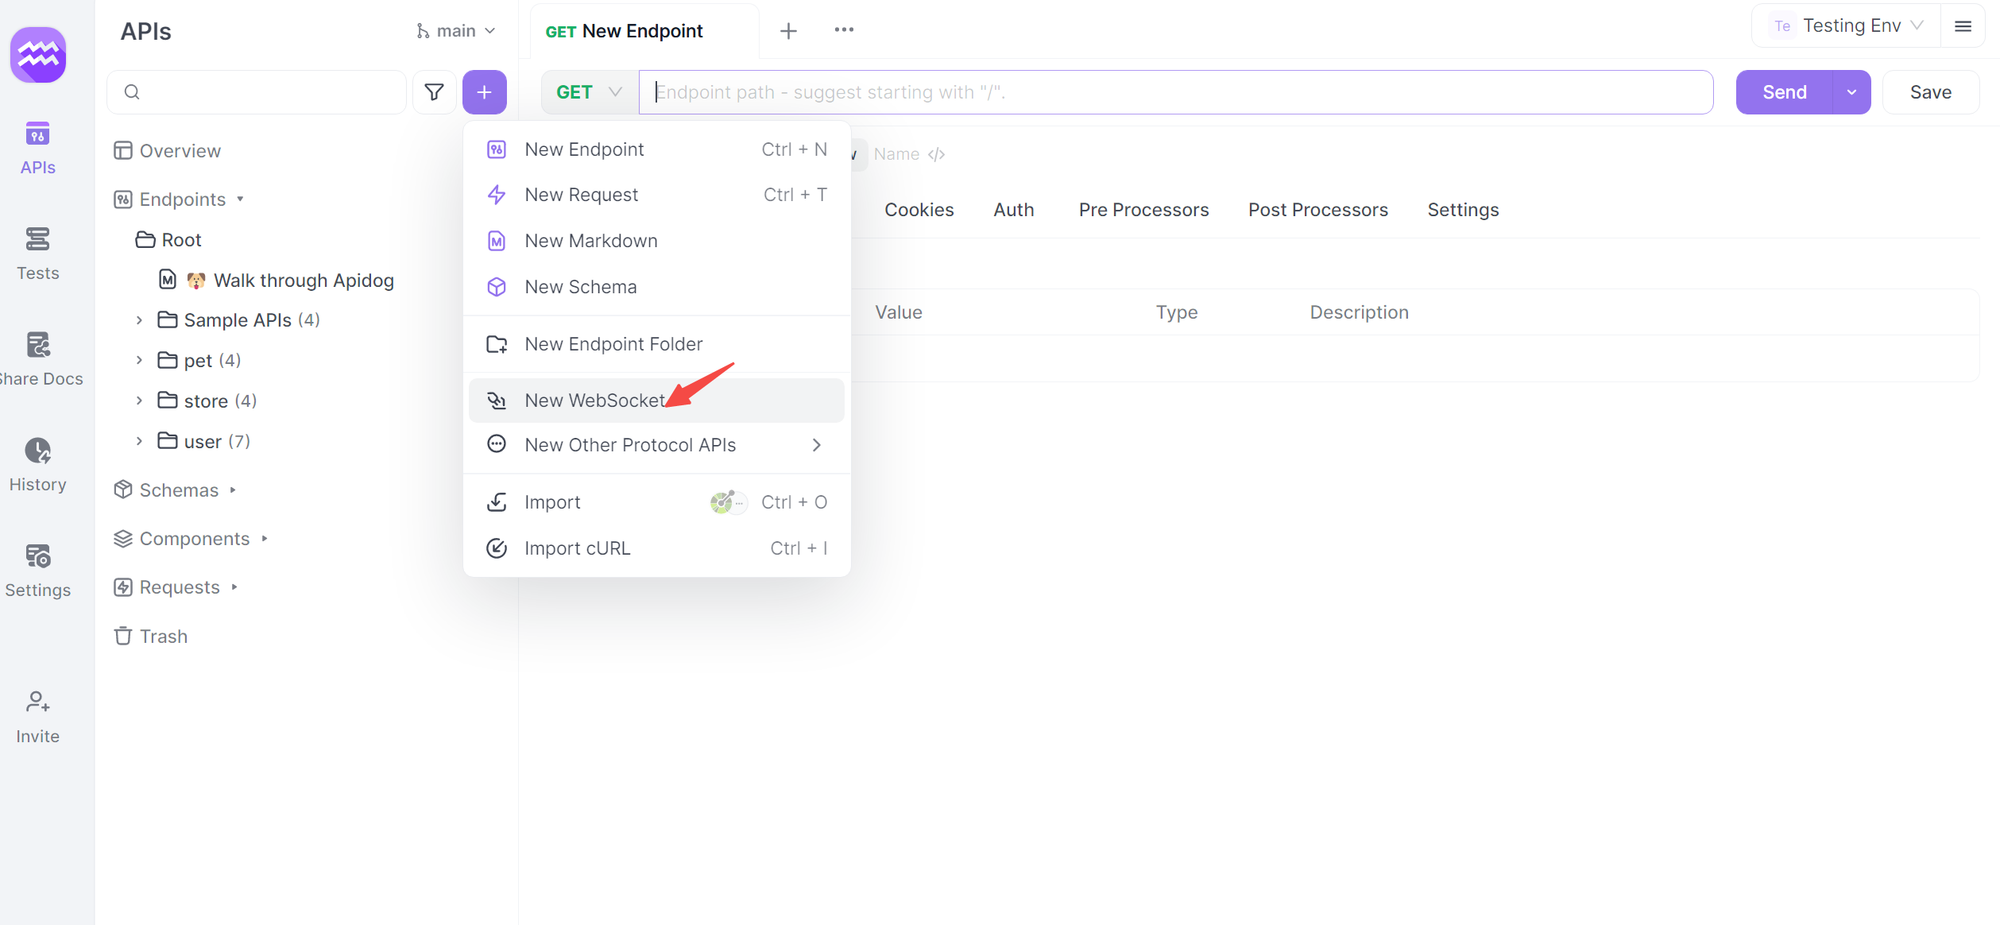
- Open Apidog: First, start the Apidog application and click on the "+" button on the left side, A new drop-down will be opened. From there choose "New WebSocket API":
2. Establish a Connection: Start by entering the WebSocket API URL in Apidog’s address bar. You can then click the “Connect” button to initiate the handshake process and establish a connection. Apidog allows you to customize parameters such as Params, Headers, and Cookies during the handshake.

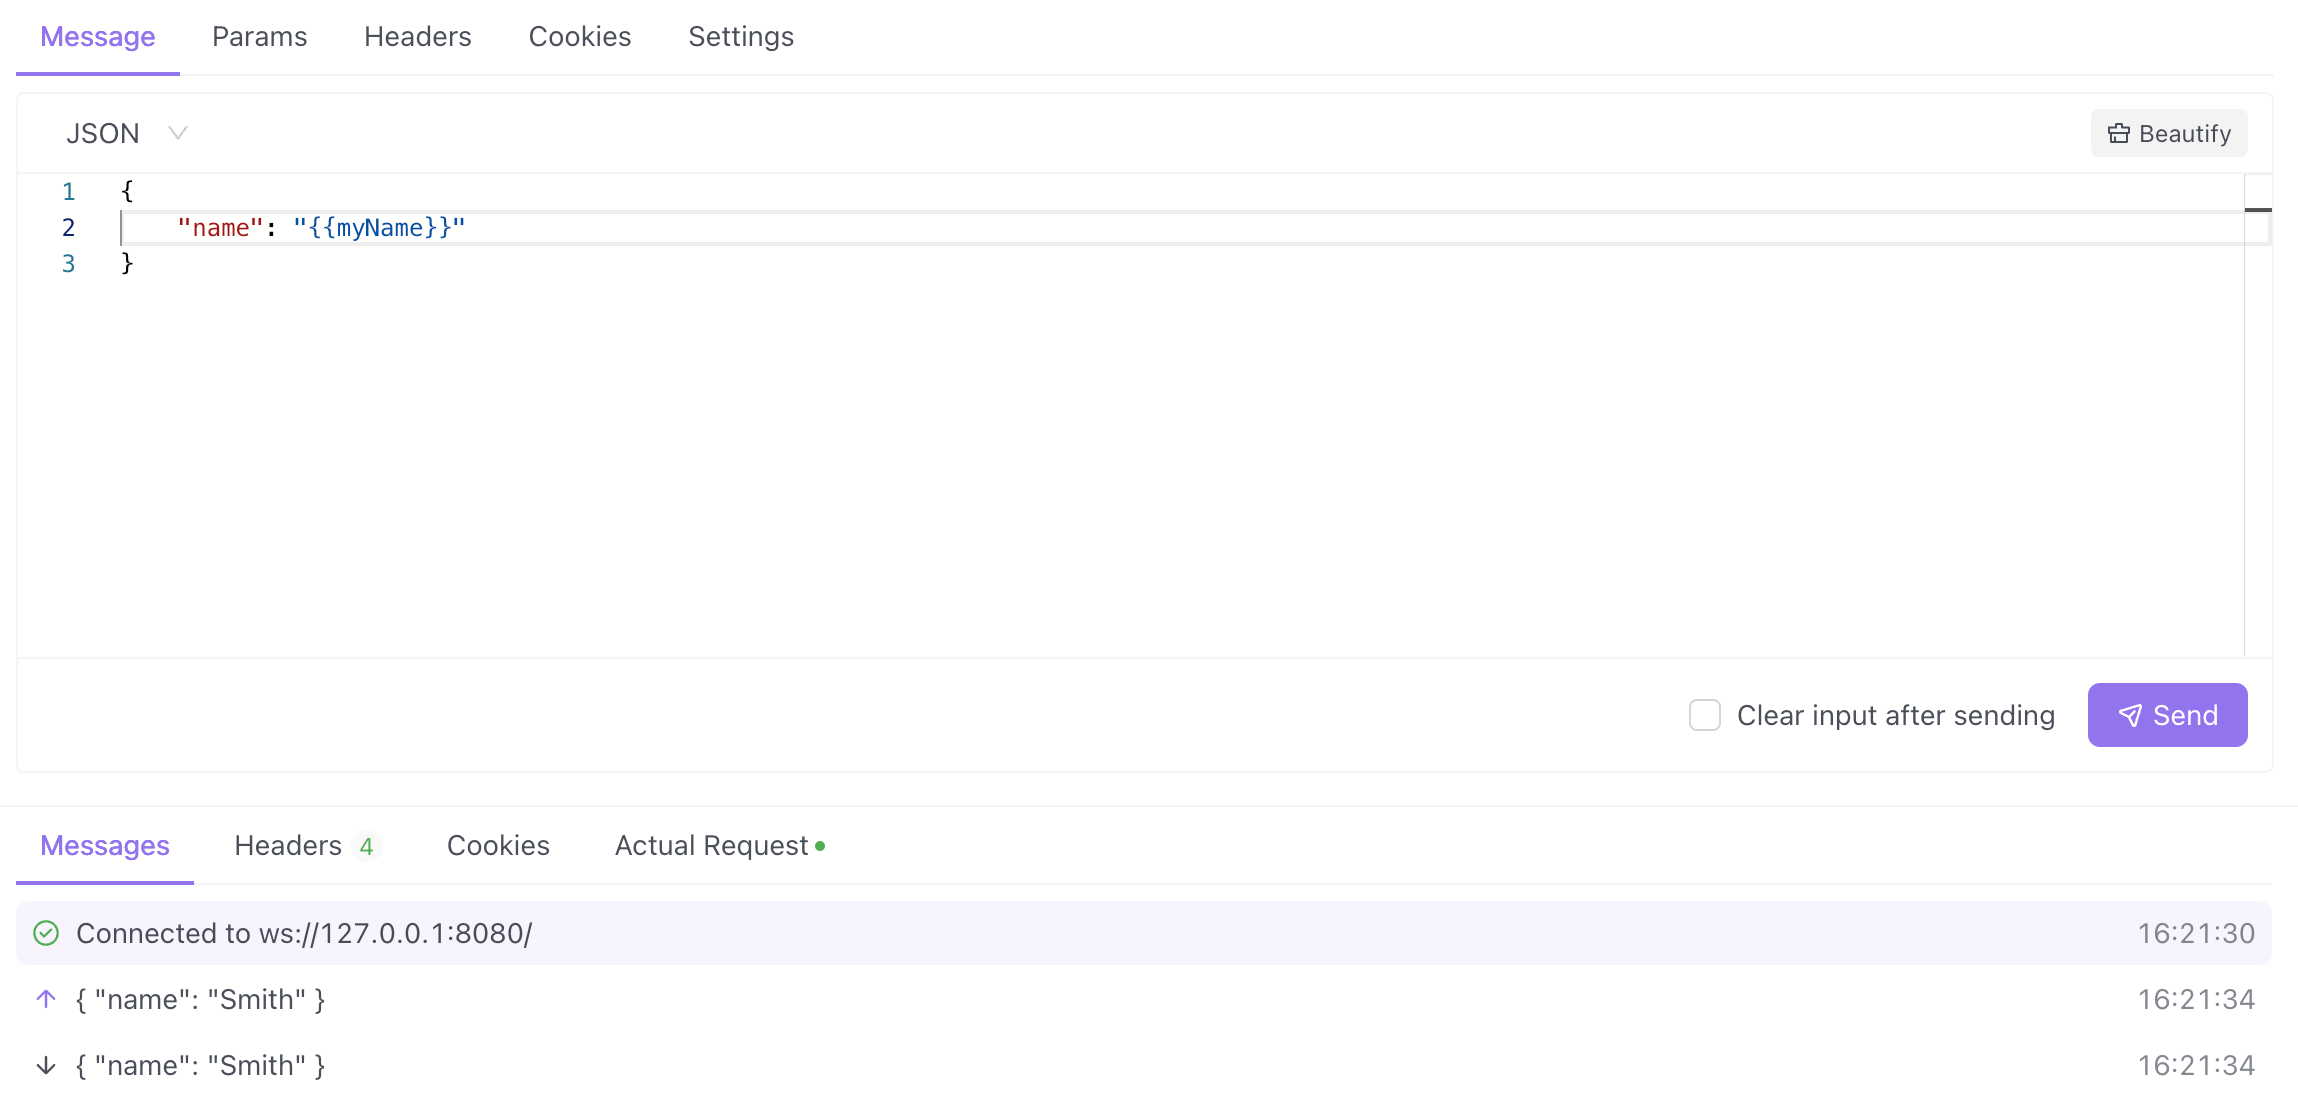
3. Send and Receive Messages: Once the connection is established, you can send messages under the "Message" tab. You can write text, JSON, XML, HTML, and other text format messages, as well as binary format messages using Base64 or Hexadecimal. Apidog's new timeline view shows the connection status, sent messages and received messages in chronological order. When you click on a message, you can easily view its details.
4. API Documentation: Apidog inherits its robust API documentation functionality for WebSocket APIs, allowing you to document your WebSocket interactions effectively.
Remember to check for common WebSocket issues such as connection problems, message format errors, and security concerns during your debugging process.
Using Apidog to Send HTTP Requests
Apidog offers several advanced features that further enhance its ability to test HTTP requests. These features allow you to customize your requests and handle more complex scenarios effortlessly.
Step 1: Open Apidog and create a new request.

Step 2: Find or manually input the API details for the POST request you want to make.
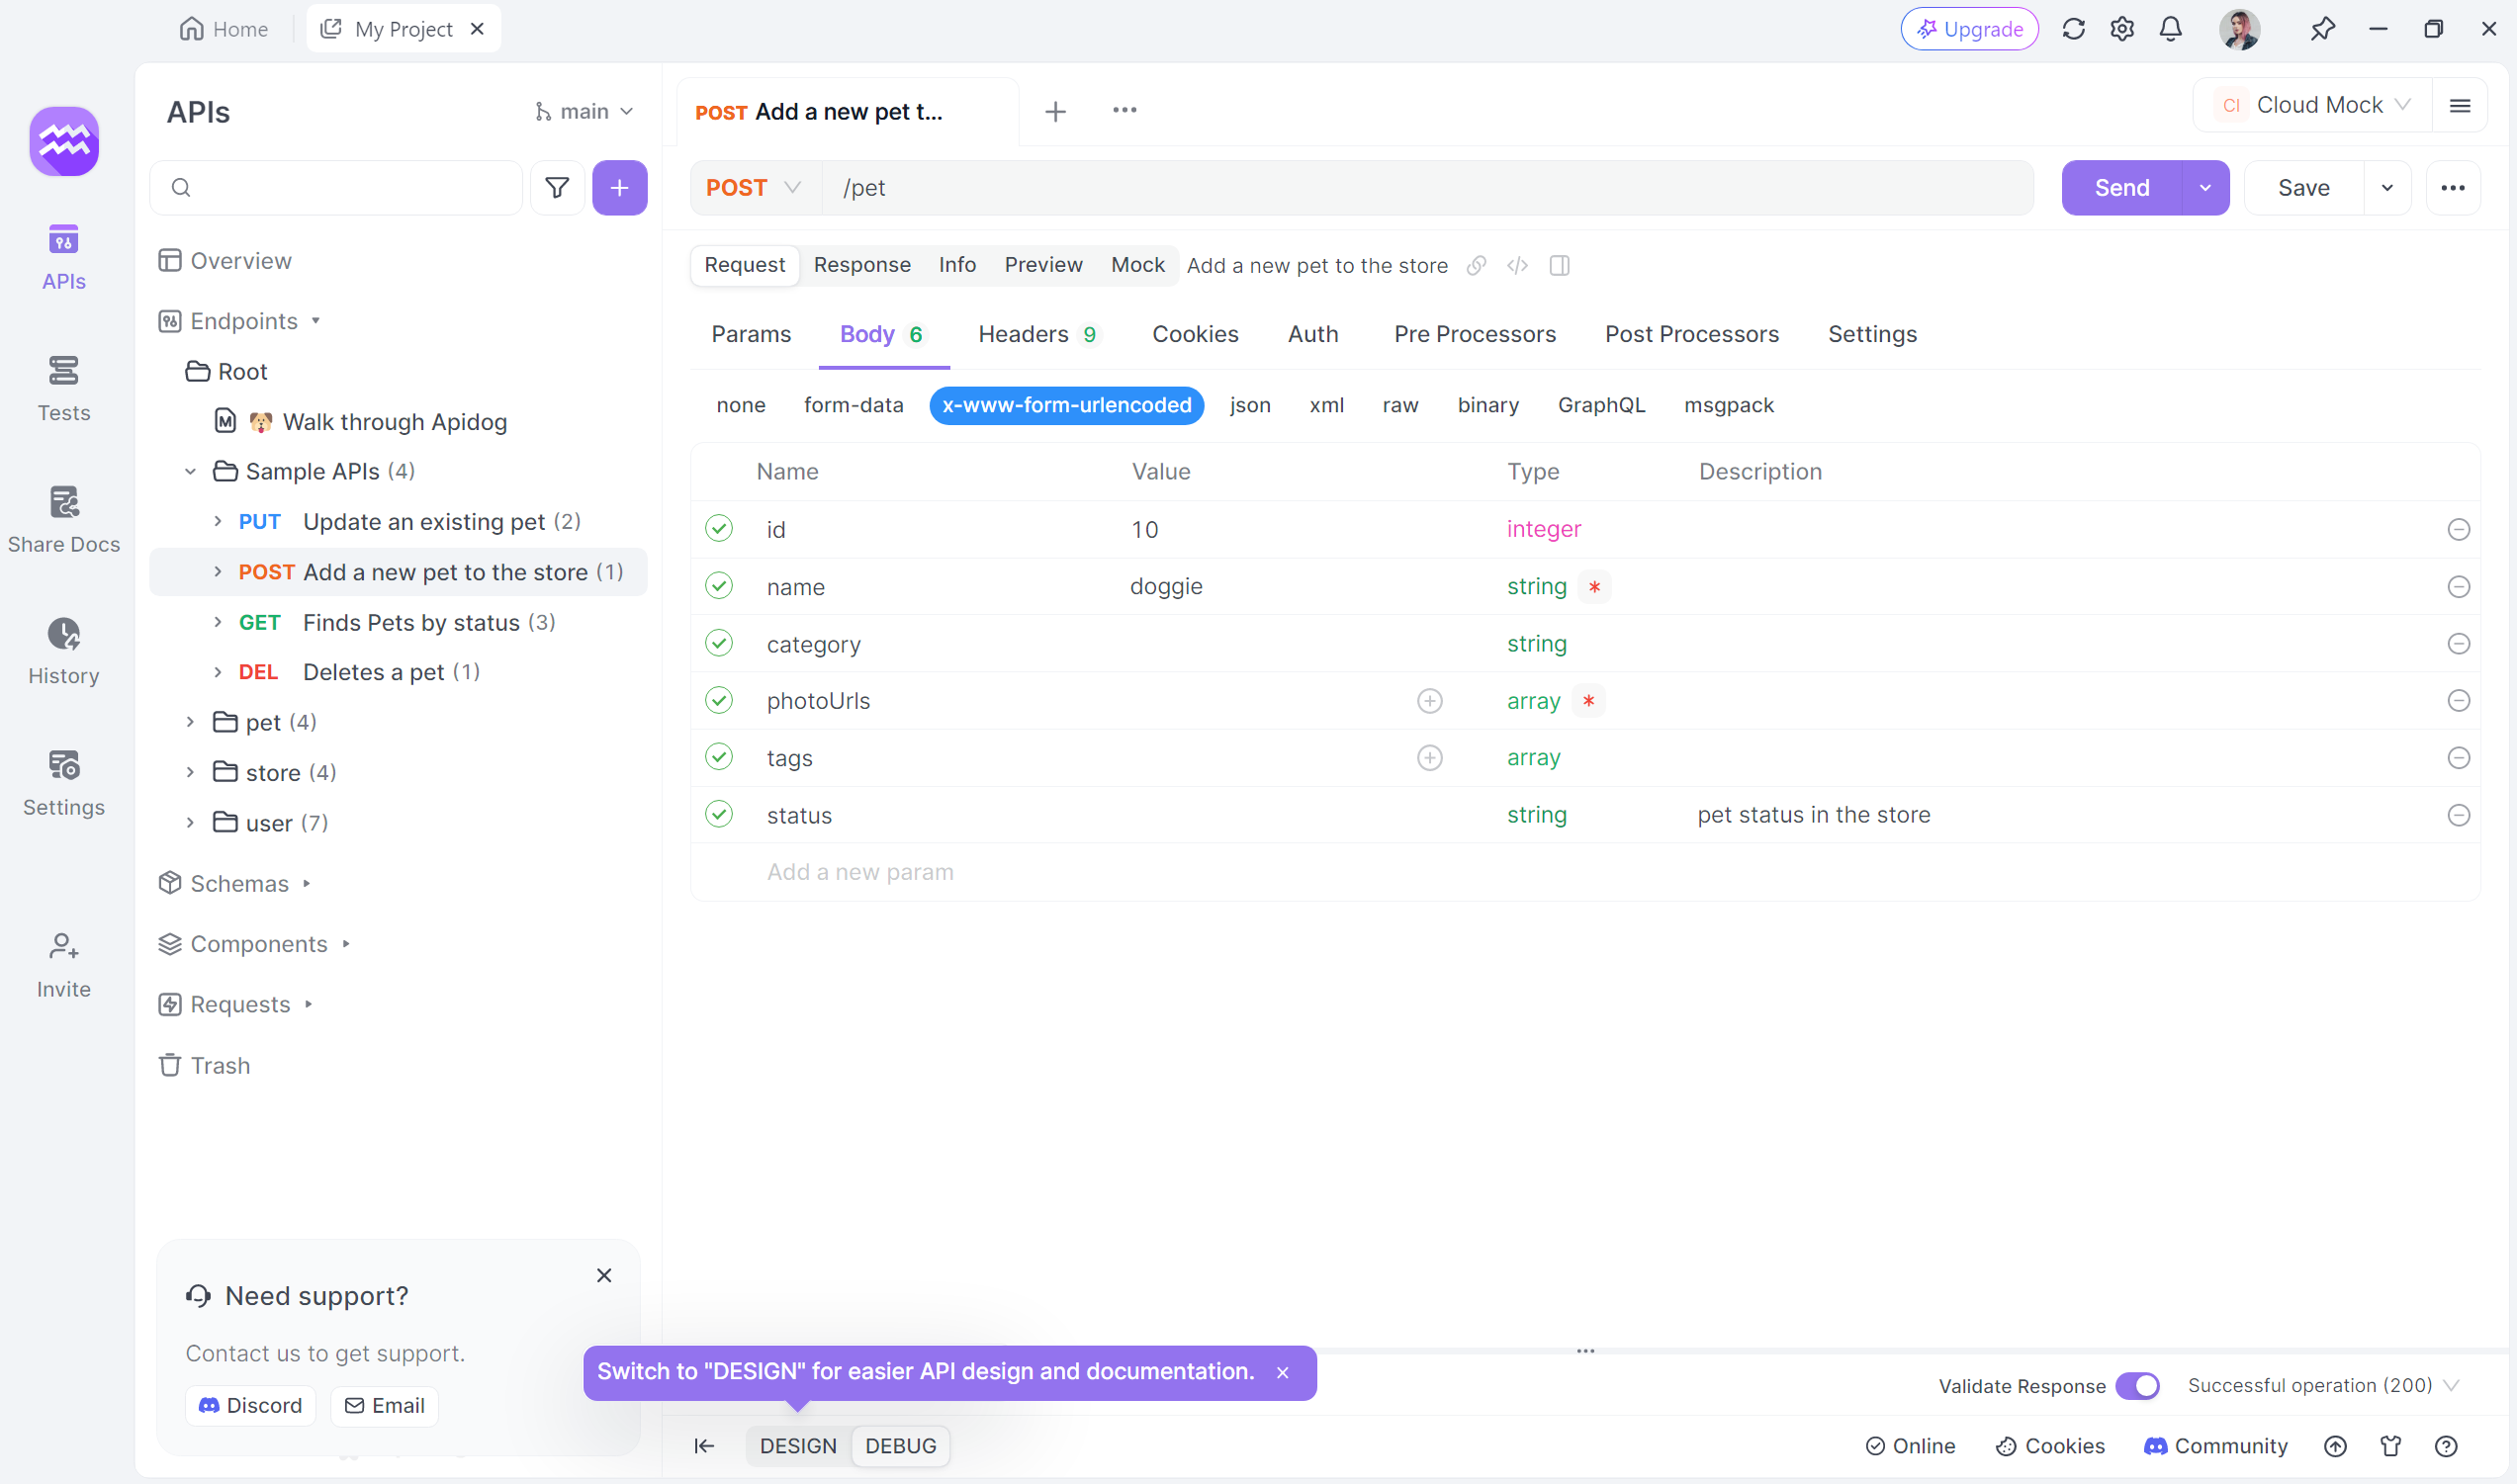
Step 3: Fill in the required parameters and any data you want to include in the request body.
Setting Up a Sample Project
To illustrate how Axios and WebSockets can work together, let's create a sample project. We’ll build a simple chat application where users can fetch previous messages with Axios and receive new messages in real-time via WebSockets.
Step 1: Setting Up the Server
First, we’ll set up a Node.js server using Express and the ws library for WebSocket support.
const express = require('express');
const WebSocket = require('ws');

const app = express();
const server = require('http').createServer(app);
const wss = new WebSocket.Server({ server });

let messages = [];

app.use(express.json());

app.get('/messages', (req, res) => {
  res.json(messages);
});

wss.on('connection', (ws) => {
  ws.on('message', (message) => {
    const parsedMessage = JSON.parse(message);
    messages.push(parsedMessage);
    wss.clients.forEach(client => {
      if (client.readyState === WebSocket.OPEN) {
        client.send(JSON.stringify(parsedMessage));
      }
    });
  });
});

server.listen(3000, () => {
  console.log('Server is listening on port 3000');
});
Step 2: Setting Up the Client
Next, we'll set up the client using Axios for fetching messages and WebSockets for real-time updates.
<!DOCTYPE html>
<html>
<head>
  <title>Chat App</title>
  <script src="https://cdn.jsdelivr.net/npm/axios/dist/axios.min.js"></script>
</head>
<body>
  <div id="messages"></div>
  <input type="text" id="messageInput" placeholder="Type a message">
  <button onclick="sendMessage()">Send</button>

  <script>
    const messagesDiv = document.getElementById('messages');

    async function fetchMessages() {
      try {
        const response = await axios.get('http://localhost:3000/messages');
        response.data.forEach(message => {
          addMessageToDOM(message);
        });
      } catch (error) {
        console.error('Error fetching messages:', error);
      }
    }

    function addMessageToDOM(message) {
      const messageDiv = document.createElement('div');
      messageDiv.textContent = message.text;
      messagesDiv.appendChild(messageDiv);
    }

    const socket = new WebSocket('ws://localhost:3000');

    socket.onmessage = (event) => {
      const message = JSON.parse(event.data);
      addMessageToDOM(message);
    };

    function sendMessage() {
      const messageInput = document.getElementById('messageInput');
      const message = { text: messageInput.value };
      socket.send(JSON.stringify(message));
      messageInput.value = '';
    }

    fetchMessages();
  </script>
</body>
</html>
Benefits of Using Both Axios and WebSockets
By combining Axios and WebSockets, you can create applications that are both data-rich and responsive. Here are some benefits:
- Efficiency: Load initial data quickly with Axios and keep it updated in real-time with WebSockets.
- User Experience: Provide a seamless and interactive experience for users with instant updates.
- Flexibility: Use the right tool for the right job—Axios for HTTP requests and WebSockets for real-time communication.
Challenges and Considerations
While combining Axios and WebSockets offers many advantages, it also comes with challenges:
- Complexity: Managing two different communication methods can increase the complexity of your application.
- Error Handling: Ensure robust error handling for both Axios requests and WebSocket connections.
- Security: Implement appropriate security measures to protect your data and communication channels.
Conclusion
In conclusion, while Axios cannot be used directly with WebSockets due to their differing protocols, combining them can create powerful, responsive web applications. Axios excels at fetching initial data from APIs, while WebSockets enable real-time updates. Together, they offer a comprehensive solution for modern web development.
Don’t forget to download Apidog for free to simplify your API development and management. With Apidog, handling both Axios and WebSockets becomes a breeze.


