
Hey there! If you're a developer, you've probably had those moments when you need to make multiple API calls in your projects. It's not the most glamorous part of coding, but it's essential. Today, we're diving deep into Axios multiple requests, a powerful way to handle this task efficiently.
But wait, before we get started, here's a quick tip: if you're looking for a powerful API tool to streamline your development process, check out Apidog. It's free and packed with features that will make your life a lot easier.
Now, let's roll up our sleeves and get into the nitty-gritty of making multiple requests with Axios!
What is Axios?
First things first, let's talk about what Axios is. Axios is a popular promise-based HTTP client for JavaScript. It's used to make HTTP requests from the browser and Node.js, and it's particularly appreciated for its ease of use and flexibility. With Axios, you can easily send asynchronous HTTP requests to REST endpoints and perform CRUD operations.
Why Use Axios for Multiple Requests?
When building modern web applications, there are often scenarios where you need to fetch data from multiple sources. This could be to populate a dashboard with different sets of data, perform a series of dependent operations, or even just gather all the necessary information to display a single page.
Handling multiple API requests can be tricky. You need to manage multiple asynchronous operations, handle errors gracefully, and ensure that your application doesn't get bogged down. This is where Axios shines. It provides an elegant and straightforward way to manage multiple requests with features like:
- Promise-based API: Makes handling asynchronous requests a breeze.
- Built-in support for concurrent requests: Using
axios.allandaxios.spread. - Interceptors: To handle request and response transformations.
- Error handling: Simplifies managing different types of errors.
Getting Started with Axios
Before we dive into multiple requests, let's make sure we're on the same page with the basics of Axios.
Installing Axios
First, you need to install Axios. If you're using npm, you can do this with:
npm install axios
Or, if you prefer yarn:
yarn add axios
Basic Axios Request
Here's a quick example of a basic GET request using Axios:
import axios from 'axios';

axios.get('https://api.example.com/data')
  .then(response => {
    console.log(response.data);
  })
  .catch(error => {
    console.error('Error fetching data:', error);
  });
This simple snippet fetches data from the given URL and logs it to the console. If there's an error, it logs the error message.
Making Multiple Requests with Axios
Now, let's move on to the main topic: making multiple requests with Axios. There are several ways to handle this, depending on your needs.
Using axios.all and axios.spread
The most common method to handle multiple requests is by using axios.all and axios.spread. These functions help you manage concurrent requests and handle their responses in a clean and organized way.
Here's an example:
import axios from 'axios';

function getData() {
  const requestOne = axios.get('https://api.example.com/data1');
  const requestTwo = axios.get('https://api.example.com/data2');

  axios.all([requestOne, requestTwo])
    .then(axios.spread((responseOne, responseTwo) => {
      console.log('Data from first request:', responseOne.data);
      console.log('Data from second request:', responseTwo.data);
    }))
    .catch(errors => {
      console.error('Error fetching data:', errors);
    });
}

getData();
In this example, axios.all takes an array of promises (our HTTP requests) and waits for all of them to resolve. The axios.spread function then takes the responses and spreads them into individual arguments, making it easy to work with each response.
Handling Dynamic Requests
Sometimes, you don't know beforehand how many requests you'll need to make. In such cases, you can dynamically create the array of promises.
import axios from 'axios';

function fetchData(endpoints) {
  const requests = endpoints.map(endpoint => axios.get(endpoint));

  axios.all(requests)
    .then(axios.spread((...responses) => {
      responses.forEach((response, index) => {
        console.log(`Data from request ${index + 1}:`, response.data);
      });
    }))
    .catch(errors => {
      console.error('Error fetching data:', errors);
    });
}

const apiEndpoints = [
  'https://api.example.com/data1',
  'https://api.example.com/data2',
  'https://api.example.com/data3'
];

fetchData(apiEndpoints);
In this scenario, we map over the array of endpoints to create an array of promises. This is a powerful way to handle dynamic lists of API calls.
Sequential Requests with Axios
There are times when you need to make sure one request completes before starting the next. For example, when the second request depends on the result of the first. In such cases, you can chain your requests using promises.
import axios from 'axios';

function fetchSequentialData() {
  axios.get('https://api.example.com/data1')
    .then(response1 => {
      console.log('First request data:', response1.data);
      return axios.get('https://api.example.com/data2');
    })
    .then(response2 => {
      console.log('Second request data:', response2.data);
    })
    .catch(error => {
      console.error('Error fetching data:', error);
    });
}

fetchSequentialData();
This approach ensures that the second request only starts after the first one has successfully completed.
Error Handling in Multiple Requests
Handling errors effectively is crucial when dealing with multiple requests. Axios provides several ways to manage errors, ensuring your application can gracefully handle issues.
Catching Errors for Individual Requests
You can handle errors for each request individually by adding a .catch block to each promise:
import axios from 'axios';

const requestOne = axios.get('https://api.example.com/data1')
  .catch(error => console.error('Error in request one:', error));

const requestTwo = axios.get('https://api.example.com/data2')
  .catch(error => console.error('Error in request two:', error));

axios.all([requestOne, requestTwo])
  .then(axios.spread((responseOne, responseTwo) => {
    if (responseOne) console.log('Data from first request:', responseOne.data);
    if (responseTwo) console.log('Data from second request:', responseTwo.data);
  }));
Catching All Errors Together
Alternatively, you can catch all errors together at the end:
import axios from 'axios';

const requestOne = axios.get('https://api.example.com/data1');
const requestTwo = axios.get('https://api.example.com/data2');

axios.all([requestOne, requestTwo])
  .then(axios.spread((responseOne, responseTwo) => {
    console.log('Data from first request:', responseOne.data);
    console.log('Data from second request:', responseTwo.data);
  }))
  .catch(error => {
    console.error('Error fetching data:', error);
  });
This approach is simpler but less granular, as it doesn't distinguish which request failed.
Optimizing Axios Requests
To get the most out of Axios, here are some tips and best practices.
Using Interceptors
Interceptors allow you to run your code or modify requests/responses before they are handled by then or catch. They are great for adding headers, logging, error handling, etc.
import axios from 'axios';

// Add a request interceptor
axios.interceptors.request.use(request => {
  console.log('Starting Request', request);
  return request;
}, error => {
  return Promise.reject(error);
});

// Add a response interceptor
axios.interceptors.response.use(response => {
  console.log('Response:', response);
  return response;
}, error => {
  return Promise.reject(error);
});
Setting Global Defaults
You can set default configuration options for Axios. This can be handy for setting base URLs, headers, timeouts, etc.
import axios from 'axios';

axios.defaults.baseURL = 'https://api.example.com';
axios.defaults.headers.common['Authorization'] = 'Bearer token';
axios.defaults.timeout = 10000;
Canceling Requests
Sometimes, you might need to cancel a request. Axios provides a way to cancel requests using CancelToken.
import axios from 'axios';

const CancelToken = axios.CancelToken;
let cancel;

axios.get('https://api.example.com/data', {
  cancelToken: new CancelToken(function executor(c) {
    cancel = c;
  })
})
  .then(response => {
    console.log(response.data);
  })
  .catch(thrown => {
    if (axios.isCancel(thrown)) {
      console.log('Request canceled', thrown.message);
    } else {
      console.error('Error fetching data:', thrown);
    }
  });

// To cancel the request
cancel('Operation canceled by the user.');
Real-World Example: Fetching Data from Multiple APIs
Let's put everything together with a real-world example. Suppose you are building a dashboard that needs to fetch user data, posts, and comments from different endpoints.
import axios from 'axios';

async function fetchDashboardData() {
  try {
    const [userData, postsData, commentsData] = await axios.all([
      axios.get('https://api.example.com/users'),
      axios.get('https://api.example.com/posts'),
      axios.get('https://api.example.com/comments')
    ]);

    console.log

('User Data:', userData.data);
    console.log('Posts Data:', postsData.data);
    console.log('Comments Data:', commentsData.data);
  } catch (errors) {
    console.error('Error fetching dashboard data:', errors);
  }
}

fetchDashboardData();
In this example, we use axios.all to fetch data from three different endpoints simultaneously. We then handle the responses together, logging the data to the console.
Apidog: a free tool to generate your Axios code
Apidog is an all-in-one collaborative API development platform that provides a comprehensive toolkit for designing, debugging, testing, publishing, and mocking APIs. Apidog enables you to automatically create Axios code for making HTTP requests.
Here's the process for using Apidog to generate Axios code:
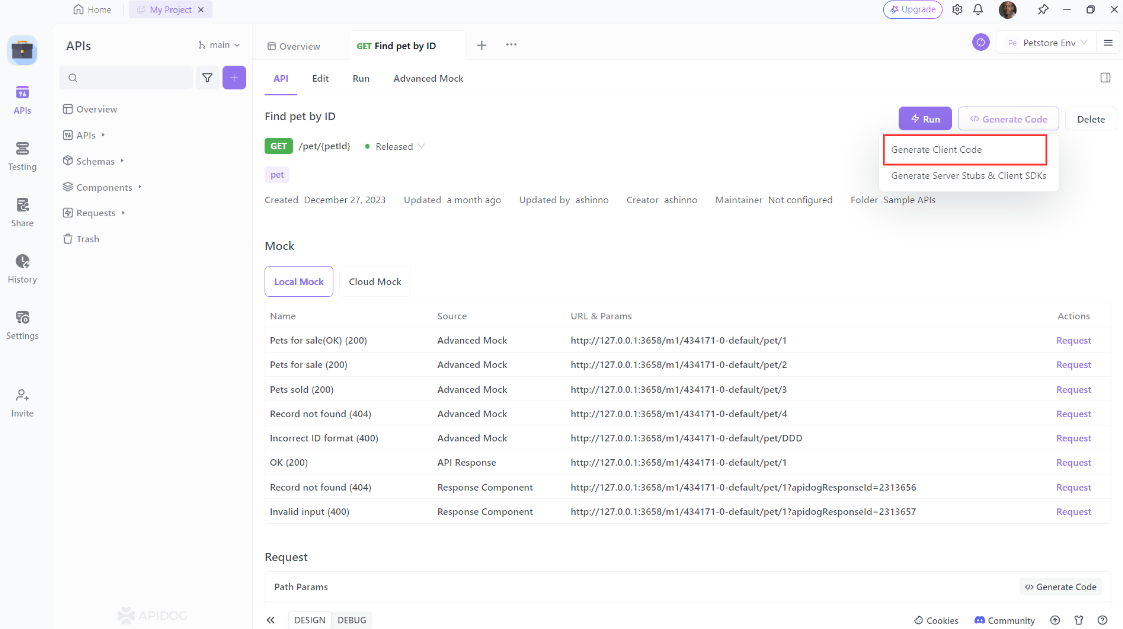
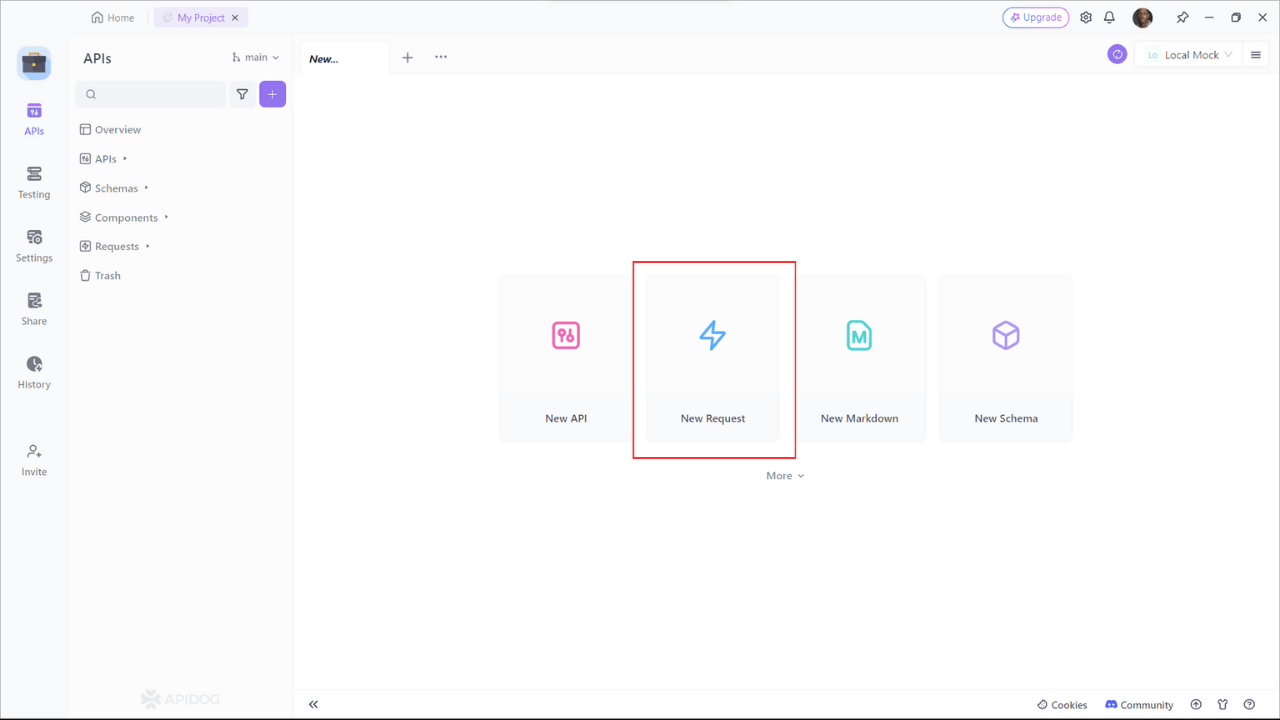
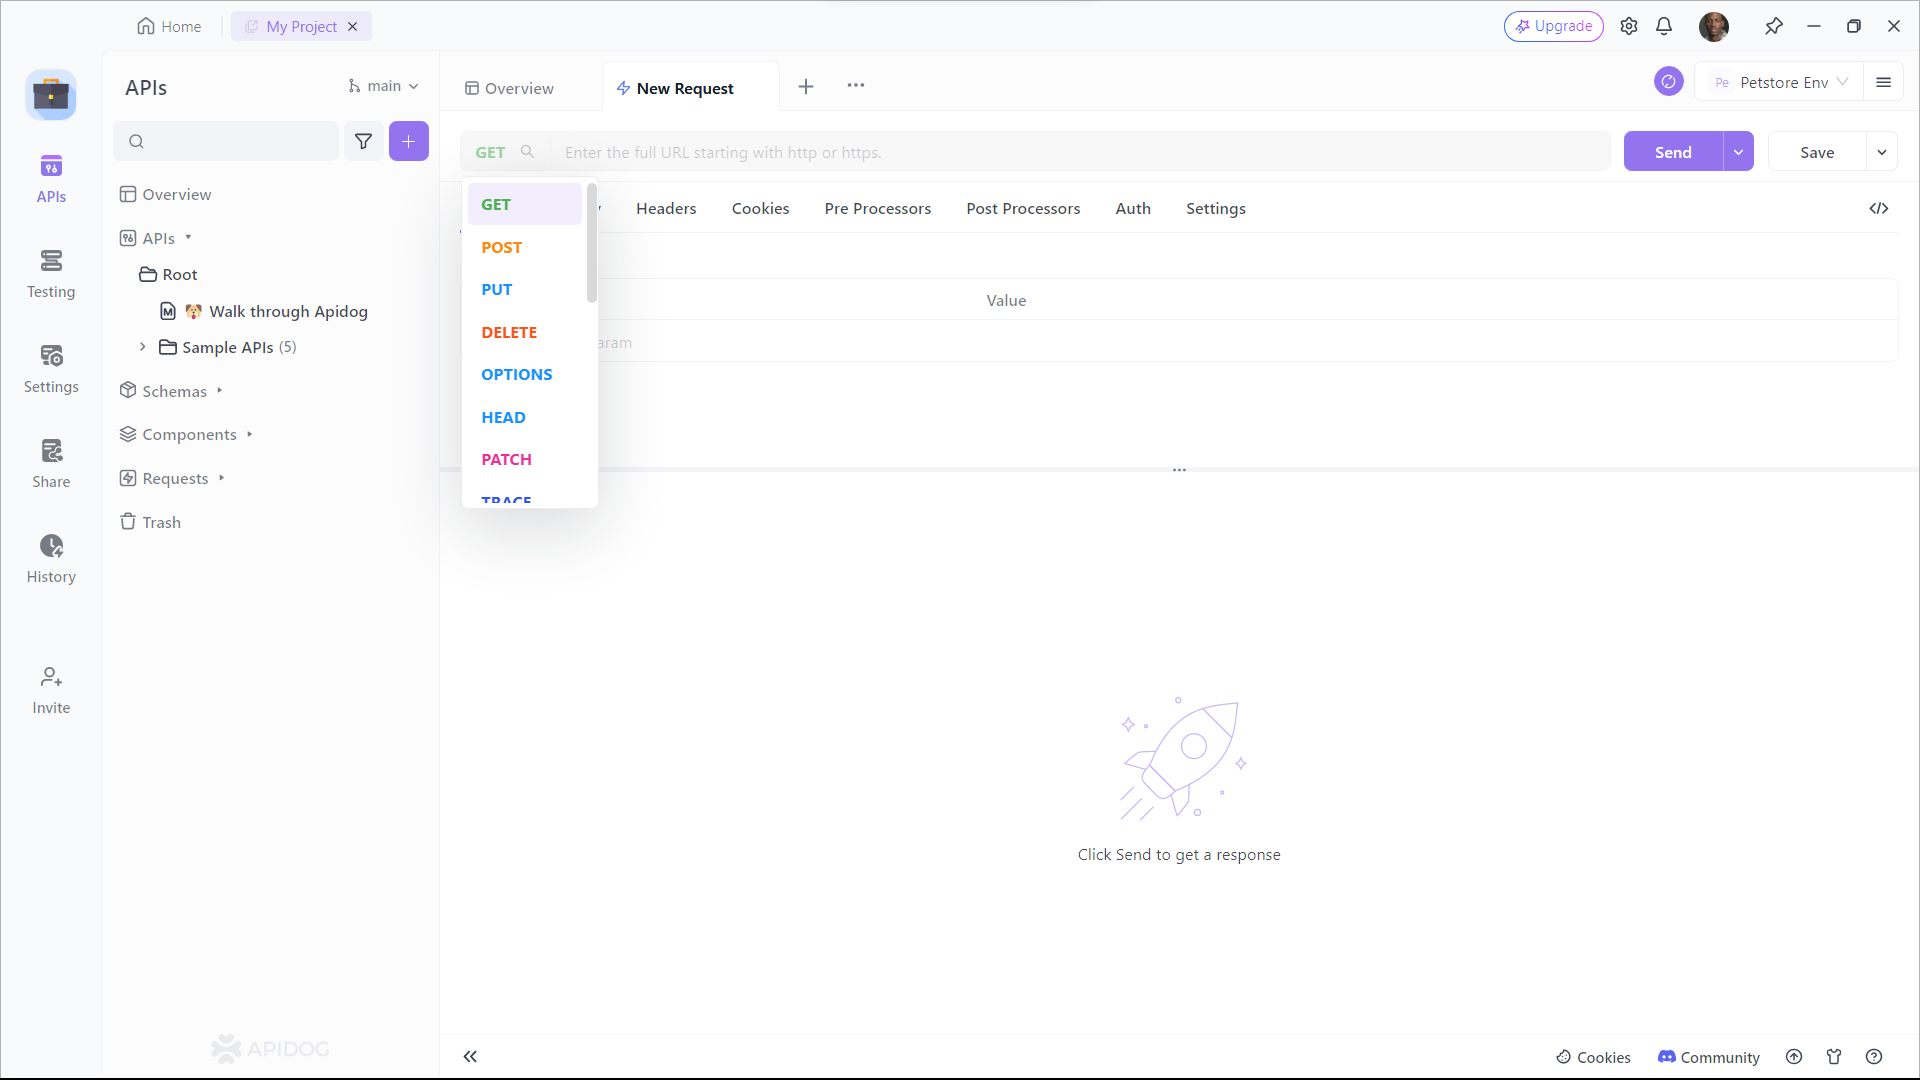
Step 1: Open Apidog and select new request

Step 2: Enter the URL of the API endpoint you want to send a request to,input any headers or query string parameters you wish to include with the request, then click on the "Design" to switch to the design interface of Apidog.

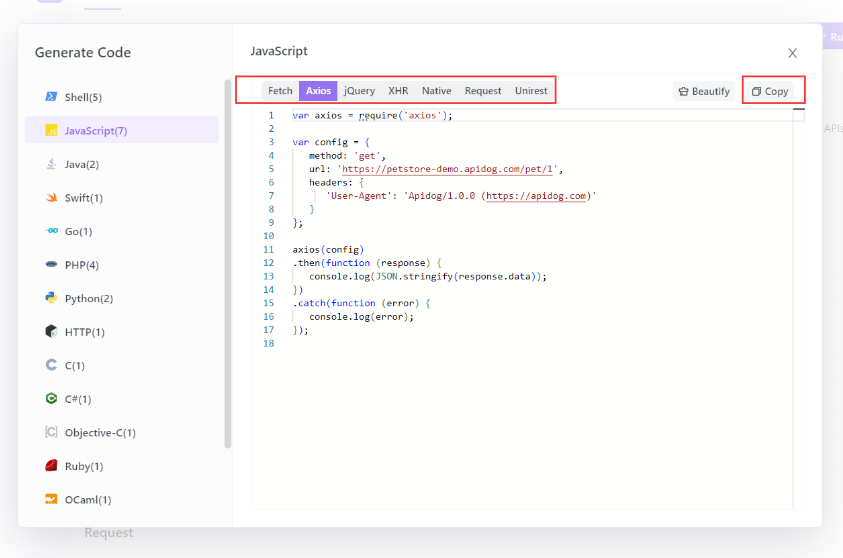
Step 3: Select "Generate client code " to generate your code.
Step 4: Copy the generated Axios code and paste it into your project.
Using Apidog to Send HTTP Requests
Apidog offers several advanced features that further enhance its ability to test HTTP requests. These features allow you to customize your requests and handle more complex scenarios effortlessly.
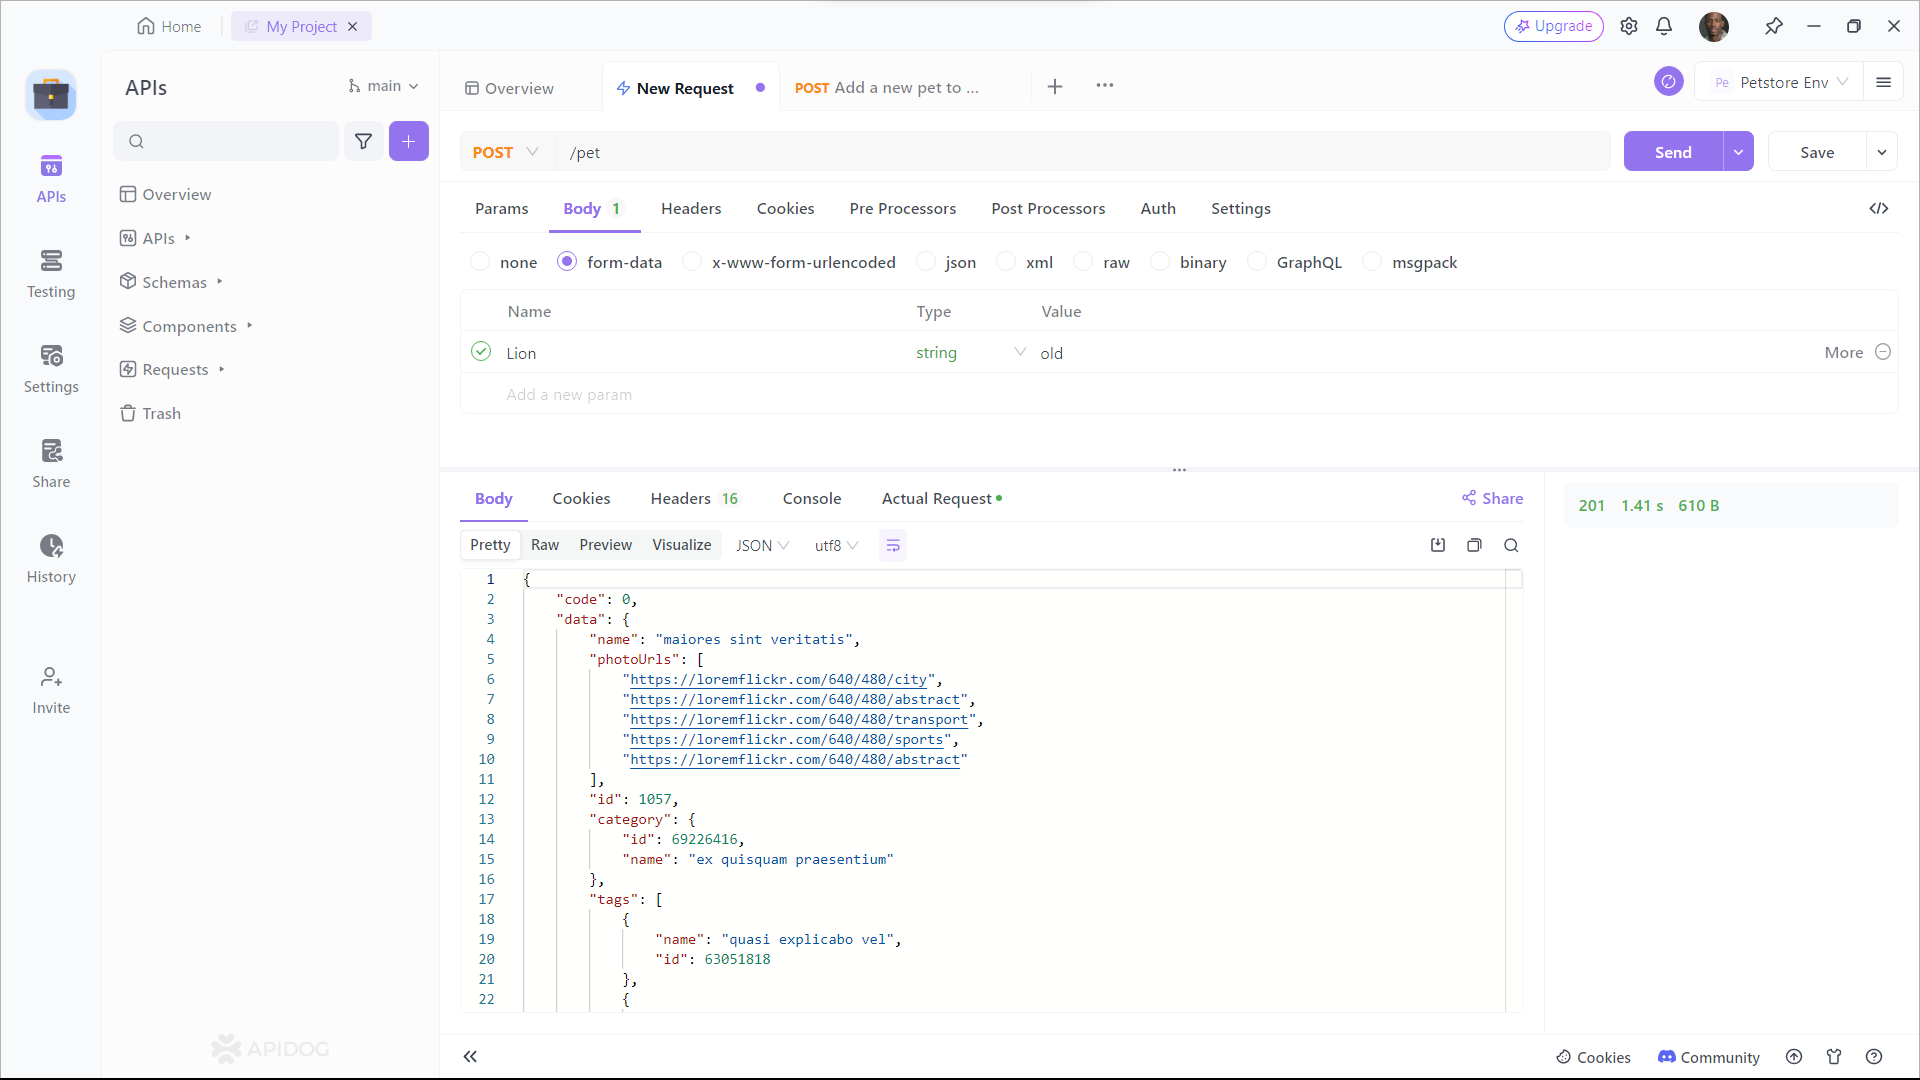
Step 1: Open Apidog and create a new request.
Step 2: Find or manually input the API details for the POST request you want to make.
Step 3: Fill in the required parameters and any data you want to include in the request body.
Conclusion
Handling multiple API requests efficiently is crucial for building robust and performant web applications. Axios, with its powerful features and flexibility, makes this task straightforward and manageable. By leveraging axios.all, axios.spread, interceptors, and other advanced features, you can create seamless and efficient data-fetching workflows in your applications.
Don't forget, if you want to supercharge your API development, download Apidog for free and explore its rich set of features. It's a game-changer for any developer working with APIs.


