Asynchronous programming has become a cornerstone of modern web development, allowing for concurrent processing and more efficient use of resources. In Python, aiohttp is a go-to library for asynchronous HTTP networking, providing both client and server web functionalities.
What is aiohttp?
aiohttp is an asynchronous HTTP client/server framework written in Python. It leverages the asyncio library to enable non-blocking network communication, which is particularly useful for handling multiple requests concurrently without slowing down the server.

aiohttp is designed to handle the complexities of modern web services and is a popular choice for developers looking to create scalable and responsive applications.
Prerequisites to install aiohttp
Before installing aiohttp, ensure you have Python and pip installed on your system. aiohttp requires Python 3.5.3 or higher.
Installation Steps of aiohttp
- Open your terminal or command prompt.
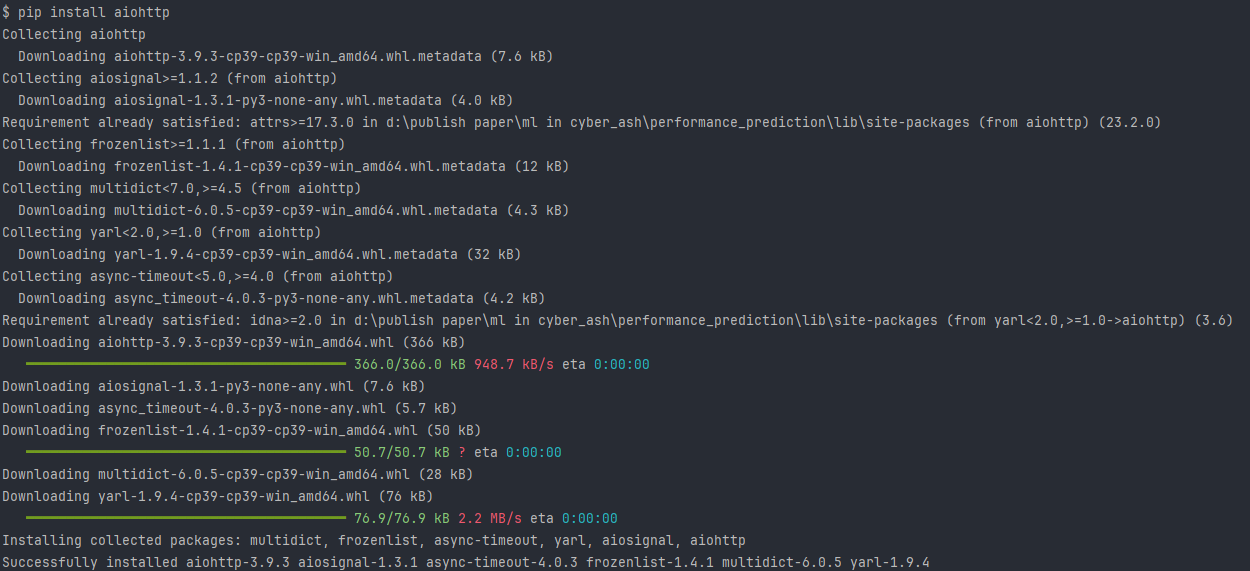
- Run the installation command:
pip install aiohttp
This command fetches the latest stable version of aiohttp from PyPI and installs it along with its dependencies.
Optional Speedups
For enhanced performance, consider installing additional packages:
- aiodns: Speeds up DNS resolving.
pip install aiodns
- cchardet: An alternative to
chardet.
pip install cchardet
- Brotli: For
brotlicompression support.
pip install Brotli
Verifying the Installation
To confirm that aiohttp has been installed correctly, you can run a simple version check:
python -c "import aiohttp; print(aiohttp.__version__)"

Exploring aiohttp’s Features
With aiohttp installed, you can now take advantage of its numerous features:
- Client and Server Support: Whether you’re making outbound HTTP requests or building a responsive web server,
aiohttphas you covered. - WebSockets: Implement real-time communication in your applications with built-in WebSocket support.
- Middlewares and Signals: Customize request processing and response handling with powerful middleware and signal support.
- Pluggable Routing: Gain fine-grained control over how requests are handled with flexible routing options.
Getting Started with aiohttp
Once installed, you can start using aiohttp to make asynchronous HTTP requests or to create a web server. Here’s a quick example of making a GET request:
import aiohttp
import asyncio

async def fetch_page(url):
    async with aiohttp.ClientSession() as session:
        async with session.get(url) as response:
            return await response.text()

asyncio.run(fetch_page('http://python.org'))
Troubleshooting Common Issues
If you encounter issues during installation, consider the following tips:
- Ensure you have the correct version of Python installed.
- Check if
pipis updated to the latest version usingpip install --upgrade pip. - If you’re behind a proxy, configure
pipto use the proxy settings.
Testing aiohttp Requests with Apidog
Testing your aiohttp requests with Apidog is a crucial part of the development process, ensuring that your API behaves as expected.
Step 1: Configure Apidog: Open Apidog and create a new project or select an existing one. Within the project, set up a new test case for your aiohttp request.
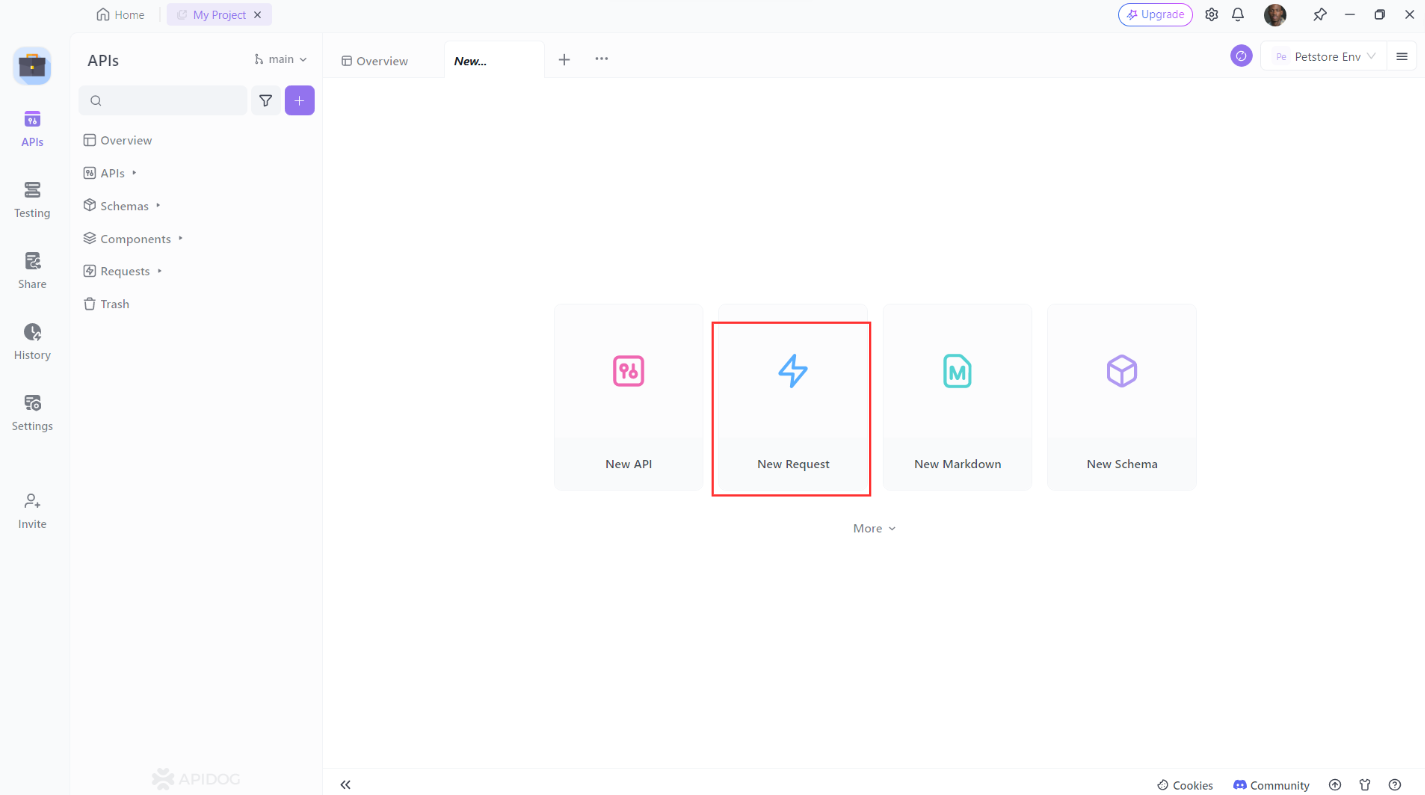
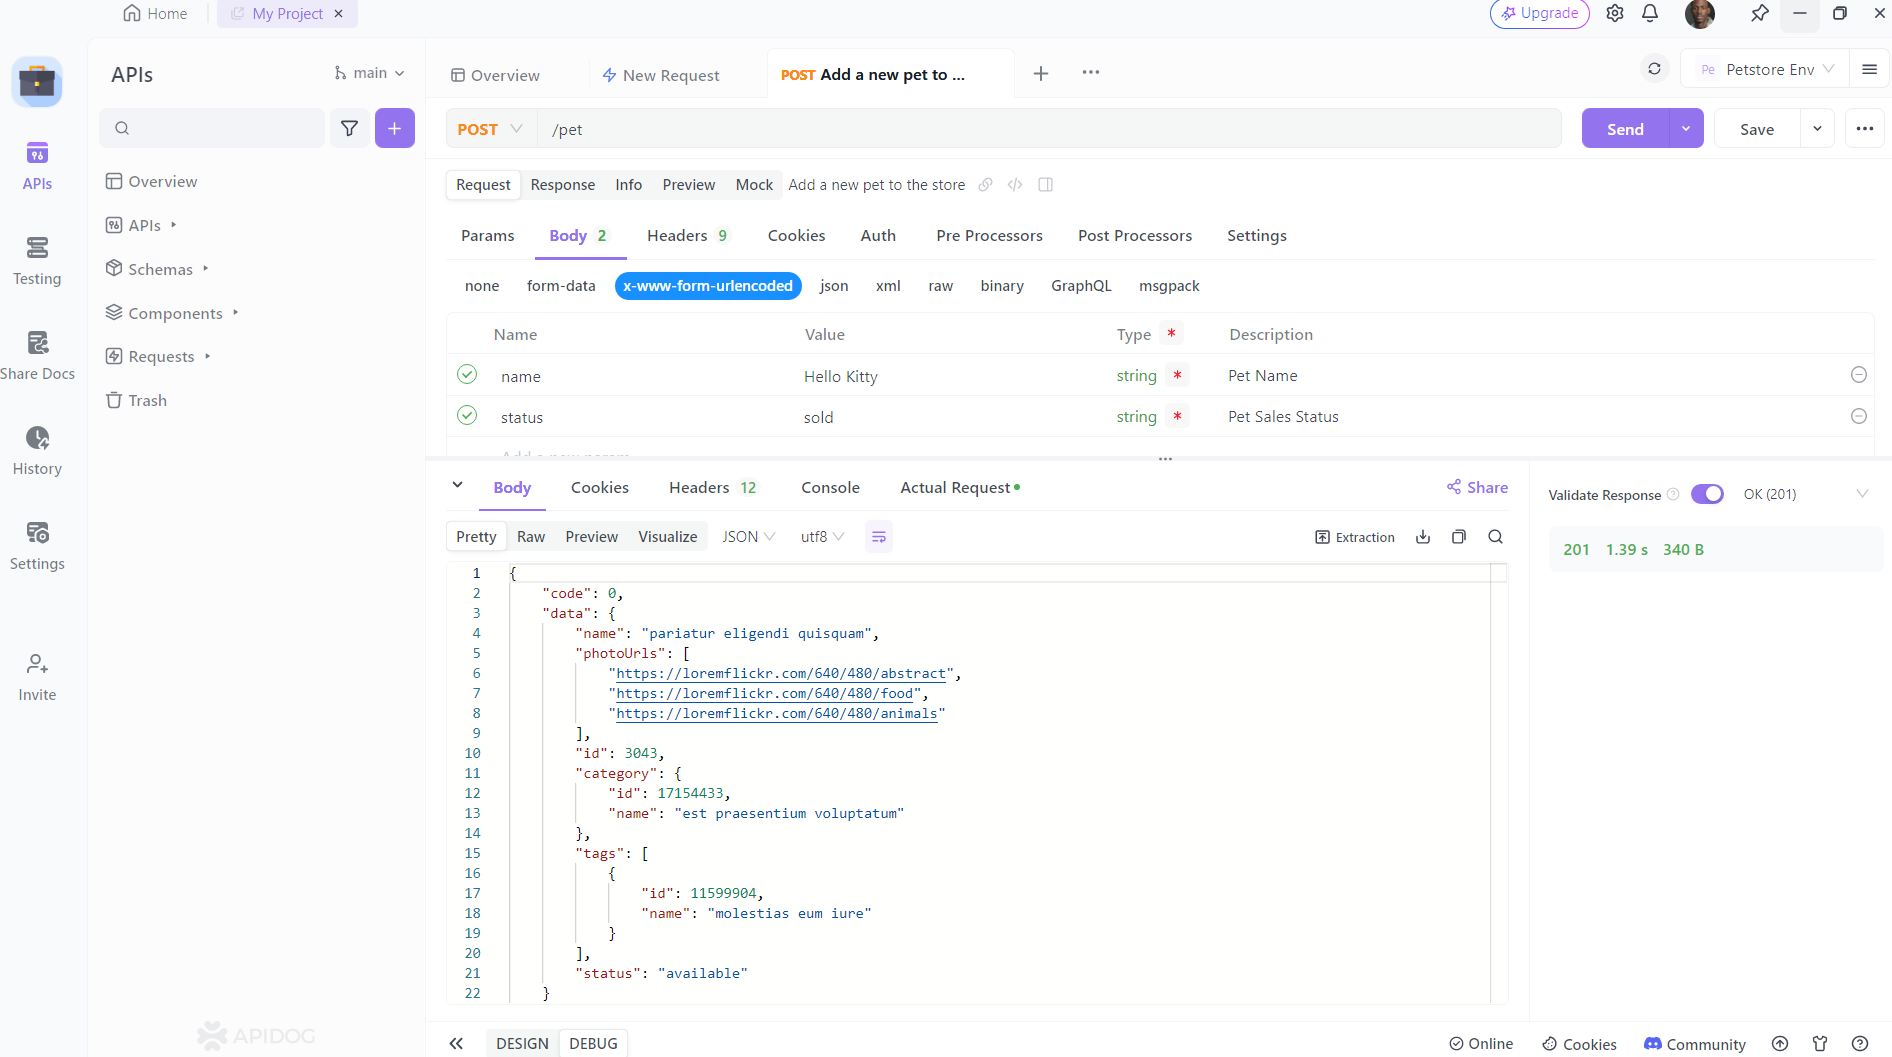
Step 2: Create Your Request: In Apidog, define the type of request you’re testing (GET, POST, PUT, DELETE, etc.). For a POST request, you’ll need to specify:
- The endpoint URL.
- Any necessary headers, such as
Content-Typeor authorization tokens. - The body of the request, which could be form data, JSON, or XML, depending on your API’s requirements.

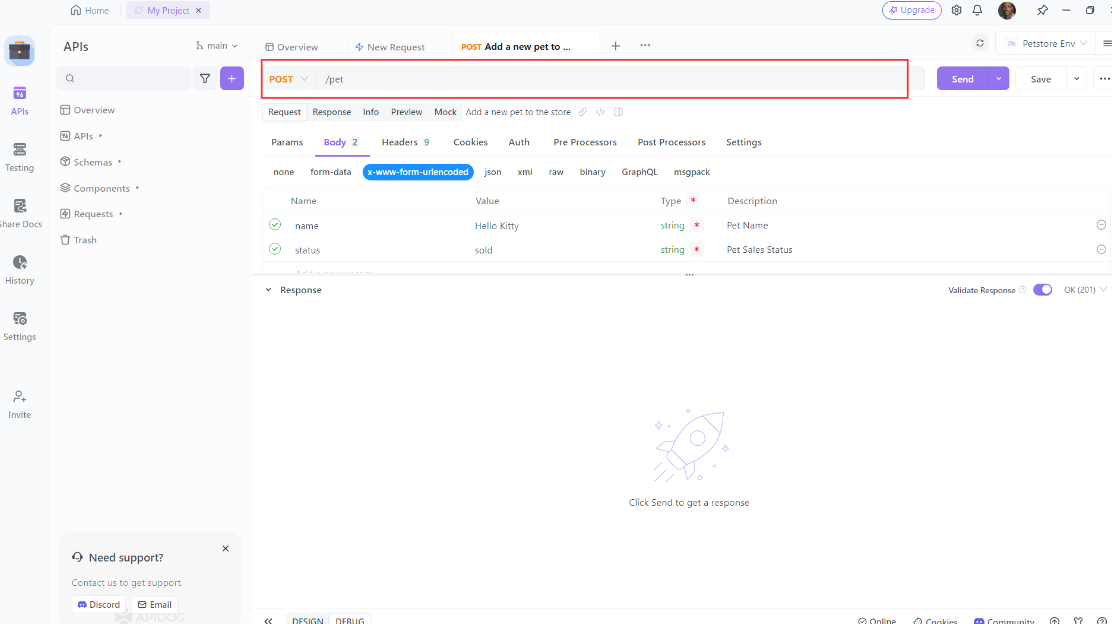
Step 3: Send the Request and Analyze the Response: Execute the request in Apidog and observe the response. Check the status code, response body, and headers. Ensure that the response matches what you expect from a successful request.
If the response isn’t what you anticipated, use Apidog’s debugging tools to inspect the request and response details. Adjust your aiohttp code as needed and retest until the API behaves correctly.
With the library installed and your environment configured,a beginner's walkthrough of aiohttp's core conceptscovers making your first async requests and handling responses.
Conclusion
aiohttp is a powerful ally in the world of asynchronous programming. By following this guide, you’ve taken the first step towards building more efficient and scalable Python web applications. As you grow more comfortable with aiohttp, you’ll discover its ability to transform the way you handle HTTP networking tasks.


