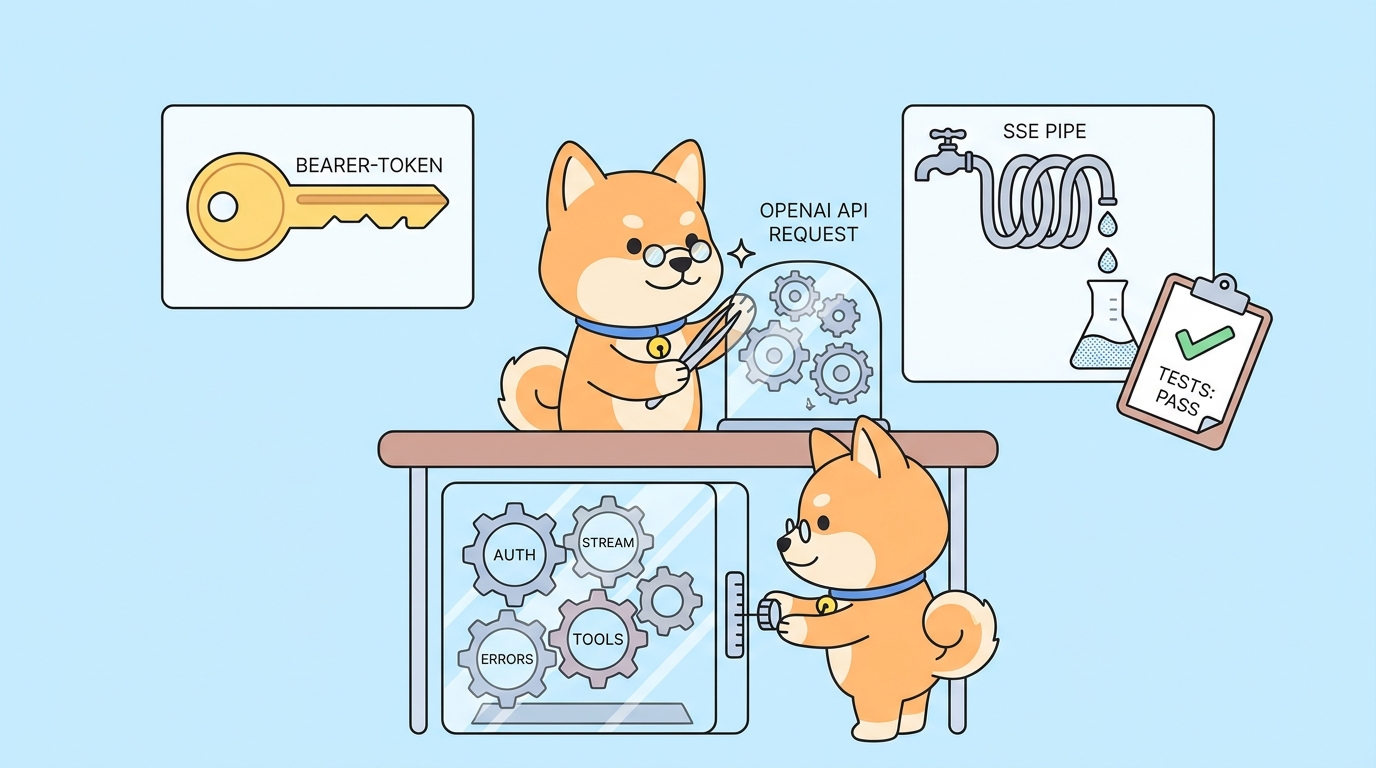
The ChatGPT API ships fast, breaks contracts often, and bills you per token even when your tests are wrong. Streaming responses fail differently from non-streaming. Function calling adds a JSON-schema layer that does not always match what the model returns. Rate limits hit silently in production and not in your dev console. If you debug all of this in a Python REPL or a curl loop, you burn money and time.
This guide walks the full ChatGPT API testing workflow inside Apidog: authentication, the first chat completion, streaming SSE, function calling, error handling, rate-limit checks, and mocked responses for parallel frontend work. By the end, you will have a reusable Apidog project that catches OpenAI contract drift before it hits production.
TL;DR
- Add the ChatGPT base URL
https://api.openai.com/v1as an Apidog environment, store the API key as a secret variable, and apply Bearer auth at the folder level. - Build the
/chat/completionsrequest once, save it, and reuse it for every model (GPT-5.5, GPT-5.5 Pro, GPT-4o, o3). - Apidog handles SSE streaming natively, so you see token-by-token output in the response panel with no extra tooling.
- Function calling is just a
toolsarray in the request body; Apidog validates the returnedtool_callsJSON against your schema. - Mock ChatGPT inside Apidog when your frontend is ready before your OpenAI key budget is.
- Save the working request as a test scenario with assertions on status code,
choices[0].message.content, andusage.total_tokens. Run it in CI before every prompt change.
Why test the ChatGPT API at all
OpenAI’s API surface looks stable. It is not. Between January 2024 and now, the team has shipped or changed:
function_calltotool_calls(two competing shapes still live in the wild)- Strict mode for tool schemas
- Reasoning models (
o1,o3) that drop thetemperatureandtop_pknobs response_format: { type: "json_schema" }with versioning- Streaming behavior for tool calls (deltas come in pieces, you have to assemble them)
- A new
/v1/responsesendpoint that overlaps with/v1/chat/completions
If you wire any of this directly into your application and skip a test layer, your next prompt-change PR ships a regression you will not see until users complain. A request collection in Apidog gives you a contract you control. You can replay the exact request, diff the response, and fail loudly when the shape changes.
Step 1: Add OpenAI as an environment in Apidog
Open Apidog and create a new project. Inside the project, open Environment Management (top-right dropdown) and add an environment called OpenAI Prod:
| Variable | Value |
|---|---|
baseUrl |
https://api.openai.com/v1 |
OPENAI_API_KEY |
sk-proj-... (store as Secret) |
defaultModel |
gpt-5.5 |
Mark OPENAI_API_KEY as a secret so it is masked in shared workspaces and never written to exported collections. Apidog stores secrets per-user, so a teammate who pulls the project will see the variable name but supply their own key.
Step 2: Set Bearer auth at the folder level
Create a folder called ChatGPT inside the project. Open the folder settings, go to Auth, choose Bearer Token, and paste {{OPENAI_API_KEY}}. Every request inside the folder inherits this header. You stop pasting Authorization: Bearer sk-... into every request, and key rotation is a single edit.
This is the small detail that makes Apidog faster than a raw curl workflow: auth lives in one place, request bodies stay clean.
Step 3: Build the first chat completion request
Inside the ChatGPT folder, create a new request:
- Method:
POST - URL:
{{baseUrl}}/chat/completions - Body (JSON):
{
  "model": "{{defaultModel}}",
  "messages": [
    { "role": "system", "content": "You are a senior backend engineer. Answer in under 100 words." },
    { "role": "user", "content": "What's the difference between idempotent and safe HTTP methods?" }
  ],
  "temperature": 0.2
}
Hit Send. You should get back a 200 with a choices[0].message.content field holding the answer and a usage block with token counts. Save the request as chat-completion-basic.
If you get 401, your key did not load. Check the environment dropdown in the top-right is set to OpenAI Prod. If you get 429, you have hit a rate limit, which the next step covers.
Step 4: Test streaming responses (SSE)
Streaming is where most ChatGPT integrations break. The response is text/event-stream, not JSON, and each chunk is a data: {...} line with a partial delta. Apidog speaks SSE natively.
Duplicate chat-completion-basic, rename to chat-completion-stream, and add "stream": true to the body:
{
  "model": "{{defaultModel}}",
  "stream": true,
  "messages": [
    { "role": "user", "content": "Stream the first 100 prime numbers, comma-separated." }
  ]
}
Hit Send. The response panel switches to streaming view and renders each data: chunk as it arrives. You see the actual SSE frames, not just the assembled text. That is the view you need when debugging a malformed delta or a missing [DONE] terminator.
What to watch for:
- The final frame is the literal string
data: [DONE]. If your client does not handle that, it will throw a JSON parse error. usageis not in streaming responses unless you pass"stream_options": { "include_usage": true }. Add it if your billing pipeline depends on per-call token counts.- Tool-call deltas arrive in pieces:
index, thenid, thenfunction.name, thenfunction.argumentsaccumulated character by character. Test this explicitly.
Step 5: Test function calling and tool use
Function calling is the most common place where prompt changes silently break downstream code. The model returns a tool_calls array; your job is to validate the arguments parse as the JSON Schema you registered.
Create a request chat-completion-tools with this body:
{
  "model": "{{defaultModel}}",
  "messages": [
    { "role": "user", "content": "What is the weather in Singapore right now?" }
  ],
  "tools": [
    {
      "type": "function",
      "function": {
        "name": "get_weather",
        "description": "Get current weather for a city.",
        "parameters": {
          "type": "object",
          "properties": {
            "city": { "type": "string" },
            "unit": { "type": "string", "enum": ["c", "f"] }
          },
          "required": ["city"]
        },
        "strict": true
      }
    }
  ],
  "tool_choice": "auto"
}
A correct response has choices[0].message.tool_calls[0].function.name === "get_weather" and function.arguments is a JSON string that parses to { "city": "Singapore", "unit": "c" } (or similar).
In the Tests tab of the request, add:
pm.test("Tool was called", () => {
  const body = pm.response.json();
  const call = body.choices[0].message.tool_calls?.[0];
  pm.expect(call?.function?.name).to.eql("get_weather");
});

pm.test("Arguments parse as valid JSON", () => {
  const body = pm.response.json();
  const args = JSON.parse(body.choices[0].message.tool_calls[0].function.arguments);
  pm.expect(args.city).to.be.a("string");
});
Run it. The green tests are now your contract. When OpenAI changes the shape, the test goes red before your production traffic does.
Step 6: Handle errors and rate limits explicitly
Production ChatGPT integrations fail in five predictable ways. Build a request for each and assert the expected behavior:
| Scenario | How to trigger | Expected |
|---|---|---|
| Invalid key | Set OPENAI_API_KEY to sk-bad in a Sandbox environment |
401 with error.code = "invalid_api_key" |
| Rate limit | Loop the request 200x in Apidog’s collection runner | 429 with Retry-After header |
| Token cap exceeded | Send a 200K-token prompt to a 128K-context model | 400 with error.code = "context_length_exceeded" |
| Bad model name | "model": "gpt-99" |
404 |
| Schema violation | Tool-call with strict: true and a malformed input |
The model rejects the tool, returns plain text |
Add assertions in the Tests tab so a regression shows up as a red test, not a silent retry storm. The Retry-After header is the one most production code gets wrong. It is in seconds, sometimes a fractional value, and you should read it instead of hardcoding a backoff.
Step 7: Mock ChatGPT for parallel frontend development
Your OpenAI key has a monthly cap. Your frontend team does not. When the UI needs to render streamed tokens, suggested follow-ups, and tool-call cards before the backend prompt is finalized, hand them an Apidog mock.
In the ChatGPT folder, right-click the chat-completion-basic request, choose Smart Mock, and enable. Apidog returns a synthetic response that matches the OpenAI schema: id, object, created, model, choices, usage. The mock URL looks like https://mock.apidog.com/m1/<projectId>/chat/completions and accepts the same body.
For streaming mocks, define a script in the Advanced Mock tab that writes data: { ... }\n\n chunks at a 50ms interval. The frontend gets a realistic SSE stream without any OpenAI traffic.
When the real prompt lands, flip the frontend’s base URL back to https://api.openai.com/v1. Nothing else changes.
Step 8: Save the suite as a CI test scenario
Apidog’s Test Scenarios let you chain requests with assertions and run them headlessly. Build a scenario that:
- Calls
chat-completion-basic, assertsstatus === 200andusage.total_tokens > 0. - Calls
chat-completion-stream, asserts the SSE finished with[DONE]. - Calls
chat-completion-tools, asserts the tool call schema validates. - Calls each error scenario from Step 6, asserts the correct status code.
Export the scenario and run it in CI via apidog-cli run scenario.json --env OpenAI Prod. Wire it into the PR pipeline for the file that holds your prompts. Every prompt change now runs against the live OpenAI API as a pre-merge check. Cost: a few cents per CI run. Value: you stop shipping prompt regressions.
FAQ
Does this work with Azure OpenAI? Yes. Swap baseUrl to your Azure resource URL, add the api-version query parameter, and change auth from Bearer to the api-key header. The request bodies are identical.
Can I use this for o1 and o3 reasoning models? Yes, but those models reject temperature, top_p, presence_penalty, and frequency_penalty. Build a separate folder Reasoning with a stripped-down body template.
How do I version prompts inside Apidog? Apidog has branch support. Create a branch per prompt experiment, run the test scenario against the live API, compare token usage and response quality, then merge. It is the same workflow as code, applied to prompts.
What about the new /v1/responses endpoint? Set up a separate folder for it. The auth and base URL are identical; only the body shape differs. Keep both folders so you can A/B them against the same prompts.
Does Apidog charge per API call? No. The Apidog client is free for individual use and most team usage. OpenAI charges per token; Apidog does not insert itself between you and OpenAI.
Wrap up
The ChatGPT API will keep changing. Streaming will break in new ways, tool schemas will get stricter, and reasoning models will keep dropping parameters you thought were stable. The defense is a request collection you control, a mock server your frontend can lean on, and a test scenario your CI runs before every prompt PR.
Download Apidog and import your existing OpenAI calls. Postman collections and curl commands both convert in one click. Build the eight requests above once, and every future ChatGPT update becomes a controlled test run instead of a production incident.