
What is WebSocket? WebSocket is a protocol that enables true bidirectional communication. Unlike traditional HTTP protocol, in WebSocket, once the client is connected to the server, the connection remains open, allowing both the client and server to send data to each other at any time without relying on requests and responses.

After understanding the concept and potential of WebSocket technology, it becomes crucial to have effective tools that offer a convenient and efficient solution for testing, validating, and troubleshooting WebSocket connections and applications. They assist developers in ensuring the reliability and functionality of WebSocket-based solutions prior to deployment in production environments.
Building a WebSocket Server in Node.js
Node.js provides a powerful platform for building real-time applications, and it offers support for WebSocket communication. Here's how you can implement a WebSocket service using Node.js on Windows:

Install Node.js:
Download and install the latest version of Node.js for Windows from the official Node.js website (https://nodejs.org). Follow the installation wizard to complete the installation.
Create a New Project Directory:
Open a command prompt or terminal and create a new directory for your WebSocket server project.
Initialize the Project:
Navigate to the project directory using the command prompt or terminal and run the following command to initialize the project and create a package.json file:
npm init -y
Install WebSocket Library:
Use the following command to install the 'ws' library, which provides WebSocket functionality in Node.js:
npm i ws
Create a WebSocket Server File:
Create a new JavaScript file, such as 'server.js', in your project directory. Open the file in a text editor and add the code. The coding below includes creating a WebSocket server, handling client connections, sending periodic messages, receiving and handling incoming messages, and handling the close event.
// import WebSocket package
const WebSocket = require('ws');
// create WebSocket server listening on port 3001
const wss = new WebSocket.Server({ port: 3001 });
// listen for connection events, triggered when a client connects to the WebSocket server
wss.on('connection', function connection(ws) {
// send the message to the client every second
const timer = setInterval(() => {
ws.send('I am Nodejs WebSocket');
}, 1000);
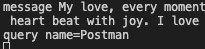
// listen for incoming messages from the client and output the message content to the console
ws.on('message', function incoming(message) {
// extract query parameters
const queryParams = conn.path.split('?')[1];
console.log('query', queryParams)
console.log('received: %s', message);
});
// listen for the close event and clear the timer
ws.on('close', function close() {
clearInterval(timer);
});
});
Which is the Best WebSocket Online Testing Tool?
After implementing a WebSocket API, it's crucial to debug and verify its correctness. This involves testing the connectivity, accuracy of returned data, and performance compliance, among other metrics. Today, we'll introduce two exceptional WebSocket online testing tools: Apidog and Postman. If you're using Postman for API testing and exploration, you may face collection limitations and challenges. In such scenarios, Apidog serves as a compelling alternative.
Comparison Between Apidog and Postman:
| Feature | Apidog | Postman |
|---|---|---|
| Accessibility | Cloud-based platform that allows developers to access and test their APIs from anywhere without software installation. | Standalone application that needs to be installed on the computer, limiting accessibility. |
| User Interface | Provides a visually appealing and user-friendly interface for easy interface debugging and documentation generation. | Has a more complex interface with a focus on code, which may increase the learning curve for some developers. |
| Collaboration | Offers collaboration features and team management, allowing developers to share tests and interface documents and work on projects together. | May consume significant resources, potentially slowing down the computer, especially when dealing with large datasets, which can pose challenges for developers running multiple tests or working with large API collections. |
| Customization | Provides unlimited options for customization and greater flexibility. | Offers limited customization options, such as external variables, response headers, and scripts. |
| Documentation | Supports online document sharing and allows setting passwords and customizing style domains. | Does not support online documentation. |
| Mocking Data | Supports automatic mocking of human-friendly data to facilitate better debugging. | Does not support automatic mocking of human-friendly data, and mock services are a paid feature. |
Compared to Postman, which has limited customization options, Apidog provides unlimited customization options and greater flexibility. It is a wise choice for teams looking to use a new tool to enhance their development skills.
How to Debug WebSocket API
Below, we outline the step-by-step process for debugging WebSocket APIs using two popular online testing tools: Apidog and Postman.
Method 1. Debugging WebSocket Services with Apidog
Step 1. Create WebSocket Request
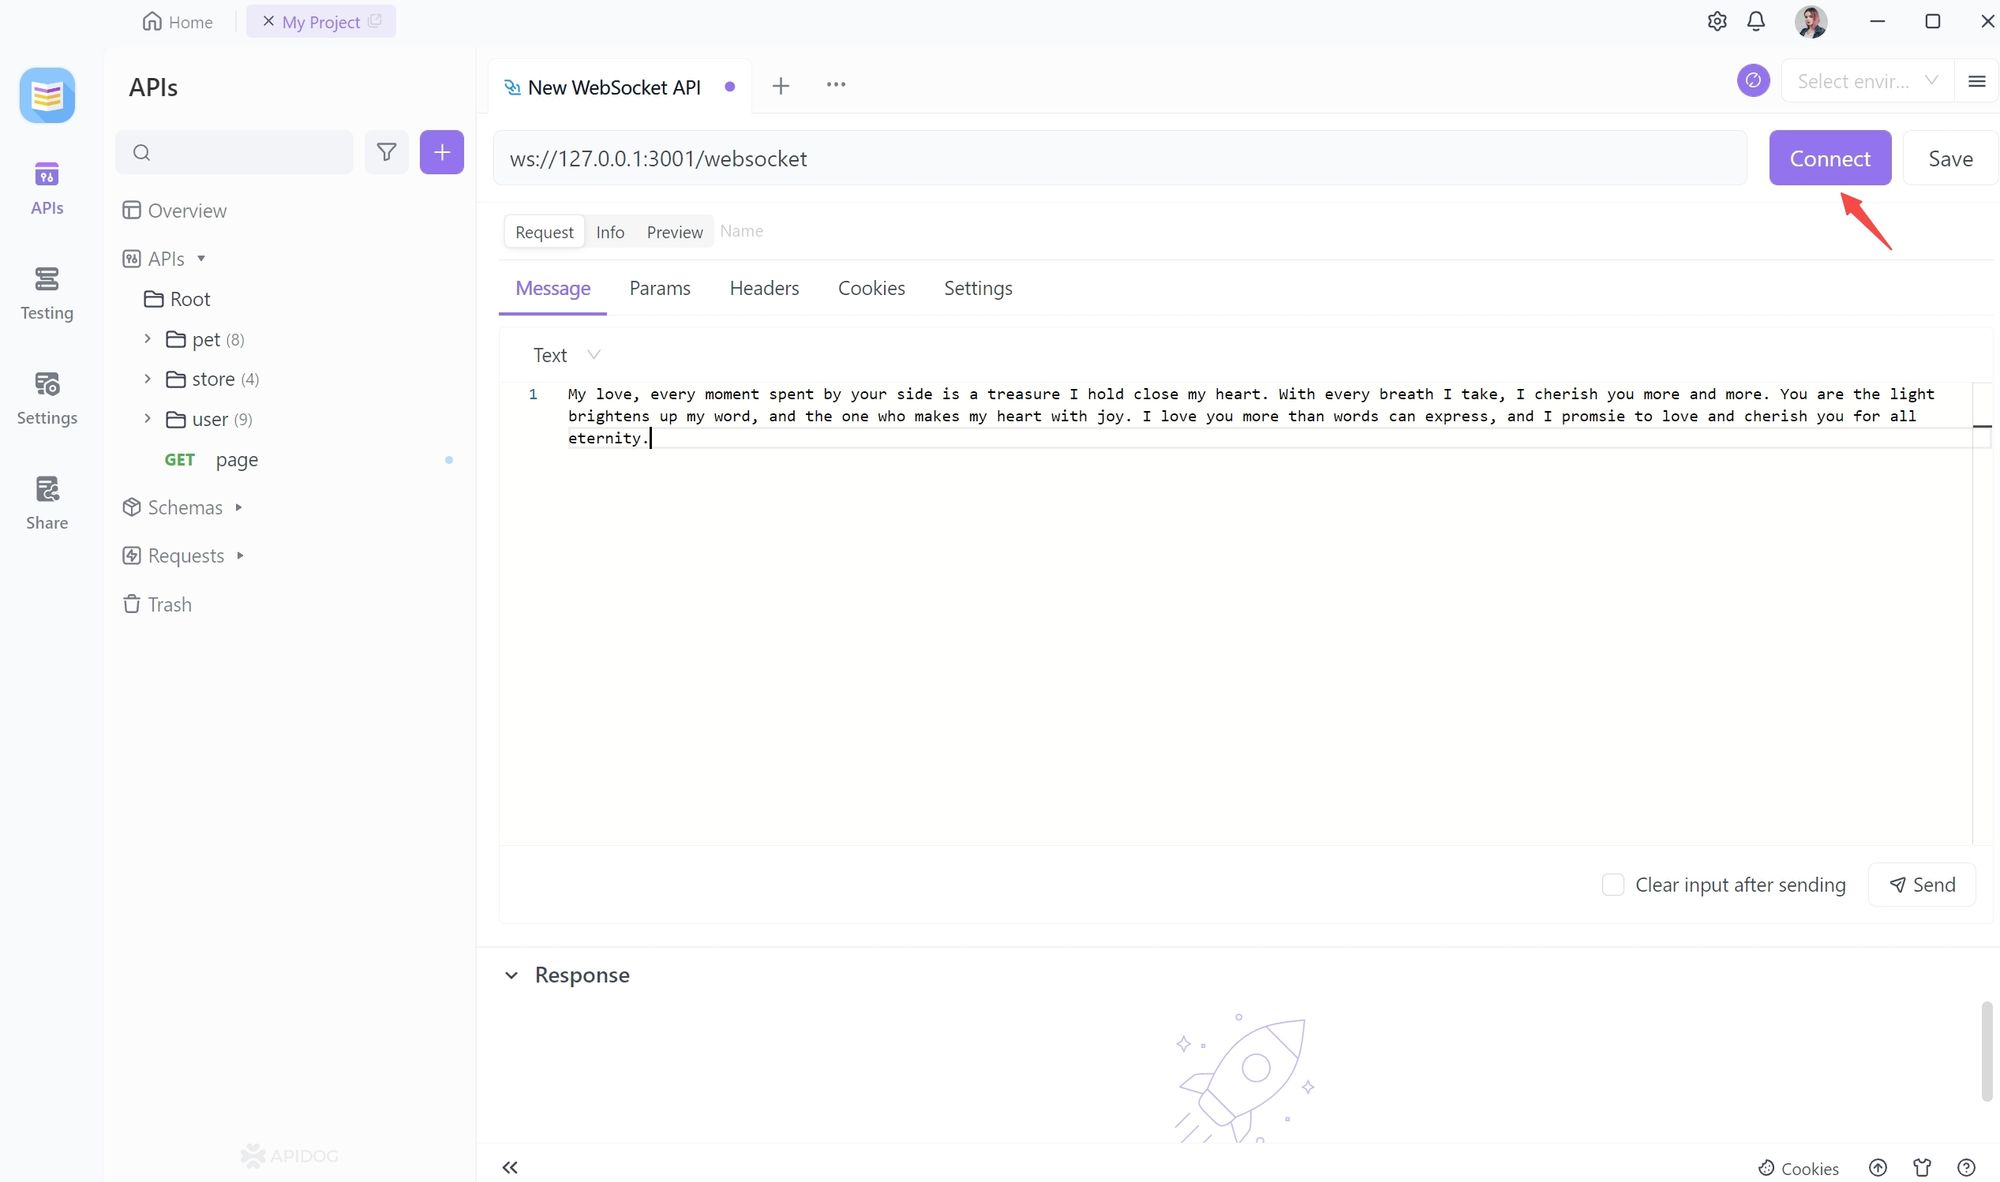
If you want to connect to a WebSocket using Apidog, you need to first create a WebSocket request and fill in the various parameters, including the URL, message, and parameters.
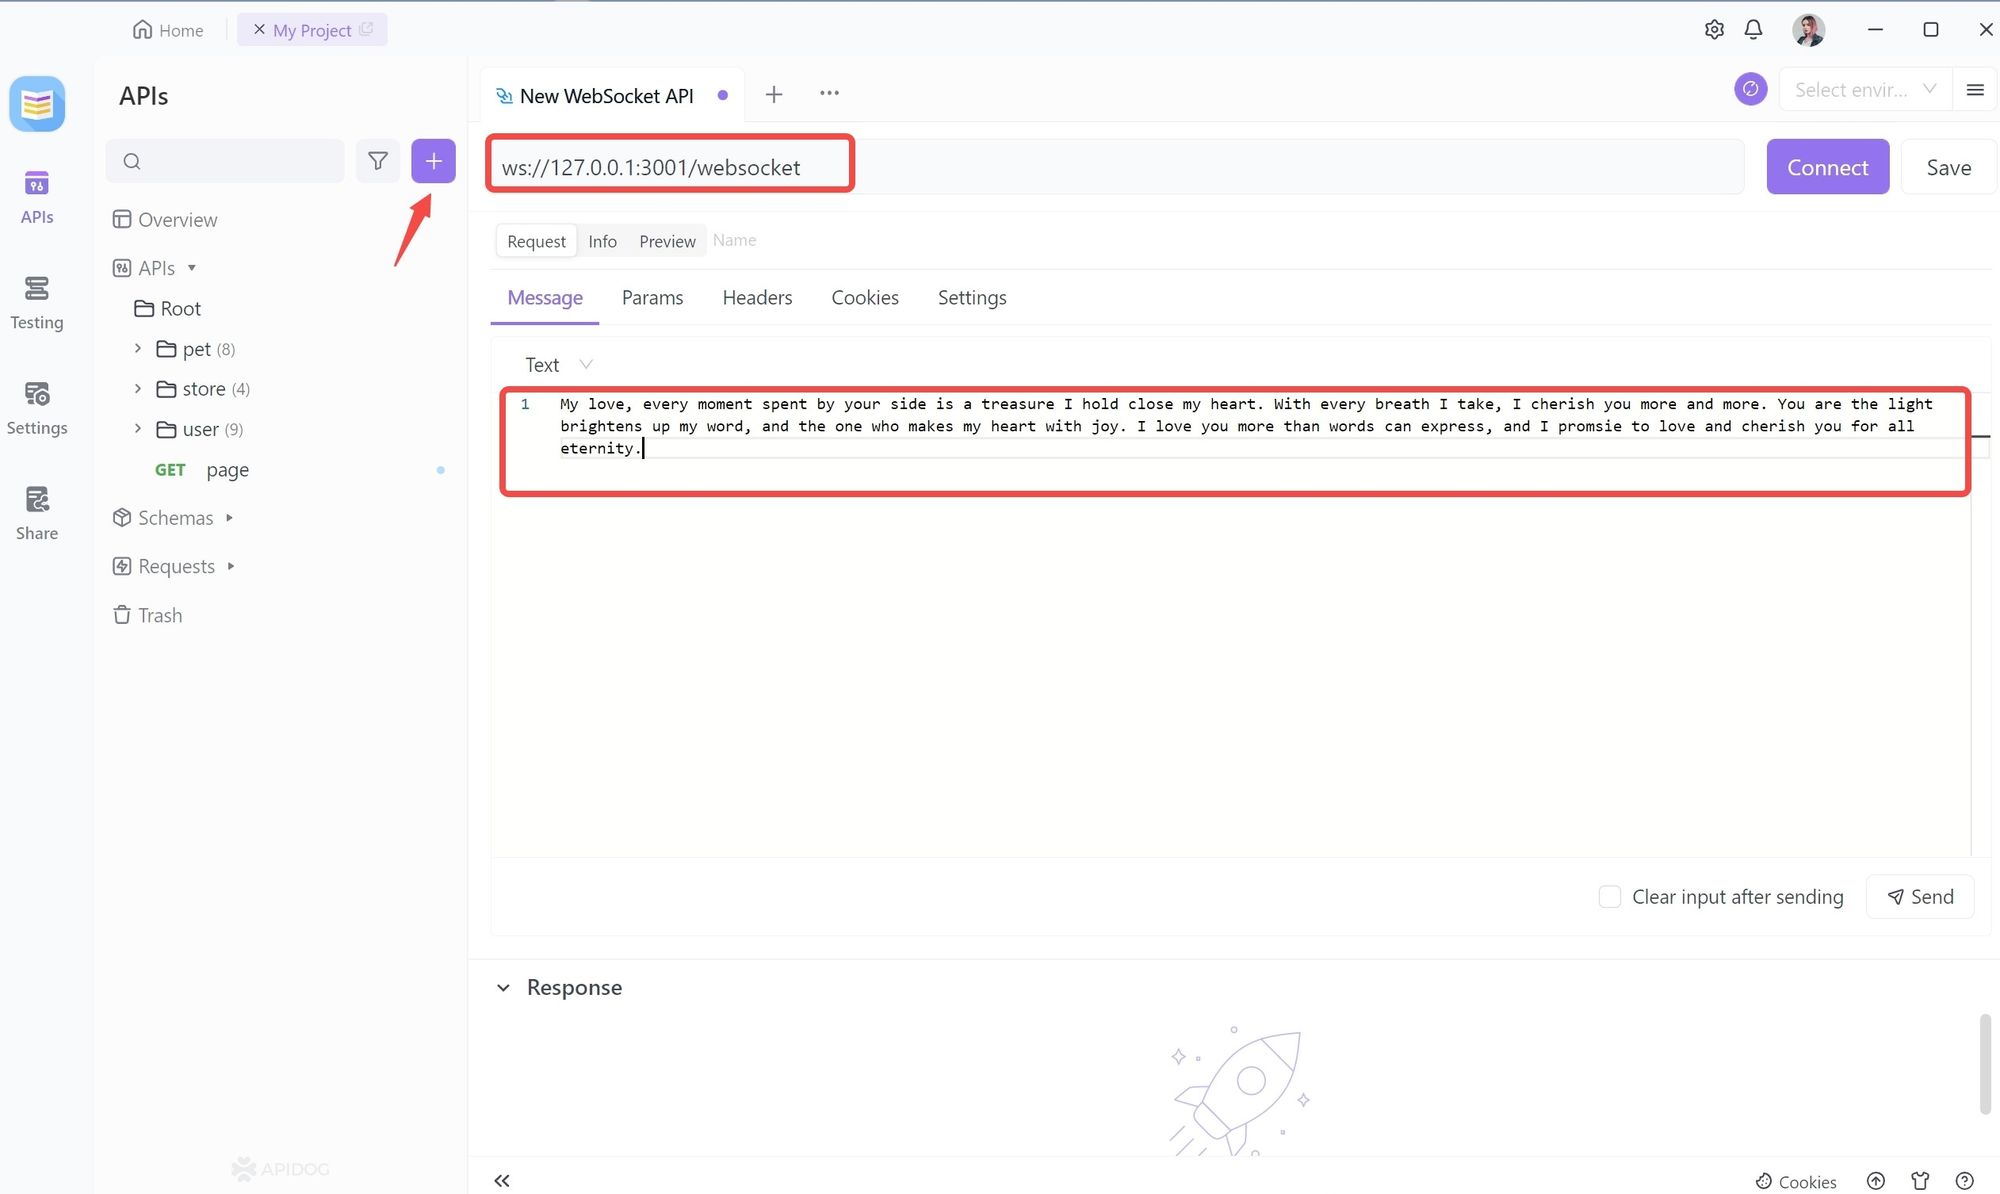
Step 2. Send a Message
In Message you can fill in the message to be delivered to the server, after sending it, the server will receive the message you send.
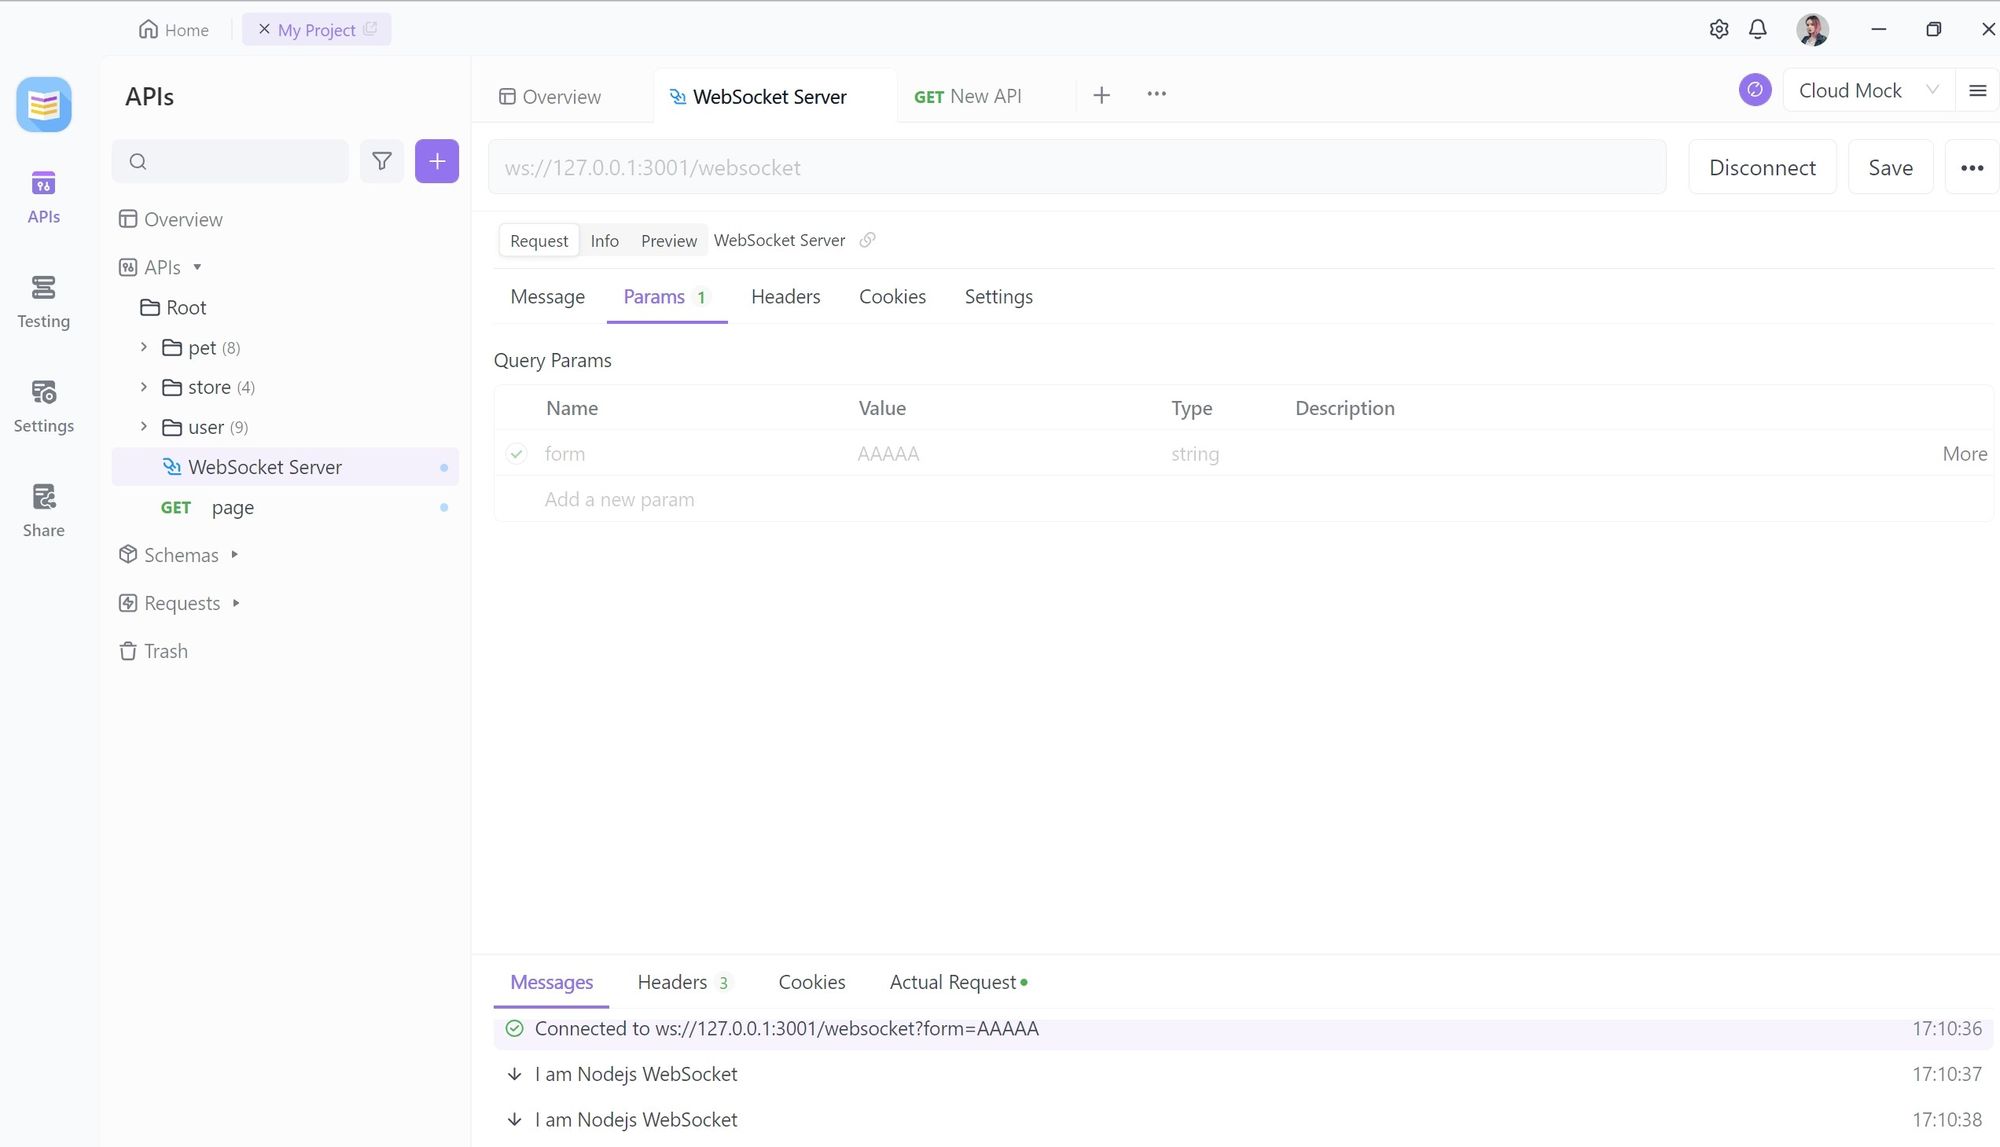
Optional: Passing parameters
You can also carry parameters during transmission, which can be done by adding query parameters to the address. The data types you can carry include string, integer, number, array, which can be received by the server once passed.
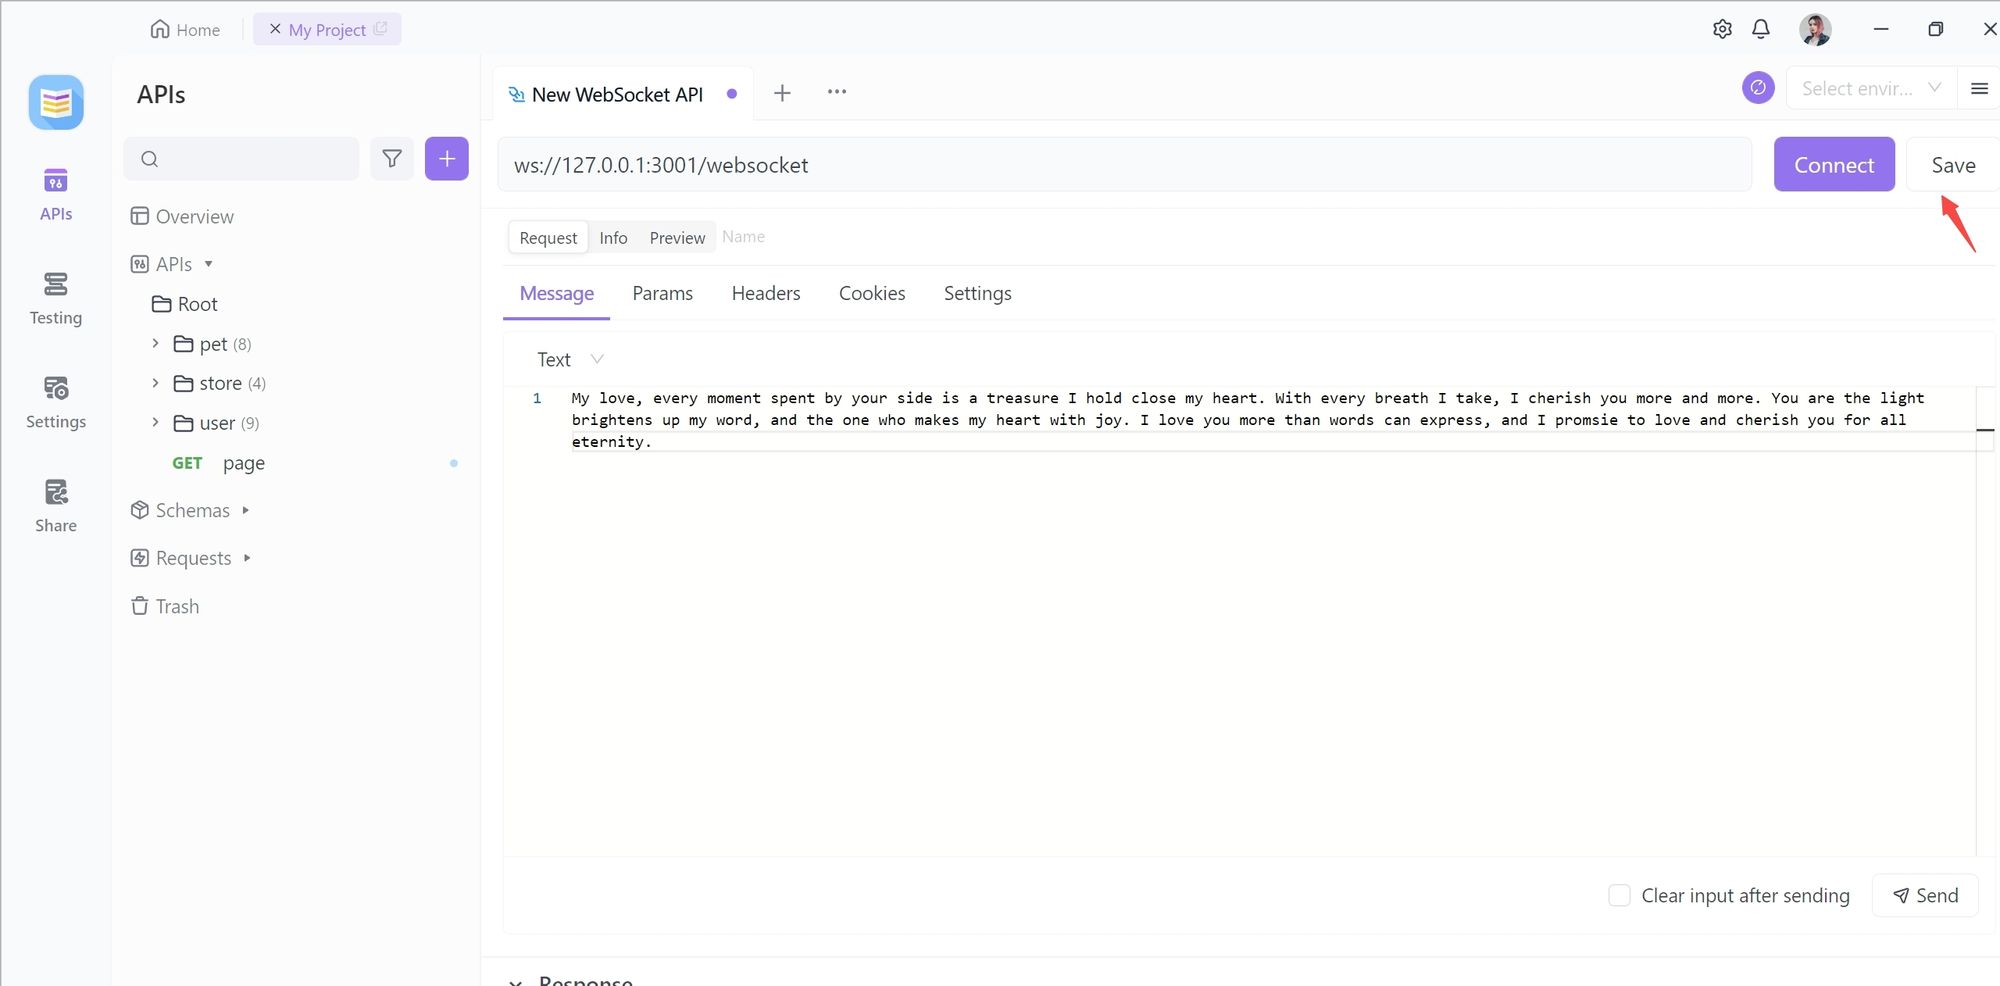
Step 3. Saving the Request
When you have finished writing, you can click Save to save the request.
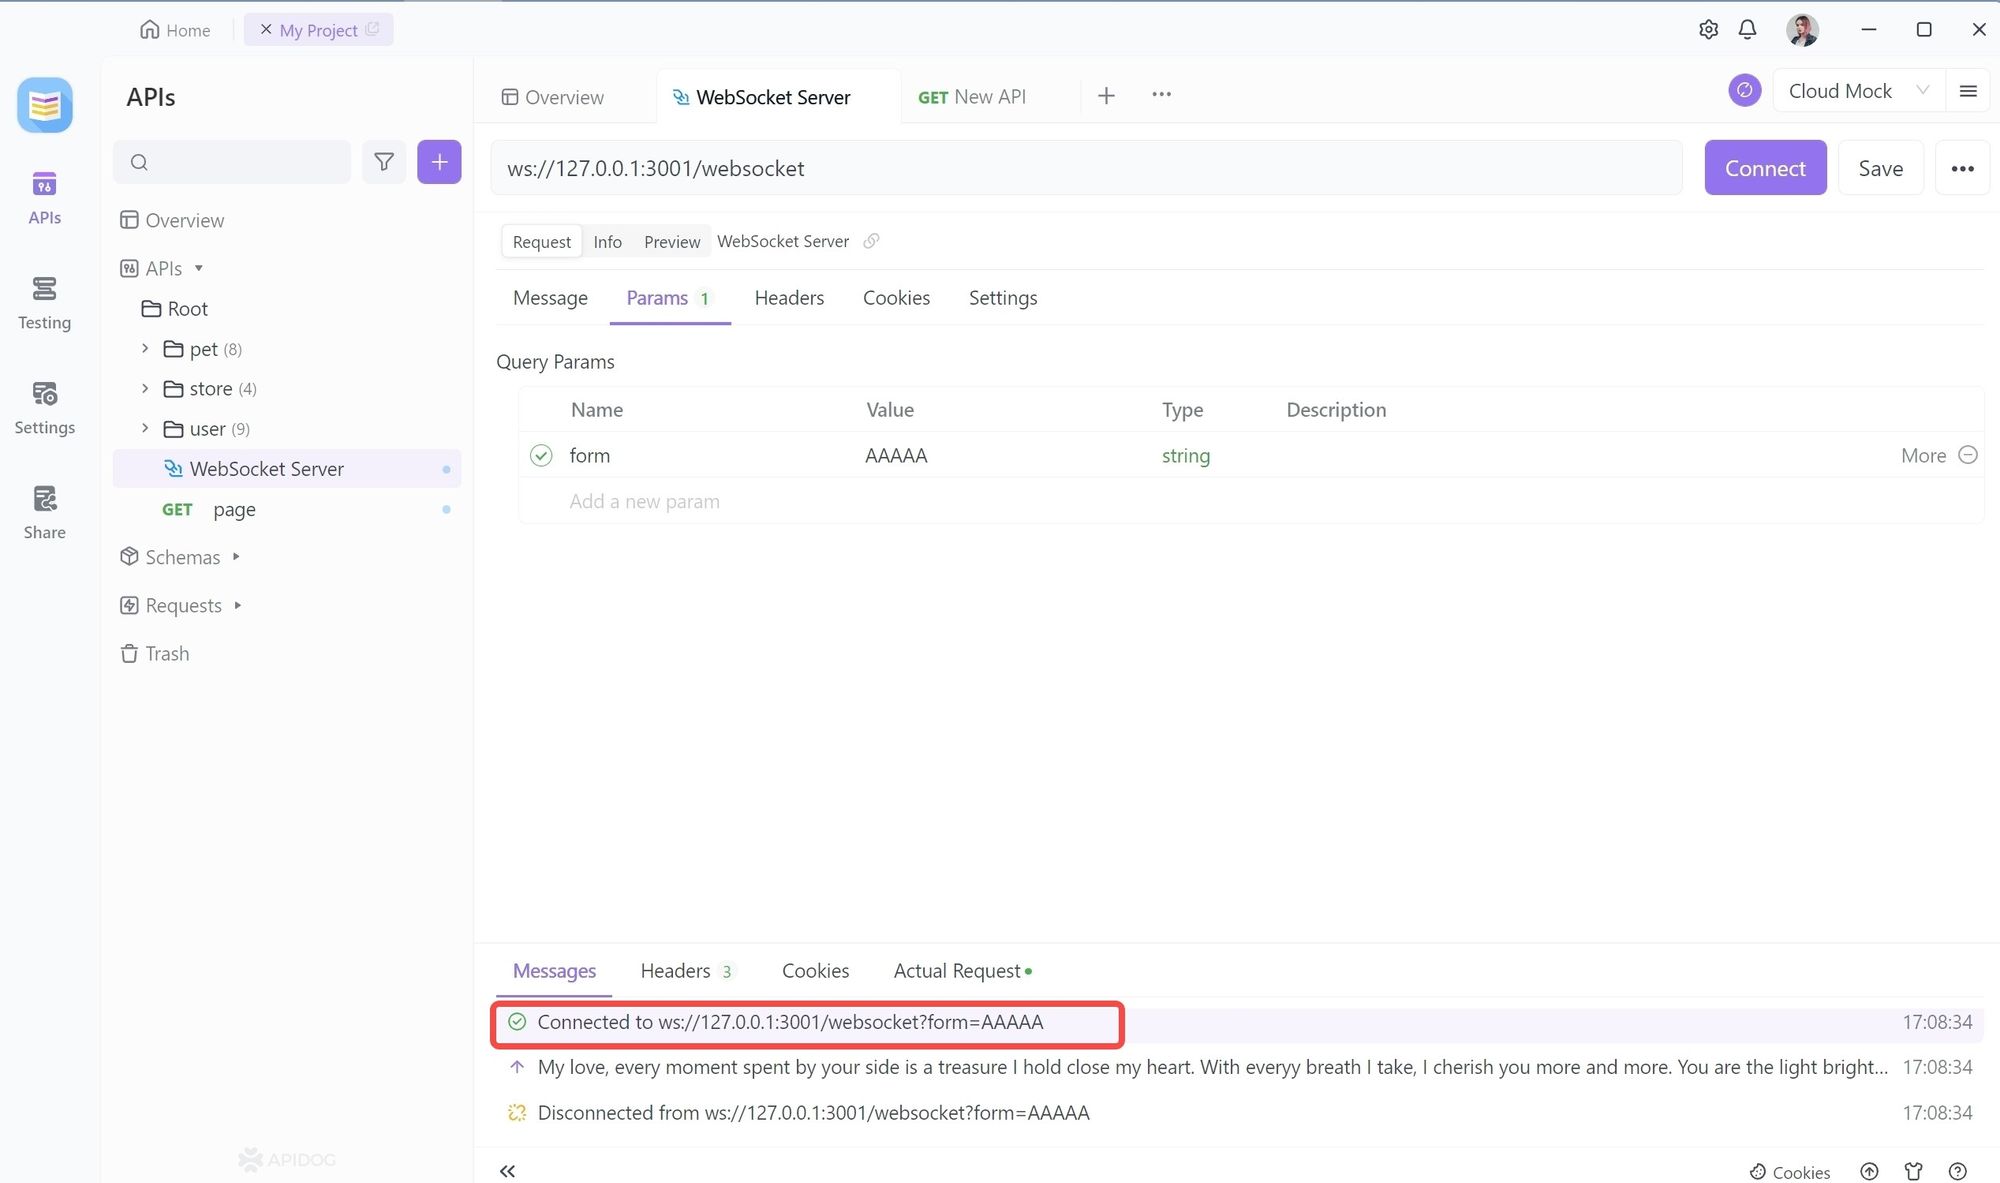
Step 4. Running a WebSocket Request: Connecting to a Service
First click on the Connect button to make a WebSocket connection.
After a successful connection, Apidog has a success message. The server side will also respond because the connection is successful.
Step 5. Sending WebSocket Request
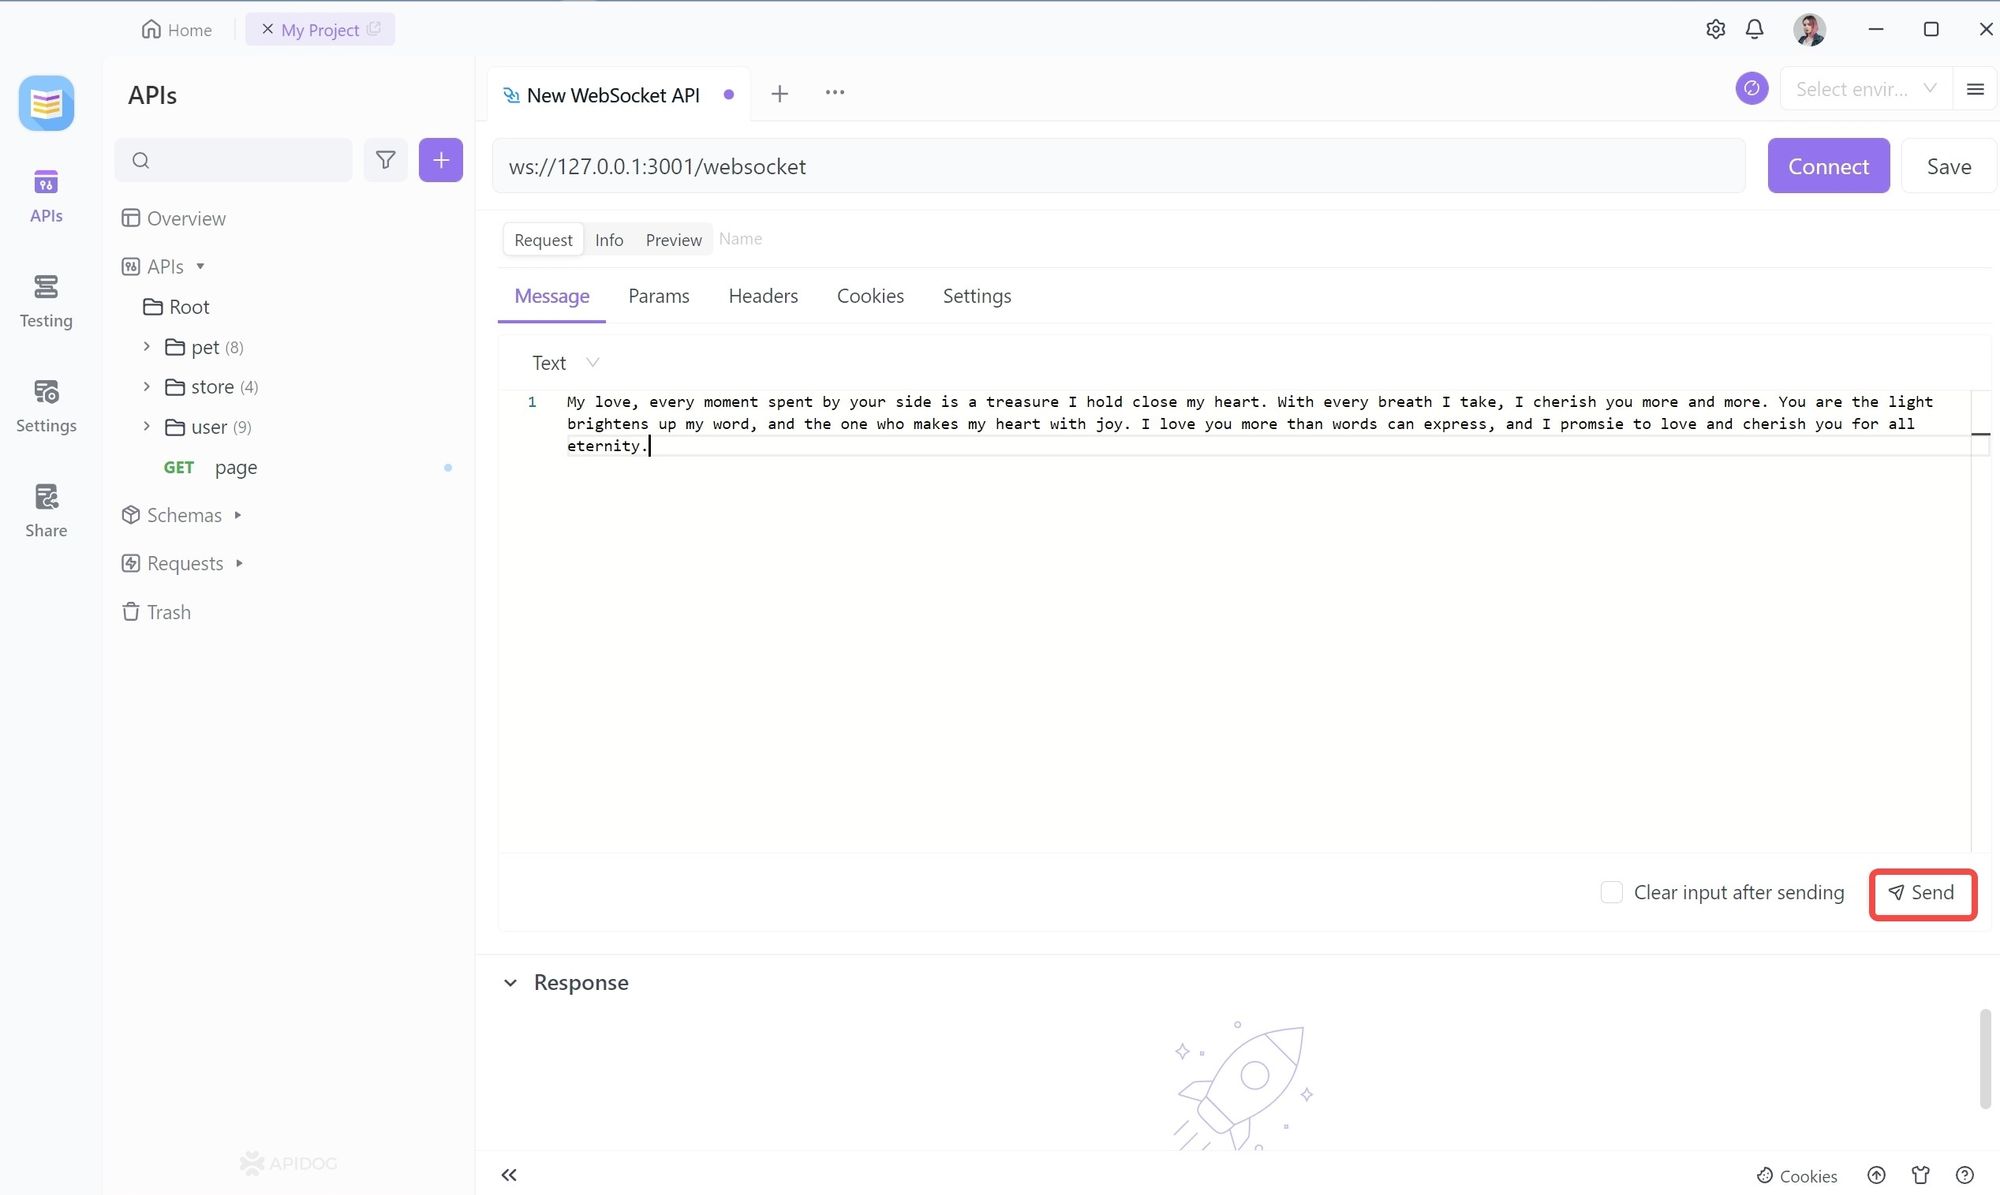
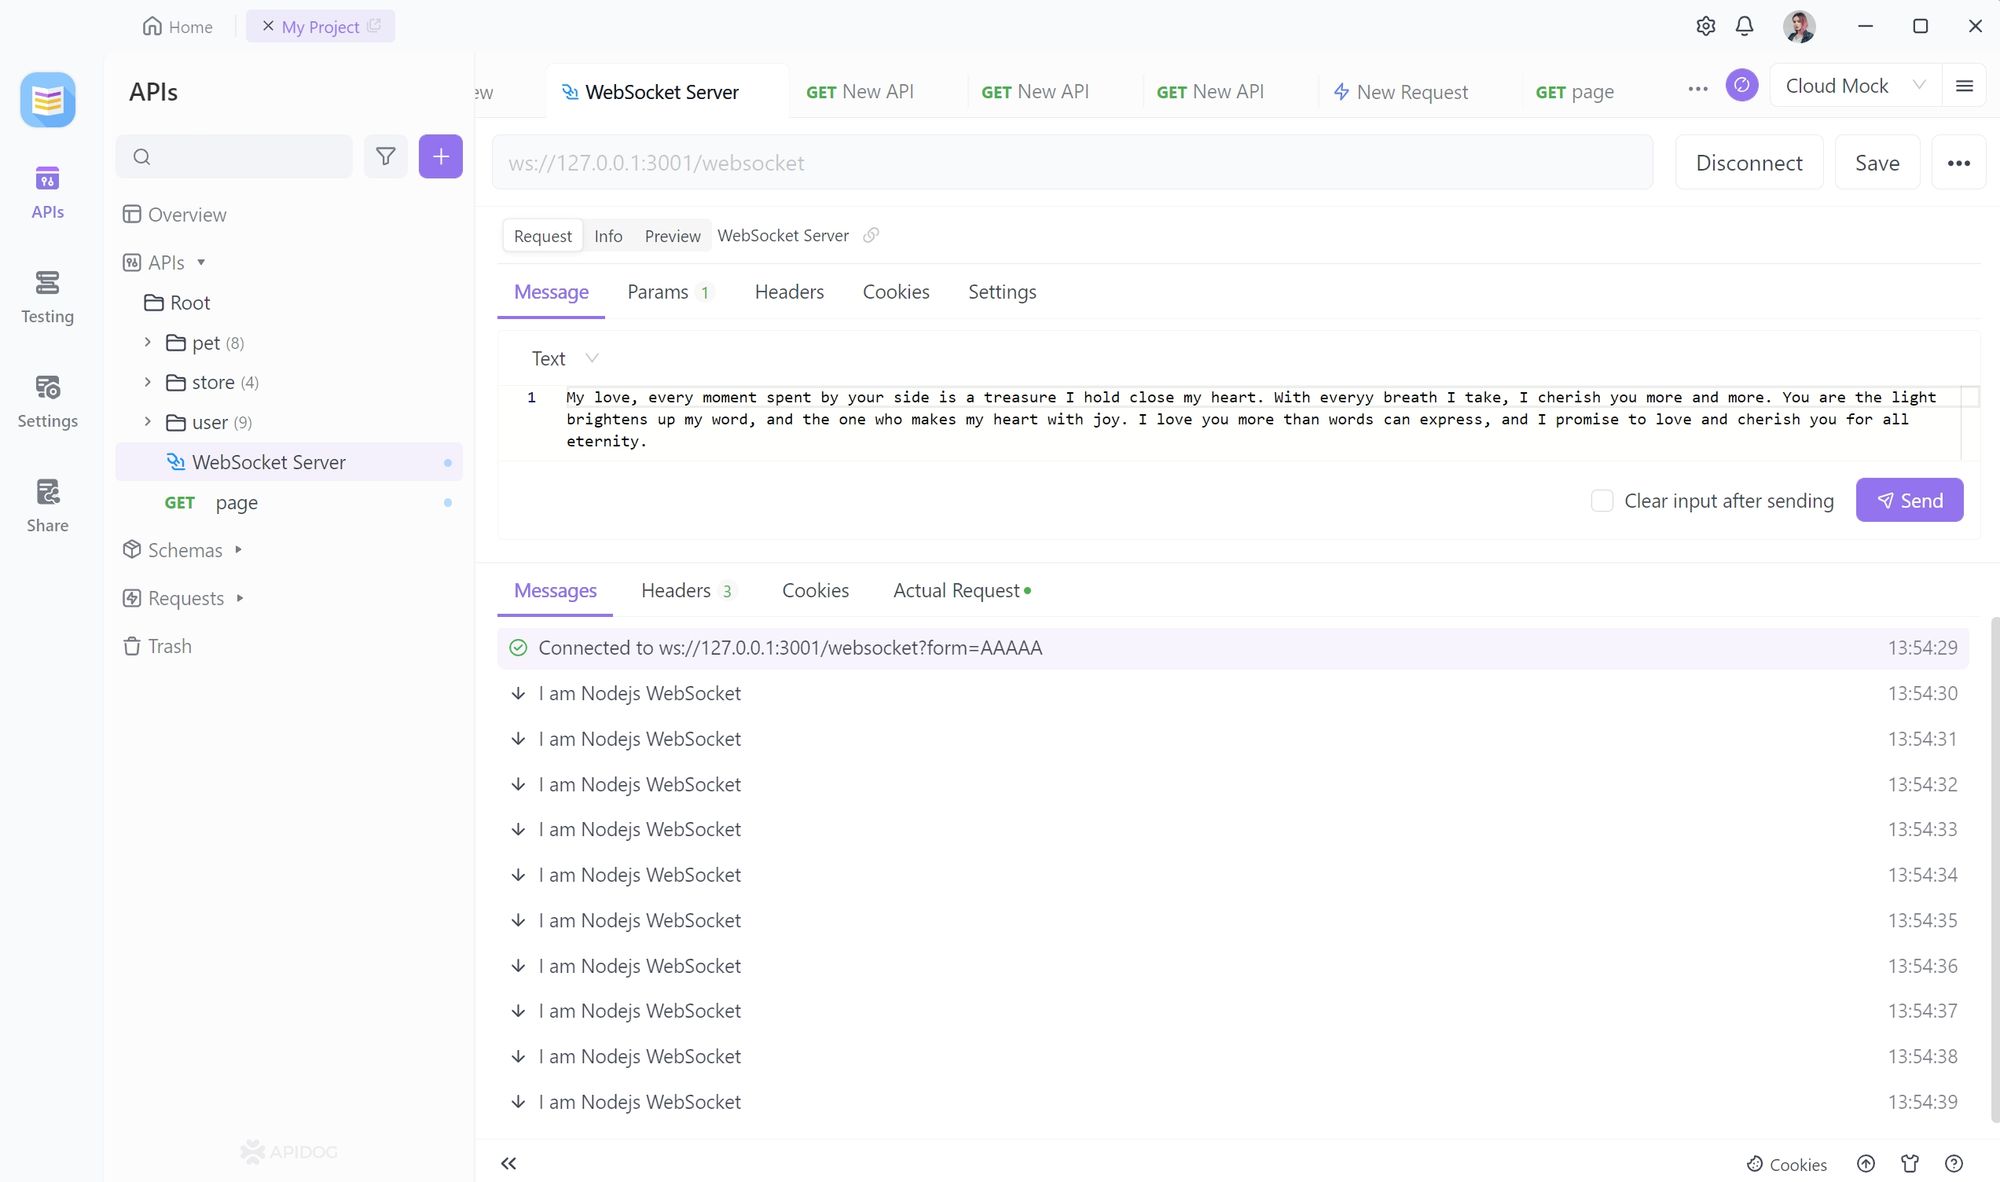
We can then communicate with the server via WebSocket. You can use Apidog to send Message and Params to the server by clicking on the Send button.
Step 6. Communicating with the WebSocket Service
After sending, the server can also send information to the client, for example here below, you can also set the server to send the client the current timestamp per second, this is the WebSocket feature of Apidog and is very easy to view.

You can click on the disconnect button if you no longer wish to be connected.
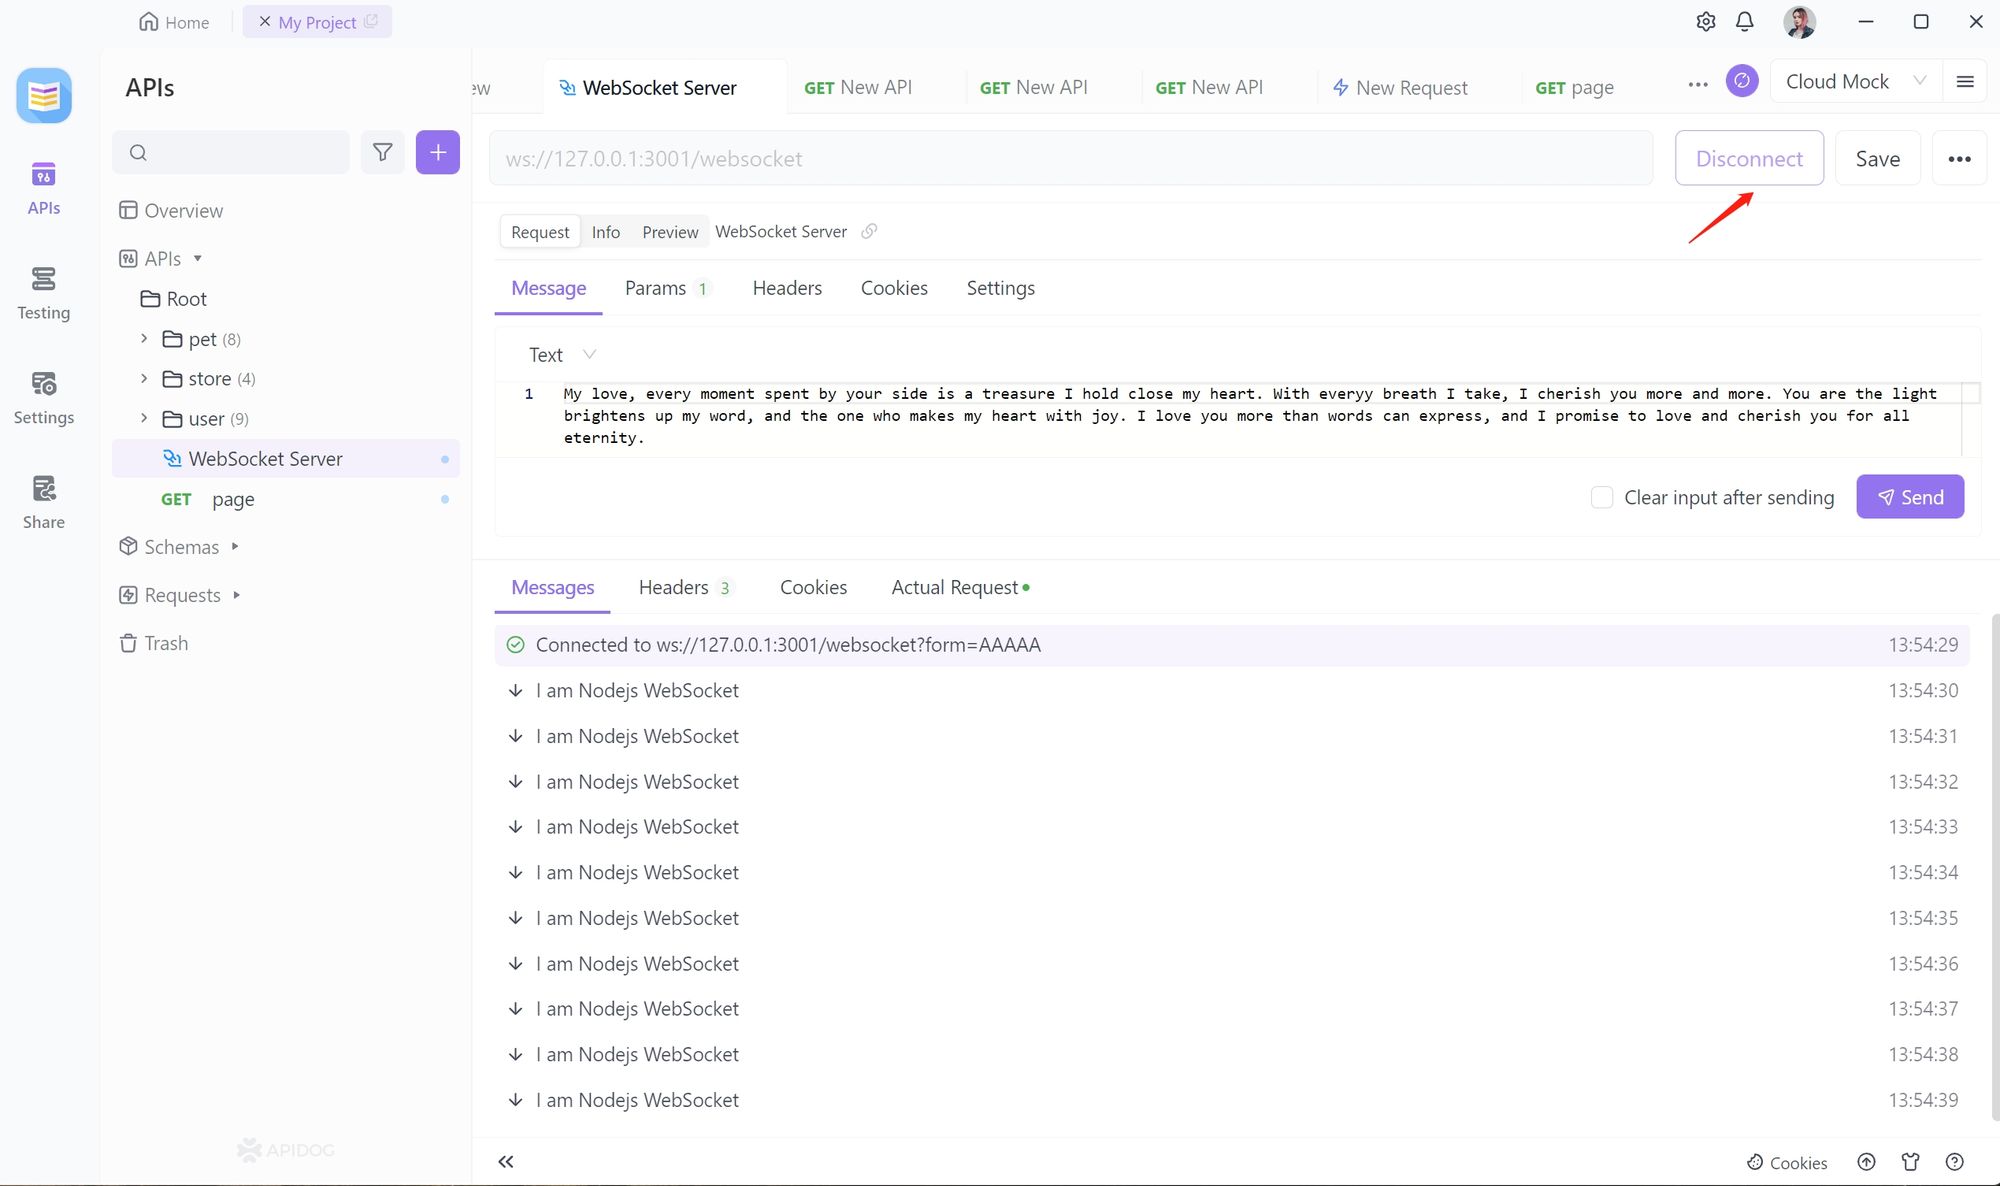
The connection can be disconnected immediately.
Note:
Apidog has both a web side and a client side. If you are using the web side and want to debug local services, you need to install the Google plugin for Apidog.
Download here: Apidog Browser Extension
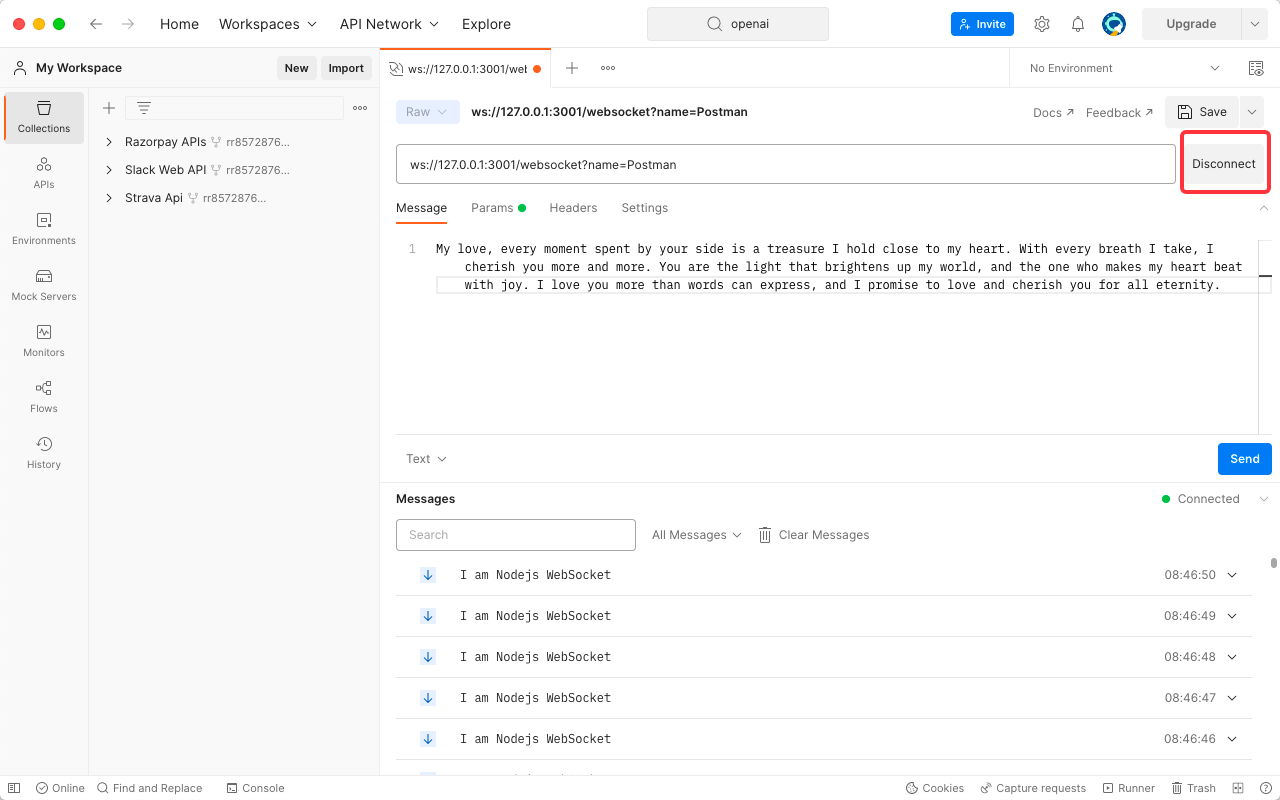
Method 2. Debugging WebSockets with Postman
Step 1. Creating a WebSocket Request
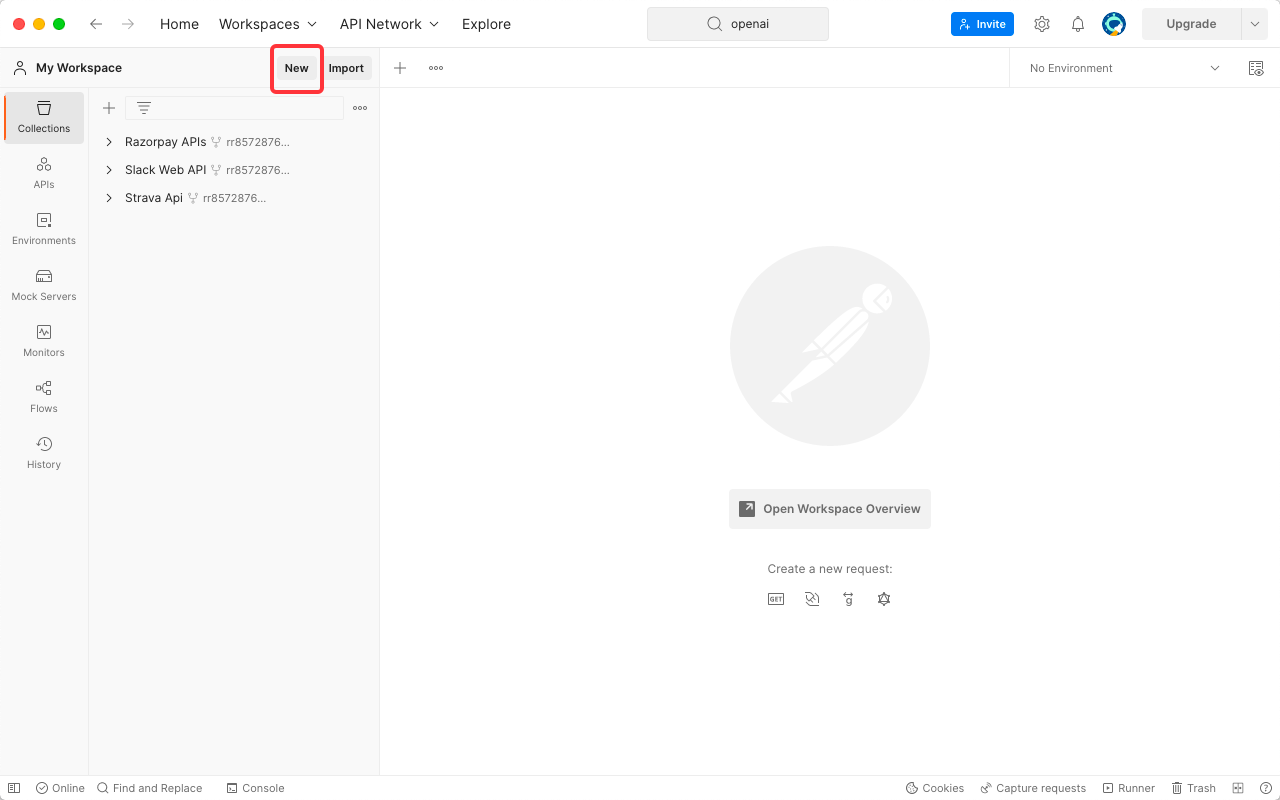
Click the New button to create a request.
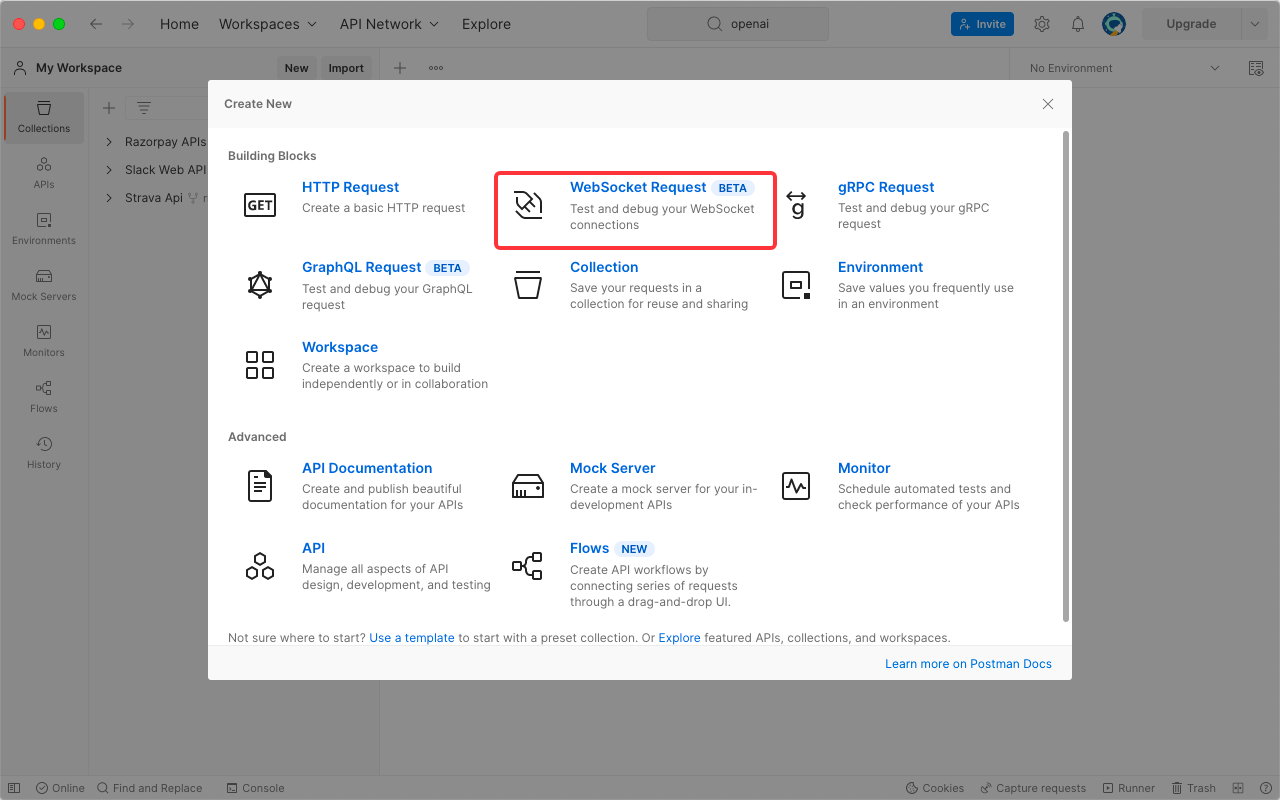
Select WebSocket Request.
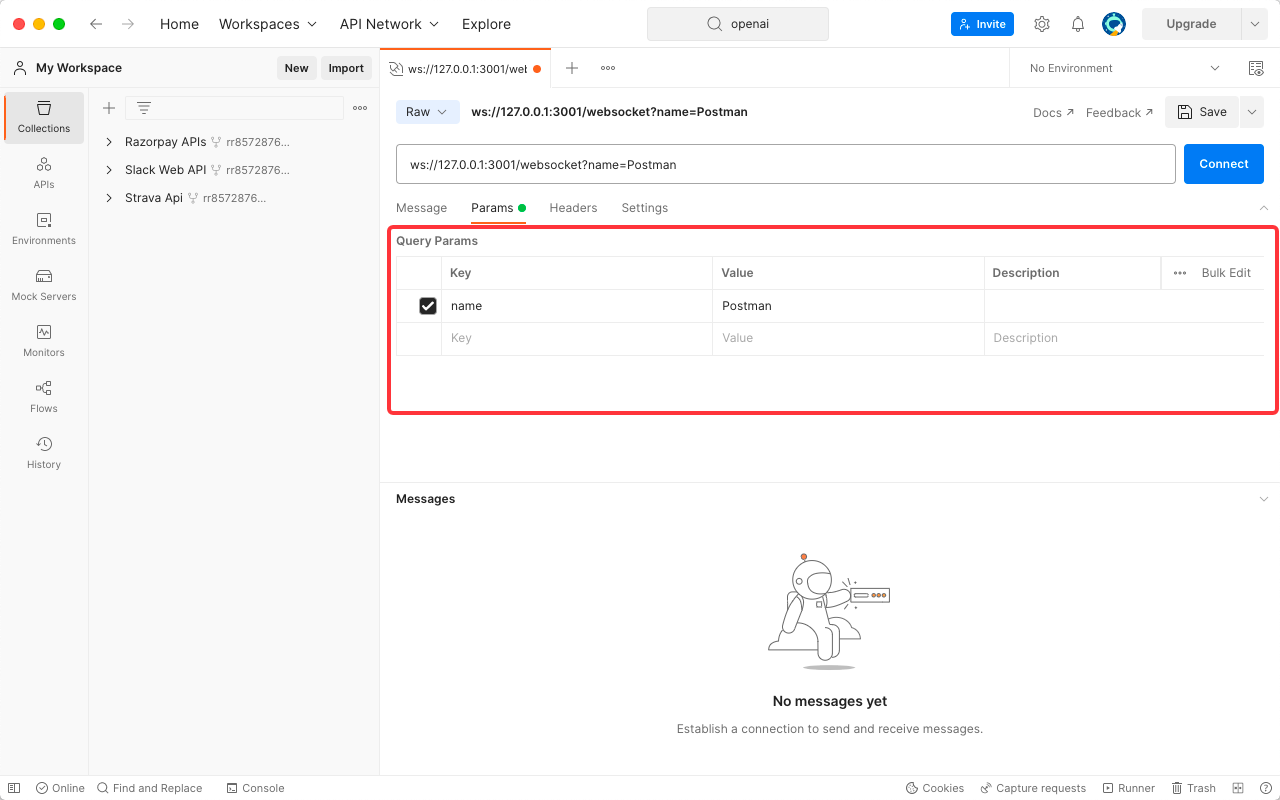
Step 2. Filling Message, Params
Message, Params can be passed in the WebSocket request.
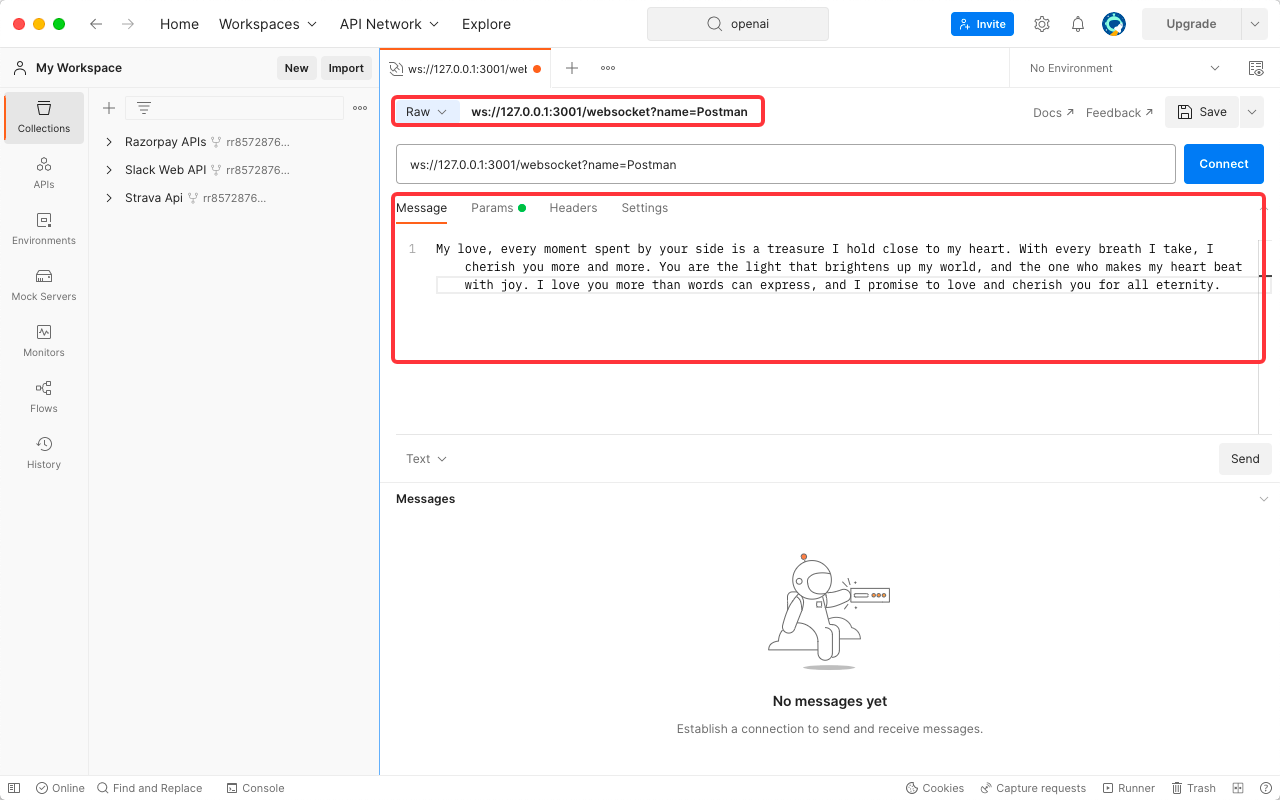
Query Params will be carried on the URL.
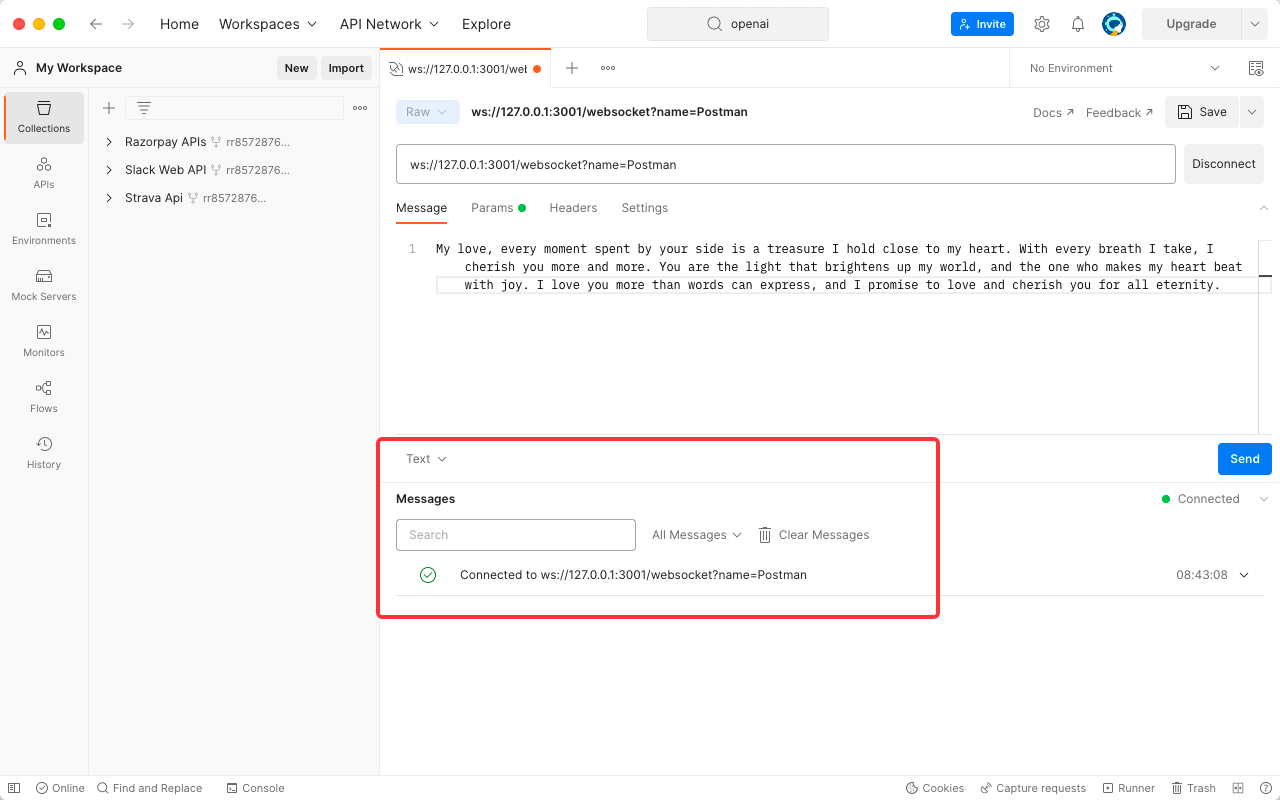
Step 3. Connecting to the WebSocket Service
If you want to communicate with the server via WebSocket, you need to make your first connection, so click Connect. Once connected, Postman will alert you that the connection was successful.
Step 4. Sending a Message
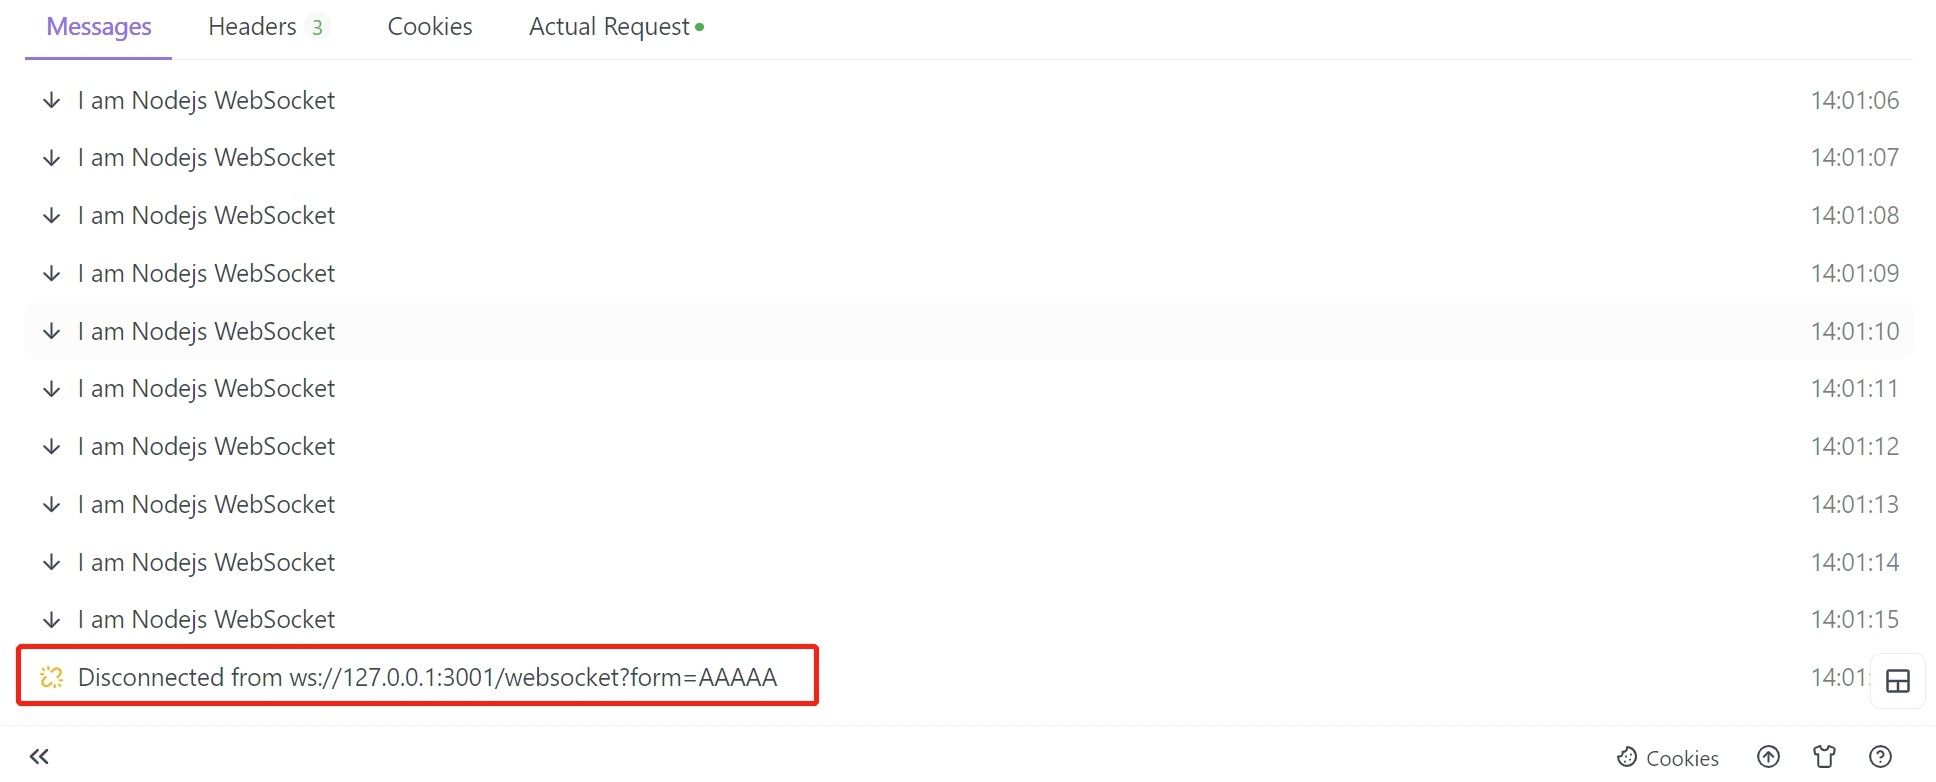
Then we can send a message and see that the client side can get the messages sent to us every second on the server side.
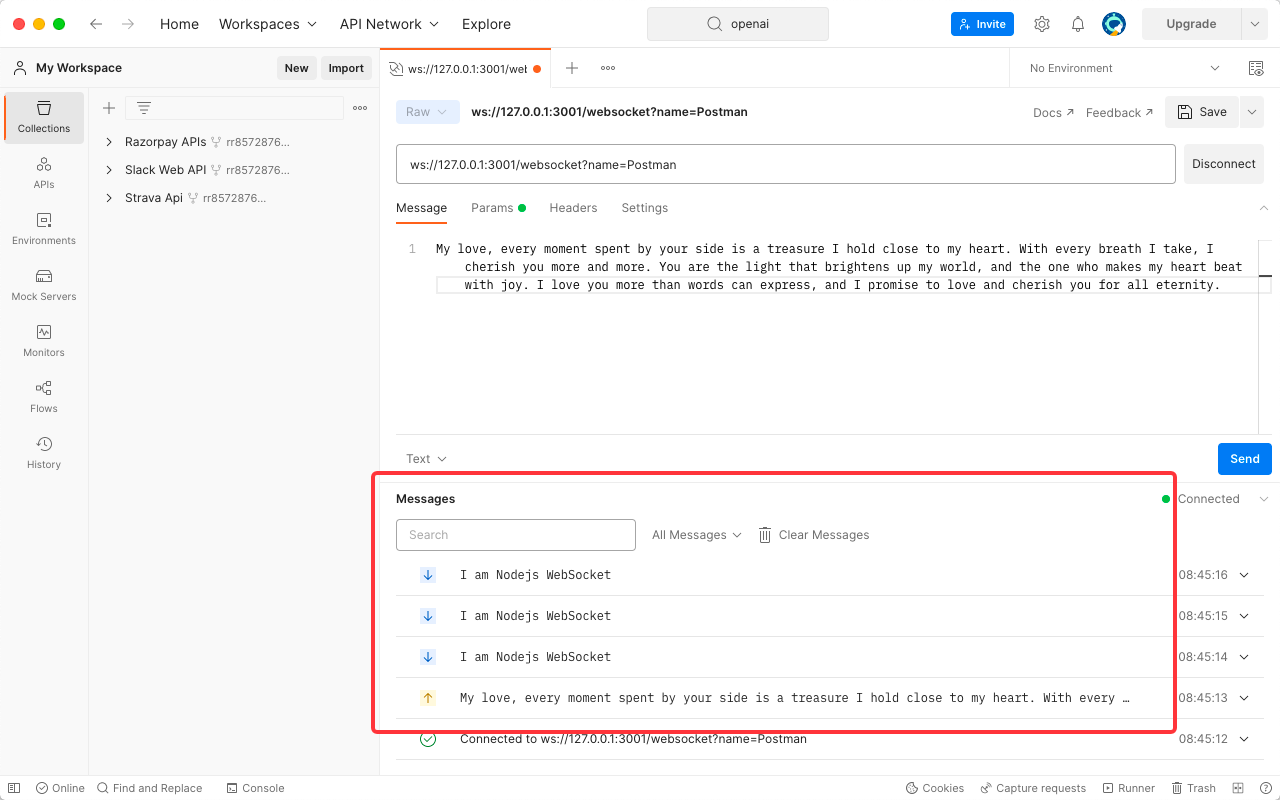
The server side can also receive the Message and Params that we pass to it.
Step 5. Disconnecting a WebSocket Connection
If you wish to disconnect, you can do so by clicking on Disconnect.
Conclusion
If you are exploring a new and powerful API interface debugging tool, we highly recommend trying out Apidog. It also offers the Apidog Helper IDEA plugin, which supports synchronizing interface code to documentation.


