WebSocket-client is a WebSocket client for Python. It provides access to a low-level, event-based interface for WebSocket communication, allowing you to establish WebSocket connections, send and receive messages, and handle various events related to the WebSocket protocol.
In this post, we will learn how to create a WebSocket client in Python using the websockets library. We will cover everything you need to know about WebSockets, including what they are, how they work, and how to use them in Python. Let’s get started!
What are WebSockets?
WebSockets are a real-time communication protocol that enables bidirectional data transmission between the client and server. Unlike HTTP, which is a stateless protocol, WebSockets maintain a persistent connection between the client and server, allowing for instantaneous data transfer. This makes WebSockets ideal for applications that require real-time data exchange, such as chat rooms, online gaming, and stock tickers.
WebSockets are faster and more efficient than traditional HTTP-based communication methods. They offer low latency, bidirectional communication, scalability, and support for real-time data streaming. WebSockets can handle multiple data streams over one connection, unlike HTTP/1.1, which only allows one stream of structured data at a time.
WebSockets have several advantages over other communication protocols. They are faster than AJAX and HTTP, allowing for immediate data transfer. They also offer cross-platform compatibility and cross-origin communication.

How WebSockets Work?
WebSockets provide a way for a client and server to communicate in a bidirectional, full-duplex manner over a single, persistent TCP/IP socket connection. Here’s a high-level overview of how they work:
- Initial Handshake: The WebSocket connection starts with an HTTP request from the client, which includes an
Upgradeheader indicating the desire to establish a WebSocket connection. If the server supports WebSockets, it responds with an HTTP 101 status code, switching protocols from HTTP to WebSockets. - Persistent Connection: After the handshake, the established TCP connection is kept alive, allowing for continuous two-way communication. Unlike HTTP, where each request/response pair is followed by closing the connection, the WebSocket connection remains open, facilitating real-time data exchange.
- Data Frames: Communication over WebSockets is done through messages, which are sent as data frames. Each frame consists of one or more messages that can be sent from the client to the server or vice versa at any time.
- Closing the Connection: Either the client or server can initiate the closing handshake, which involves sending a close frame to the other party. Once acknowledged, the TCP connection is terminated.
WebSockets are particularly useful for real-time applications like online gaming, chat applications, and live data feeds because they allow for low-latency communication without the need for repeated HTTP request/response cycles.
Why Do We use Websocket with Python?
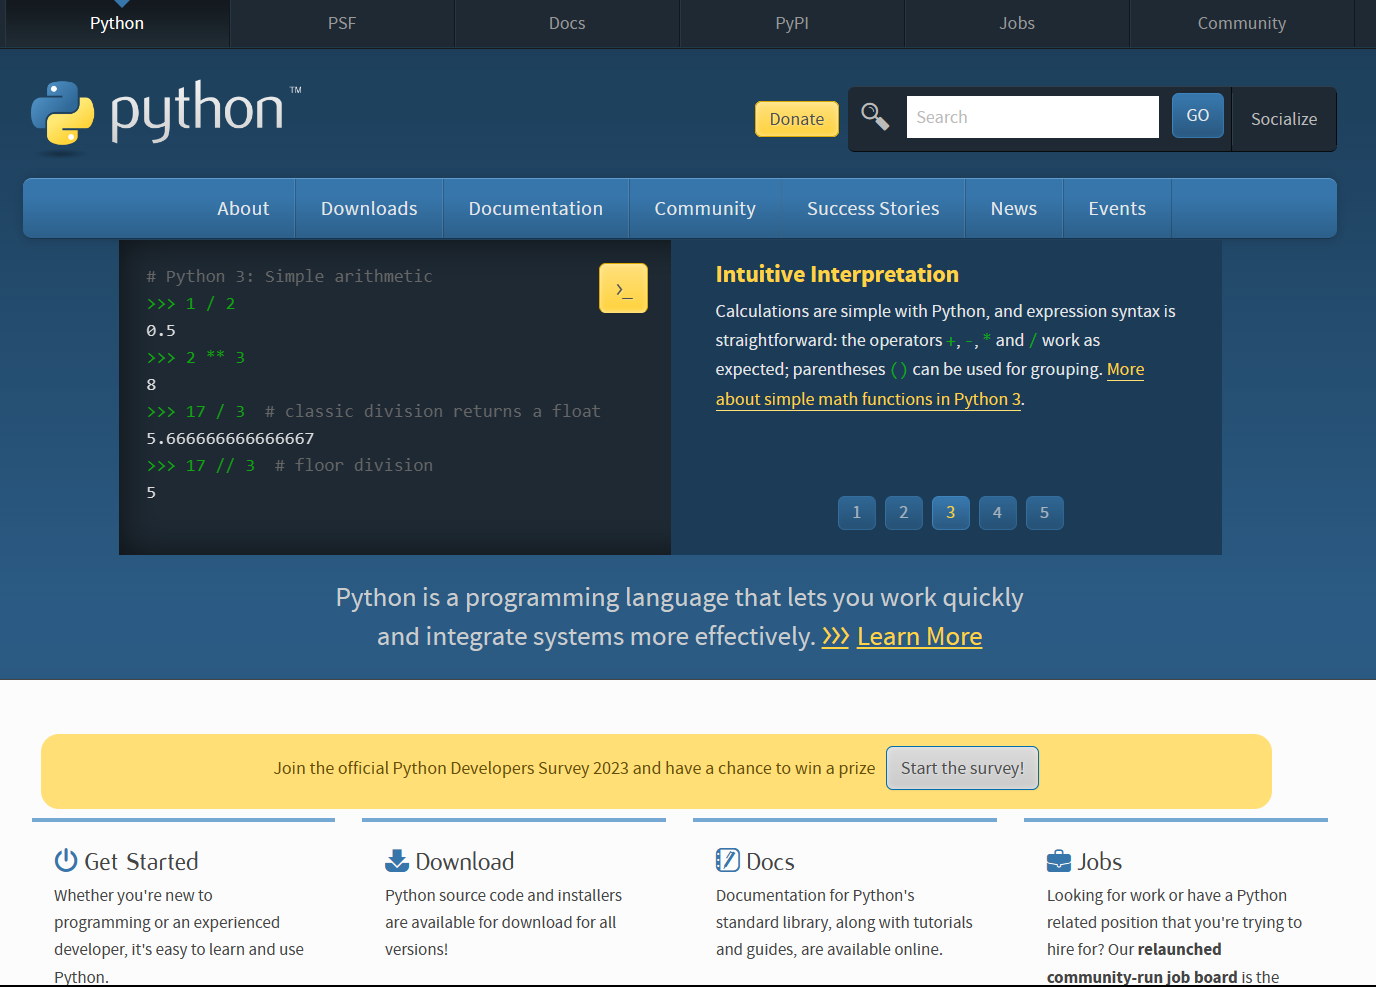
Python is a high-level, interpreted programming language known for its easy-to-read syntax and dynamic semantics. It’s object-oriented, which means it supports the concept of ‘objects’ that can contain data and code to manipulate that data. Python is also very flexible and can be used for a wide range of applications, from web development to scientific computing.
WebSockets are used with Python to enable real-time, two-way communication between a client and a server. This is especially useful for applications that require instant updates, like chat apps or live data feeds.
Imagine you’re building a chat app or a game where you want updates to happen instantly without refreshing the page. That’s where WebSockets shine! They allow for a full-duplex connection, meaning data can flow both ways simultaneously. So, if you’re using Python, you can use libraries like websockets to set up this kind of communication. It’s way more efficient than having the client constantly ask the server if there’s anything new. Plus, it’s just neat to see things update in real-time, don’t you think?
With WebSockets, the server can send data to the client without waiting for a request, and the client can do the same. This full-duplex communication is more efficient than traditional request-response models because it reduces latency and the need for constant polling.
How to Set up a Python Environment for WebSockets?
Before we can start building our WebSocket client, we need to set up our Python environment.
- First, you need to install Python on your machine. You can download the latest version of Python from the official website.
- Once you have installed Python, you can create a virtual environment for your project. A virtual environment is a self-contained environment that allows you to install packages and dependencies specific to your project without affecting the global Python environment.
- To create a virtual environment, you can use the
venvmodule that comes with Python. Open your terminal and navigate to your project directory. Then, run the following command to create a virtual environment:
python3 -m venv myenv
This will create a new virtual environment named myenv in your project directory.
4. Next, activate the virtual environment by running the following command:
source myenv/bin/activate
This will activate the virtual environment and you should see (myenv) in your terminal prompt.
5. Now, you can install the necessary libraries and tools for your project using pip. For this example, you have to install the websocketspackage, you can run the following command:
pip install websockets
This will install the websockets package in your virtual environment.
6. Once you have installed all the necessary packages and dependencies, you can deactivate the virtual environment by running the following command:
deactivate
This will deactivate the virtual environment and you should see your original terminal prompt.
How to Create a WebSocket Client in Python?
Creating a WebSocket client in Python is like setting up a phone line between two friends. You want to establish a connection that allows them to talk back and forth in real-time. In Python, you can use libraries like websocket-client or websockets to do just that.
Here’s a simple example using the websocket-client library:
import websocket

def on_message(ws, message):
    print(f"Received message: {message}")

def on_error(ws, error):
    print(f"Encountered error: {error}")

def on_close(ws, close_status_code, close_msg):
    print("Connection closed")

def on_open(ws):
    print("Connection opened")
    ws.send("Hello, Server!")

if __name__ == "__main__":
    ws = websocket.WebSocketApp("ws://example.com/websocket",
                                on_message=on_message,
                                on_error=on_error,
                                on_close=on_close)
    ws.on_open = on_open
    ws.run_forever()
In this code, we’re setting up a WebSocket client that connects to ws://example.com/websocket. We define functions to handle messages, errors, and the closing of the connection. When the connection opens, we send a greeting to the server. The run_forever() method keeps the connection open, allowing us to continuously send and receive messages.
Here’s a simple example of using the websockets library in Python, you can create a WebSocket client that connects to a server and communicates asynchronously
import asyncio
import websockets

async def hello(uri):
    async with websockets.connect(uri) as websocket:
        await websocket.send("Hello there!")
        greeting = await websocket.recv()
        print(f"Received: {greeting}")

asyncio.run(hello('ws://localhost:8765'))
In this example, we define an asynchronous function hello that takes a URI for the WebSocket server. We use websockets.connect to establish a connection and then send a message “Hello there!” to the server. We wait for a response with websocket.recv() and print the received greeting.
This is a basic example to get you started. Remember to install the websockets or websocket-client library using pip if you haven’t already. For more complex scenarios, you might need to handle exceptions, manage connection lifecycles, and process messages in different ways. You can find more detailed examples and documentation on the websocket-client PyPI page or check out the websockets library for an asyncio-based approach.
How to Handle Errors in Python WebSockets Client?
When working with WebSockets, you might encounter several common errors. Here are some of the issues and tips for debugging and troubleshooting:
- Connection Establishment Problems: These can occur due to network issues, server unavailability, or client misconfigurations. To troubleshoot, check your network connection, ensure the WebSocket server is running and listening on the correct port, and examine server log files for error messages.
- Message Encoding/Decoding Errors: Ensure that the data being sent and received conforms to the expected format. Use tools like JSON validators to check the structure of JSON messages.
- Connection Stability and Error Handling: Implement reconnection logic in your client to handle intermittent connectivity problems. Use
try-catchblocks to manage exceptions and maintain a stable connection. - Dealing with Connection Limitations: Be aware of client-side and server-side connection limits. Avoid opening excessive connections and properly close connections when they are no longer needed.
- Performance Optimization: Compress messages and use binary data formats to reduce latency. Throttle message rates to prevent server overload and ensure efficient protocol handling.
- WebSocket Security Best Practices: Use SSL/TLS to secure your WebSocket connections. Verify SSL/TLS certificates and encryption protocols to prevent man-in-the-middle attacks.
- Cross-Origin Resource Sharing (CORS) Issues: If your WebSocket requests are restricted by cross-origin policies, ensure that the server is configured to allow connections from the required origins.
Remember, effective debugging often involves isolating the problem by testing different parts of the WebSocket communication process separately and using tools like Apidog will definitively help you.
Debugging Python WebSockets with Apidog
Apidog is a tool designed to assist developers in debugging WebSocket APIs. It provides a user-friendly interface for establishing WebSocket connections, sending and receiving messages, and documenting APIs.
Here’s how you can use Apidog to debug a WebSocket client:
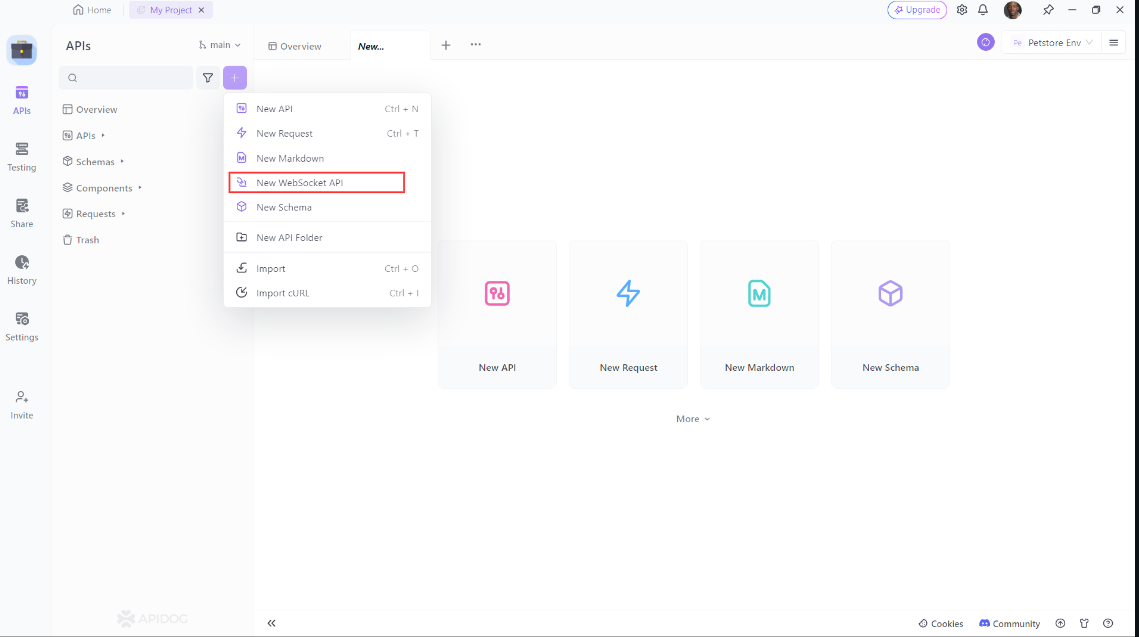
- Open Apidog: First, start the Apidog application and click on the "+" button on the left side, A new drop-down will be opened. From there choose "New WebSocket API":
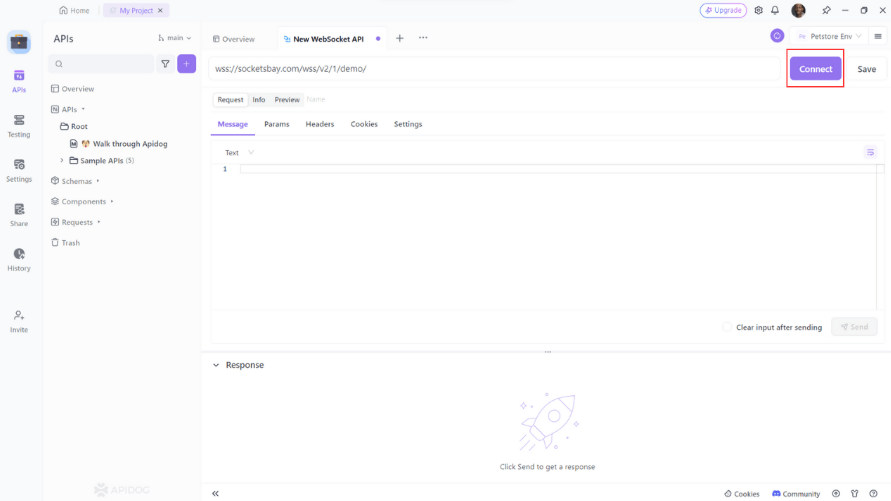
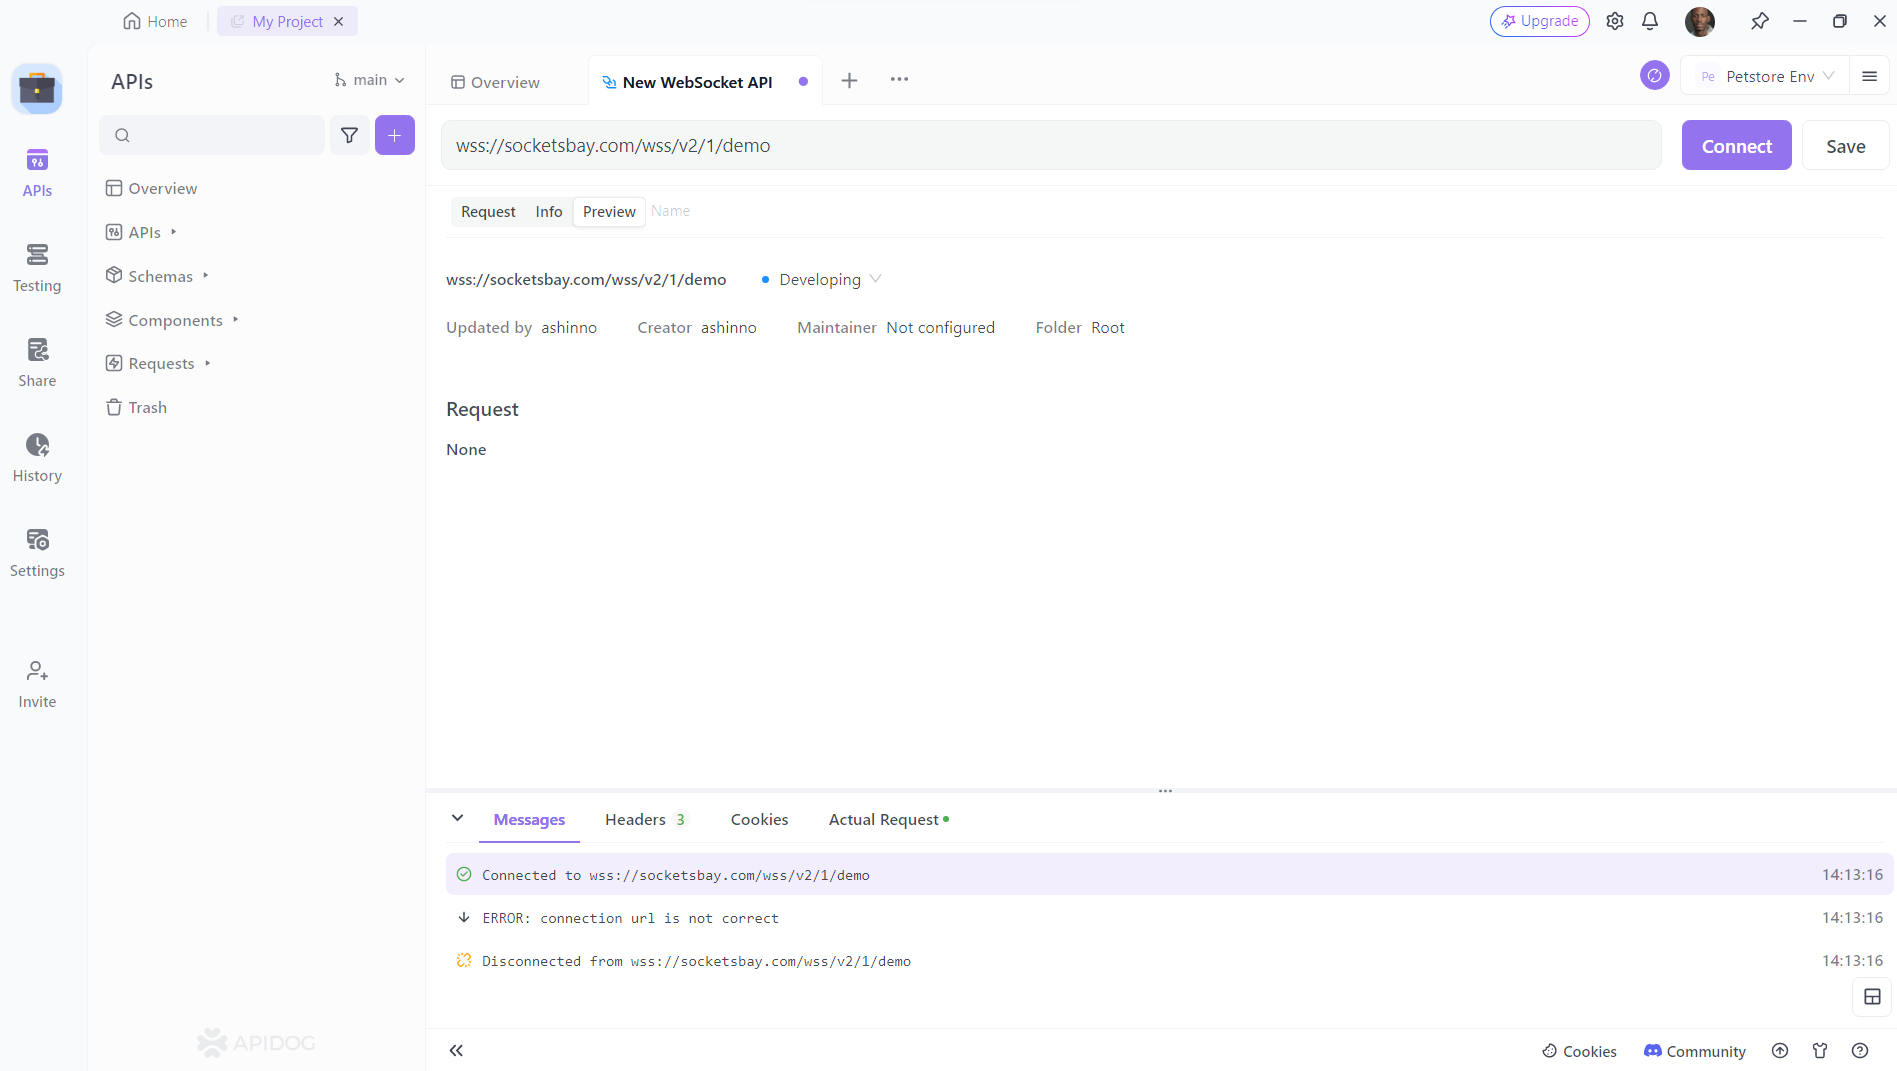
2. Establish a Connection: Start by entering the WebSocket API URL in Apidog’s address bar. You can then click the “Connect” button to initiate the handshake process and establish a connection. Apidog allows you to customize parameters such as Params, Headers, and Cookies during the handshake.
3. Send and Receive Messages: Once the connection is established, you can send messages under the "Message" tab. You can write text, JSON, XML, HTML, and other text format messages, as well as binary format messages using Base64 or Hexadecimal. Apidog's new timeline view shows the connection status, sent messages and received messages in chronological order. When you click on a message, you can easily view its details.

4. API Documentation: Apidog inherits its robust API documentation functionality for WebSocket APIs, allowing you to document your WebSocket interactions effectively.
Remember to check for common WebSocket issues such as connection problems, message format errors, and security concerns during your debugging process.
Apidog has a web side and a client side. If you're using the web side and need to debug local services, you'll need to install the Google plugin for Apidog.
Download here: Apidog Browser Extension
Python and WebSockets client best practices
Working with Python and WebSockets can be a powerful combination for real-time applications. Here are some best practices and tips to optimize your WebSocket code in Python:
- Use Asyncio: Asynchronous programming with
asynciois a natural fit for WebSockets, as it allows for multiple connections to be handled simultaneously without blocking the main event loop. - Efficient Message Handling: Merge messages when possible to reduce the overhead of sending multiple frames. Consider using an
asyncio.Queuefor each client to manage outgoing messages efficiently. - Broadcasting Messages: If you’re broadcasting the same message to many clients, compress the message once to save memory. You can use the
zlibmodule to compress messages and send them in binary frames. - Use uvloop: For Unix-based systems,
uvloopcan be an alternative event loop that is faster than Python’s default event loops. - WebSocket Libraries: Explore WebSocket libraries like
websocketsor frameworks such asTornadoorDjango Channelsfor additional functionality and ease of use. - Error Handling: Implement robust error handling and reconnection logic to deal with network instability and server issues.
- Security: Secure your WebSocket connections using SSL/TLS and validate certificates to prevent man-in-the-middle attacks.
- CORS Configuration: If your application is web-based, ensure proper Cross-Origin Resource Sharing (CORS) configuration on the server to allow connections from the required origins.
For optimizing your WebSocket code:
- Minimize Global Variables: Use local variables whenever possible to avoid the overhead associated with global variables.
- Built-in Functions: Leverage Python’s built-in functions and libraries, which are optimized for performance.
- Profile Your Code: Use profiling tools to identify bottlenecks and optimize the parts of your code that are most critical for performance.
By following these best practices and optimization tips, you can create efficient and scalable real-time applications with Python and WebSockets.

Conclusion
And there you have it! Creating a WebSocket client in Python is not only straightforward but also opens up a world of possibilities for real-time data exchange in your applications. WebSockets provide a robust and efficient way to keep your users connected and engaged.
As for debugging, Apidog has got your back. With its Debug Mode, you can streamline your API development workflow, allowing you to focus on building and debugging without getting bogged down by early documentation. It’s like having a trusty sidekick in the world of API development.
So, whether you’re just starting out or you’re a seasoned pro looking to brush up on your skills, these tools will help you navigate the WebSocket waters and debug with ease. Happy coding, and may your connections always be stable and your data swift! 🐍👨💻🚀


