You’ve been handed a SOAP endpoint. Maybe it’s a legacy currency converter your billing team still depends on, or an order-management web service that a partner runs on .NET. You need to call it, confirm it returns what the contract promises, and prove it stays correct as the code around it changes. REST tooling doesn’t quite fit, because SOAP wants a full XML envelope, a specific Content-Type, and a WSDL that describes every operation.
Apidog handles SOAP and WebService requests alongside REST, GraphQL, and gRPC, so you don’t need a separate app for the one legacy service in your stack. This guide walks through both documented paths: sending a SOAP request by hand, and importing a WSDL so Apidog builds the environment and endpoints for you. If you want the wider protocol picture first, our comparison of REST, GraphQL, gRPC, and SOAP lays out where each one earns its place. For the formal definition of the envelope structure, the W3C SOAP specification is the authoritative source.
What SOAP is, and why it needs different handling
Apidog describes SOAP as the Simple Object Access Protocol, an XML-based communication protocol that lets diverse platforms and programming languages talk to each other. That one idea explains why so many enterprises still run it. A Java client and a .NET service can talk through the same contract without caring about each other’s internals.
Three properties matter when you test it. SOAP uses XML for message formatting, so every request and response is a structured document, not a loose JSON blob. If XML itself is unfamiliar territory, MDN’s XML reference is a solid primer on the syntax you’ll be reading and writing. It usually travels over HTTP or HTTPS, though the protocol supports others. And it follows W3C standards for structured, reliable communication, which is why the message shape is strict and the validation rules are firm.
That strictness is the reason SOAP endpoints stay in service for cross-platform integration, legacy-to-modern bridges, and secure transactions using WS-Security for encrypted, authenticated messaging. It’s also why you can’t just fire a REST-style request at one. You need the right header, an XML body wrapped in a SOAP envelope, and a way to read the XML that comes back. If you want a deeper look at how the envelope and its body carry data, see our breakdown of SOAP APIs and XML.
Before you start
One hard requirement gates everything below. To send a SOAP or WebService request, Apidog needs to be version 2.1.31 or higher. Older builds don’t support it. Open Apidog, check your version, and update if you’re behind. Everything else in this guide assumes you’re on 2.1.31 or later.
If you don’t have Apidog yet, download Apidog and follow along. Try it free, no credit card required.
You’ll also want the details of your target service on hand: the endpoint URL, the operation name you want to call, and its parameters. If you have a WSDL file, keep it nearby, because the second half of this guide imports it directly.
Path A: send a SOAP request by hand
This is the path when you have an endpoint and know the operation you want to call. There are three things you set that a REST request doesn’t need, and getting them right is the whole job.
Step 1: set the Content-Type header manually
SOAP requests don’t infer their own header. You set the Content-Type yourself, and there are two valid values:
text/xml; charset=utf-8application/soap+xml
Which one is correct depends on the service. SOAP 1.1 endpoints typically expect text/xml; charset=utf-8, while SOAP 1.2 endpoints often want application/soap+xml. If you’re not sure, check the WSDL or the service documentation, and if the first value returns a fault about the content type, switch to the other. Add the header in the request’s Headers section before you send.
Step 2: set the body format to xml and paste the envelope
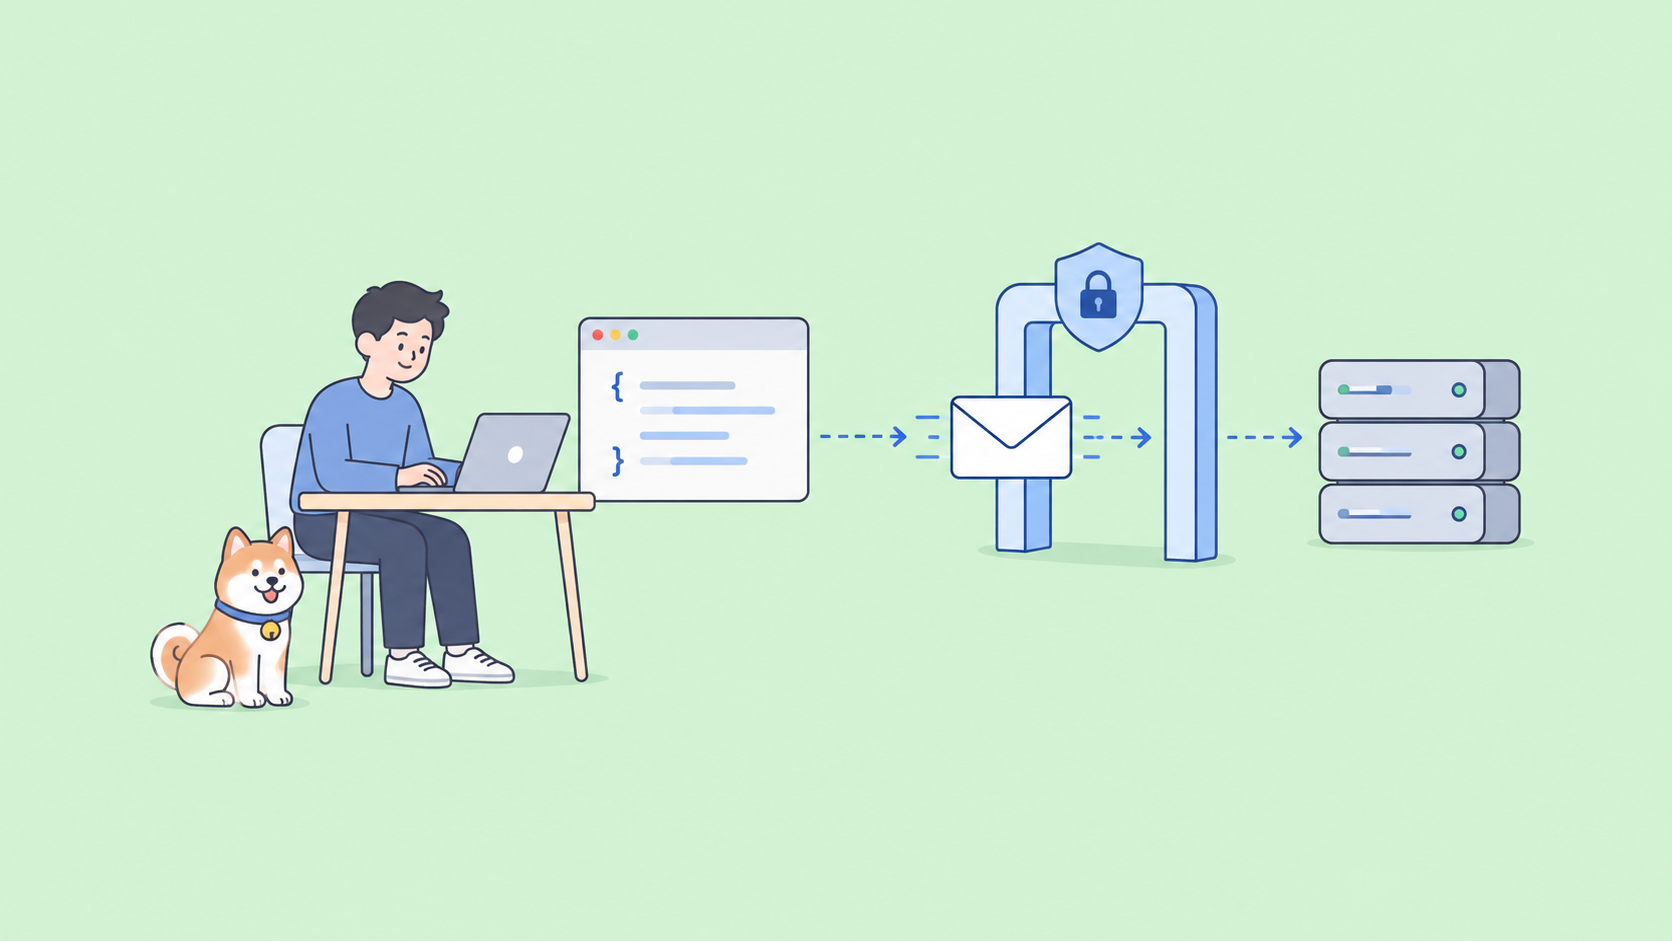
Set the request Body format to xml, then paste the SOAP envelope. The envelope is a document with namespace declarations and a Body element that holds the operation you’re calling, plus any parameters nested inside it.
Here’s a worked example against a public number-to-words service, the same shape Apidog uses in its documentation. The operation is NumberToWords and it takes one parameter, ubiNum:
<?xml version="1.0" encoding="utf-8"?>
<soap:Envelope xmlns:soap="http://schemas.xmlsoap.org/soap/envelope/"
               xmlns:web="http://www.dataaccess.com/webservicesserver/">
  <soap:Body>
    <web:NumberToWords>
      <web:ubiNum>1234</web:ubiNum>
    </web:NumberToWords>
  </soap:Body>
</soap:Envelope>
The namespace on the operation has to match what the service expects, which is why you read it from the WSDL rather than guessing. The soap:Body wraps the actual call; the web:NumberToWords is the operation; web:ubiNum is the input.
Step 3: send and read the XML response
Send the request. The response comes back in XML, as a SOAP envelope whose Body contains the response operation. For the call above, you get a NumberToWordsResponse with the result nested inside:
<?xml version="1.0" encoding="utf-8"?>
<soap:Envelope xmlns:soap="http://schemas.xmlsoap.org/soap/envelope/">
  <soap:Body>
    <m:NumberToWordsResponse xmlns:m="http://www.dataaccess.com/webservicesserver/">
      <m:NumberToWordsResult>one thousand two hundred and thirty four</m:NumberToWordsResult>
    </m:NumberToWordsResponse>
  </soap:Body>
</soap:Envelope>
The response mirrors the request: the operation name gains a Response suffix, and the value lands in a result element. That mirroring is what you assert against. You confirm the envelope came back, the NumberToWordsResponse node exists, and the result matches what you expected. Apidog’s dedicated WebService documentation at webservice.apidog.io carries the full configuration reference and more sample envelopes if you want a second worked example.
A realistic use case follows the same three steps. Swap NumberToWords for a ConvertCurrency operation on a legacy exchange-rate service, pass fromCurrency, toCurrency, and amount as nested elements, and read the converted figure out of the response envelope. Or call a GetOrderStatus operation on an order web service, pass an orderId, and assert on the returned status node. The mechanics never change: header, xml body, send, read the envelope.
Path B: import a WSDL to generate the endpoints
Typing envelopes by hand is fine for one call. When a service exposes a dozen operations, let the WSDL do the work. A WSDL file describes every operation, its inputs, and the service address, and Apidog reads all of that in one import.
Here’s the exact click path:
- Go to Settings, then Import Data.
- Select
WSDL. - Upload your
.wsdlor.xmlfile. - Review the preview of API endpoints that Apidog parsed from the file.
- Open the
Environmentstab and verify the service address is correct. - Click
Confirm. The imported environment is created automatically. - Select the imported environment from the top-right corner.
- Send a request. The Base URL is applied automatically from that environment.
Two steps in that list are the ones people skip and then regret.
Step 5 matters because the service address in the WSDL is the endpoint every imported request will hit. If it points at a staging host, or a placeholder URL the WSDL author never updated, your requests go to the wrong place. Check it in the Environments tab before you click Confirm, not after.
Step 7 matters because the Base URL lives in that auto-created environment. If you don’t select the imported environment from the top-right corner, your requests have no base address and they fail. Select it first, then send.
Once you’ve imported, each operation shows up as an endpoint you can call without writing the envelope yourself, and you assert on the XML response exactly as in Path A. If you’re moving a whole project across from another tool, our guide to importing SOAP projects covers the migration end to end.
Note one honest limit: the WSDL import is documented for file upload of .wsdl and .xml files. Importing a WSDL by URL or by pasting its contents isn’t documented, so upload the file rather than expecting a URL field.
Coming from SoapUI
If your SOAP tests currently live in SoapUI, you don’t have to rebuild them from a blank page. Export or keep your WSDL, import it into Apidog with Path B, and you get the same operations as callable endpoints inside a workspace that also does design, mocking, and documentation. The gain is consolidation: one project holds your SOAP service, your REST endpoints, and your test scenarios instead of scattering them across separate tools. Our side-by-side of Apidog versus SoapUI walks through what carries over and where the workflows differ.
Assertions and variations
A single successful call proves the endpoint is alive. A test proves it’s correct. Once your SOAP request returns, add assertions on the response envelope: confirm the expected response operation node is present, extract the result element, and check its value against what the contract promises. For a currency service you assert the converted amount is a number in range; for an order service you assert the status is one of the allowed values.
From there you build a repeatable test scenario that chains calls, for example create an order, then query its status, passing values between steps. Our walkthrough on writing a test scenario with Apidog shows how to wire extracted values into later requests. The pattern is protocol-agnostic, so a scenario can mix a SOAP call with the REST endpoints around it.
For secured endpoints, SOAP commonly uses WS-Security for encrypted, authenticated messaging. That security header is part of the SOAP envelope you send, so you add the wsse security block inside the envelope’s header alongside your operation. The mechanics of sending stay the same: set the Content-Type, put the full envelope including the security header in the xml body, and send.
Automate the workflow with the Apidog CLI
Once your SOAP or WSDL-imported requests are saved as test scenarios, the Apidog CLI runs them from the command line so a pipeline can exercise them on every push. Install it with Node.js v16 or later, then authenticate:
npm install -g apidog-cli
apidog login --with-token <YOUR_ACCESS_TOKEN>
Run a saved scenario by id, against the environment your WSDL import created:
apidog run --access-token $APIDOG_ACCESS_TOKEN -t <scenario_id> -e <env_id> -r cli
Here -t is the test scenario id, -e is the environment id, and -r is the reporter (cli, html, or junit, comma-separated for several). One honest caveat: the docs confirm the runner executes saved test scenarios and suites, but they don’t state whether scenarios built on SOAP steps run headlessly, so treat the CLI as your engine for the project’s HTTP scenarios and for keeping the WSDL-imported endpoints in sync in CI rather than assuming SOAP-specific execution. Wiring it into a pipeline is covered in our Apidog CLI CI/CD guide.
FAQ
Which Content-Type should I use for a SOAP request? Either text/xml; charset=utf-8 or application/soap+xml. The right one depends on the service: SOAP 1.1 endpoints generally expect the first, SOAP 1.2 endpoints the second. Set it manually in the request headers, and if you get a content-type fault, switch to the other value.
Do I need a paid plan to test SOAP in Apidog? The only documented requirement is that Apidog is version 2.1.31 or higher. No tier gating or self-hosted restriction is stated for SOAP or WSDL support, so update to a current version and you’re set.
Can I import a WSDL from a URL? The documented WSDL import accepts file uploads of .wsdl and .xml files. Importing by URL or by pasting the WSDL text isn’t documented, so upload the file. After import, the environment is created automatically and you pick it from the top-right corner before sending.
How do I test both SOAP and REST APIs in the same project? Apidog treats them as request types inside one workspace, so a single project can hold SOAP operations next to REST endpoints and even GraphQL calls. If GraphQL is also on your plate, our guide to testing GraphQL APIs in Apidog covers that side, and a test scenario can chain requests across all of them.
My WSDL-imported requests hit the wrong server. What happened? Two usual causes. Either the service address in the Environments tab was wrong at import time and you clicked Confirm without checking it, or you didn’t select the imported environment from the top-right corner, so no Base URL was applied. Re-import and verify the address, then make sure the right environment is active before you send.
Wrapping up
Testing SOAP doesn’t have to mean a separate legacy tool. In Apidog you either send the envelope by hand (set the Content-Type, set the body to xml, paste the envelope, read the XML response) or import a WSDL and let Apidog build the endpoints and environment for you. Both paths land the same place: a repeatable check that your web service still honors its contract. Download Apidog on version 2.1.31 or higher, import your WSDL, and put your legacy services under the same tests as the rest of your API surface.