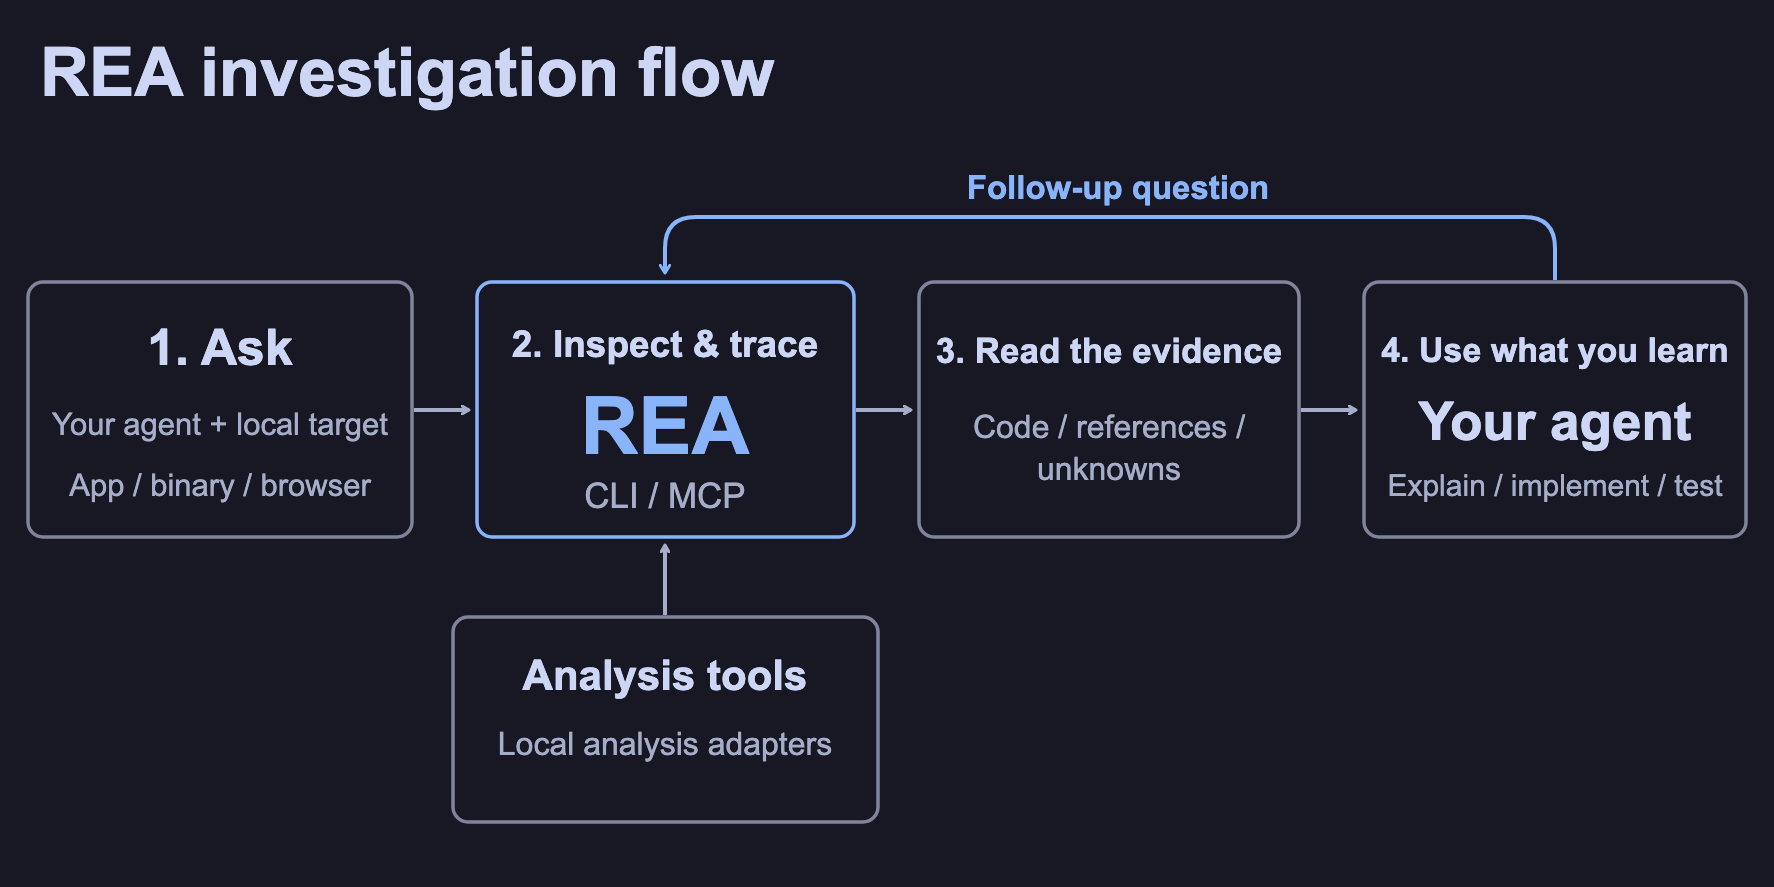
REA’s pitch is one sentence: see a feature you like, understand how it works down to the binary, and build a version for your project. The morluto/rea repository crossed 115,000 GitHub stars in October 2026 on that promise. The demos show agents rebuilding whole desktop apps. The useful workflow is smaller and more repeatable: take one feature from one app, extract its behavior as evidence, write your own spec from that evidence, build it in your stack, and prove your version behaves the same way.
This tutorial walks that loop in six steps with Claude Code, Codex, or any agent that speaks MCP. It uses REA’s own Notes example for the investigation and shows what changes when the feature you want is backed by an API, which is where Apidog takes over. If you want the background on what REA is and how it got here, start with our REA explainer.
Before you start: three rules
Rebuild behavior, not code. REA returns pseudocode, module graphs, and traces. Treat them as a description of what the feature does, then write your own implementation from that description. Don’t paste recovered code, strings, assets, or UI into your product. The REA README limits the tool to lawful research and reconstruction and puts the authorization question on you. Check the target’s license and terms before you begin, and keep a record of what you looked at.
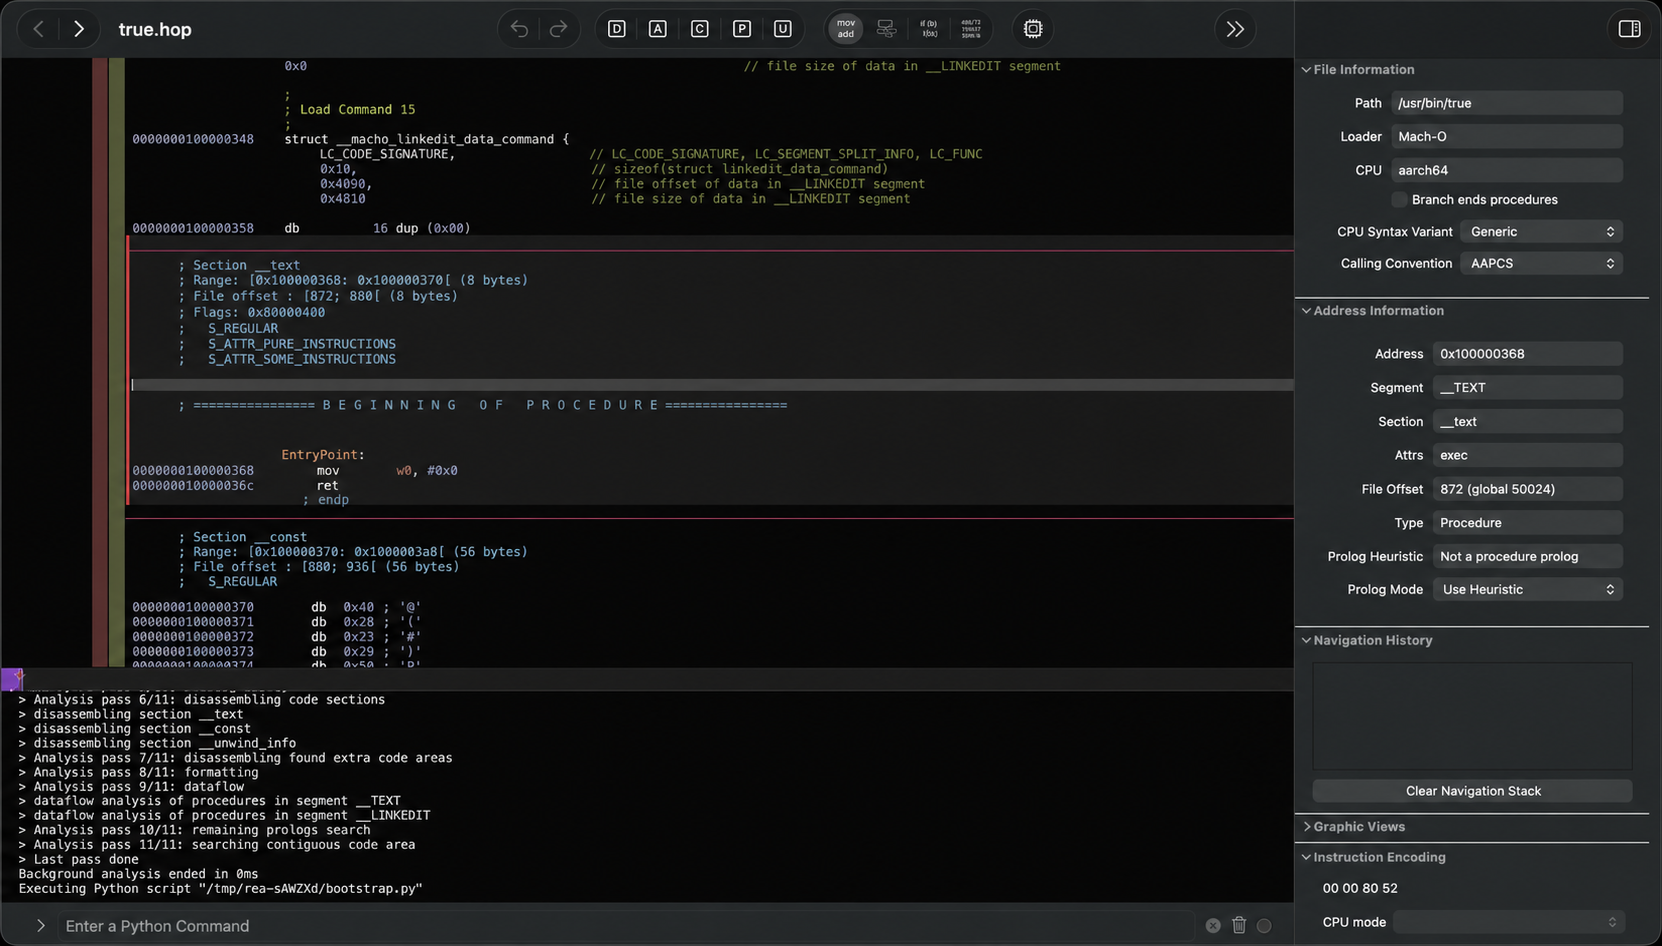
Scope one feature. REA’s FAQ says to give the agent one local target and one behavior to investigate. The showcases that work (a sound-pan calculation, a clipboard bridge, an export button) are single data paths with a verifiable answer. “Rebuild the app” is a demo, not a plan.
Start with a JavaScript or Electron target. Static JavaScript analysis needs no native engine. Native binaries need Hopper, Ghidra, or IDA, and more time. Pick the easy class for your first run.
Step 1: Install REA and check it
You need Node.js 22.19 or later and npm. Register the MCP server with your agent:
npx rea-agents@latest setup
Setup shows the config changes it wants to make, backs up the originals, and writes only after you approve. Restart the agent, then confirm the registration and the tools it can see:
npm install --global rea-agents
rea doctor --json
rea doctor --client claude_code --json
The installation guide lists the client IDs for Codex, Cursor, Gemini CLI, Windsurf, and the rest. If the agent can’t see REA’s tools after setup, the FAQ’s answer is to restart or reconnect, then rerun setup for that client.
Step 2: Ask one precise question
REA ships six guided MCP prompts. The one you want for this job is investigate_feature, which takes a feature and a target and points the agent at the right analysis tool. For a JavaScript or Electron directory that is analyze_javascript_application; for a binary it is open_binary and the provider tools behind it. You don’t have to call the prompt by name. A plain request works if it names one target and one behavior:
Use REA on /absolute/path/to/notes-app. Find what happens when the user clicks
"Export notes": which message is sent, which process handles it, where the file
is written, and what fields it contains. Cite the files and lines.
REA’s first-investigation guide runs this exact question against its Notes example. The expected answer: the renderer calls notes.exportCsv(), the preload script sends a notes:export message, the main process handles it, formats the notes as CSV, and writes notes.csv to Downloads with id and title columns. Every step comes with a file and line.
Write your question the same way. Name the trigger, ask for the path from trigger to effect, and ask for citations. Vague prompts get vague summaries.
Step 3: Read the evidence, not the summary
REA’s results separate observations, inferences, and unknowns, and the guided prompts tell the agent to keep them apart. Hold your agent to that. Ask it to list what it saw, what it inferred, and what it could not determine before it writes a line of code.
The DX-Ball showcase shows why. The decompiler’s first pseudocode for the sound-pan function declared it took no input. Only the instruction view revealed the integer parameter, and only the calling function revealed what that parameter meant. The agent got the right answer by reading three pieces of evidence, not one. A summary that skipped the unknowns would have produced a function with the wrong signature.
When the evidence still has gaps, ask for the audit_residual_unknowns prompt. It lists the open questions REA tracks for the session and what would resolve each one. Some will matter for your rebuild. Many won’t, and you can say so explicitly.
Step 4: Write your spec before your code
Now translate the behavior into a specification you own. For the Notes export, that is short:
- Trigger: an export action in the UI.
- Effect: a CSV file in the user’s downloads folder.
- Columns:
id,title. - Quoting rule: a title containing a comma or a quotation mark is wrapped in quotes, and each inner quotation mark is doubled.
That last line is the kind of detail that makes or breaks a rebuild, and REA’s guide has you confirm it with a prediction check: predict the output for a title containing a comma and quotes, then run the original formatter and compare. Put every rule like that in the spec.
If the feature you want is backed by an API, the spec is an API design, and this is where the workflow changes. Capture the traffic once (a HAR from DevTools, recorded on a test account), let REA inspect it with inspect_web_network_capture, and ask for the api-surface view. You get every request grouped by method, origin, and inferred path template, with {numeric} and {uuid} placeholders where IDs vary. That’s an inventory of what the original app’s client needs from a server.
Then design your own API in Apidog, not theirs. Open a project in design-first mode, define the endpoints your feature needs with your own resource names and response shapes, and use the captured traffic only to check you haven’t missed a field or an error case. Our HAR import guide covers pulling the capture in as a reference. The point of spec-first development here is that your contract exists before any code, so both the agent and your tests build to it.
Step 5: Build it in your own stack
Hand the agent your spec, not REA’s output, and ask for an implementation in your project’s language and structure:
Build the export feature described in SPEC.md in our Electron app. Use our
existing IPC naming, put the CSV formatter in src/export/csv.ts, and write unit
tests for the quoting rules in the spec. Do not reuse names or code from the
investigation.
Keep the investigation evidence out of this prompt’s context if you can. The agent should be solving your spec, and a model with the original’s code in view will drift toward reproducing it. For an API-backed feature, the agent builds against the Apidog contract: generate the request code from the endpoint definitions, and point the client at Apidog’s mock server so the UI works before the backend does.
Step 6: Prove your version behaves the same
A rebuild is finished when it passes the same tests the original would. REA frames this formally: the verify_reconstruction prompt evaluates a finite reconstruction specification against retained comparison evidence, and the build_reconstruction_obligation_ledger tool turns your evidence bundle into a list of claims that each need an owner, fixtures, and a passing verifier before the ledger reads ready. The ledger docs are explicit that nothing closes on an inference alone.
In practice that means three kinds of checks:
- Behavior tests from the spec. The DX-Ball reconstruction ran 3,205 inputs through the original x86 function and the new C function and compared results. Your scale will be smaller, but the shape is the same: enumerate the inputs the spec cares about, run both, diff.
- Prediction checks on edge cases. The comma-and-quotes title. The empty list. The file that can’t be written, which the Notes guide uses as its follow-up question.
- Contract tests for the API. In Apidog, write a test scenario that calls each endpoint in your implementation and asserts on status, schema, and the fields your UI depends on. Run it from the Apidog CLI on every commit:
apidog run --access-token "$APIDOG_TOKEN" -t <scenario-id> -e <dev-env-id> -r cli,junit
That turns the rebuild into a regression suite, which is the difference between a demo and a feature you ship. Teams running agents in a loop already do this; see our guide to building a software factory with Codex and Apidog tests for the CI shape.
Where this breaks down
Runtime-only behavior. Static analysis sees code paths, not what happens with real data. REA has browser and process capture tools for that, and they run the target with your user permissions. Do it in an isolated environment. REA’s own security policy says its provider bridge is not a sandbox.
Native targets. Ghidra and Hopper produce pseudocode that is often wrong in the details, as the DX-Ball input bug shows. Budget for several rounds of evidence reading, and expect to need the assembly view.
UI and assets. You can learn how a feature works. You cannot copy its screens, icons, text, or data files. Rebuilding a competitor’s interface pixel for pixel is a legal question REA doesn’t change.
Fast-moving releases. REA shipped seven minor versions in nine days during its October surge, and minors can break its output contracts. Pin a version for the length of a project.
Frequently asked questions
Can REA give me the original source code? No. For native binaries you get pseudocode and assembly; for JavaScript you get modules, relationships, and source locations. Writing the implementation is your job, which is also what keeps the rebuild yours.
Do I need an API tool if the feature is purely local? No. The Notes export never touches a network. Apidog enters when the feature depends on a server, which for most web and mobile features it does.
How do I know when the rebuild is done? When every claim in your spec has a passing test, and the unknowns you chose to ignore are written down. Download Apidog to run the API side of that in CI.
The loop, in one line
Install REA, ask one precise question, read the evidence and its unknowns, write a spec you own, build to the spec in your stack, and prove it with tests that compare behavior. For API-backed features, the spec lives in Apidog and the proof is a test scenario in CI. That loop is slower than the viral videos and much more likely to leave you with a feature you can defend.