
As developers, understanding how to send HTTP requests is a crucial skill. This article will focus on Axios, a popular JavaScript library, and guide you through the process of making POST requests with body data. Whether you're building a web application, interacting with APIs, or handling form submissions, Axios simplifies the task of communicating with servers.
What's Axios?
Axios is a popular JavaScript library that allows you to request HTTP from your browser or Node.js. It provides an easy-to-use interface for performing AJAX requests, including handling request and response headers, timeouts, and more.
How to Install Axios?
To install Axios, you can use npm (Node Package Manager) or yarn, which are package managers for JavaScript. To install Axios using npm, you can run the following command in your terminal:
npm install axios
If you prefer using yarn, you can run the following command instead:
yarn add axios
Once Axios is installed, you can import it into your project using the require or import statement. For example, if you're using Node.js, you can import Axios like this:
const axios = require('axios');
If you're working with a browser-based JavaScript project, you can use the import statement:
import axios from 'axios';
Post Request and Body
In web development, sending data is an art, and POST requests are the brushstrokes. Unlike GET requests, which retrieve information, POST requests excel at submitting and transmitting data. Understanding why data is enclosed in the body of a POST request is key to building dynamic and secure applications.
What POST Request Is Used for?
In HTTP (Hypertext Transfer Protocol), POST is one of the methods used to send data to a server. Unlike the GET method, which is used to retrieve data from a server, the POST method is used to submit data to be processed by the server. This data can be in various formats, such as JSON, form data, XML, or plain text.
POST requests are commonly used when you want to create or update a resource on the server. For example, when submitting a form on a website, the form data is typically sent to the server using a POST request.

Why do We Need to Add Body to POST Requests?
When making a POST request, the data is usually sent in the body of the request. The body contains the information that needs to be processed by the server. Without a body, the server would not receive any data to work with.
Adding a body to a POST request allows you to send additional information or data to the server. This can include user input, form data, JSON objects, or any other data that needs to be processed by the server.
The Data Type Available with Post Body
The body of a POST request can contain data in various formats, depending on the requirements of the server. Some common data types that can be used in the body of a POST request include:
JSON (JavaScript Object Notation): JSON is a lightweight data-interchange format that is easy for humans to read and write, and for machines to parse and generate. It is widely used for sending structured data between a server and a client.
Form Data: Form data is a format used to send data from an HTML form to a server. It consists of key-value pairs, where the keys are the names of the form fields, and the values are the data entered by the user.
Plain Text: Plain text is a simple and unformatted type of data that can be sent in the body of a POST request. It is useful for sending simple text-based messages or data that does not require any special formatting.
How to Add Body to Post Request with Axios
To add a body to a POST request using Axios, you can follow these steps:
Create an Axios Instance:
const axiosInstance = axios.create({ baseURL: 'https://api.example.com' });
Make a POST Request with a Body:
axiosInstance.post('/endpoint', { data: 'example data' })
  .then((response) => {
    console.log(response.data);
  })
  .catch((error) => {
    console.error(error);
  });
I removed the extra comma after the object property "data: 'example data'" inside the post method. Now the code is properly formatted.
In this example, we are making a POST request to the /endpoint URL with a body containing the data field. The data field can be any data that you want to send to the server.
Handling the response: In the .then callback, you can access the response data using the response.data property. You can perform any necessary operations with the data, such as displaying it on the page or storing it in a variable.
If an error occurs during the request, the .catch callback will be executed, and the error object will be passed as an argument. You can handle the error accordingly, such as displaying an error message to the user or logging the error for debugging purposes.
Apidog: Easier Way to Send POST Requests with Body Data
One of the challenges developers often face is the manual generation of code snippets for sending POST requests, especially when dealing with complex APIs. This is where tools like Apidog come to the rescue, providing an intuitive interface to streamline the process.
Here's a closer look at how Apidog can make sending POST requests with body data much more straightforward.

Why Use Apidog?
User-Friendly Interface: Apidog offers a user-friendly web interface that allows you to input API details and specify the parameters and body data effortlessly.
Code Generation: Apidog excels in generating code snippets for various programming languages, including JavaScript with Axios. This eliminates the need to manually write boilerplate code, reducing the chance of errors.
Time Efficiency: By automating the code generation process, Apidog significantly reduces the time and effort required to set up HTTP requests. This is particularly beneficial when dealing with APIs with extensive documentation.
Using Apidog for POST Requests with Body Data
let's go through a brief tutorial on how to use Apidog for making a POST request and for generating Axios code for a POST request:
POST REQUEST WITH BODY
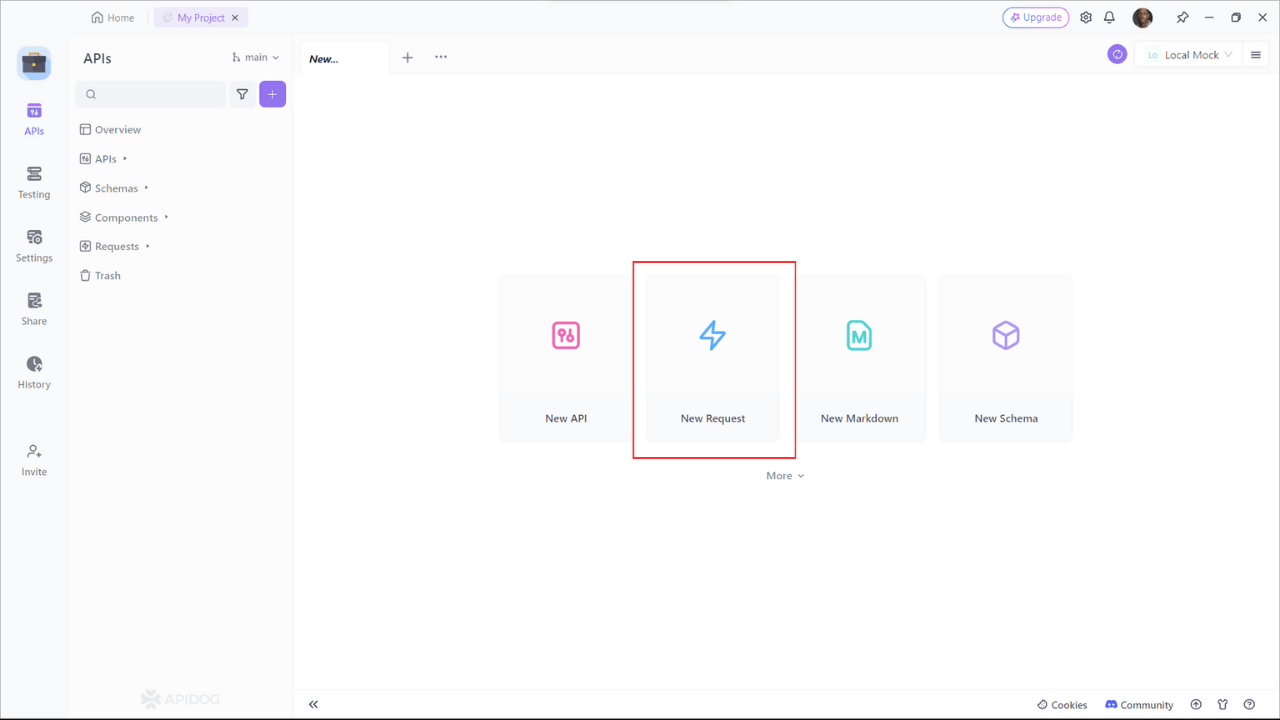
Step 1: Open Apidog and create a new request.
- Start Apidog and select New Request
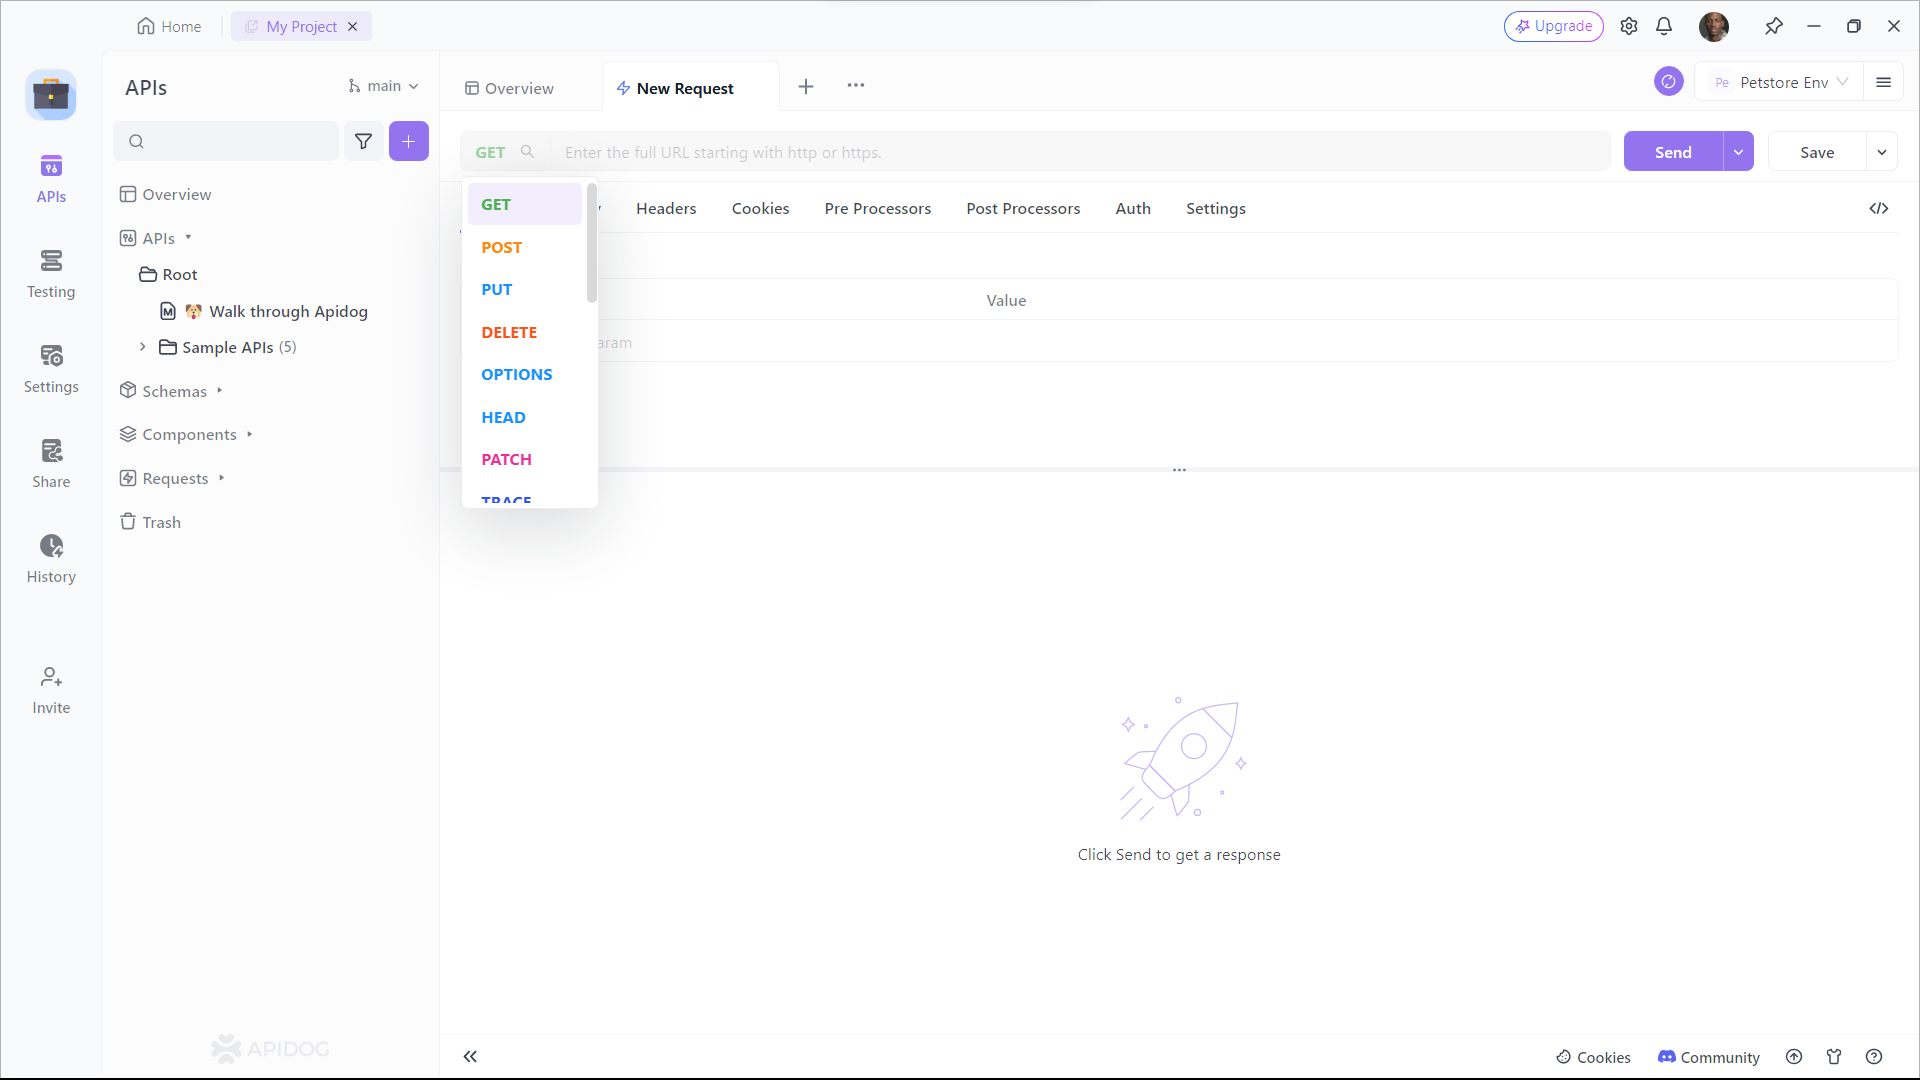
Step 2: Input the API
- Find or manually input the API details for the POST request you want to make.
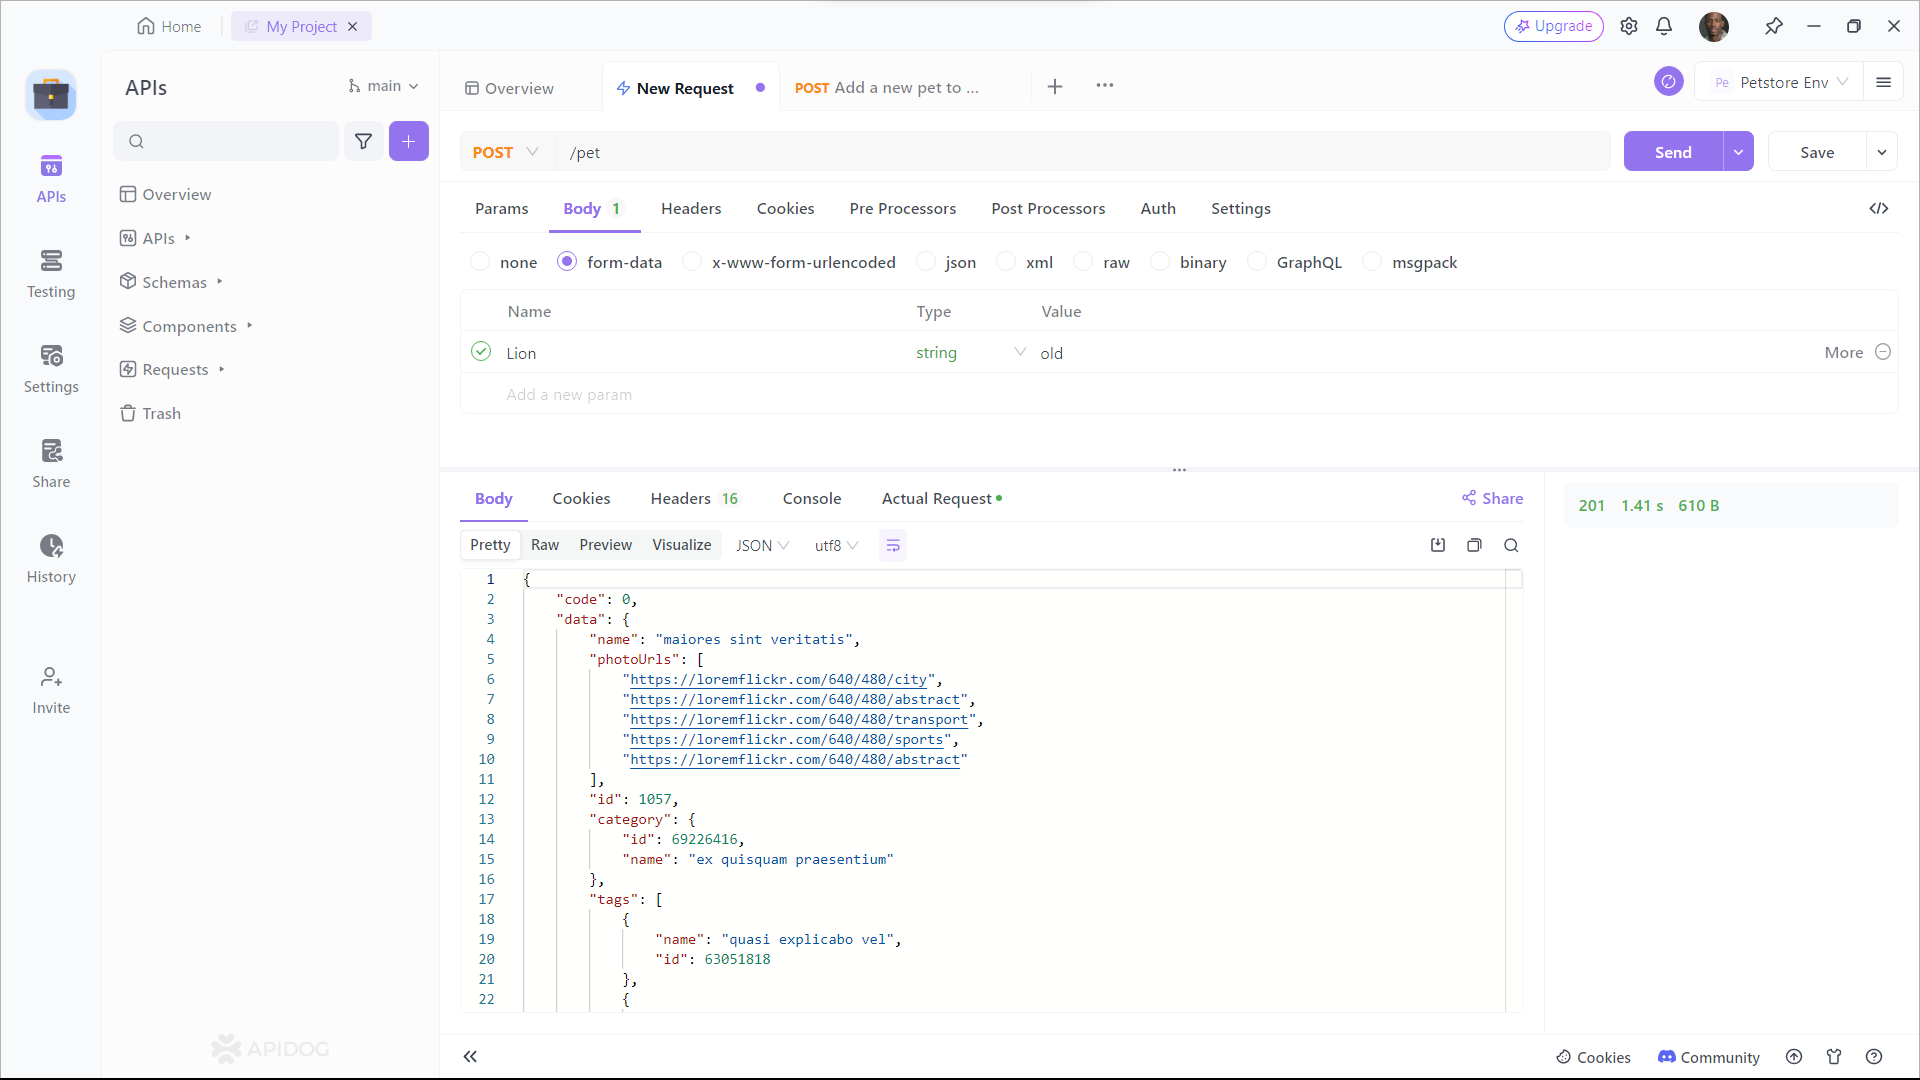
Step 3: Input Parameters and Body Data
- Fill in the required parameters and any data you want to include in the request body.
GENERATE THE CODE
Step 1: Open Apidog and create a new request.
- Start Apidog and select New Request
Step 2: Input the API
- Find or manually input the API details for the POST request you want to make.
Step 3: Generate Code
- Click on the "Generate Code" button.
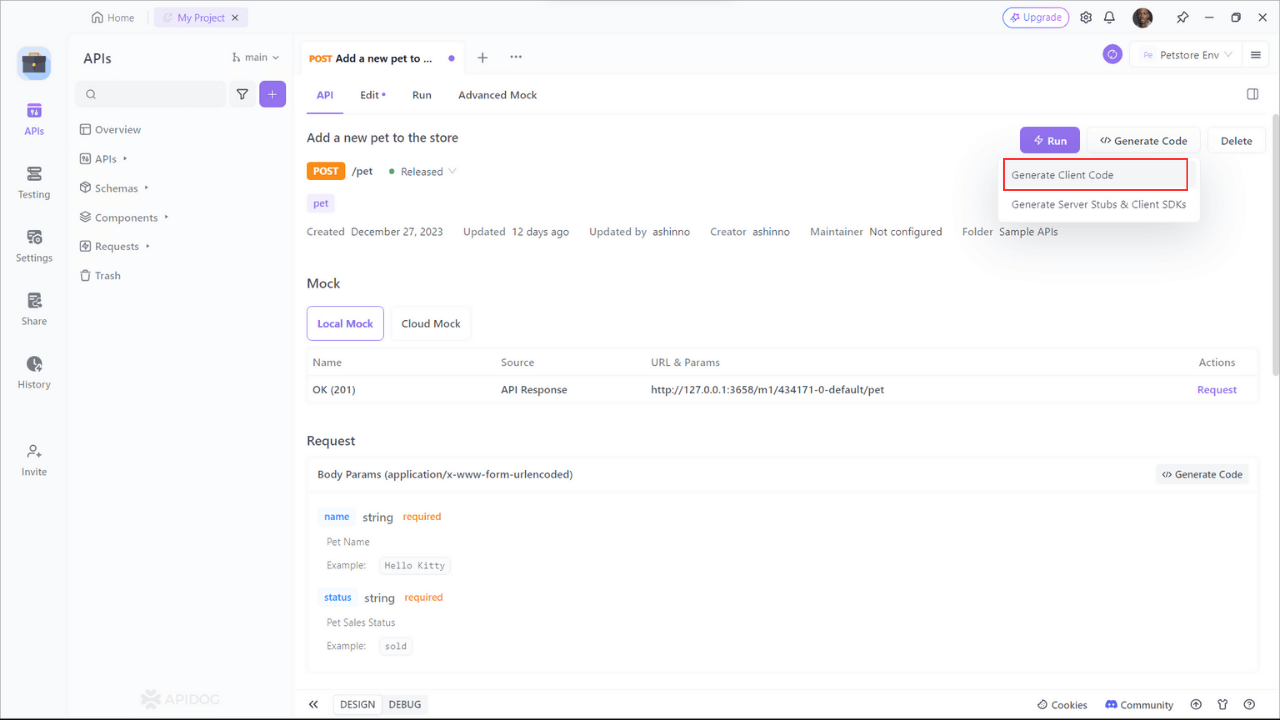
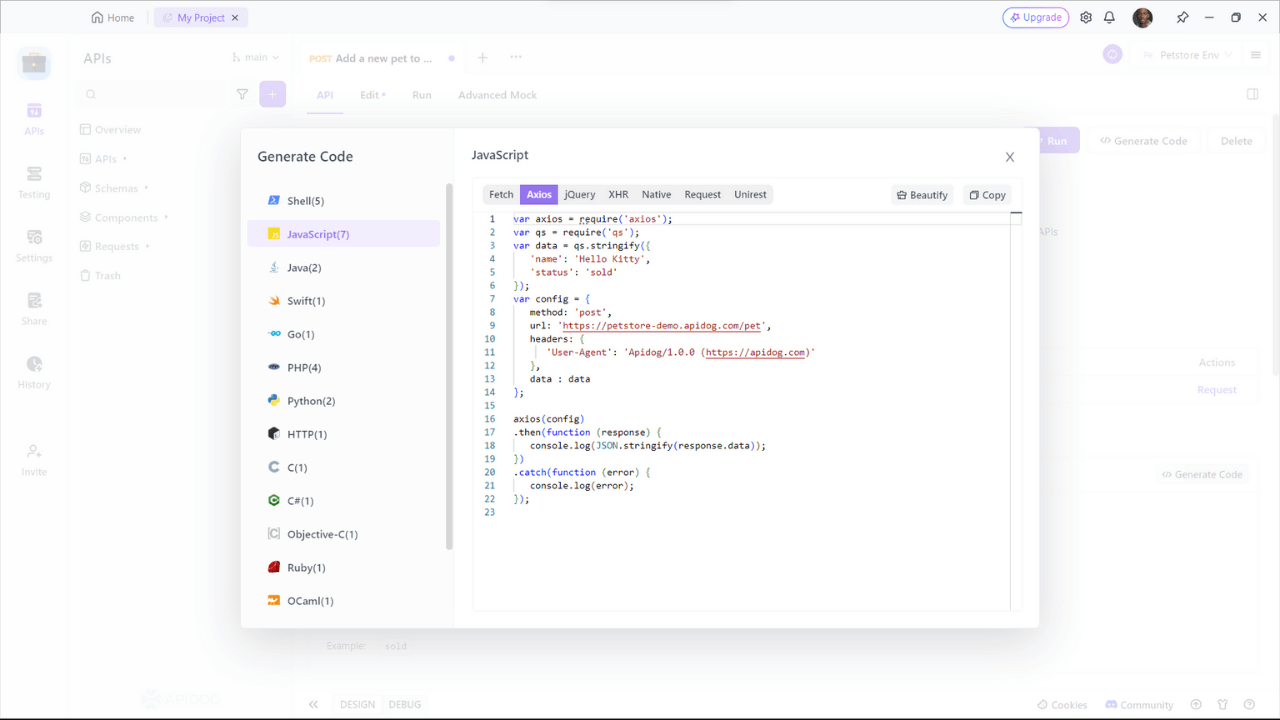
Step 4: Select Axios as Code Snippet:
- Choose "Axios" as the code snippet type. Apidog will generate the Axios code for your POST request. Copy the code and integrate it into your project.
Apidog Benefits in Action
Consider you have an API endpoint (https://petstore-demo.apidog.com/pet) that requires a POST request with specific parameters and body data. Here's how Apidog simplifies the process and enhances your development workflow:
var axios = require('axios');
var qs = require('qs');
var data = qs.stringify({
   'name': 'Hello Kitty',
   'status': 'sold'
});
var config = {
   method: 'post',
   url: 'https://petstore-demo.apidog.com/pet',
   headers: {
      'User-Agent': 'Apidog/1.0.0 (https://apidog.com)'
   },
   data : data
};

axios(config)
.then(function (response) {
   console.log(JSON.stringify(response.data));
})
.catch(function (error) {
   console.log(error);
});
Let's break down the process:
axiosandqsimports: The code requires the Axios and qs libraries, which are used for making HTTP requests and handling query strings, respectively.datavariable: The request body data is specified using theqs.stringifymethod, converting the provided object into a URL-encoded string.configobject: This object contains the configuration for the Axios request. It includes the HTTP method ('post'), the URL, headers (including a User-Agent header), and the data to be sent in the request body.- Axios request: The
axios(config)function initiates the POST request. The.thenblock handles the successful response, logging the response data, while the.catchblock logs any errors that may occur during the request.
Using Apidog can save you time and effort when working with POST requests. It simplifies the process of generating the necessary Axios code, allowing you to focus on the logic and functionality of your application.
Conclusion
In this article, we have learned how to add a body to a POST request using Axios. We explored the importance of adding a body to POST requests and the various data types that can be used in the body.
We also provided a step-by-step tutorial on how to add a body to a POST request using Axios, as well as an introduction to Apidog, a tool that makes it easier to generate Axios code for POST requests.
By understanding how to add a body to a POST request with Axios, you can enhance your web applications by sending and receiving data from a server. With the help of Axios and tools like Apidog, you can streamline the process of making POST requests and focus on building robust and efficient applications.


