How to Mock an API for Testing
Master the art of mock API creation for seamless testing workflows. This guide covers API types, best practices, and a step-by-step setup using Apidog.
Apidog
All-in-one Collaborative API Development Platform
API Design
API Documentation
API Debugging
API Mock
API Automated Testing
API Mock is a technique that replaces the real API interface with simulated data. With Apidog, it only takes 3 steps to set up a Mock API.
API Mocking is a technique that uses simulated data in place of real API responses. During development, front-end developers often rely on APIs that might still be under construction. Mock APIs allow them to continue development without waiting for the back-end APIs to be completed. Apidog makes this process simple and efficient, allowing you to create Mock APIs in just three steps.
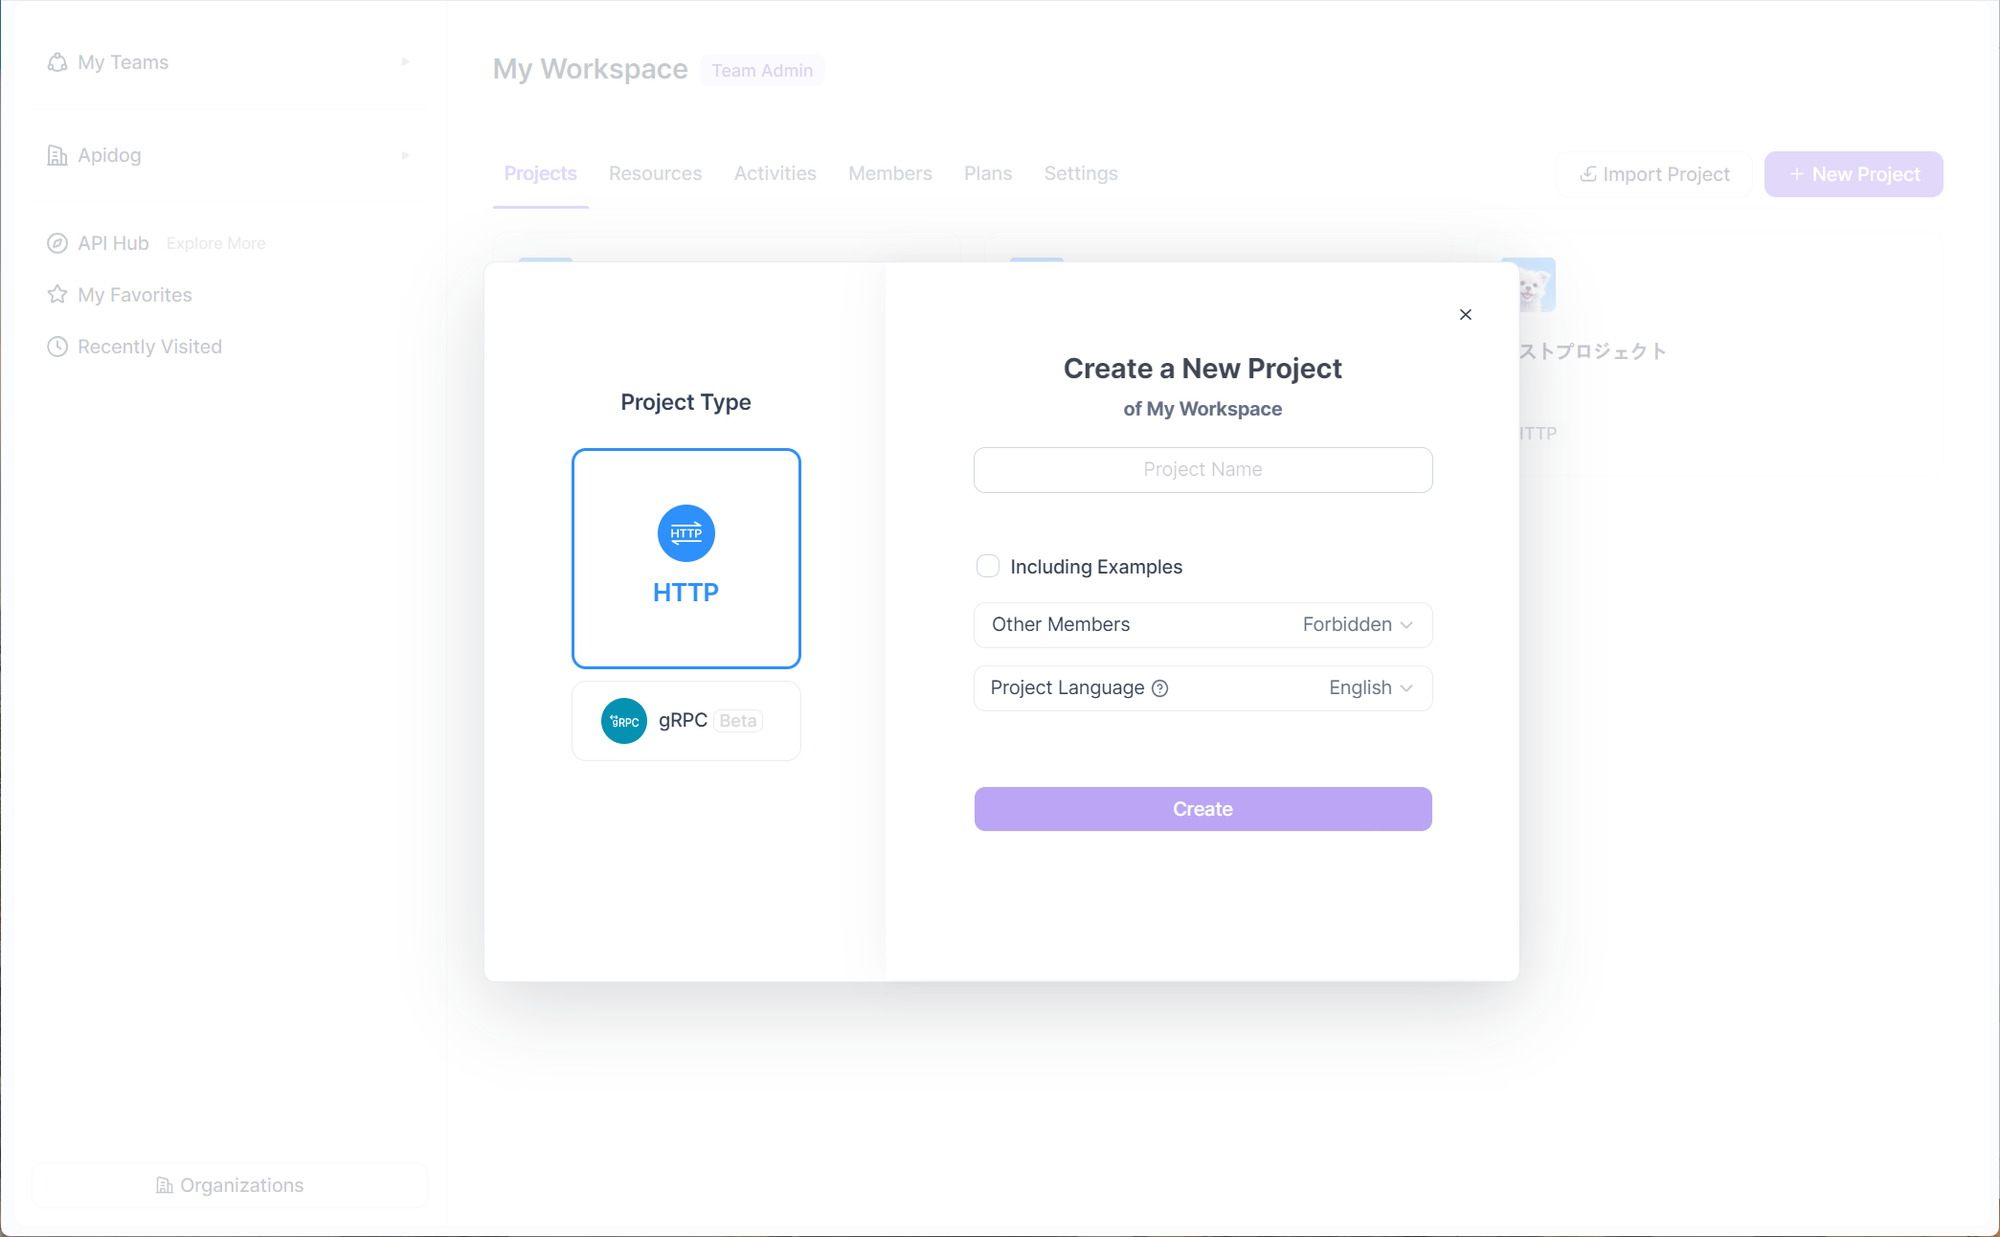
Apidog organizes API endpoints into projects. Each endpoint must be part of a project, and you can create multiple endpoints within one project. To begin, click the "New Project" button on the Apidog homepage to create your project.
For example, to create an API for user details:
api/user/{id} (where {id} is the user ID parameter){
id: number, // user id
name: string, // username
gender: 1 | 2, // gender: 1 for male, 2 for female
phone: string, // phone number
avatar: string, // avatar image address
}
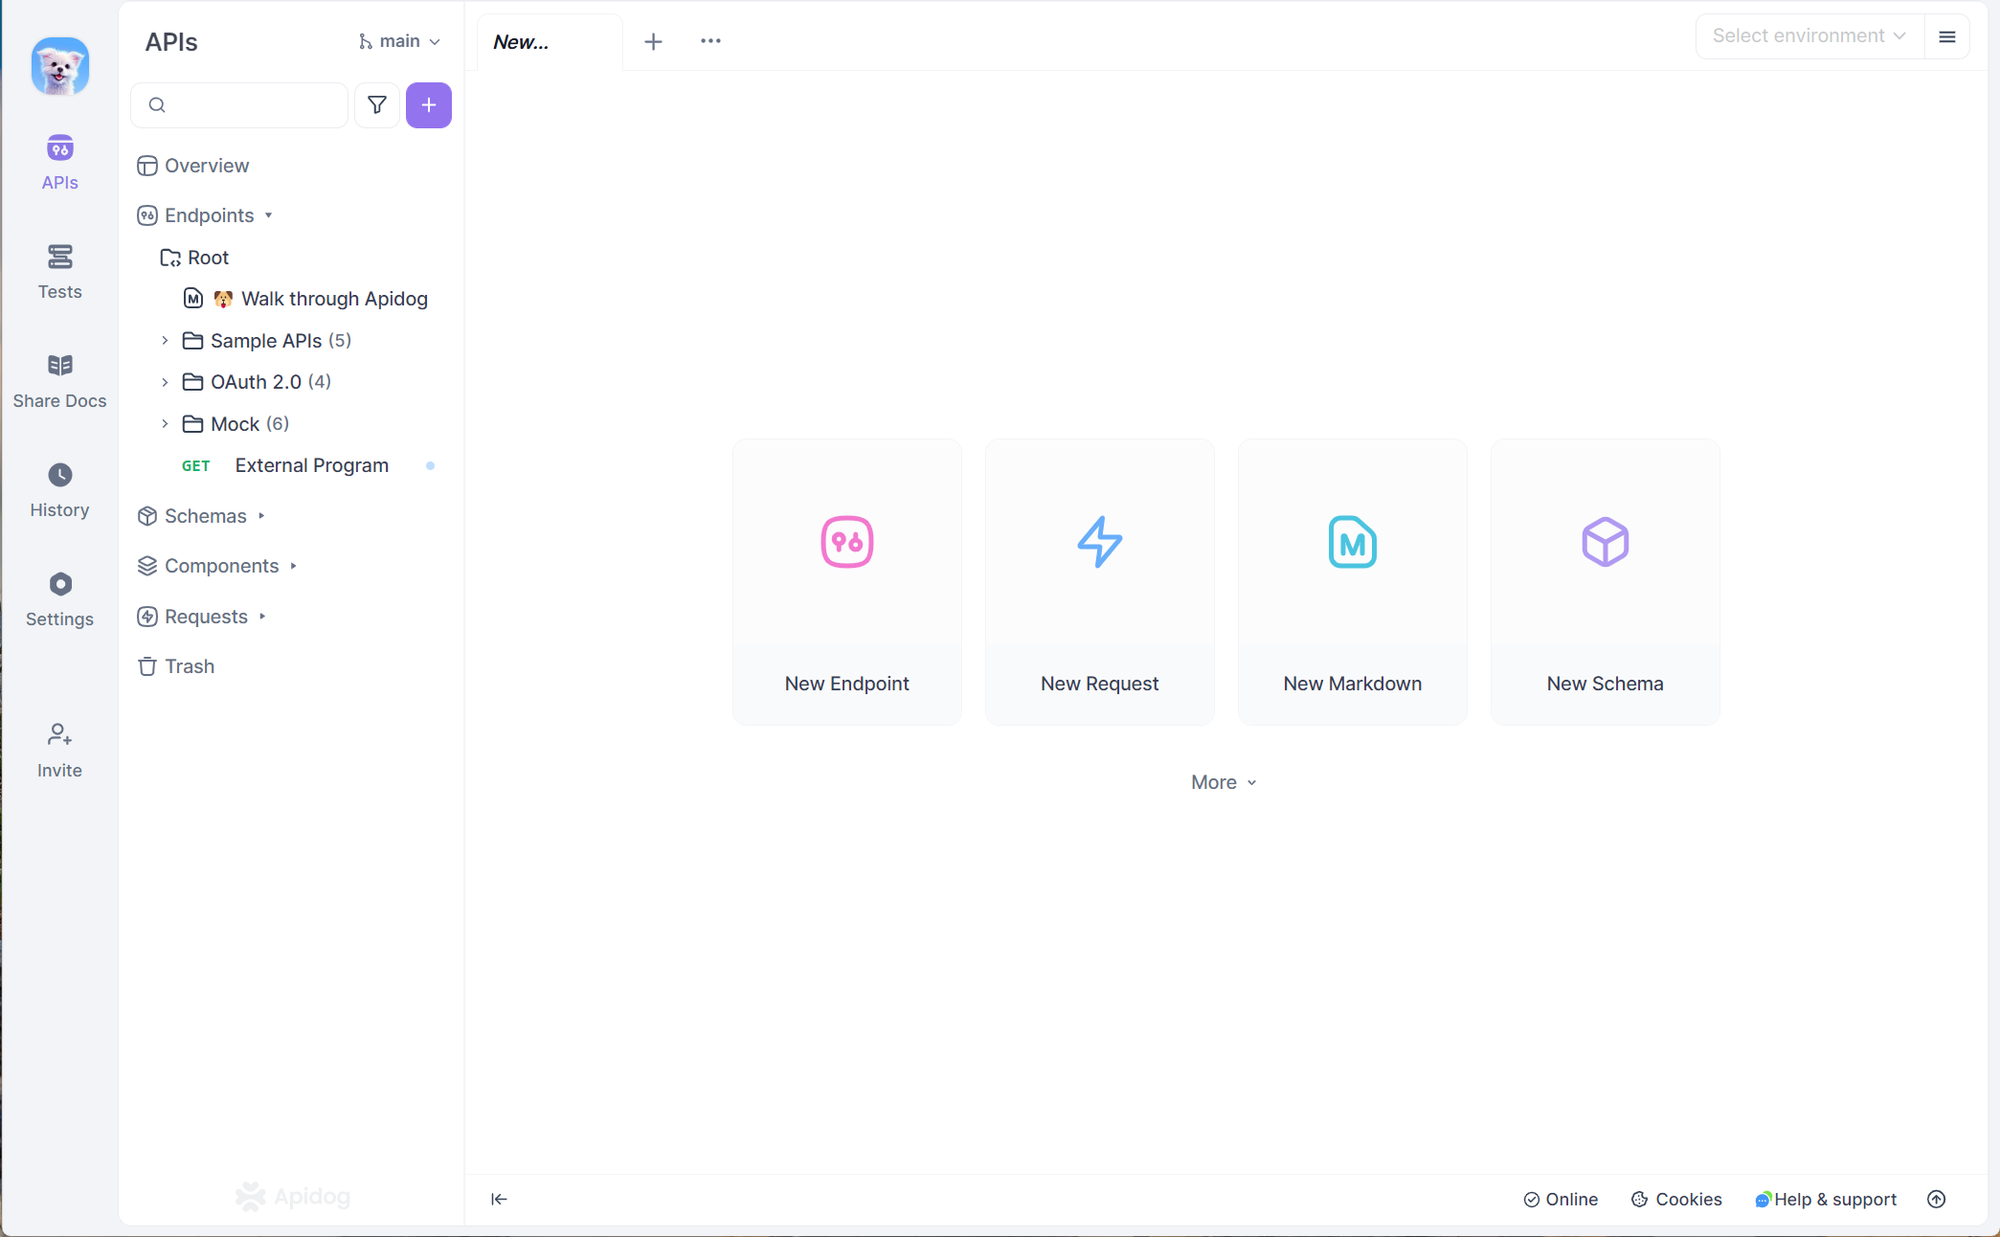
From the project homepage, click the "+" button on the left to add a new API endpoint.
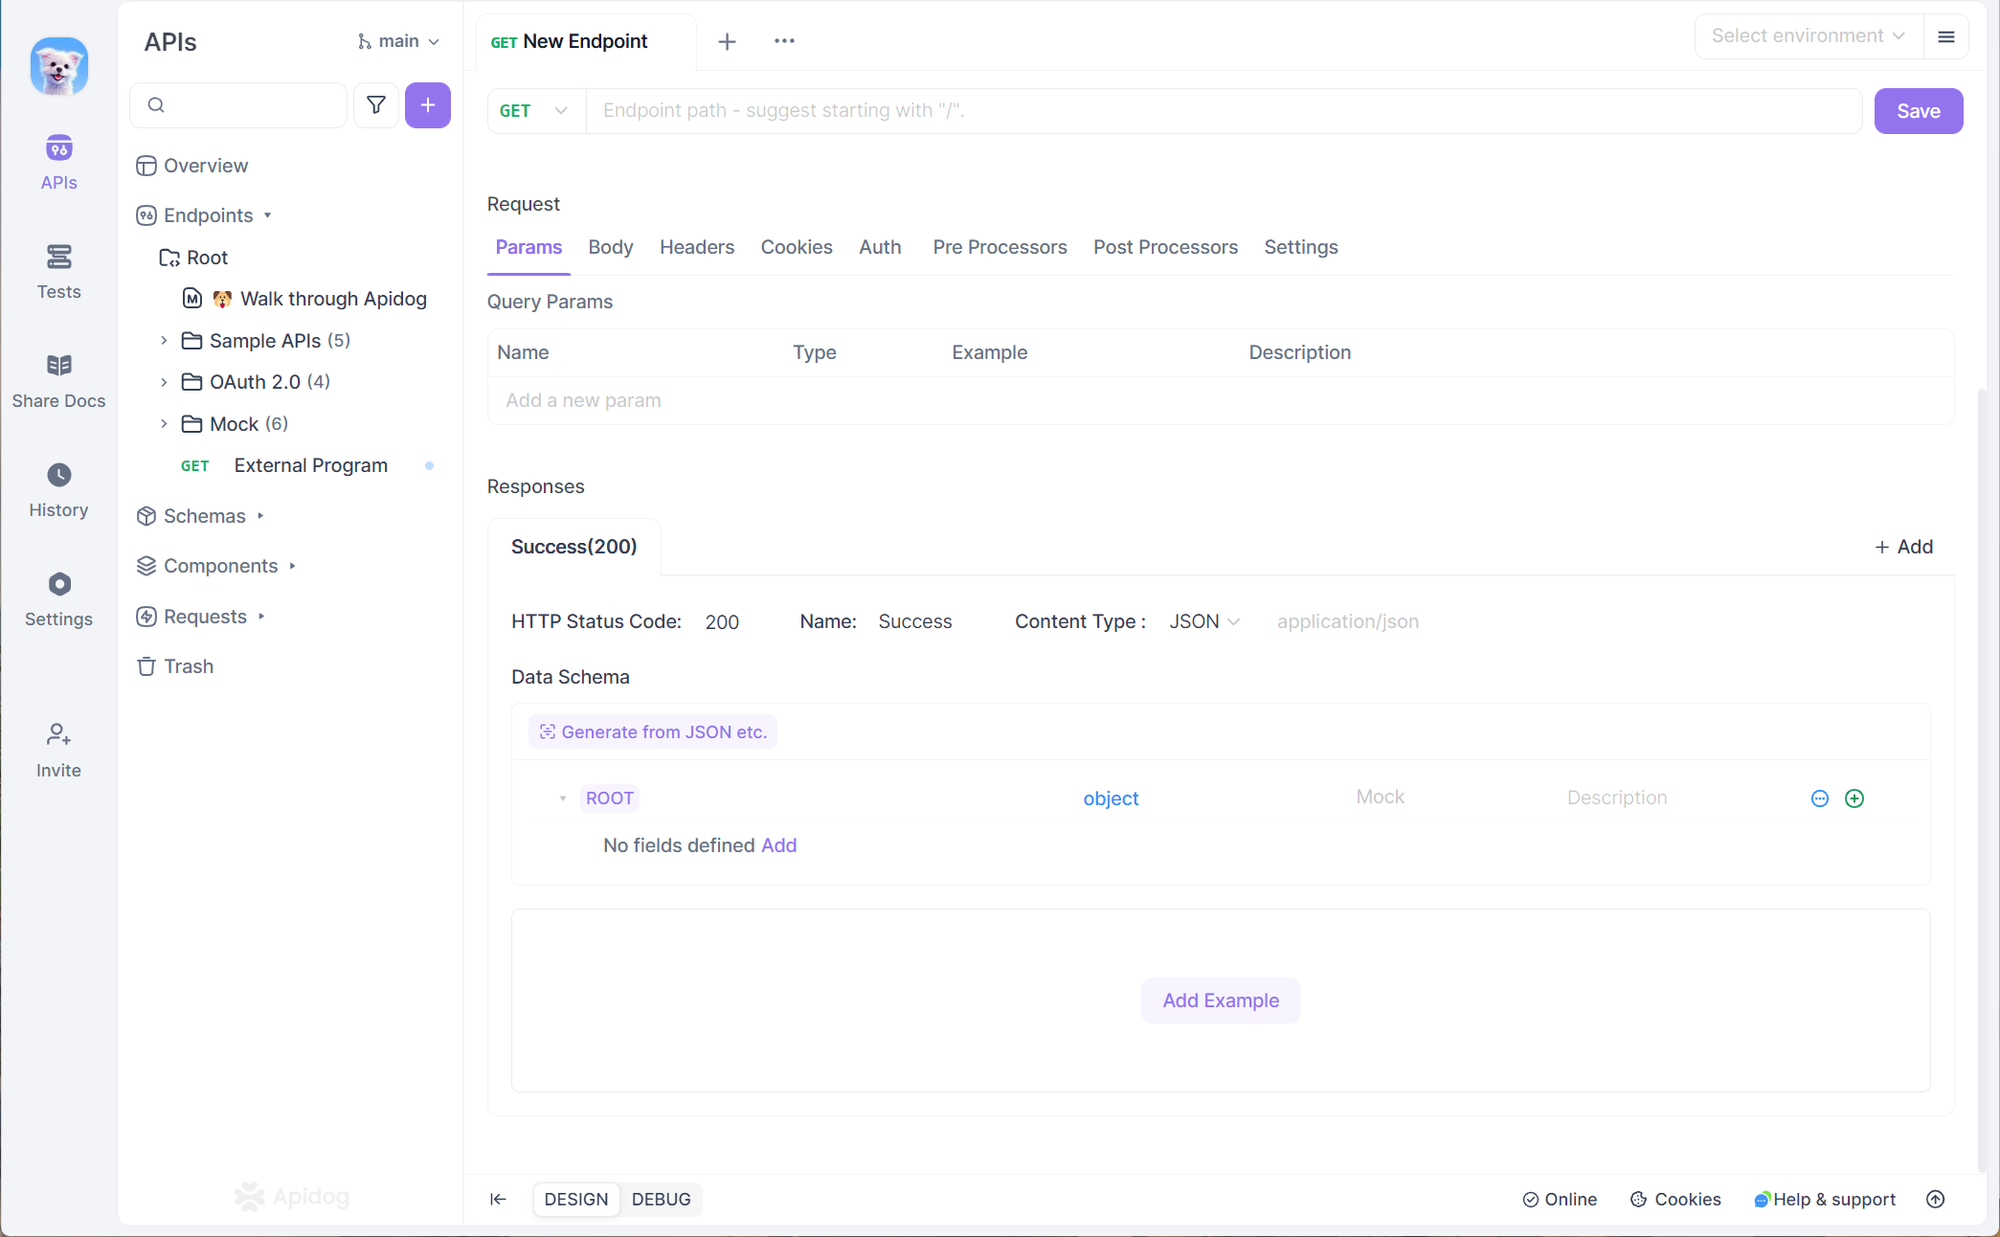
Input the required details and save it.
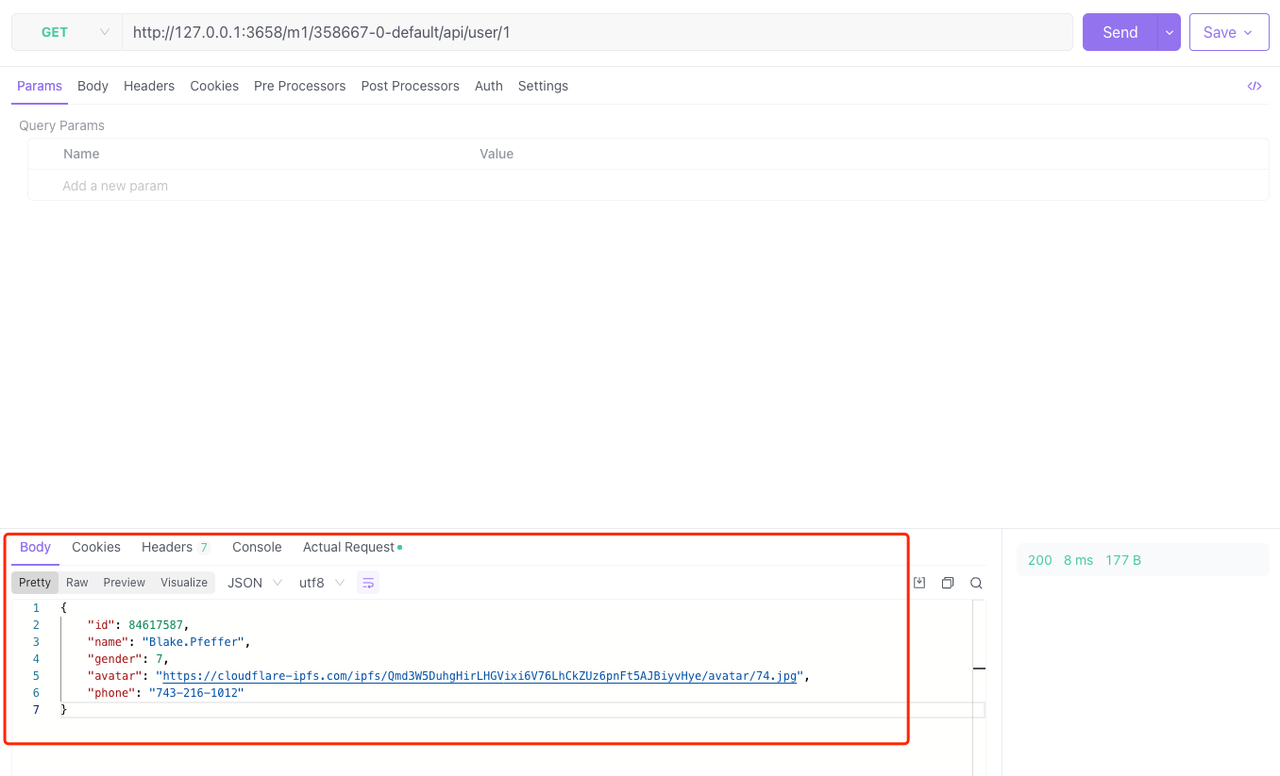
Once the API is created, Apidog automatically generates a mock API based on your defined API specifications. On the endpoint documentation section, find the Mock section, you can see a list of URLs of mock APIs.

Click on "Request" to send the API request to see the mock response in action.
Apidog takes API mocking a step further by providing built-in matching rules for fields like names, phone numbers, and image URLs, automatically returning relevant data types.
You can also customize Mock rules in Project Settings > Feature Settings > Mock Settings.
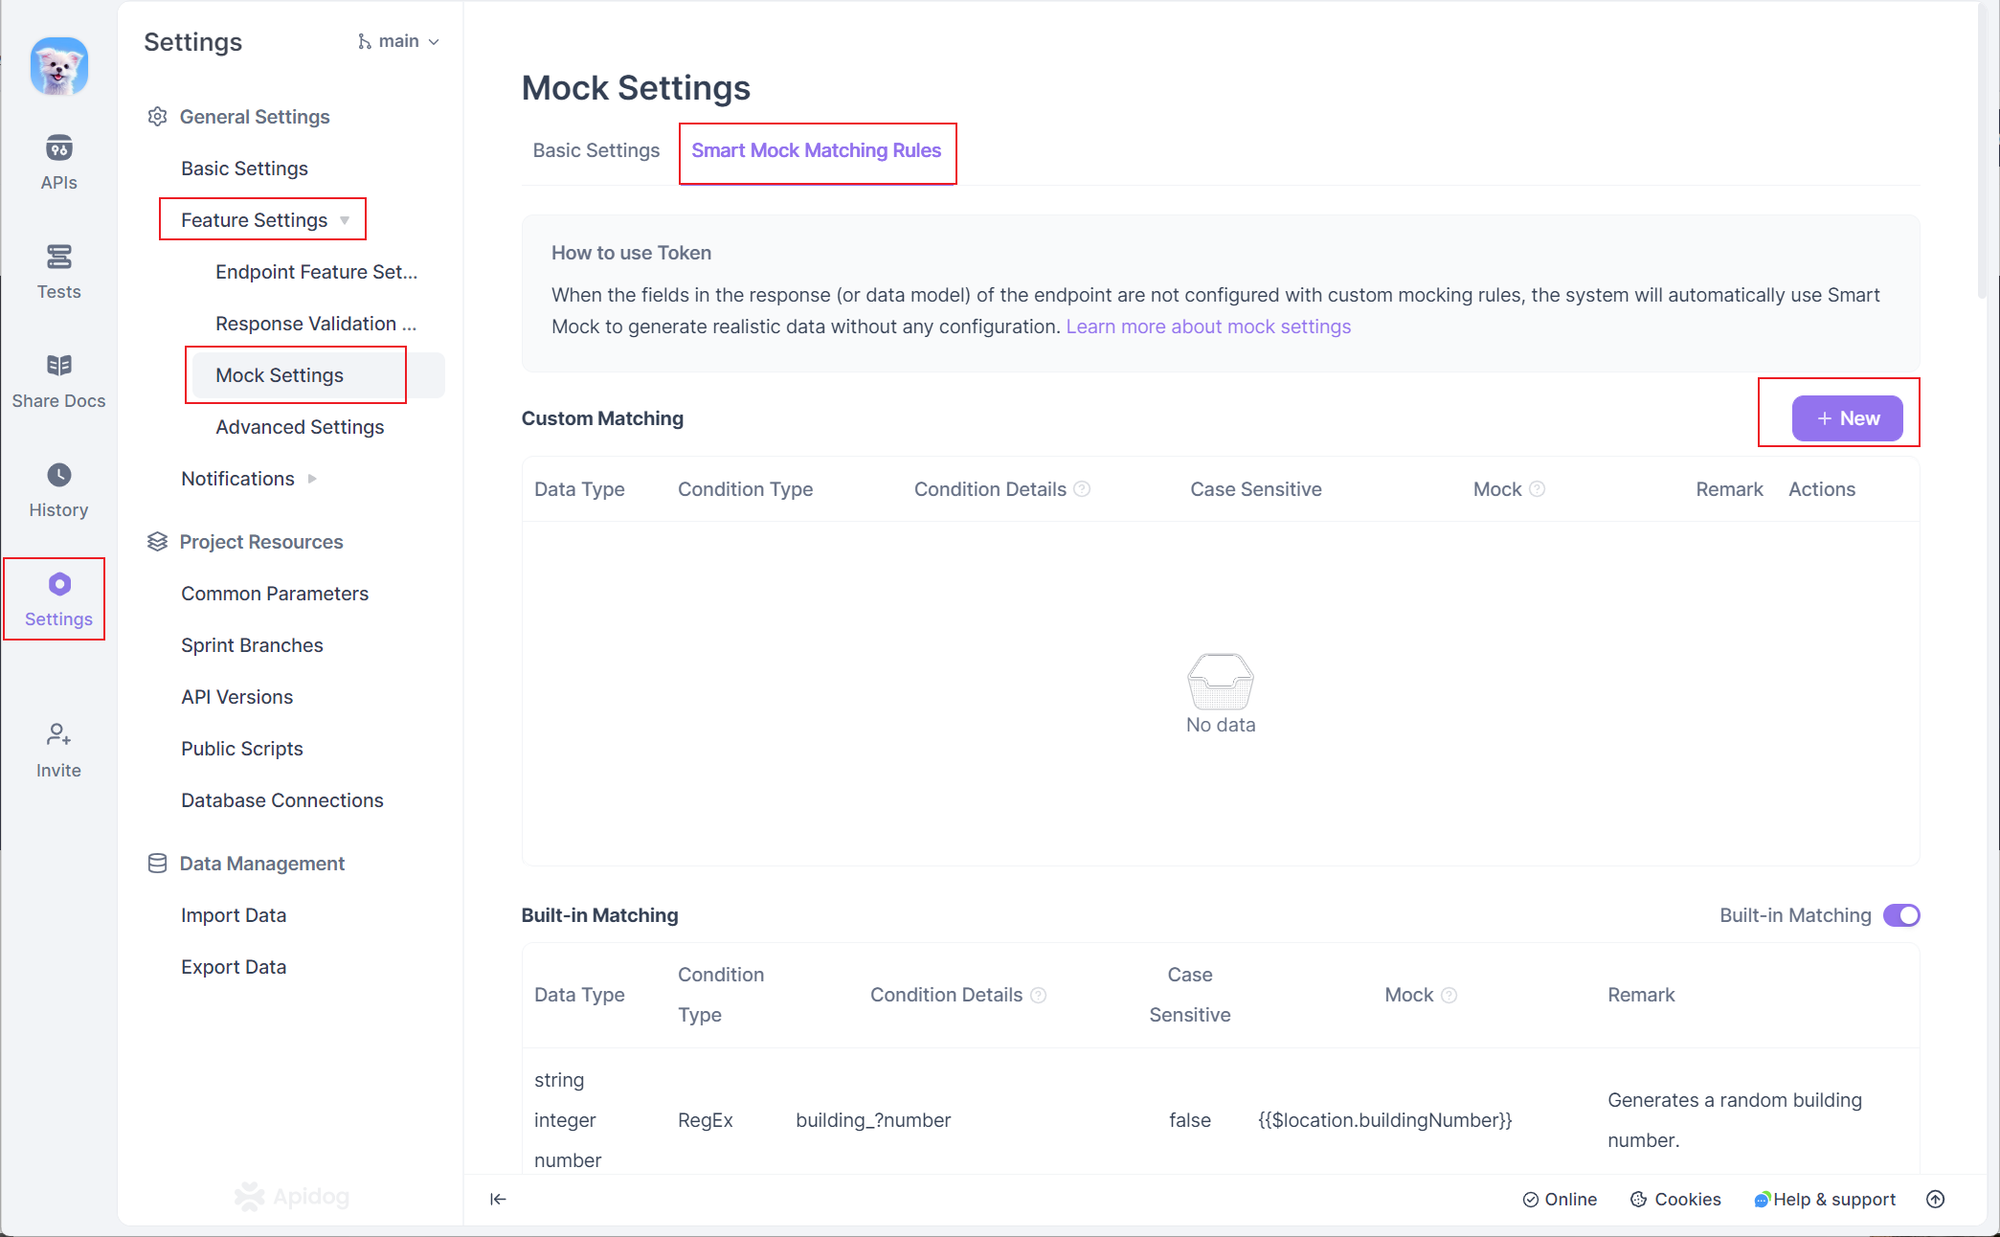
You can also customize specific rules for individual fields by clicking Mock next to them.

Apidog’s matching rules include:
*name matches "username" or "name."These rules extend Mock.js syntax and support features like generating random integers, strings, phone numbers, URLs, and more.
Need more flexibility? Apidog supports advanced scenarios like returning custom responses based on request parameters. For instance, you can return normal user info when the ID is 1 and trigger an error when the ID is 2. Check out Apidog’s Advanced Mock documentation for details.
Apidog simplifies the process of creating and managing Mock APIs, while also offering API documentation, debugging, and automation testing features. Try Apidog today to experience a seamless API development workflow!


