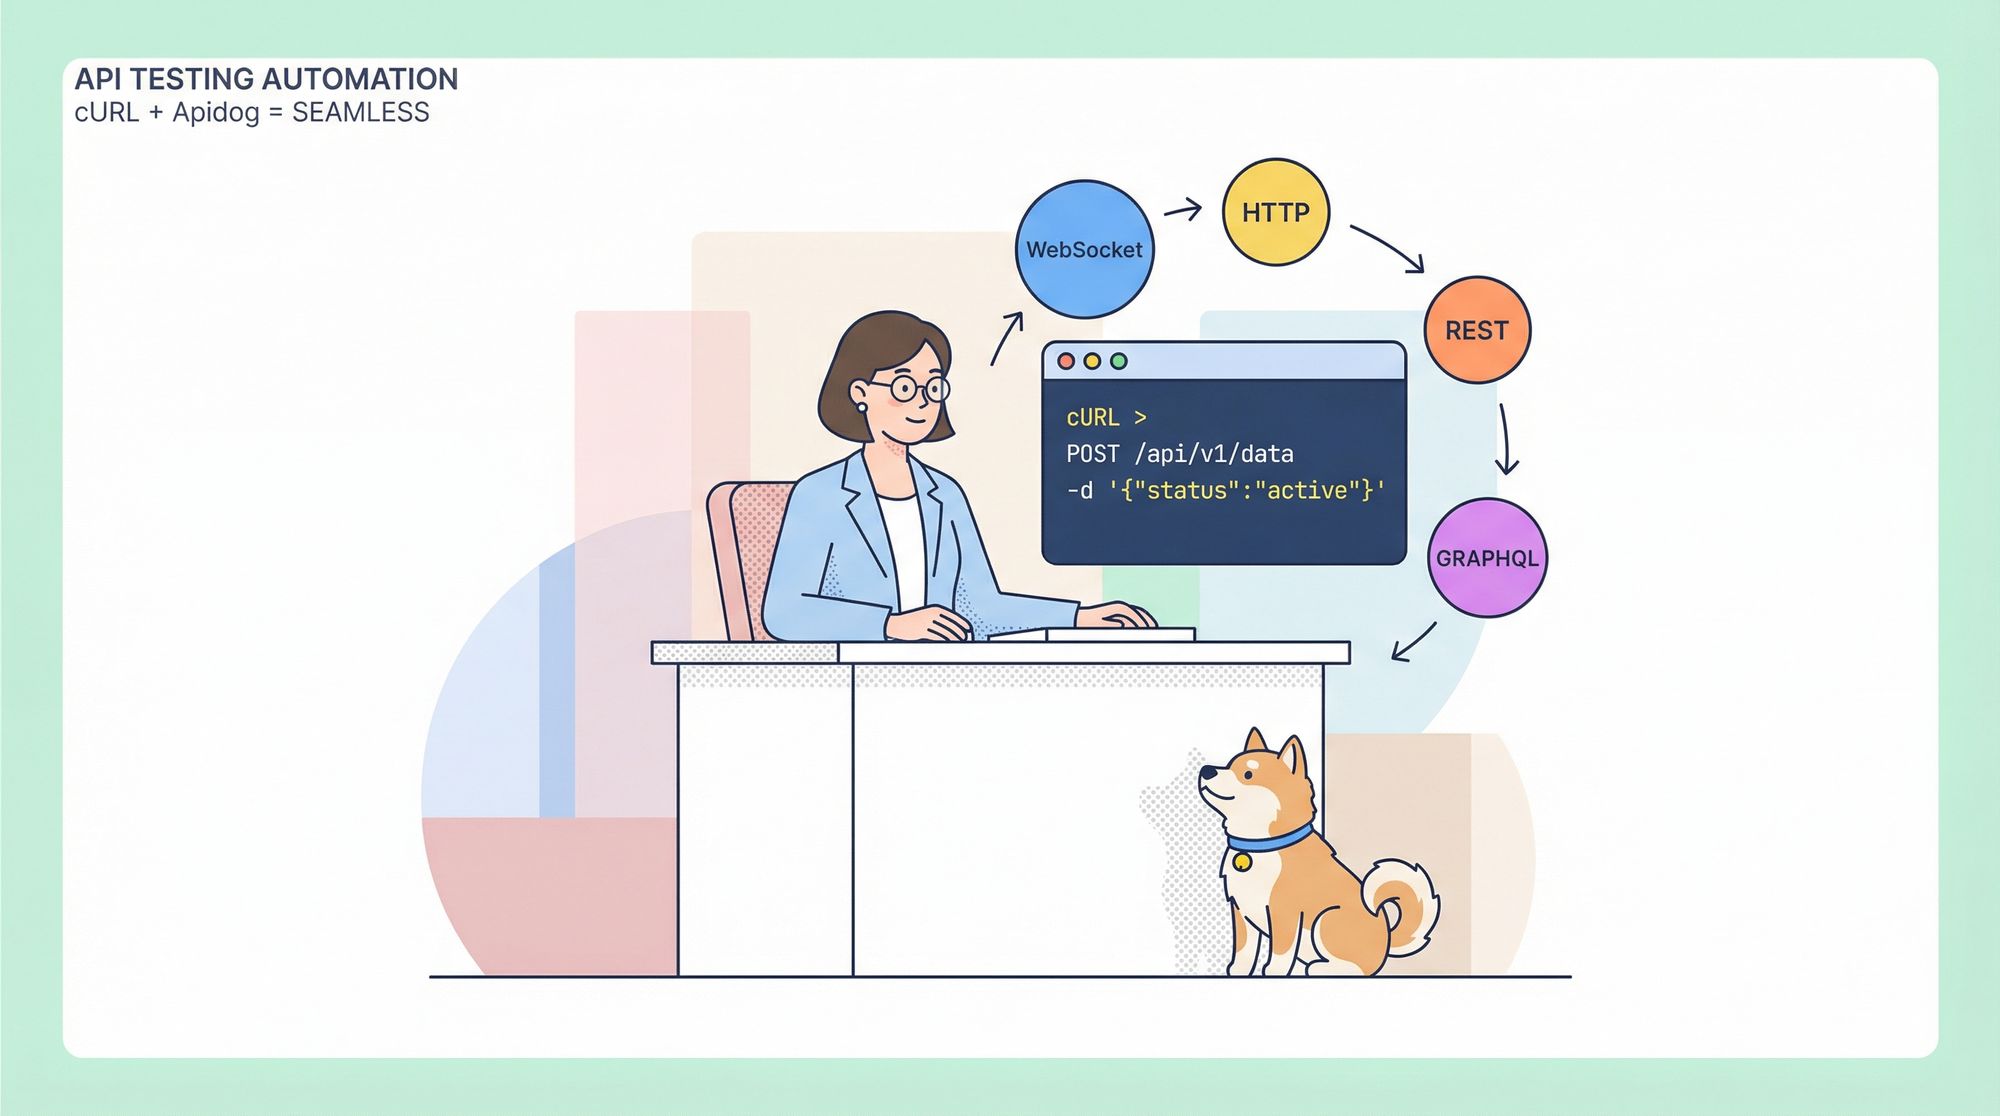
REST (Representational State Transfer) has become the standard for building web APIs that multiple clients can consume. When developing a REST API, it is important to test it to ensure it handles requests and responses appropriately. Now, we will show you how to use cURL to test WebSocket API and testing REST APIs with cURL commands. Let's have a look.
Method 1. CURL for WebSocket Testing with Apidog
cURL is a command line tool for sending HTTP requests, while Apidog provides a graphical interface to simplify testing WebSockets. Apidog eliminates the need to manually configure cURL commands, making it easier to create, save, and send messages to WebSocket endpoints. Its intuitive interface allows both beginners and experienced developers to debug their WebSockets more efficiently.
You can create a WebSocket request, set messages and parameters, save the request, connect to the WebSocket service, and send WebSocket requests. This approach eliminates the complexities of manual cURL commands, making WebSocket testing more accessible.
Step 1. You can create a WebSocket API by clicking the “+” button next to the search bar.
The New WebSocket API(Beta) option is in the dropdown menu. Click on it, and you can enter the URL of your WebSocket API to establish a connection and send/ receive messages.

Step 2. Now, in the message section, you can add the information you need to send to the server, and the server will capture this information on its end.

Step 3. You can set the parameters according to your requirements. You can set your data types to strings, ints, arrays, etc.

Step 4. After your request has been executed, you can save it for use in the future. This allows for easy access to the request.

Step 5. You can now connect and send WebSocket requests to establish a WebSocket connection. You can do so by clicking the Connect button next to the search bar. Upon successful completion of the connection, you will see a success message.

Step 5. You can now communicate with the server using the WebSocket you just created. You can send your messages and parameters to the server by clicking the Send button.

You can also communicate with the client after successfully establishing the connection.
API automation using cURL in Apidog
API automation using cURL in Apidog involves leveraging the capabilities of cURL commands within the Apidog platform. This helps in streamlining and automating API testing and interactions. The step-by-step guide to achieving API automation is given below.You need to import cURL commands in Apidog now.
Access the Apidog import window and paste cURL commands into the provided text box. This allows for the seamless integration of cURL commands into the Apidog platform. You can use any package capture tool for this.

Next, you need to configure your automation settings. You need to navigate to the settings page. You can set the frequency of automated API calls and do error handling there.

Use Apidog's testing tools to test and refine automated API workflows actively. You can review logs, analyze performance metrics, and make adjustments to optimize the automated API calls for reliability and efficiency.


Method 2. Testing REST APIs with cURL Commands
Another simple way to test a REST API is through cURL commands in your terminal. cURL is a command-line tool that allows making HTTP requests to test APIs. In this section, we'll see how to use cURL to test some common API scenarios.
Testing a GET Request
To test retrieving a resource from an API, we can make a GET request using curl. For example:
cURL https://myapi.com/users/1
This will make a GET request to the /users/1 endpoint and display the raw response.
We can also pass the -i flag to include response headers:
cURL -i https://myapi.com/users/1
This helps validate that the API returns the correct status code like 200 OK.
Testing a POST Request
To test creating a resource, we need to make a POST request. For example, to create a new user:
cURL -X POST -H "Content-Type: application/json" -d '{"name":"John", "email":"john@example.com"}' https://myapi.com/users
Here we use -X POST to make a POST request, -H to set the Content-Type header, and -d to pass a JSON payload.
The API should return a 201 Created status on success.
Testing PUT and PATCH
To test updating a resource, you can make PUT or PATCH requests just like POST.
For example, to update a user's email with a PUT request:
cURL -X PUT -H "Content-Type: application/json" -d '{"email":"john@newdomain.com"}' https://myapi.com/users/1
And PATCH to partially update just a user's email:
cURL -X PATCH -H "Content-Type: application/json" -d '{"email":"john@newdomain.com"}' https://myapi.com/users/1
Testing DELETE
To test deleting a resource, make a DELETE request:
cURL -X DELETE https://myapi.com/users/1
The API should return a 204 No Content response on success.
Conclusion
cURL provides a quick and easy way to test REST API endpoints. You can easily make different types of requests and inspect responses. When developing a new API, try using cURL to validate it handles CRUD operations as expected before integrating with the front end.


