![[Tutorial] Implementing SOAP APIs with Node.js](https://assets.apidog.com/blog-next/2026/02/nodejs-soap-api.png)
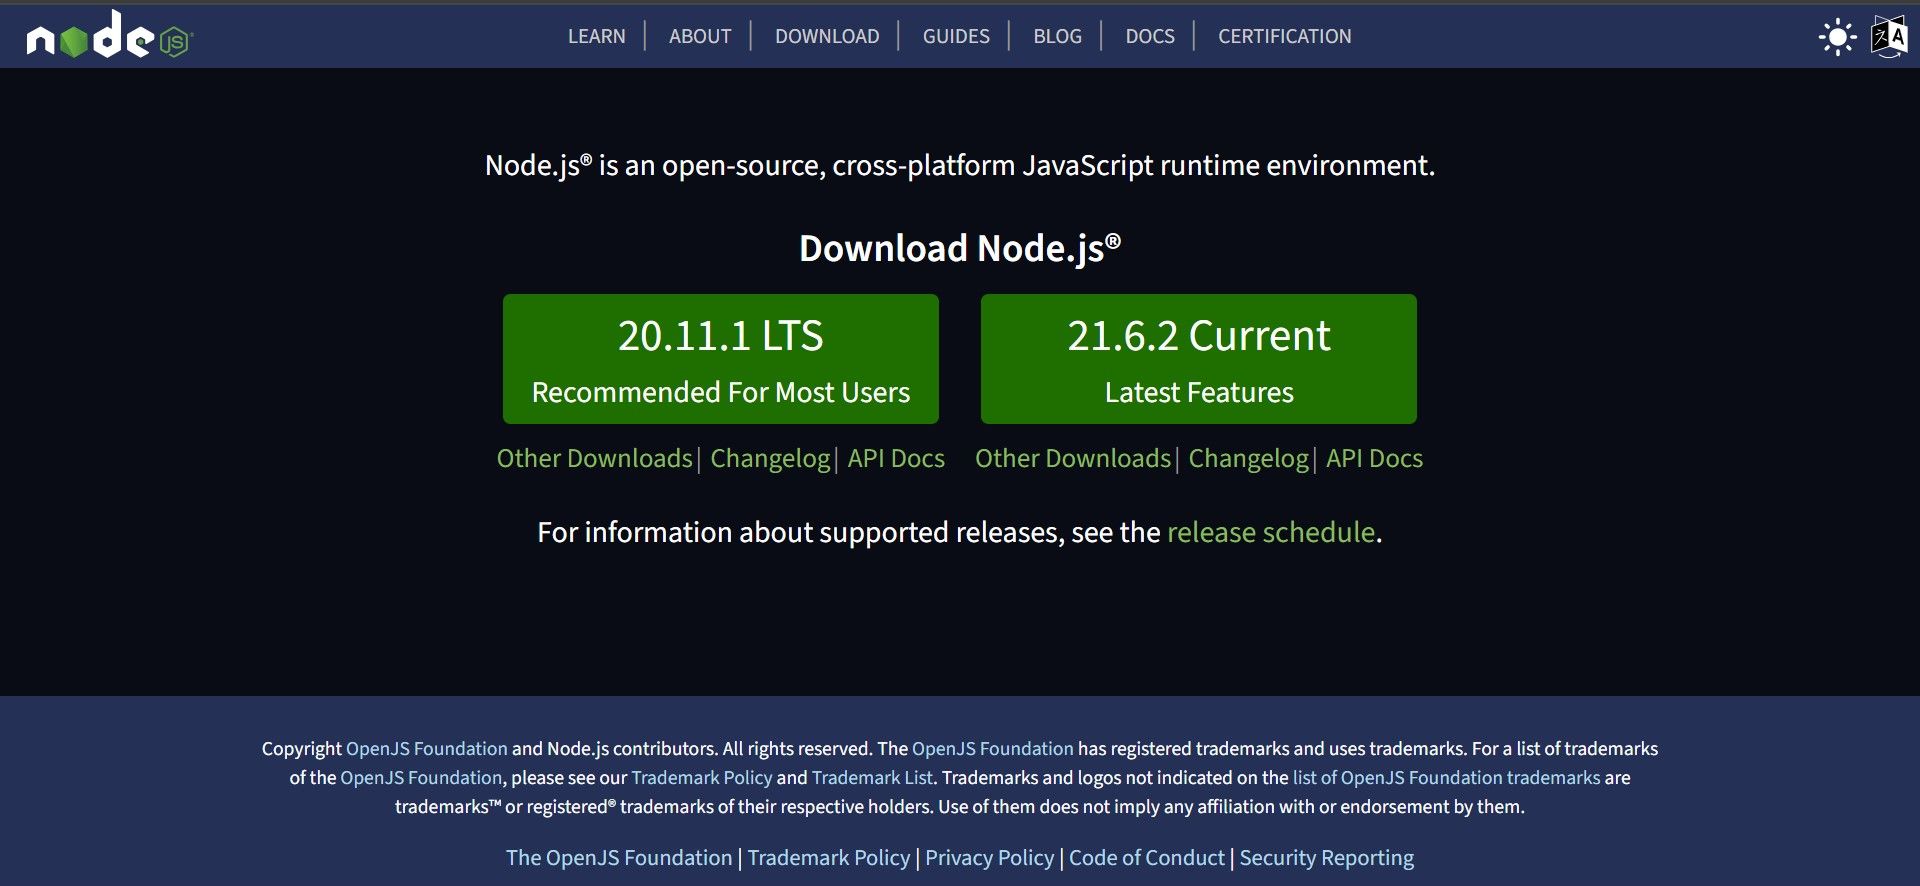
Node.js is a free downloadable open-source, cross-platform JavaScript runtime environment. It allows developers to run JavaScript code outside of a web browser. What's great about Node.js is that it is free - all you have to do is visit their website to start downloading it.
If you are looking for a tool to test a SOAP API you made on Node.js, Apidog is a great choice! All you need to do is click the button below to begin testing! 👇 👇 👇
This article will assume that you have downloaded the Node.js program from its website, therefore it will be more focused on guiding how to create a SOAP API.
When Should You Consider Building SOAP APIs with Node.js?
Although SOAP APIs are slowly declining, there are still plenty of situations where you might have to build SOAP APIs with Node.js to ensure interoperatability.
Integration with legacy systems: SOAP is still widely used in legacy systems, and Node.js, with its ability to handle asynchronous tasks efficiently, can be well-suited for building APIs that seamlessly integrate with these systems.
Specific industry requirements: The healthcare and finance industries may still heavily rely on SOAP due to established standards and regulations. Node.js can help create compliant and efficient SOAP APIs for these sectors.
Interoperability with existing SOAP clients: If you need to connect to existing applications, or perhaps to a service that primarily use SOAP for communication, building a Node.js SOAP API can facilitate interoperability.
Brief Rundown of Creating a SOAP API with Node.js
Before going into detail, this section will provide insight to creating a SOAP API with Node.js.
- Define your API
Defining your API includes details such as:
- Functionality: Determine what operations or services your API will aim to provide.
- Data structure: The format of data exchanged between the client and API (which is usually in XML) needs to be verified.
- WSDL file: You need to create a WSDL (Web Services Description Language) file that provides your API's description. - Install the
soaplibrary:
On your terminal, use npm to install thesoaplibrary. - Implementing server-side logic:
Import thesoaplibrary into your SOAP API or web service. During this period, you should also create a SOAP server by implementing thesoap.createServermethod together with your WSDL file path. Last but not least, define a function for handling incoming requests, processing them, and returning appropriate responses to the client. - Starting the server:
Implement theserver.listenmethod to start the SOAP server. This will enable your SOAP API to receive incoming SOAP requests on the specified port.
Detailed Step-by-step Guide on Creating a SOAP API with Node.js
Note: The code samples provided are sample codes to create a SOAP API that provides a greeting for users based on their names. If you intend to use the code for personal use, ensure that modifications are made.
Step 1: Installing the SOAP Library
Open up your terminal and run this command.
npm install soapThis way, your SOAP API can now import the soap library, utilizing all its methods.
Step 2: Preparing the WSDL File
As you can design your SOAP API based on a WSDL file, you will need to implement the logic through XML (Extensible Markup Language). We will name this WSDL file as greetUser.wsdl to provide predictability to its functionality.
<?xml version="1.0" encoding="UTF-8"?>
<wsdl:definitions targetNamespace="http://tempuri.org/Greeter"
  xmlns:wsdl="http://schemas.xmlsoap.org/wsdl/"
  xmlns:tns="http://tempuri.org/Greeter"
  xmlns:xsd="http://www.w3.org/2001/XMLSchema">

  <xsd:types>
    <xsd:complexType name="GreetRequest">
      <xsd:sequence>
        <xsd:element name="name" type="xsd:string"/>
      </xsd:sequence>
    </xsd:complexType>

    <xsd:complexType name="GreetResponse">
      <xsd:sequence>
        <xsd:element name="greeting" type="xsd:string"/>
      </xsd:sequence>
    </xsd:complexType>
  </xsd:types>

  <wsdl:message name="GreetRequestMessage">
    <wsdl:part name="parameters" element="tns:GreetRequest"/>
  </wsdl:message>

  <wsdl:message name="GreetResponseMessage">
    <wsdl:part name="result" element="tns:GreetResponse"/>
  </wsdl:message>

  <wsdl:portType name="GreeterPort">
    <wsdl:operation name="Greet">
      <wsdl:input message="tns:GreetRequestMessage"/>
      <wsdl:output message="tns:GreetResponseMessage"/>
    </wsdl:operation>
  </wsdl:portType>

  <wsdl:binding name="GreeterBinding" type="tns:GreeterPort">
    <soap:binding transport="http://schemas.xmlsoap.org/soap/http" style="rpc" xmlns:soap="http://schemas.xmlsoap.org/soap/"/>

    <wsdl:operation name="Greet">
      <soap:operation soapAction="http://tempuri.org/Greeter/Greet"/>
      <wsdl:input>
        <soap:body use="encoded" parts="tns:parameters"/>
      </wsdl:input>
      <wsdl:output>
        <soap:body use="encoded" parts="tns:result"/>
      </wsdl:output>
    </wsdl:operation>
  </wsdl:binding>

  <wsdl:service name="GreeterService">
    <wsdl:port name="GreeterPort" binding="tns:GreeterBinding">
      <soap:address location="http://localhost:8080/Greeter"/>
    </wsdl:port>
  </wsdl:service>

</wsdl:definitions>
Code Explanation:
The code defines a GreeterService with an operation named Greet. It takes a user's name as an input and returns the client a greet message. The SOAP address is also provided, which is http://localhost:8080/Greeter"
Step 3: Generating Server-sided SOAP API Code
For your clients to be able to interact with the server side, you have to prepare the bridge - which is essentially your SOAP API! For this example, we shall name this file server.js, as this is the corresponding JavaScript coding for the server.
const soap = require('soap');

// Define the service endpoint and port
const url = 'http://localhost:8080/Greeter';

// Create the server
const server = soap.createServer({
  wsdl: './greeter.wsdl', // Replace with the actual path to your WSDL file
});

// Define the service method
server.addFunction('Greet', (args) => {
  // Extract the name from the request
  const name = args.name;

  // Generate the greeting message
  const greeting = `Hello, ${name}!`;

  // Return the greeting as the response
  return { greeting };
});

// Start the server
server.listen(process.env.PORT || 8080, () => {
  console.log(`SOAP server listening on port ${process.env.PORT || 8080}`);
});
Code Explanation:
- Import the
soaplibrary: Line 1 imports thesoaplibrary that enables SOAP communication in Node.js. - Define service endpoint and port: The variables on line 4 store the URL and port where your SOAP service will be accessible. Remember to replace
http://localhost:8080/Greeterwith the actual URL for your deployment. - Create the server: Lines 7 to 9 create a SOAP server using the
soap.createServermethod, specifying the path to your WSDL file (greeter.wsdl). Make sure to replace this path with the actual location of your WSDL file. - Define the service method: Lines 12 to 21 define the
Greetfunction that corresponds to the operation in your WSDL. It extracts thenameparameter from the incoming request, generates a greeting message using the extracted name, and later returns an object with thegreetingproperty set to the generated message. - Start the server: Lines 24 to 26 use the
server.listenmethod to start the SOAP server on the specified port. You can customize the port by setting thePORTenvironment variable.
Step 4: Generating Client-side Code
For your clients to reach out to your API, they need specific instructions or requests. We will name this file client.js to denote that it is the client-side code.
const soap = require('soap');

// Define the service endpoint
const url = 'http://localhost:8080/Greeter'; // Replace with actual service URL

// Create a client object
soap.createClient(url, (err, client) => {
  if (err) {
    console.error('Error creating SOAP client:', err);
    return;
  }

  // Define the arguments for the Greet operation
  const args = { name: 'John Doe' }; // Replace with desired name

  // Call the Greet operation
  client.Greet(args, (err, response) => {
    if (err) {
      console.error('Error calling Greet operation:', err);
      return;
    }

    // Access the greeting message from the response
    const greeting = response.greeting;

    console.log(greeting); // Output: Hello, John Doe!
  });
});
Code Explanation:
- Import the
soaplibrary: Similar to the server-side code, line 1 imports thesoaplibrary for SOAP communication. - Define service endpoint: This variable stores the URL of your SOAP service. Replace
http://localhost:8080/Greeterwith the actual URL where your service is deployed. - Create a client object: The
soap.createClientmethod creates a SOAP client object that interacts with the specified service endpoint. - Define arguments: This section (line 14) defines the arguments for the
Greetoperation, including the user's name in this case. - Call the Greet operation: The
client.Greetmethod calls theGreetoperation on the server, passing the defined arguments. - Handle response: The callback function handles the server's response, where if an error occurs, it logs the error message, else if it is successful, it extracts the
greetingmessage from the response and logs it to the console.
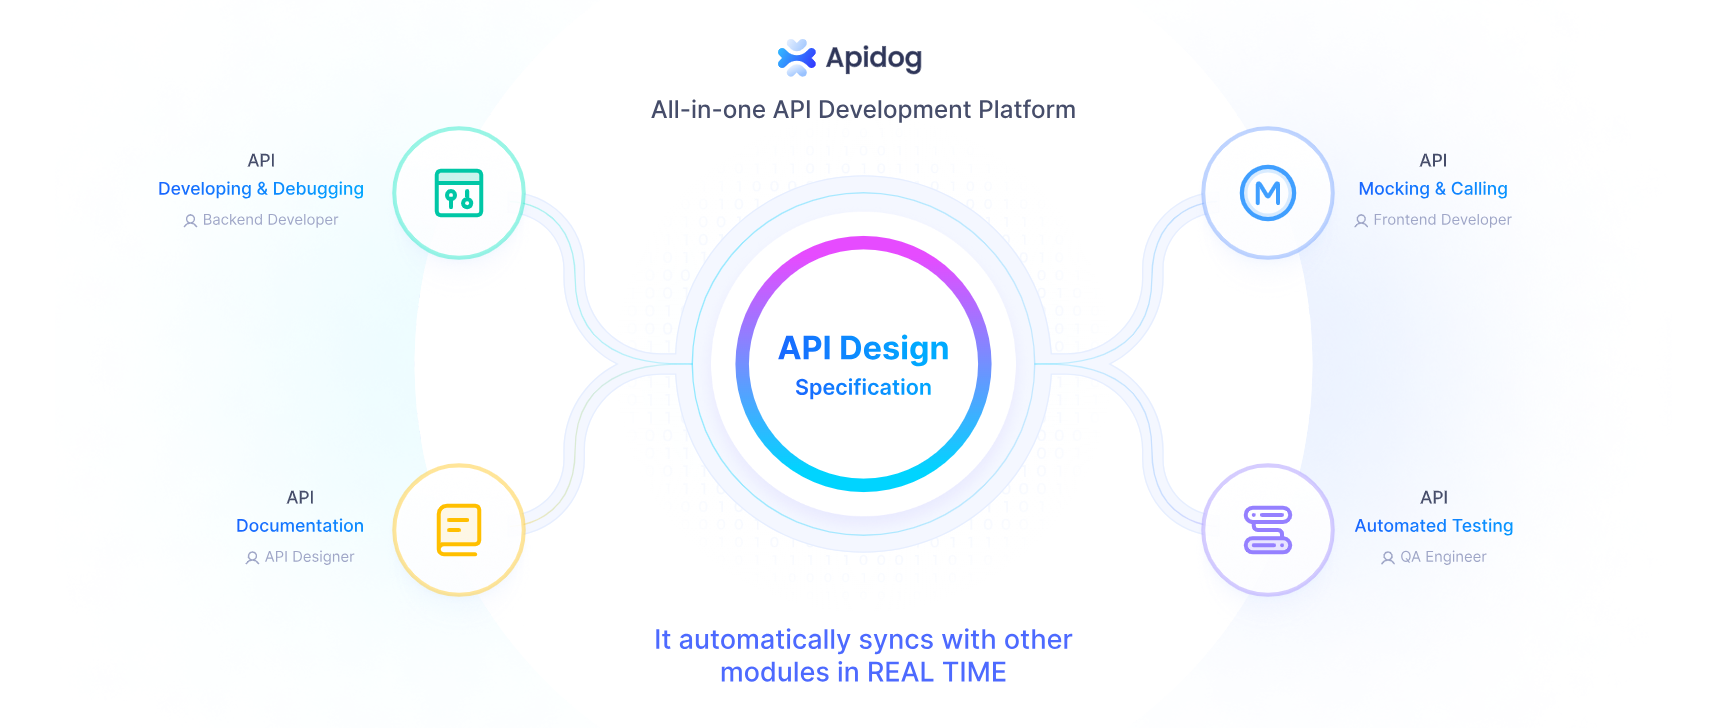
A Complete API Tool For Any API Developer - Apidog
Apidog is a comprehensive API development tool. With a design-first orientation, it encourages its users to visually design, build, and test APIs with its simple yet beautiful user interface.
If you are looking for an API tool to test out your SOAP API, look no further - Apidog supports WSDL file imports!
Importing WSDL File to Apidog
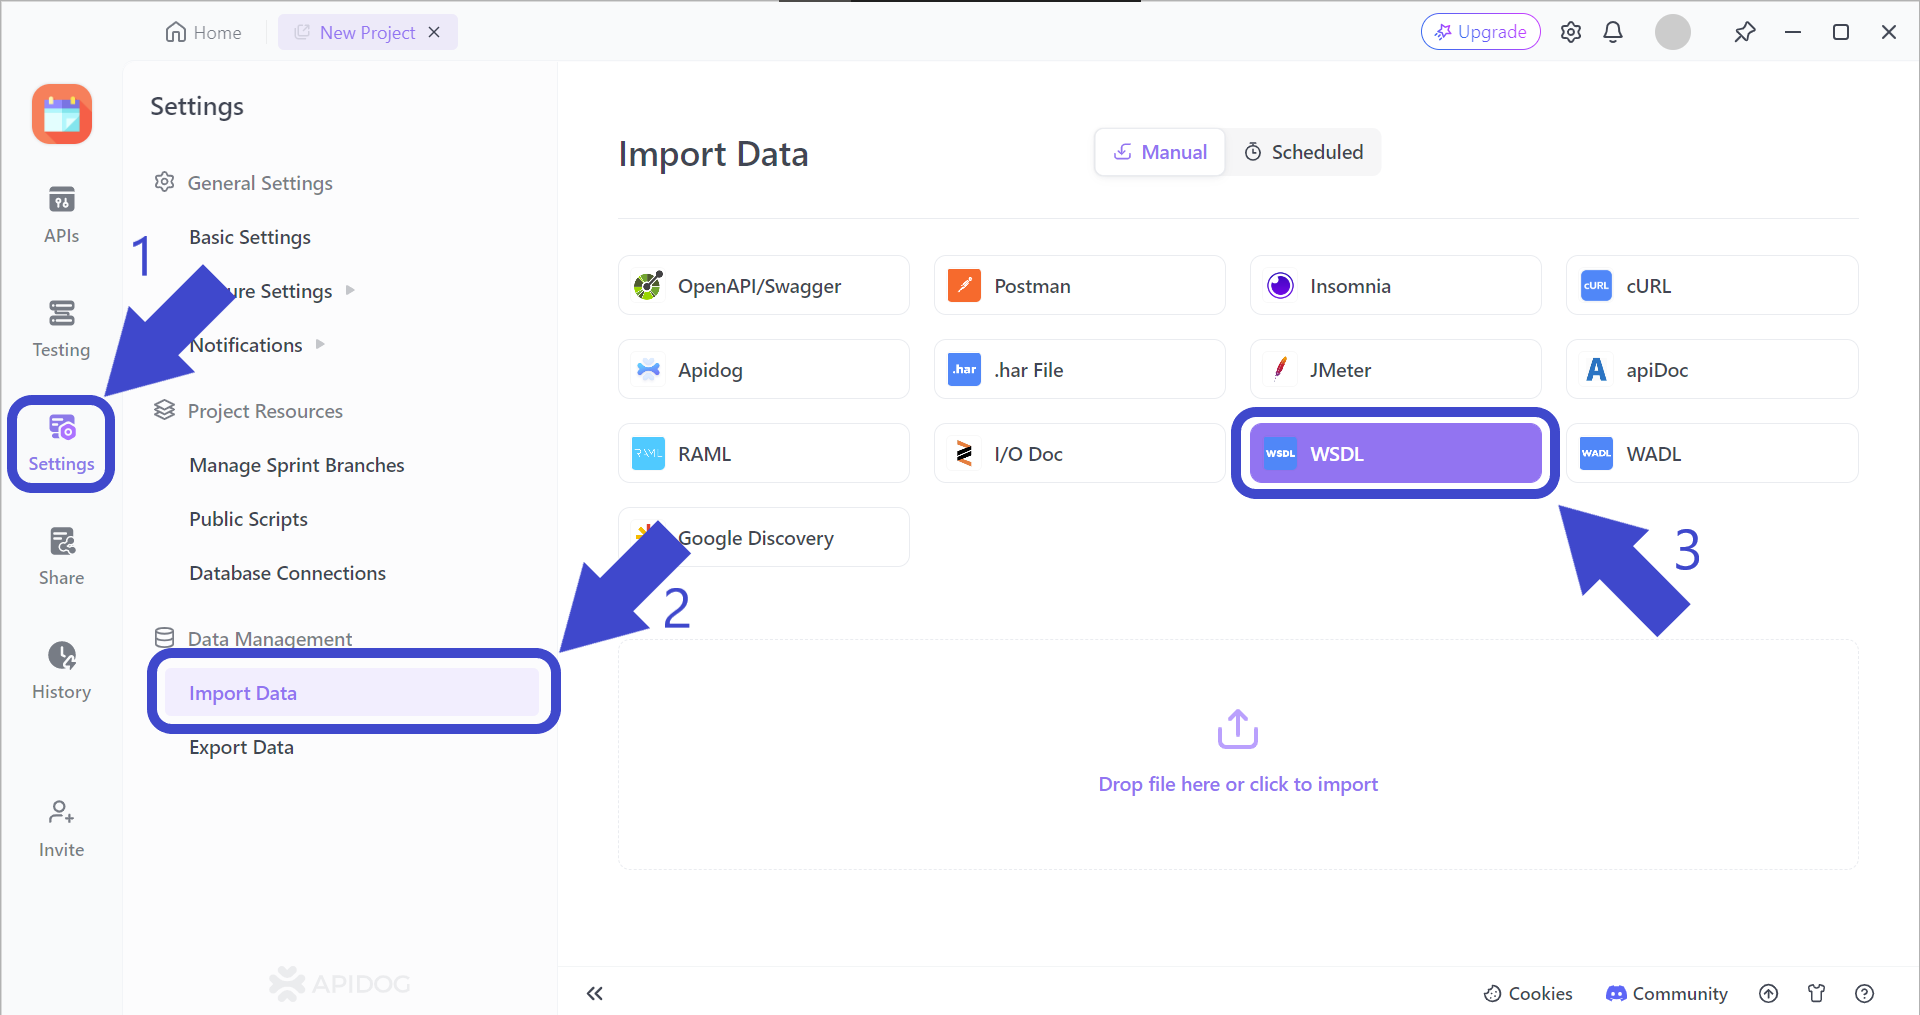
Firstly, click the Settings button found on the left side of the vertical bar. Then. you should be able to find the Import Data button , which can be found under the Data Management section.
Lastly, select WSDLto specify that you are about to import a WSDL file onto Apidog.
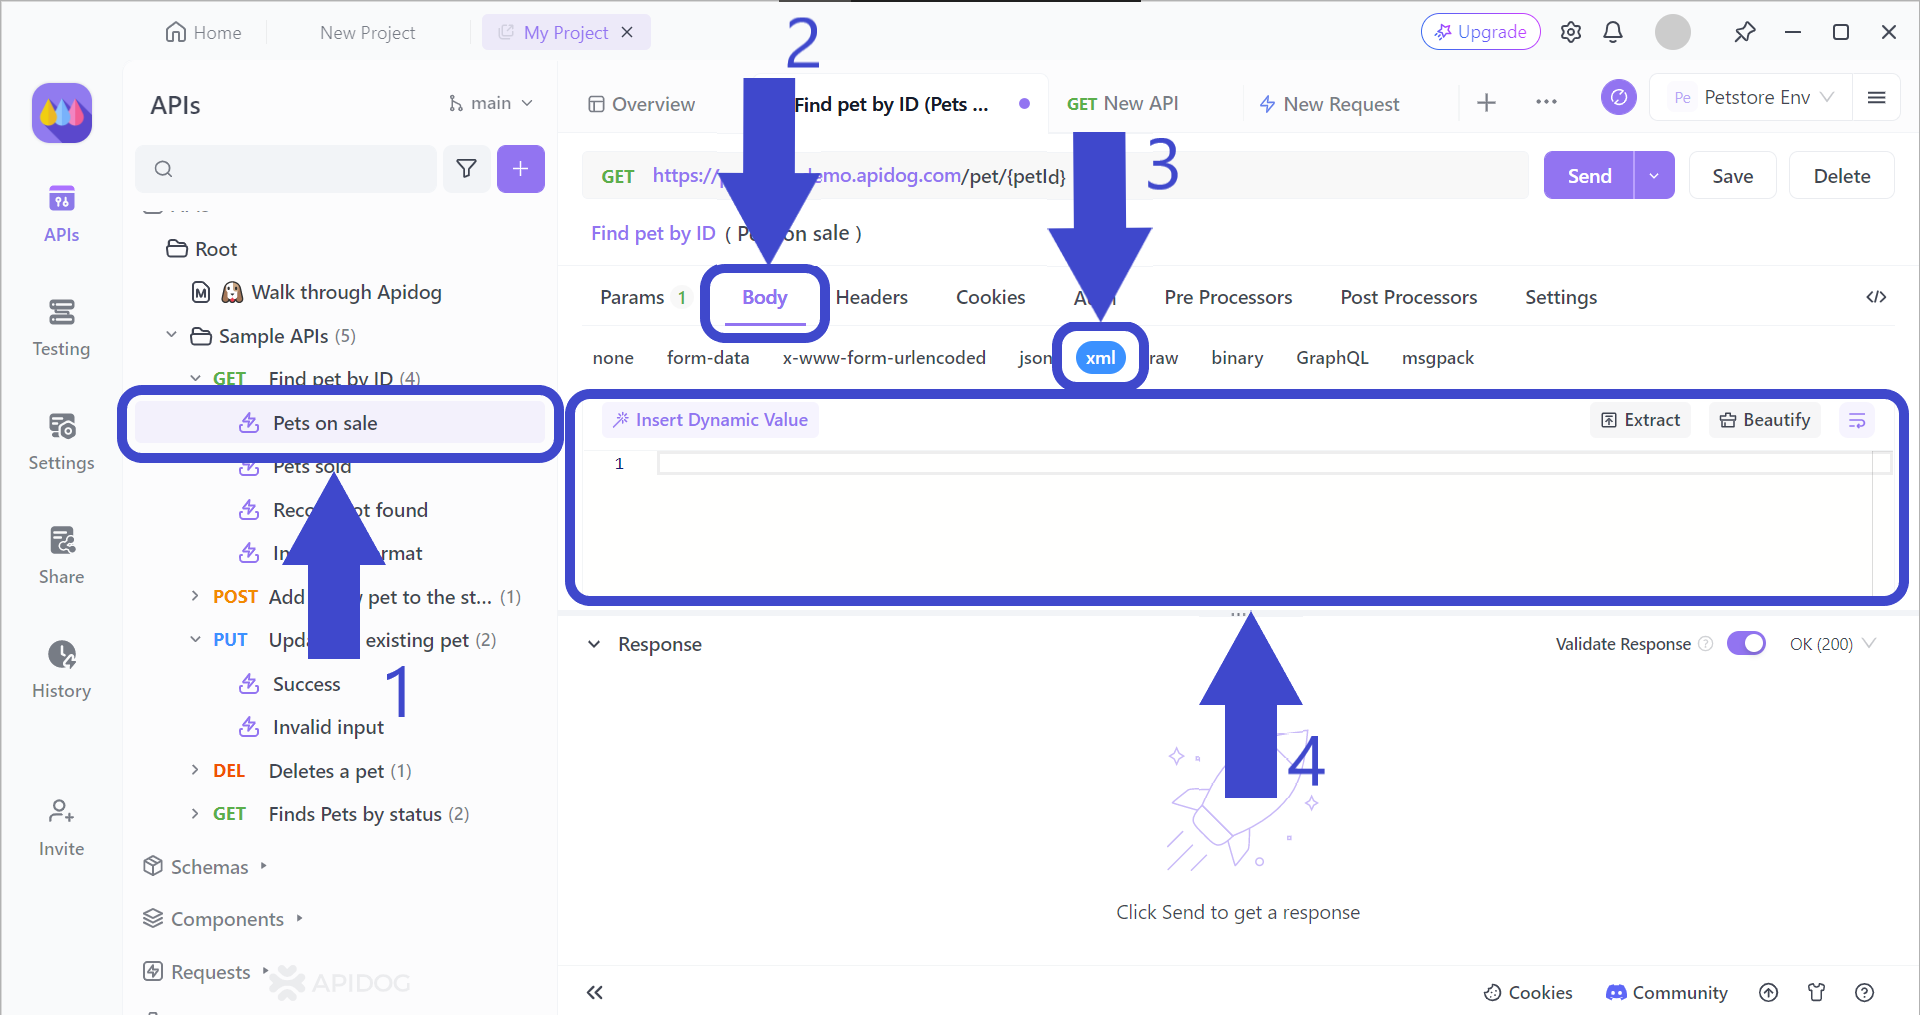
If the WSDL file has been successfully imported, you will find your WSDL file on the left, as shown in the image pointed out by Arrow 1. You can then click the numbered arrows to start editing.
Once you have your WSDL file imported and debugged, you can start testing it on Apidog for any more errors. If you are still unsure whether your WSDL file is right or wrong, check out WSDL file examples for more details.
Conclusion
SOAP APIs can be built with the help of Node.js. Due to how Node.js is a solid technology for asynchronous tasks (you can even pair up Node.js with REST APIs), SOAP APIs does still see purpose in the web development industry.
When planning to create SOAP APIs, you have to ensure that you have these three files:
- The WSDL file: It is essentially the documentation and details of your SOAP API.
- The server-side code: You need a server-side code to ensure the request can be processed.
- The client-side code: Without the client-side code, you cannot send a request to the server, therefore you cannot retrieve or send any data.
Apidog is an excellent choice for those who wish to test, dbug, or document SOAP APIs. With specifications and modifications geared for the entire API lifecycle, Apidog can help developers create simple to complex APIs within a few minutes!


