12 Best UI Automation Testing Tools
In this article, we will explore the significance of the 12 best UI automation testing tools, their features, and the benefits they bring.
Apidog
All-in-one Collaborative API Development Platform
API Design
API Documentation
API Debugging
API Mock
API Automated Testing
Postman is a wide-used tool for developers to test APs efficiently. If you are new to Postman, you might not quite about API collection transmission. In this article, we will discuss how to import Postman collections.
Postman is a wide-used tool for developers to test APs efficiently. Literally, when it comes to running collections, Postman has a new limitation that can be frustrating for developers.
If you are new to Postman, you might not quite about API collection transmission. In this article, we will discuss how to import Postman collections and explore alternative method to fix it to bypass any restrictions on the number of runs.
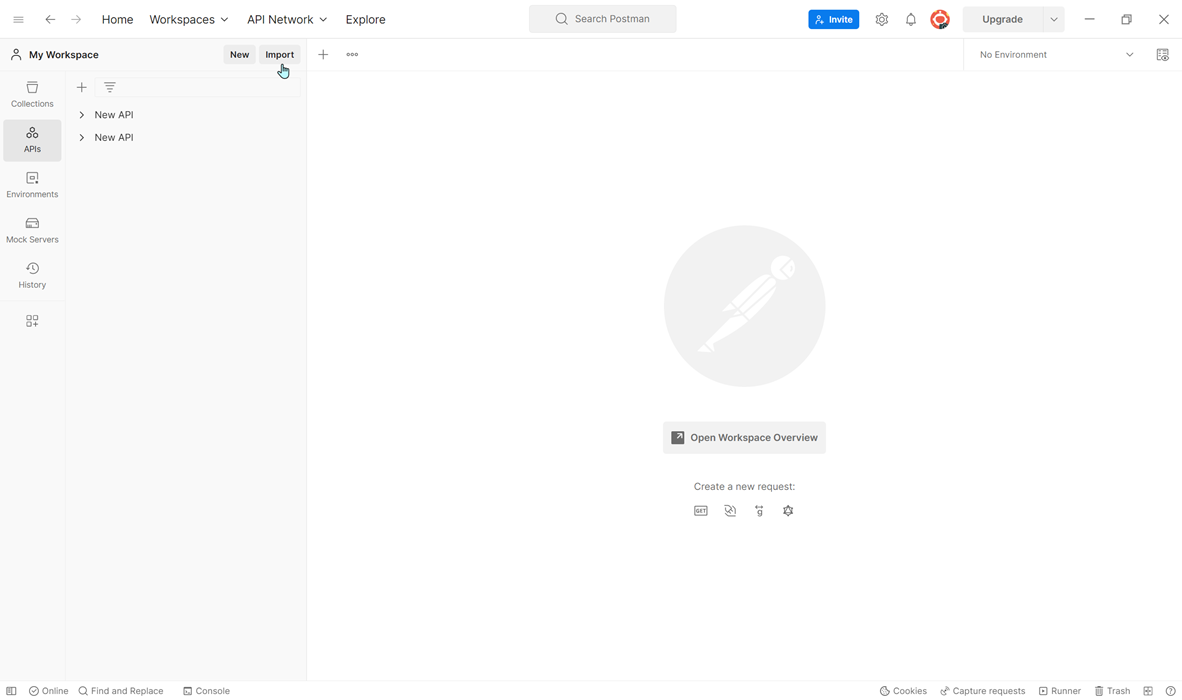
Step 1. Open Postman and click on the "Import" button located in the top-left corner of the screen.
Step 2. In the "Import File" modal, click on the "Choose Files" button and select the Postman collection file you wish to import. You can also import cURL in the request on Postman.
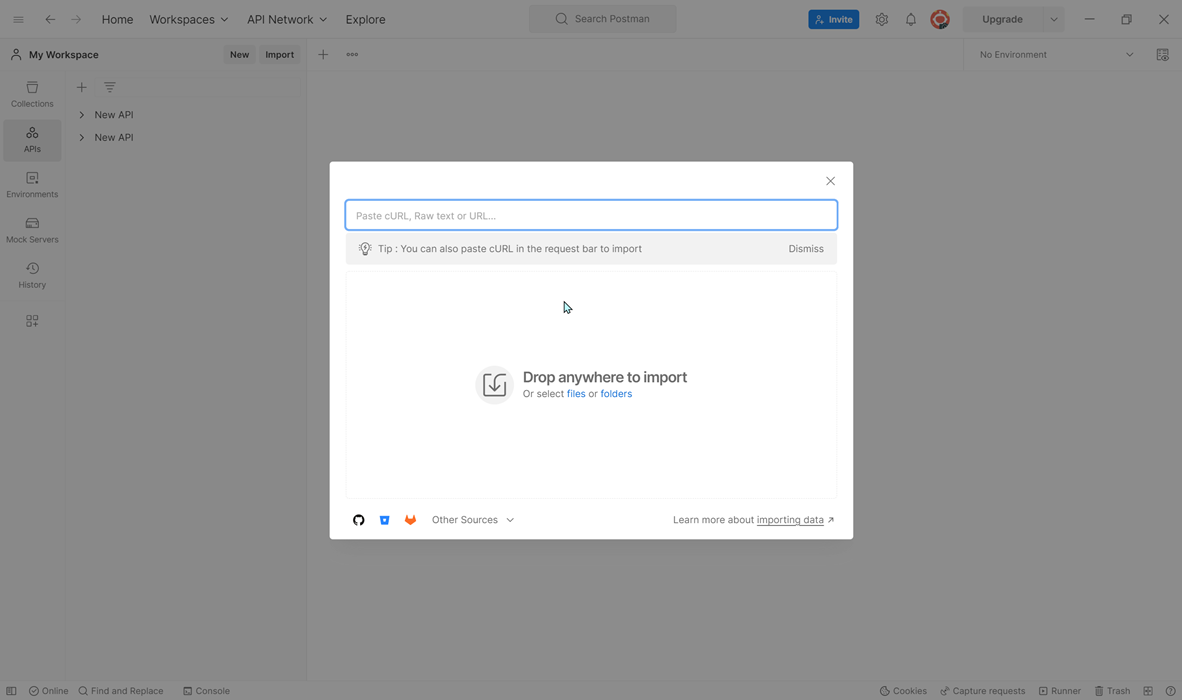
Step 3. In addition, you can import your own APIs as a Postman Collection. Once the file has been selected, click on the "Import" button to initiate the import process.
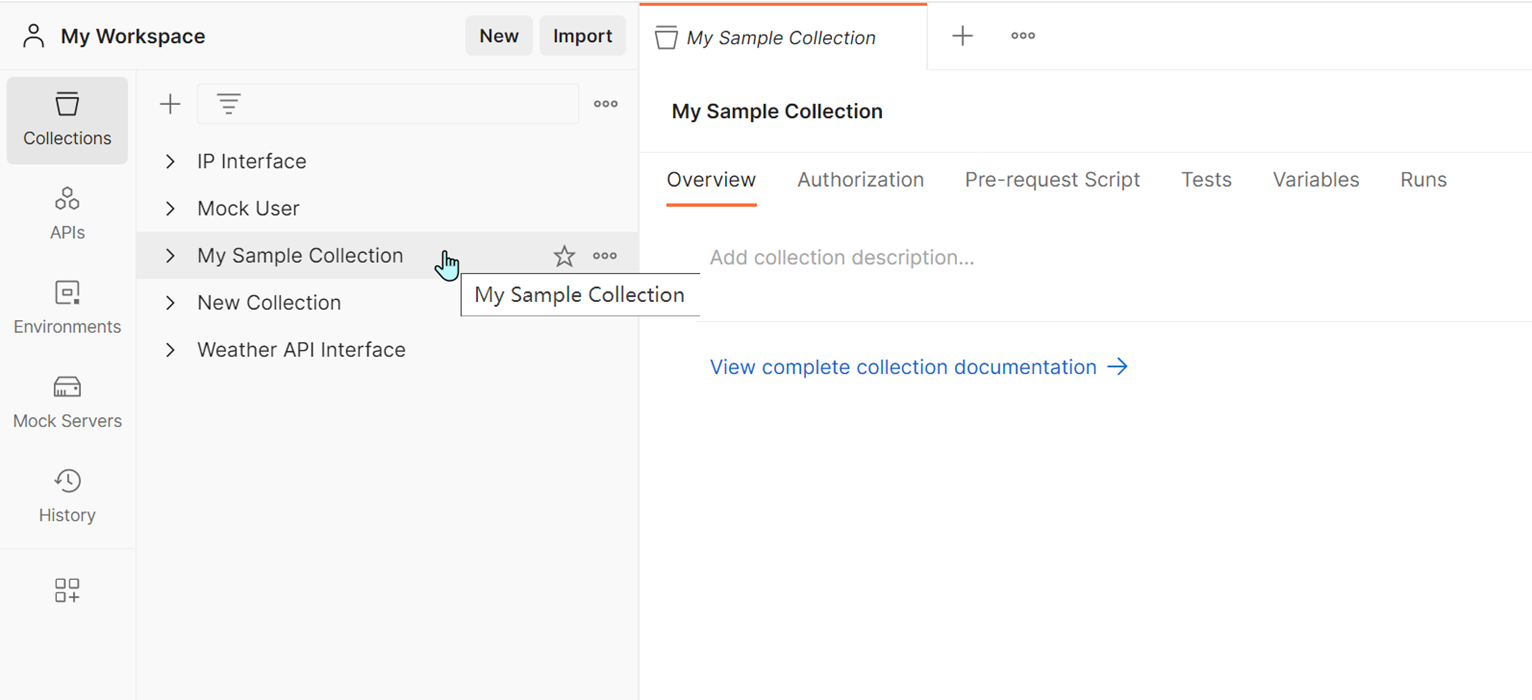
Step 4. After the import process is complete, you should see your newly imported collection listed in the Collections.
You are aware that Postman has recently introduced limitations on the number of runs for its Free and Basic plans, allowing only 25 runs per month, while Professional plans offer 250 runs per month. This modification has resulted in significant frustration among numerous developers, as they now encounter restrictions when executing their local collections.
But there is a solution. If you want to run local collections without any restrictions, we highly recommend Apidog, a powerful testing tool that offers more flexibility and a superior testing framework to Postman.
With real-time feedback, comprehensive test reports, and seamless integration with other testing tools, Apidog enables developers to efficiently create, test, and manage APIs without any limitations, resulting in a more efficient and productive development process. It is more powerful than Postman, so why not have a try?
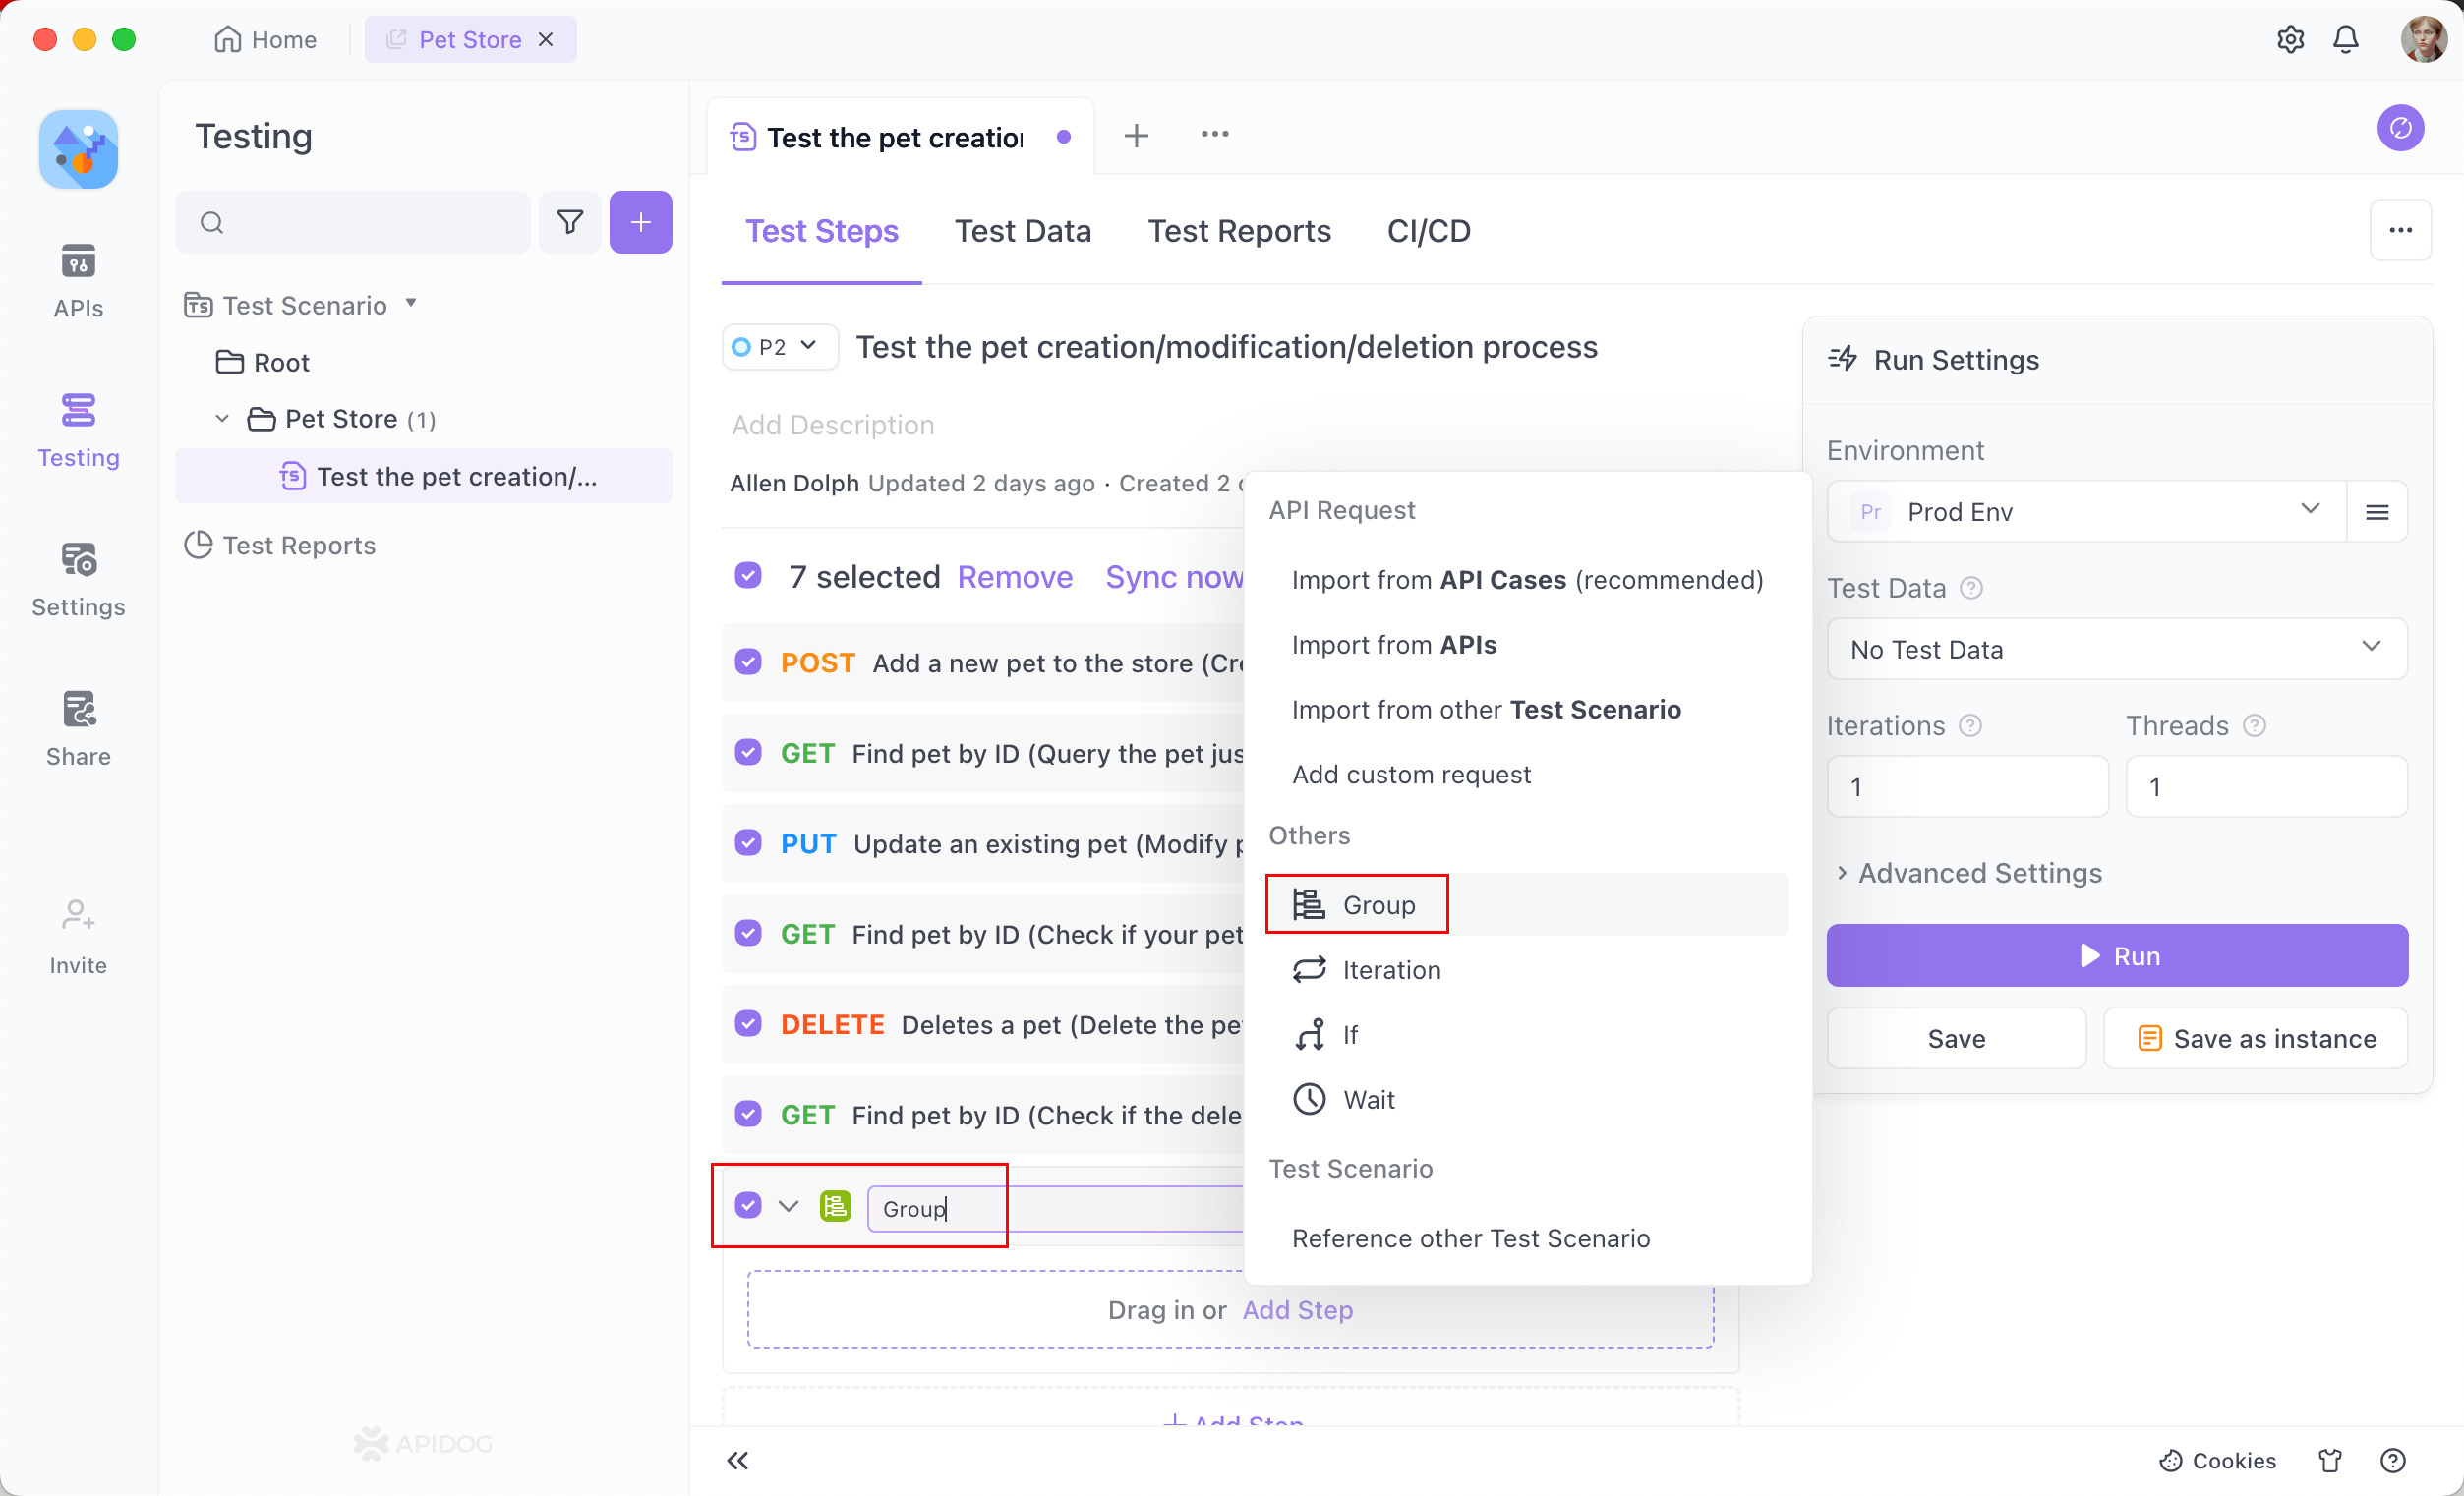
Apidog provides more robust functionality than just Postman Collection Runner. It includes extensive features to boost API testing, like test scenarios. Test scenarios in Apidog allow you to group API requests for easy organization, execution, sharing, and reporting - similar to Postman collections but with enhanced management and analysis capabilities.
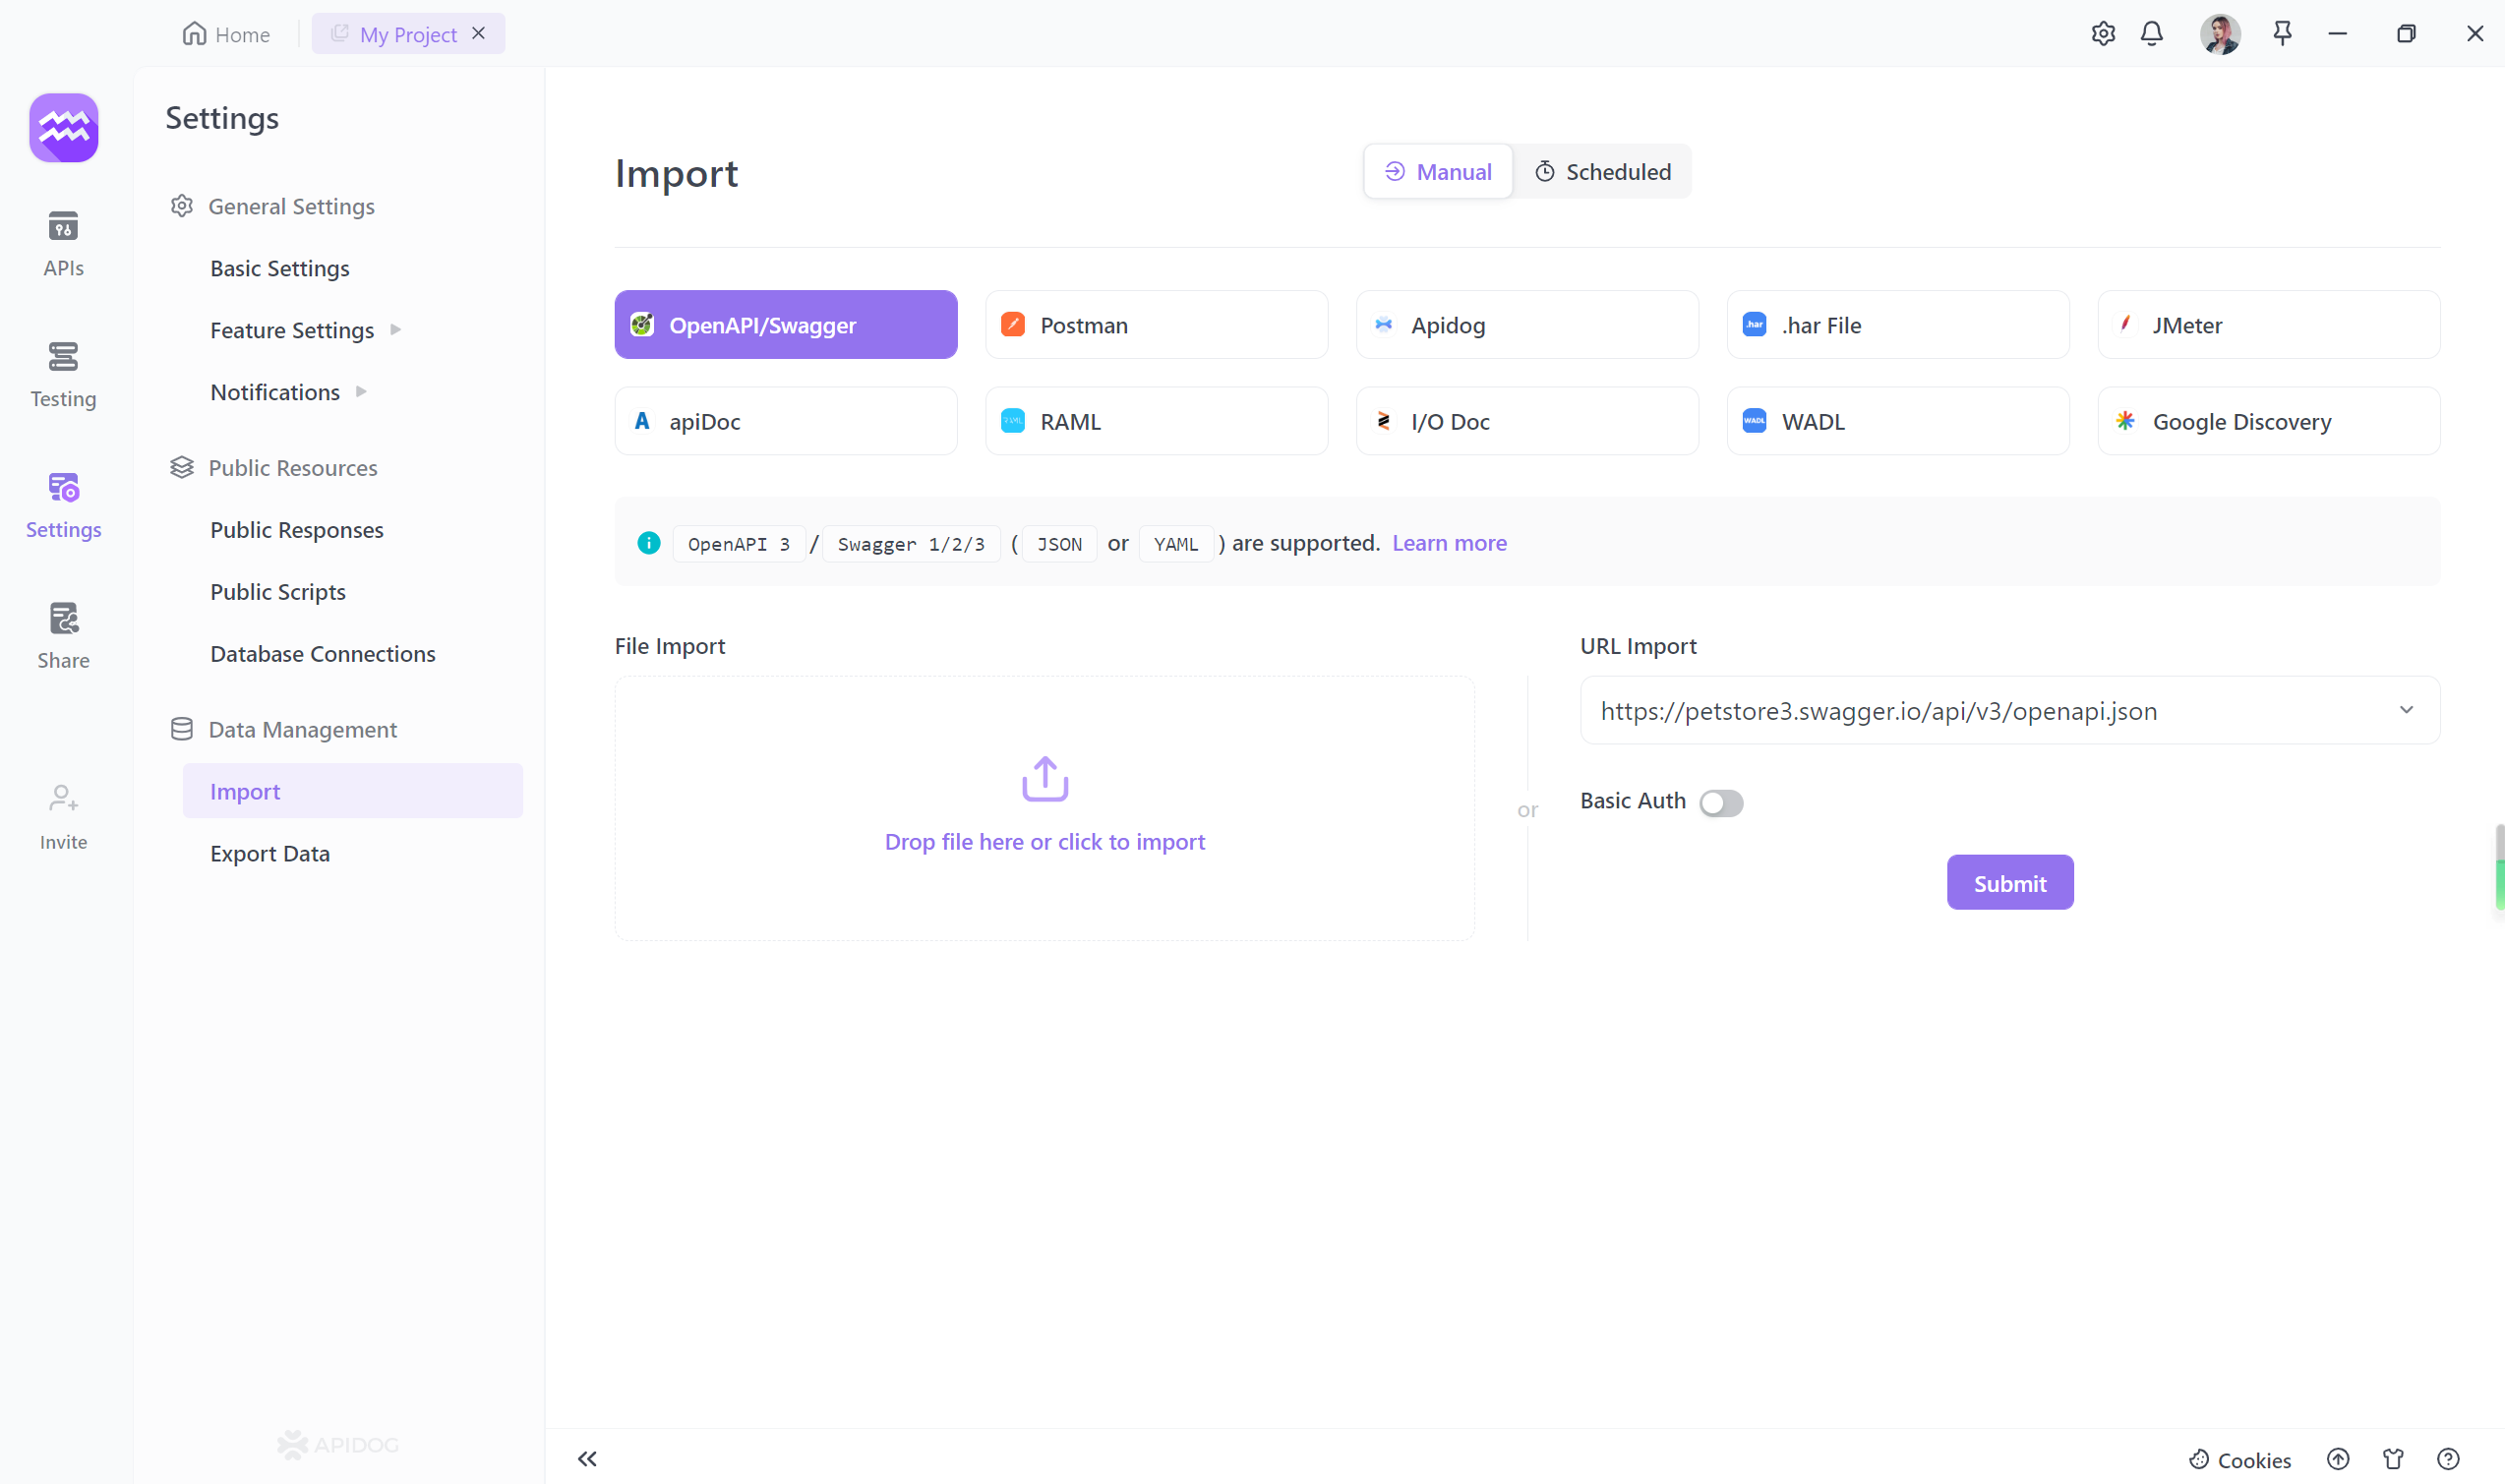
Step 1. Log into Apidog, select "Settings" from the left menu, and then select "Import " to import the exported file as displayed in the image.

Apidog is available to import various files formats, including OpenAPI/Swagger, Postman, JMeter, apiDoc, etc.
Step 2. Import your collection by entering the OpenAPI/Swagger URL. Additionally, you have the option to import APIs either by dropping a file or providing a URL, according to your preference.
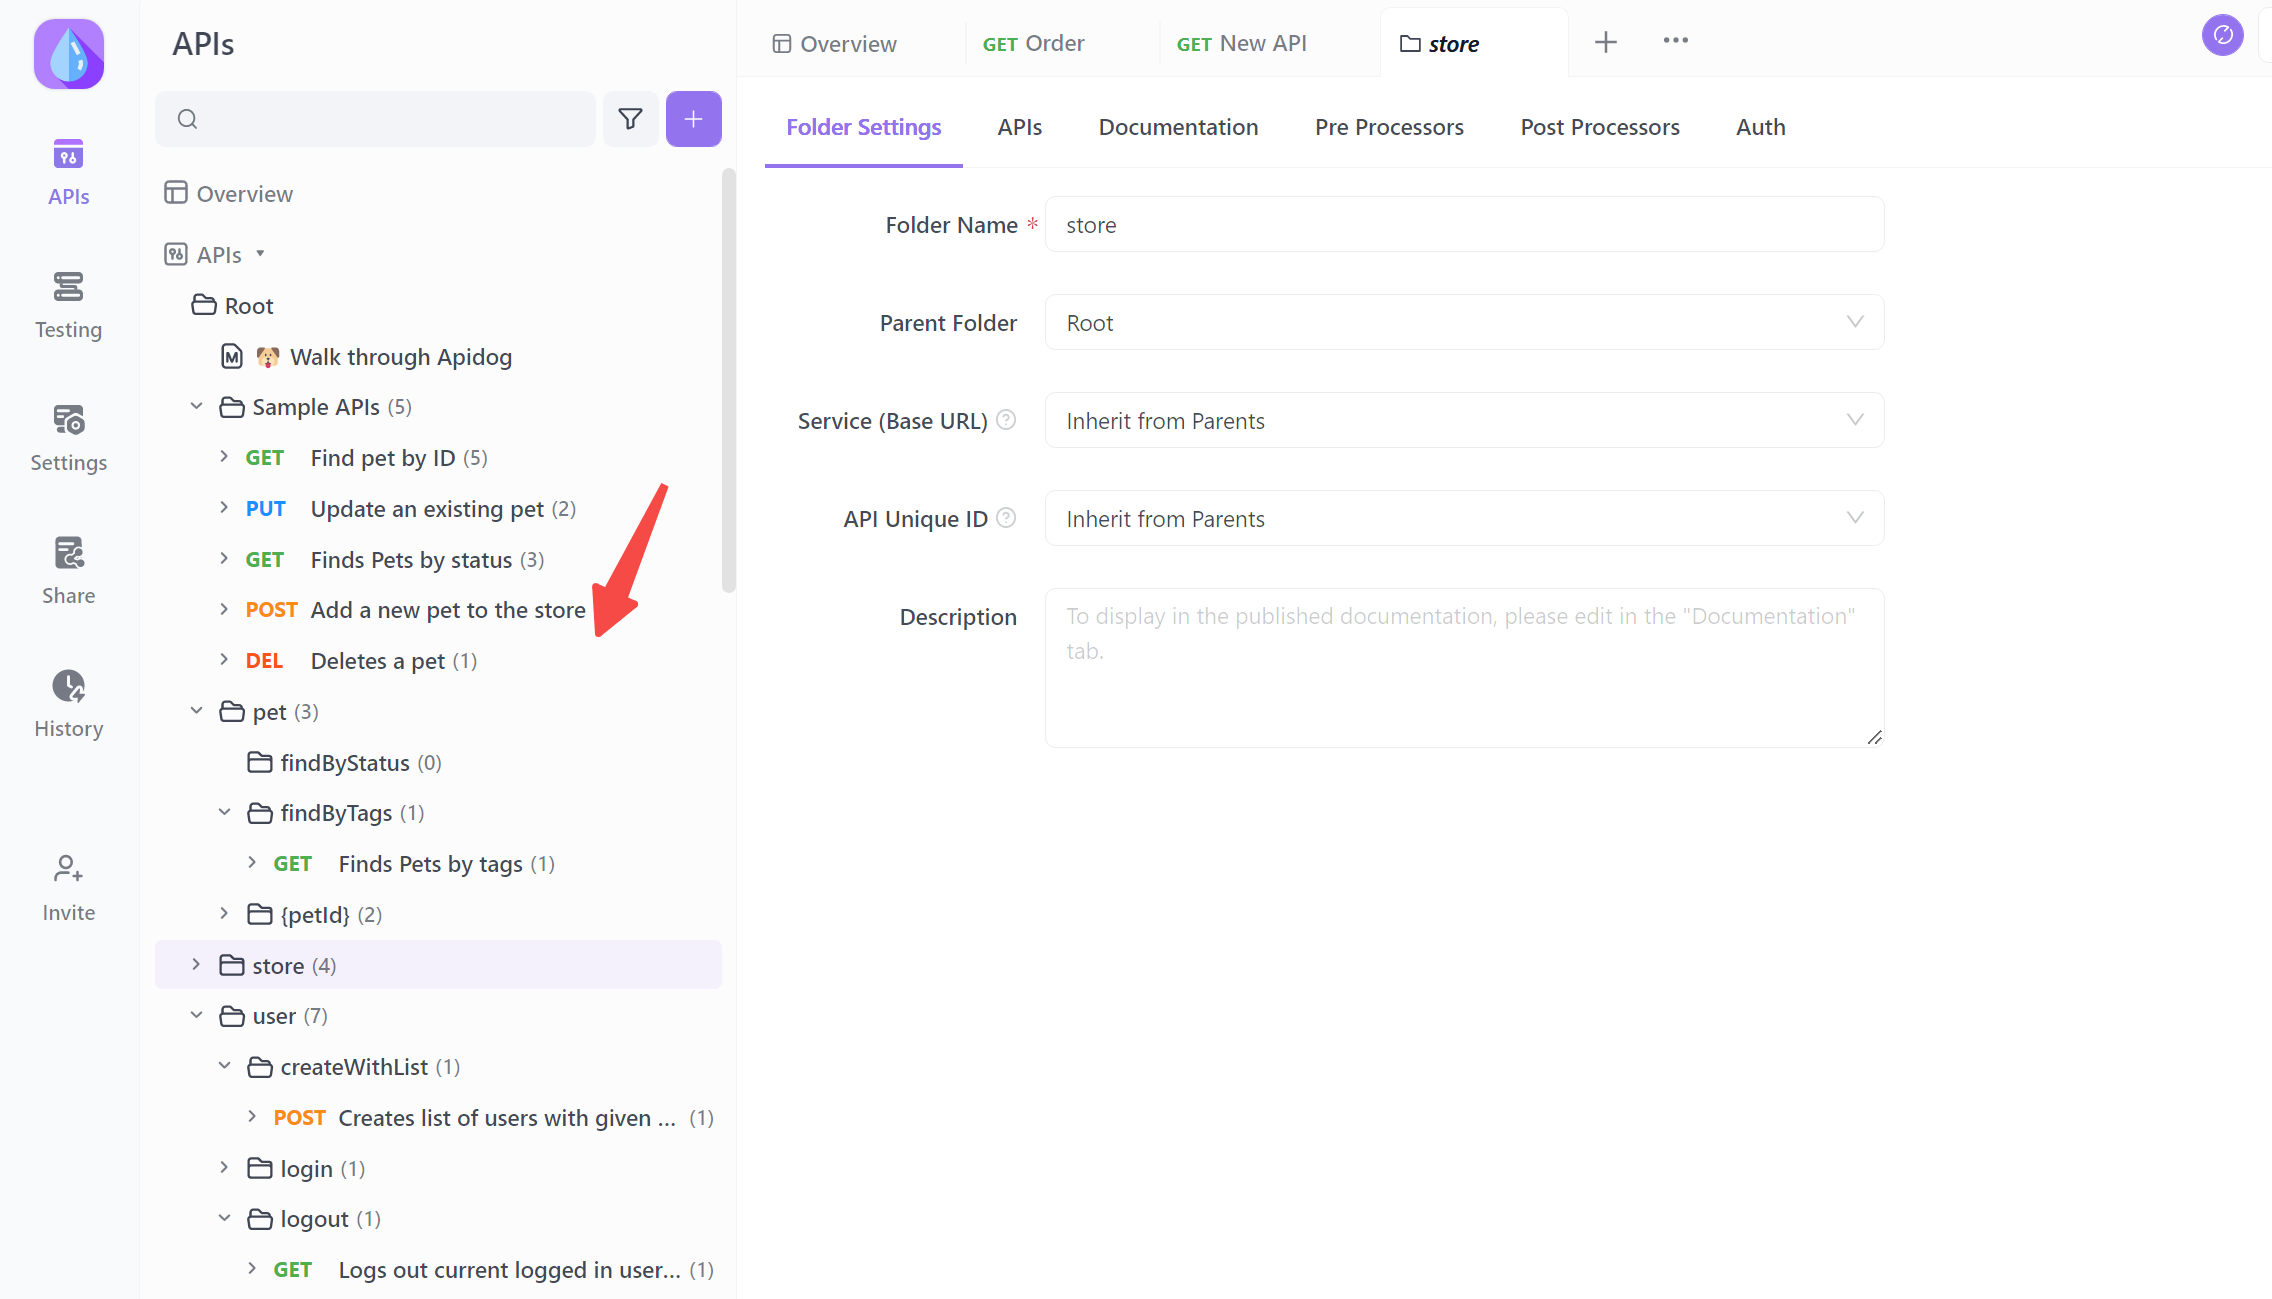
Step 3. You can view the API collection in detail, and confirm it if no questions.
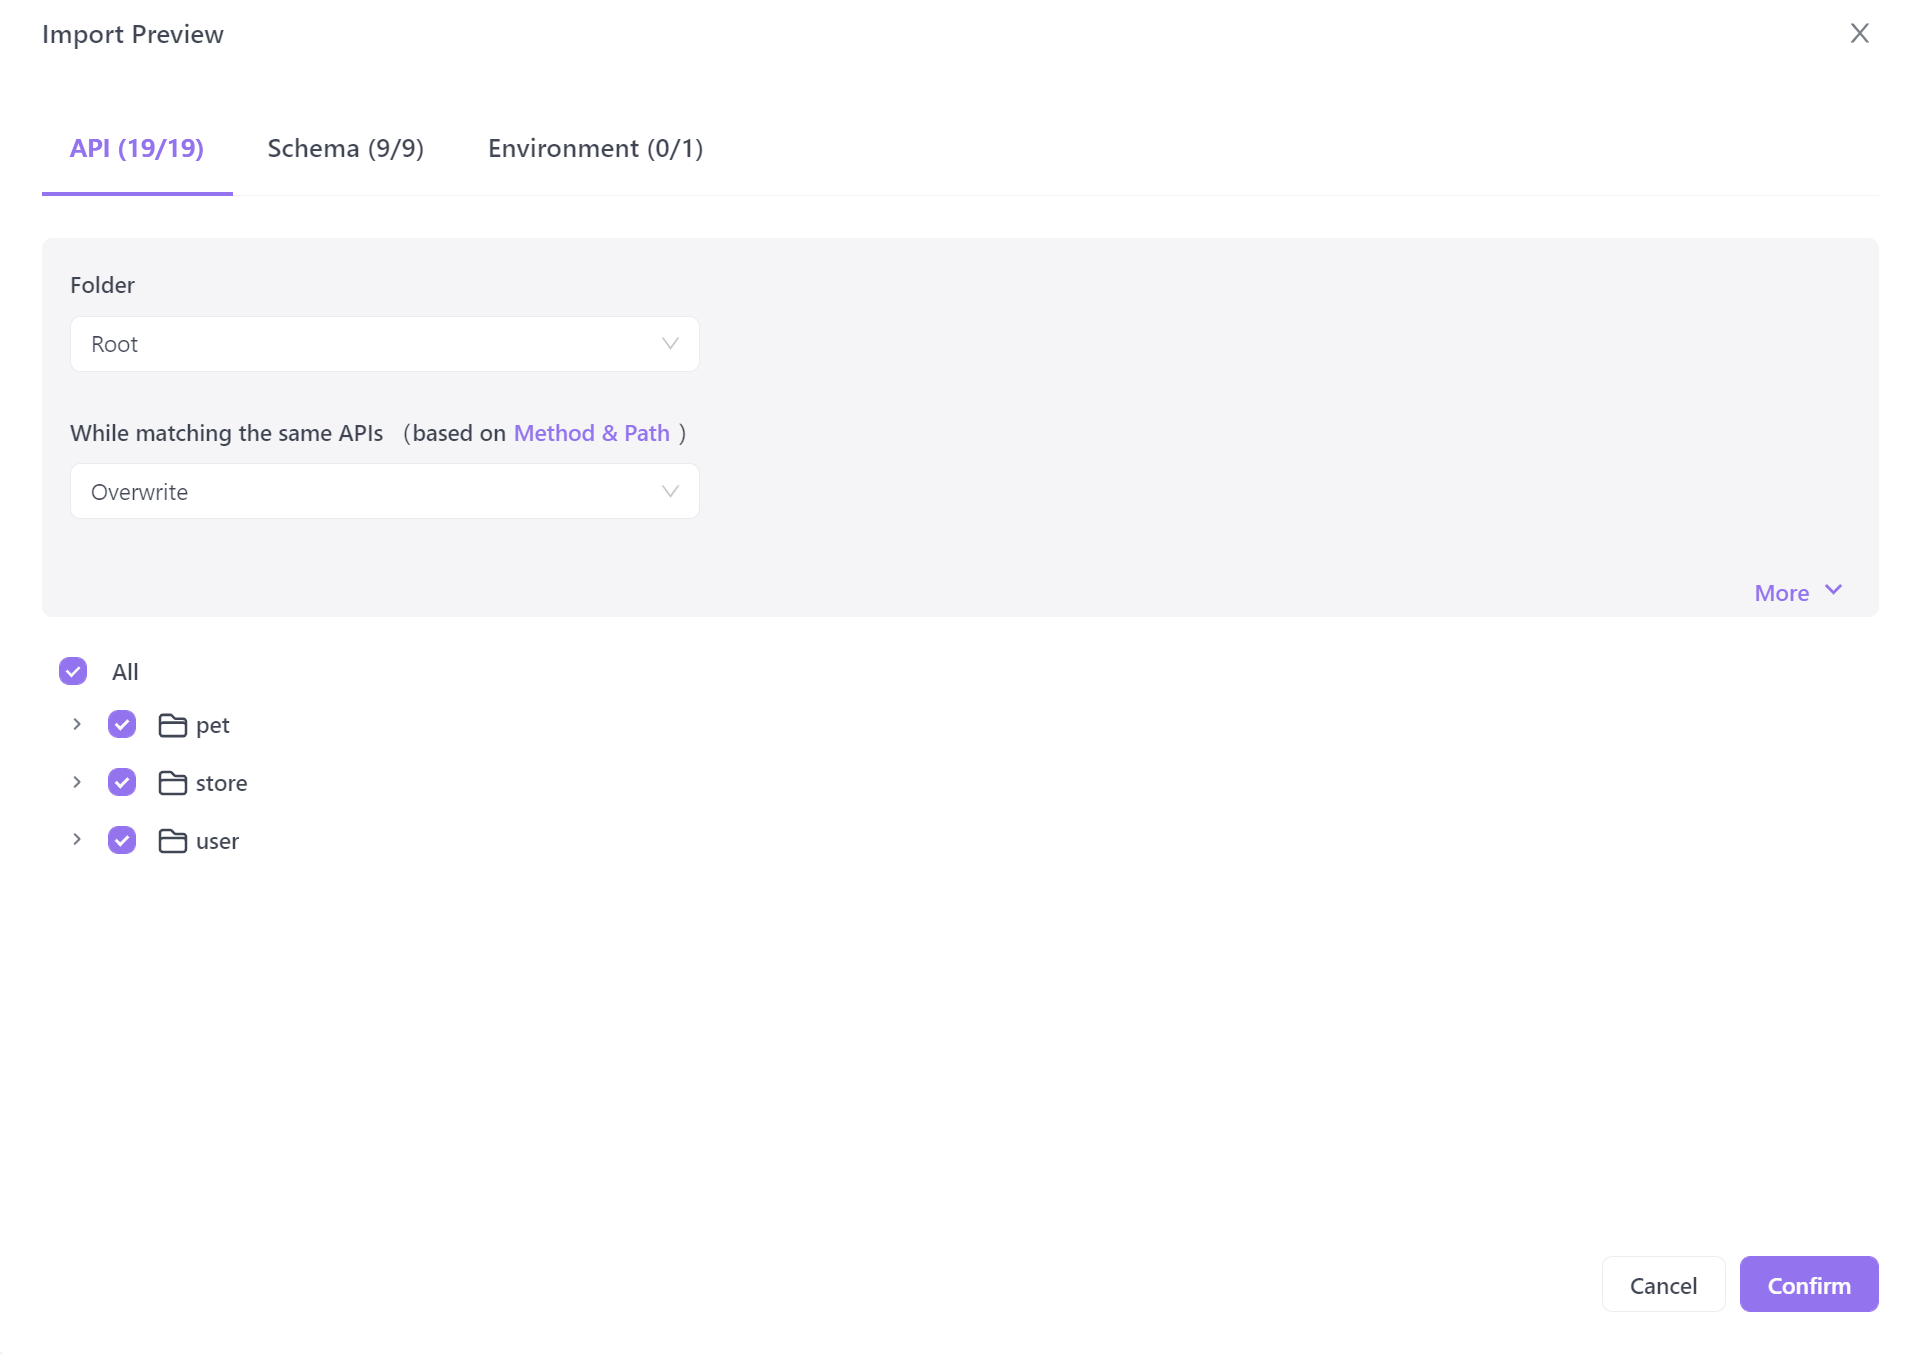
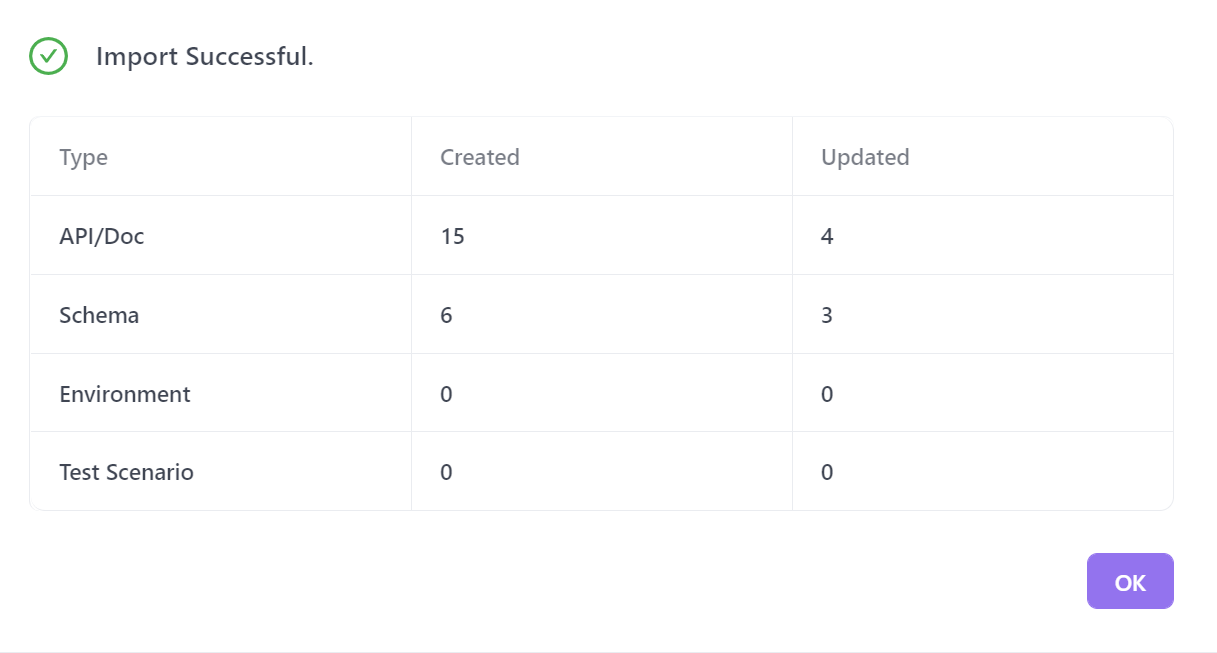
Importing successfully like below.
You can now proceed with the next steps, as Apidog offers a test scenario.
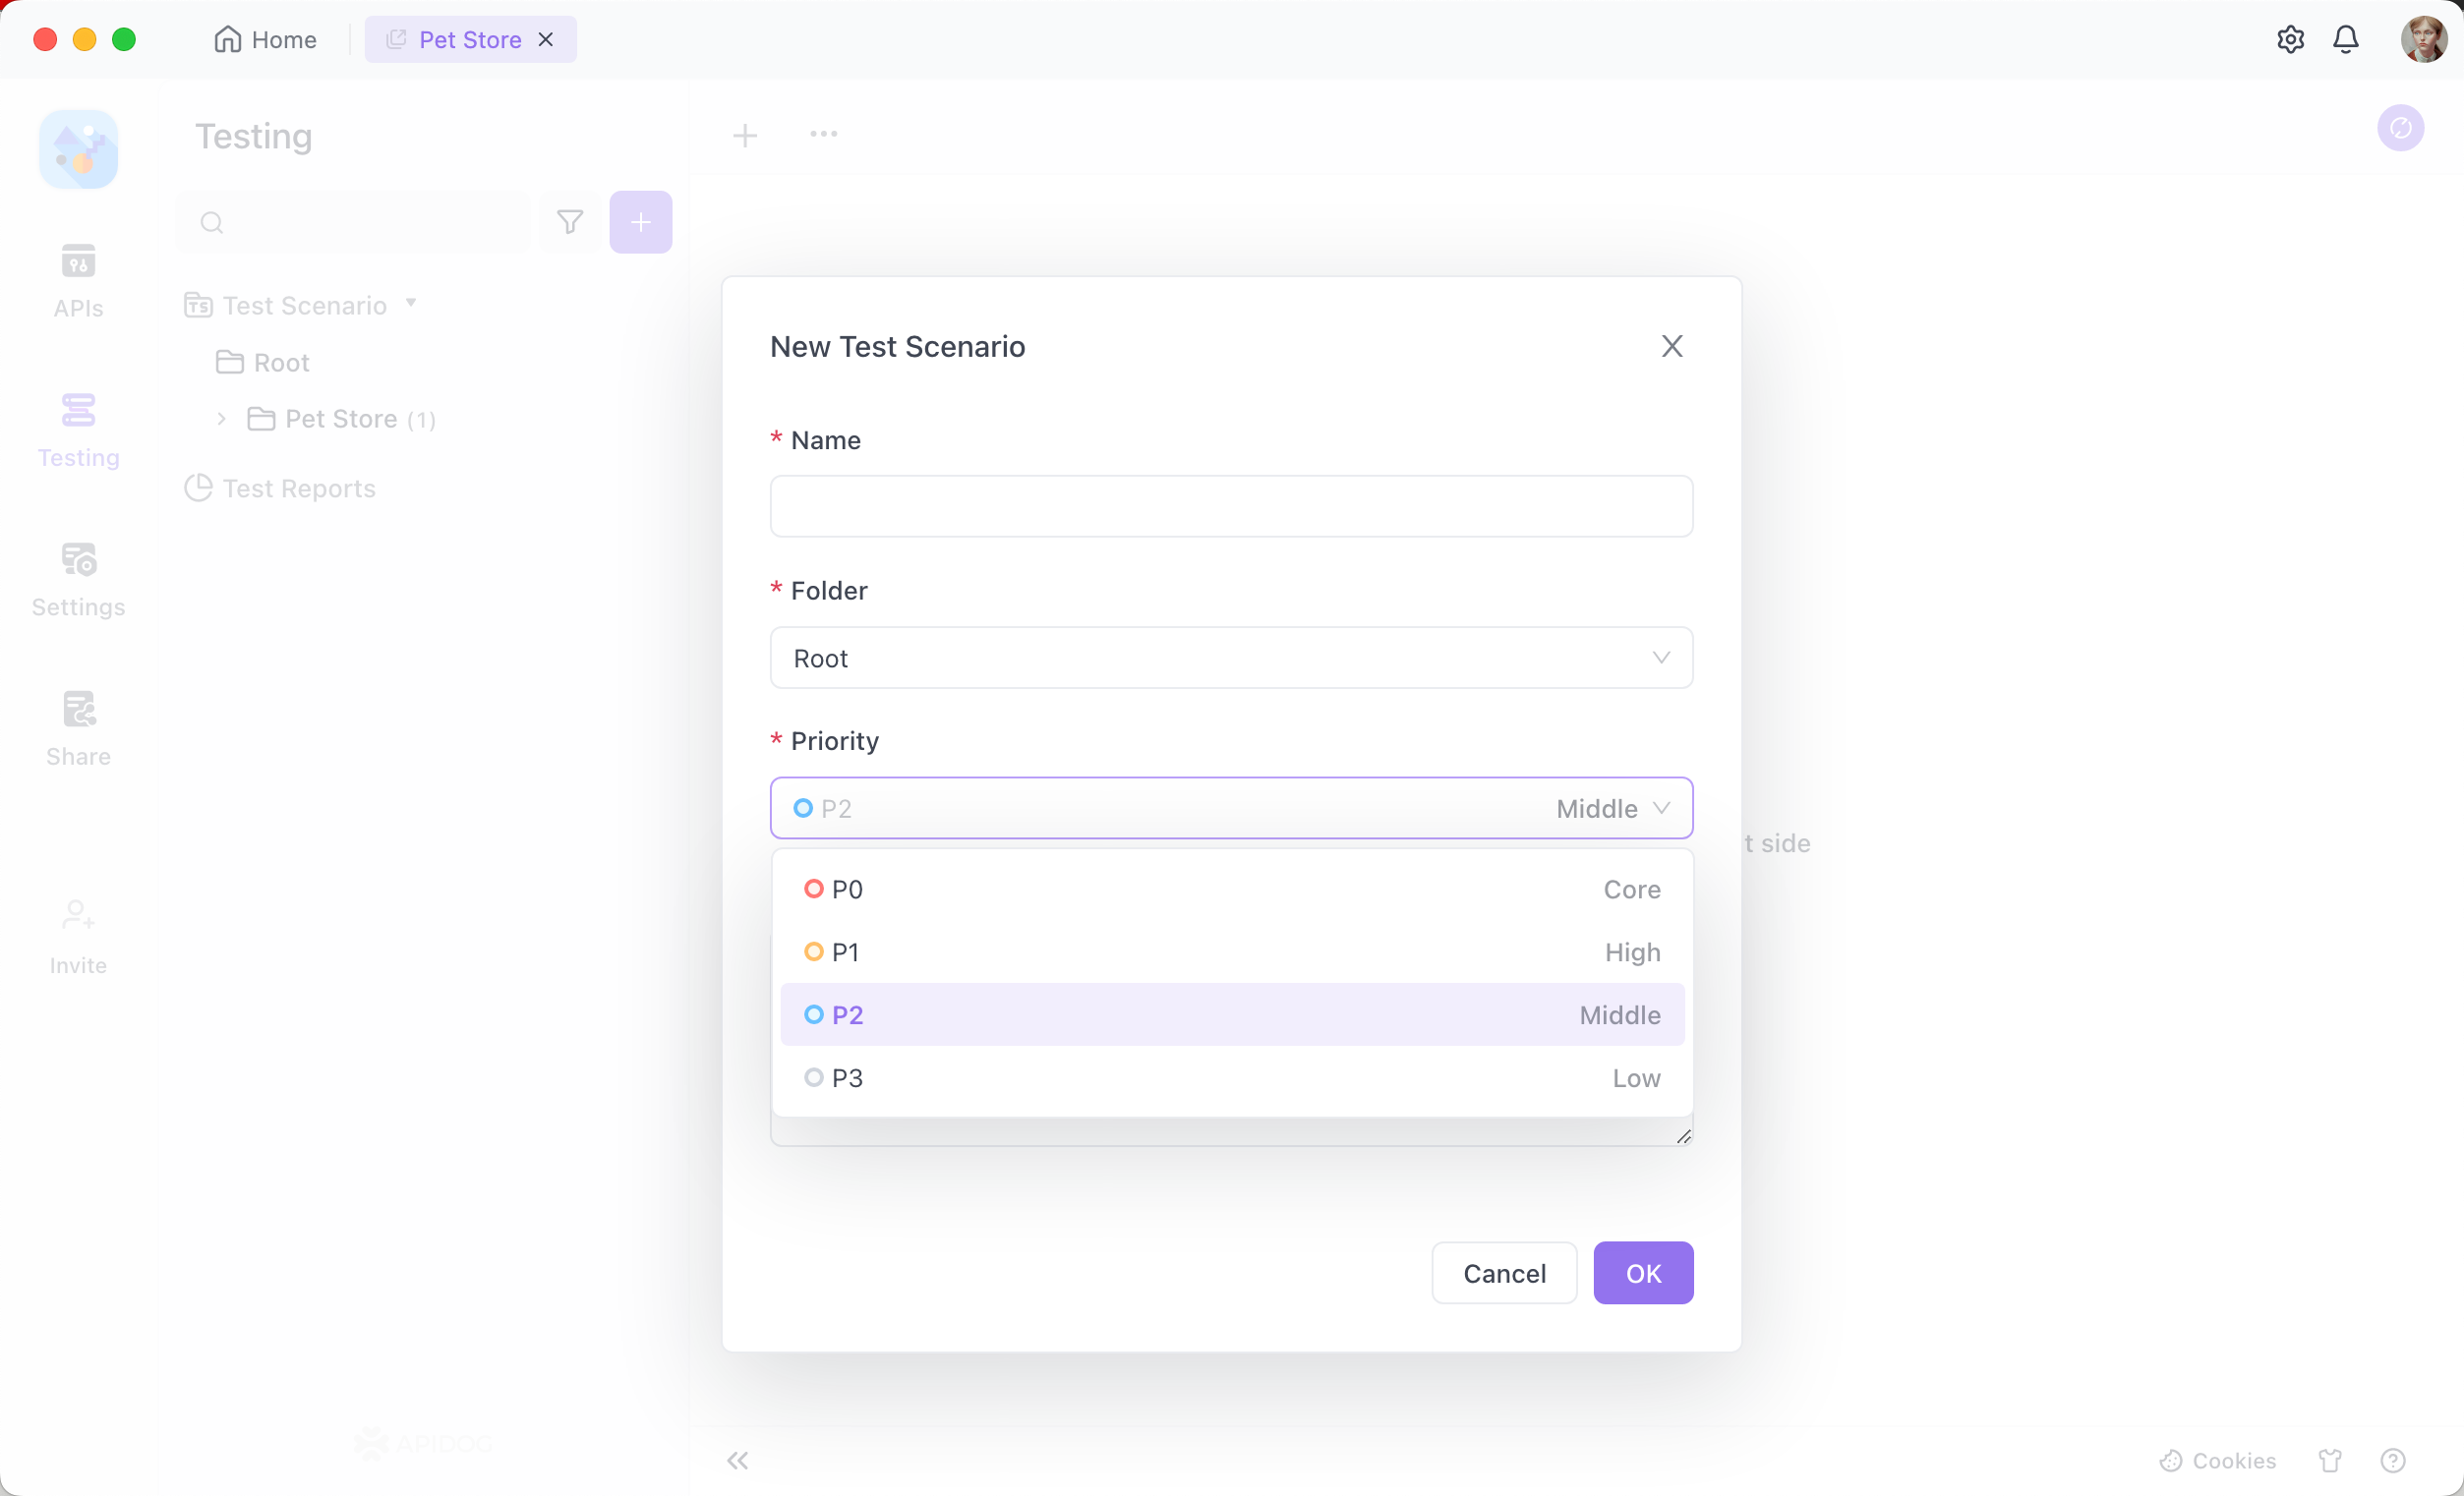
Click the "+" button on the "Testing" page in the Apidog latest version, and set up the details of the New Test Scenario, such as the priority, test scenario name, and folder.
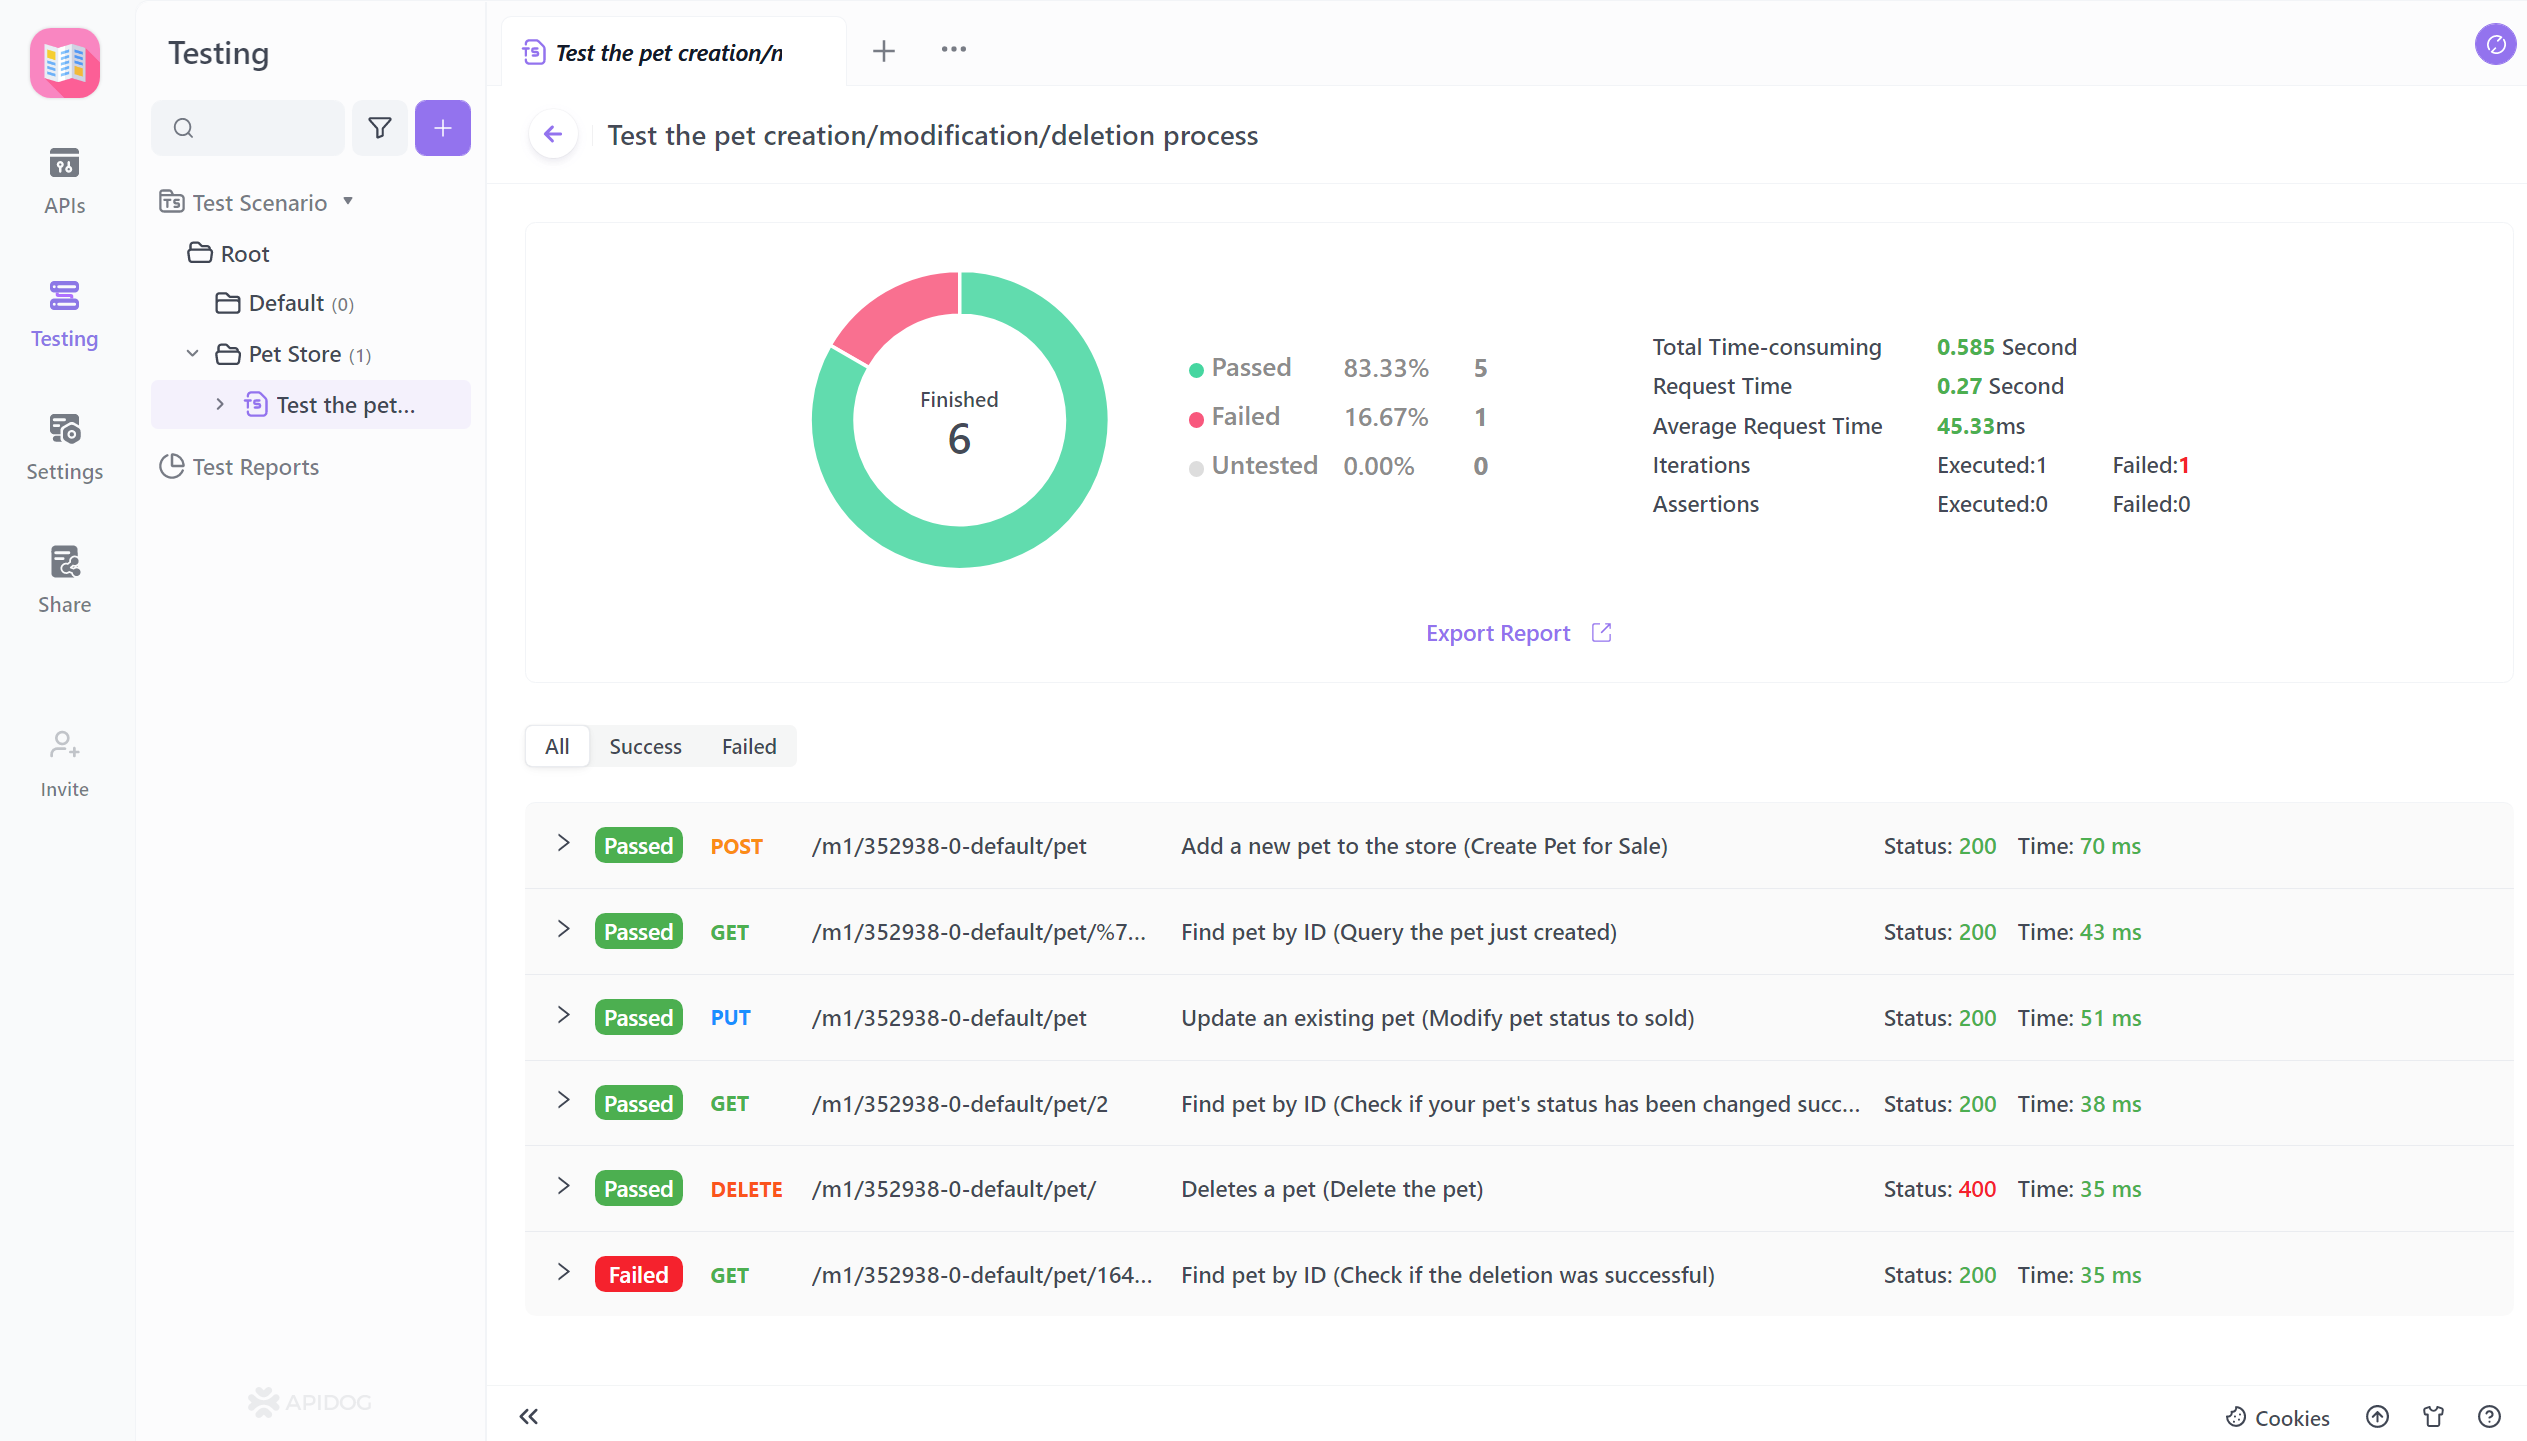
Create detailed test cases that provide specific steps and conditions to execute the test. Include input data, expected outcomes, and any preconditions or postconditions.

Review the test scenarios and test cases to ensure they are comprehensive and cover all critical functionalities and features. Validate the test cases to ensure they accurately represent the test scenario objectives.
Related video of the transfer Postman to Apidog below: