How to Fix "Status Code 407 Proxy Authentication Required" Error
The HTTP 407 error, known as "Proxy Authentication Required," is an HTTP status code indicating a client must authenticate with a proxy server before accessing the requested resource.
Status codes are standardized messages sent by web servers to inform clients about the outcome of their requests. Encountering the 407 status code can frustrate web users and developers. This error occurs when a proxy server requires authentication before granting access to the requested resource.
In this guide, we'll explore the causes of the 407 Proxy Authentication Required status code and provide step-by-step solutions to resolve it.
What is 407 Proxy Authentication Required?
The HTTP 407 error, known as "Proxy Authentication Required," is an HTTP status code indicating a client must authenticate with a proxy server before accessing the requested resource. This status code is specific to environments where a proxy server is used as an intermediary between the client (such as a web browser or application) and the target server (such as a website).
When a client sends a request to a server through a proxy, the proxy server may require authentication to ensure that only authorized users can access the network. If the client does not provide valid authentication credentials, the proxy server responds with a 407 status code, signaling that the client must authenticate before the request can proceed.
What is the cause of HTTP Error 407?
The HTTP 407 error occurs when a client, such as a web browser or application, tries to access a resource on the internet through a proxy server. A proxy server acts as an intermediary between the client and the destination server, often used to manage network traffic, and enhance security, and cache content. When the proxy server requires authentication to allow traffic through, and the client does not provide valid credentials, the 407 error is triggered.
This error typically arises because the proxy server is configured to enforce authentication for all clients. The server demands that users present valid credentials (such as a username and password) before their requests can be forwarded to the destination server. If the client fails to provide these credentials or submits incorrect ones, the proxy server will deny access, resulting in the 407 error.
In some cases, network policies or restrictions implemented by the organization might be the cause. These policies often require authentication to monitor and control internet usage. If the client attempts to bypass these restrictions without proper authentication, the proxy server will return a 407 error, indicating that access is blocked until valid credentials are supplied.
How to Fix 407 Proxy Authentication Required?
To resolve the HTTP 407 error, the client must supply valid authentication credentials. This is typically a step-by-step guide offering several solutions for you.
1. Check Proxy Settings in Your Application
For Web Browsers:
Google Chrome:
Go to the Chrome menu (three dots in the top-right corner) and select Settings.
Scroll down and click on Advanced.
Under the System section, click Open your computer's proxy settings.
This will open the system proxy settings where you can configure or verify the proxy server address, port, and credentials.
If credentials are needed, enter your username and password as prompted.
Mozilla Firefox:
Go to the Firefox menu (three lines in the top-right corner) and select Settings.
Scroll down to the Network Settings section and click Settings.
Choose Manual proxy configuration and enter the proxy server details.
If required, enable the Use this proxy server for all protocols option.
Click OK and restart Firefox.
For Other Applications:
FTP Clients, Email Clients, etc.:
Navigate to the network or connection settings within the application.
Locate the proxy server settings.
Enter the proxy server address and port, as well as the necessary authentication credentials.
Save the settings and restart the application to apply the changes.
2. Manually Enter Proxy Credentials
Direct Entry in Browsers or Applications:
If your browser or application doesn’t automatically prompt you for credentials, you may need to enter them manually:
Open the network settings within the application or browser.
Locate the fields for entering proxy username and password.
Input the required credentials.
Ensure that the settings are saved, and restart the browser or application to apply them.
For Command-Line Tools (e.g., cURL):
If you are using command-line tools like cURL, you may need to pass the proxy credentials directly in the command:
Replace username, password, proxyserver, and port with your actual proxy details.
3. Check System-Wide Proxy Settings
For Windows:
Press Win + I to open Settings.
Navigate to Network & Internet > Proxy.
Under Manual proxy setup, ensure that the proxy server IP and port are correctly entered.
Enable the Use a proxy server option, and enter your proxy credentials if required.
Click Save and restart your browser or application.
For macOS:
Open System Preferences and select Network.
Choose your active network connection (e.g., Wi-Fi or Ethernet) and click Advanced.
Go to the Proxies tab.
Select the appropriate proxy protocol (e.g., HTTP, HTTPS) and enter the proxy server address and port.
Input your authentication credentials if necessary.
Click OK, then Apply, and restart your browser or application.
4. Update or Clear Browser Cache and Cookies
Sometimes outdated or corrupted cache files and cookies can interfere with proxy authentication:
In Google Chrome:
Go to the Chrome menu and select More tools > Clear browsing data.
Select the Time range (e.g., All time).
Check the boxes for Cookies and other site data and Cached images and files.
Click Clear data.
In Mozilla Firefox:
Go to the Firefox menu and select Settings.
Scroll down to the Cookies and Site Data section.
Click Clear Data, check the relevant boxes, and then click Clear.
After clearing the cache and cookies, restart your browser and try accessing the site again.
5. Verify Your Proxy Credentials
Ensure that you are entering the correct username and password for the proxy server:
Double-check your credentials with your network administrator or IT department.
If you’re using saved credentials, try re-entering them manually to avoid any typos or errors.
6. Disable Proxy Authentication (If Possible)
If you control the proxy server (e.g., in a home or small business network), you may have the option to disable authentication for certain users or applications:
On the Proxy Server:
Access the proxy server’s configuration settings (this may vary depending on the software you’re using, such as Squid, Apache, etc.).
Locate the settings for user authentication.
Disable authentication for trusted users or specific IP addresses.
Save the configuration and restart the proxy server.
Caution: Disabling proxy authentication can weaken security, so ensure this is done only in trusted environments or for specific use cases.
7. Update Network Configuration
Ensure that your network configuration is up-to-date and correctly set:
DNS Settings: Incorrect DNS settings can cause network issues. Ensure that your DNS settings are configured correctly, either using your ISP’s DNS or a public DNS service like Google DNS (8.8.8.8).
IP Address: Verify that your device is using the correct IP address and network settings. Consider using ipconfig /renew (Windows) or ifconfig (macOS/Linux) to refresh your network configuration.
Restart Network Devices: Reboot your router, modem, or other network devices to ensure there are no temporary issues causing the proxy authentication failure.
8. Consult Network Administrator
In Corporate Environments:
If you’re using a work or school network, there may be specific policies in place that require proxy authentication:
Contact your network administrator to verify that your device is configured correctly and that you have the correct credentials.
Ask if there are any network-wide issues or changes in policy that might be affecting your ability to authenticate.
9. Use a Different Connection
If Possible:
Try connecting to a different network that doesn’t require a proxy (e.g., a mobile hotspot, public Wi-Fi, or home network).
This can help determine if the issue is related to the proxy server or your device’s configuration.
10. Update or Reinstall the Application
Update the Application:
Ensure that the application you’re using is up-to-date. Developers often release updates that fix bugs or improve compatibility with proxy servers.
Check for updates in the application’s settings or download the latest version from the official website.
Reinstall the Application:
If the issue persists, consider uninstalling and reinstalling the application. This can resolve any configuration issues or corrupted files that might be causing the proxy authentication error.
Status Code in Apidog
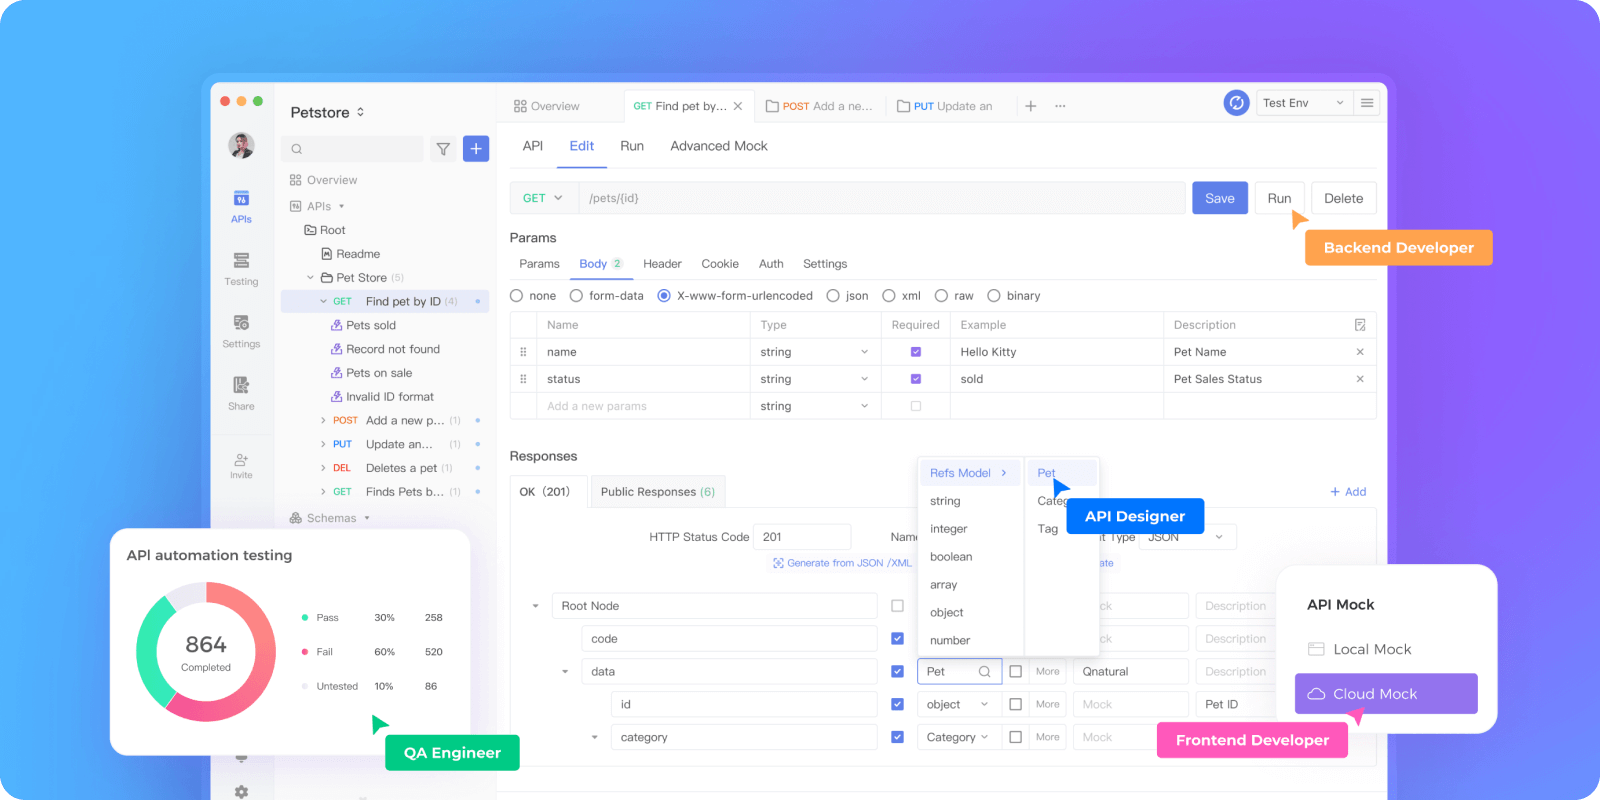
Apidog is a powerful API management tool that simplifies the creation, modification, and observation of API response codes. It accommodates various client-server interaction scenarios, allowing developers to craft response codes that effectively address both client and server issues.
Users can easily view potential API responses by selecting an API, navigating to the Edit section, and accessing the Responses area. Here, they can find existing codes such as OK (200), Record Not Found (404), and Invalid Input (400), which can vary based on selected HTTP methods like GET, POST, PUT, and DELETE.
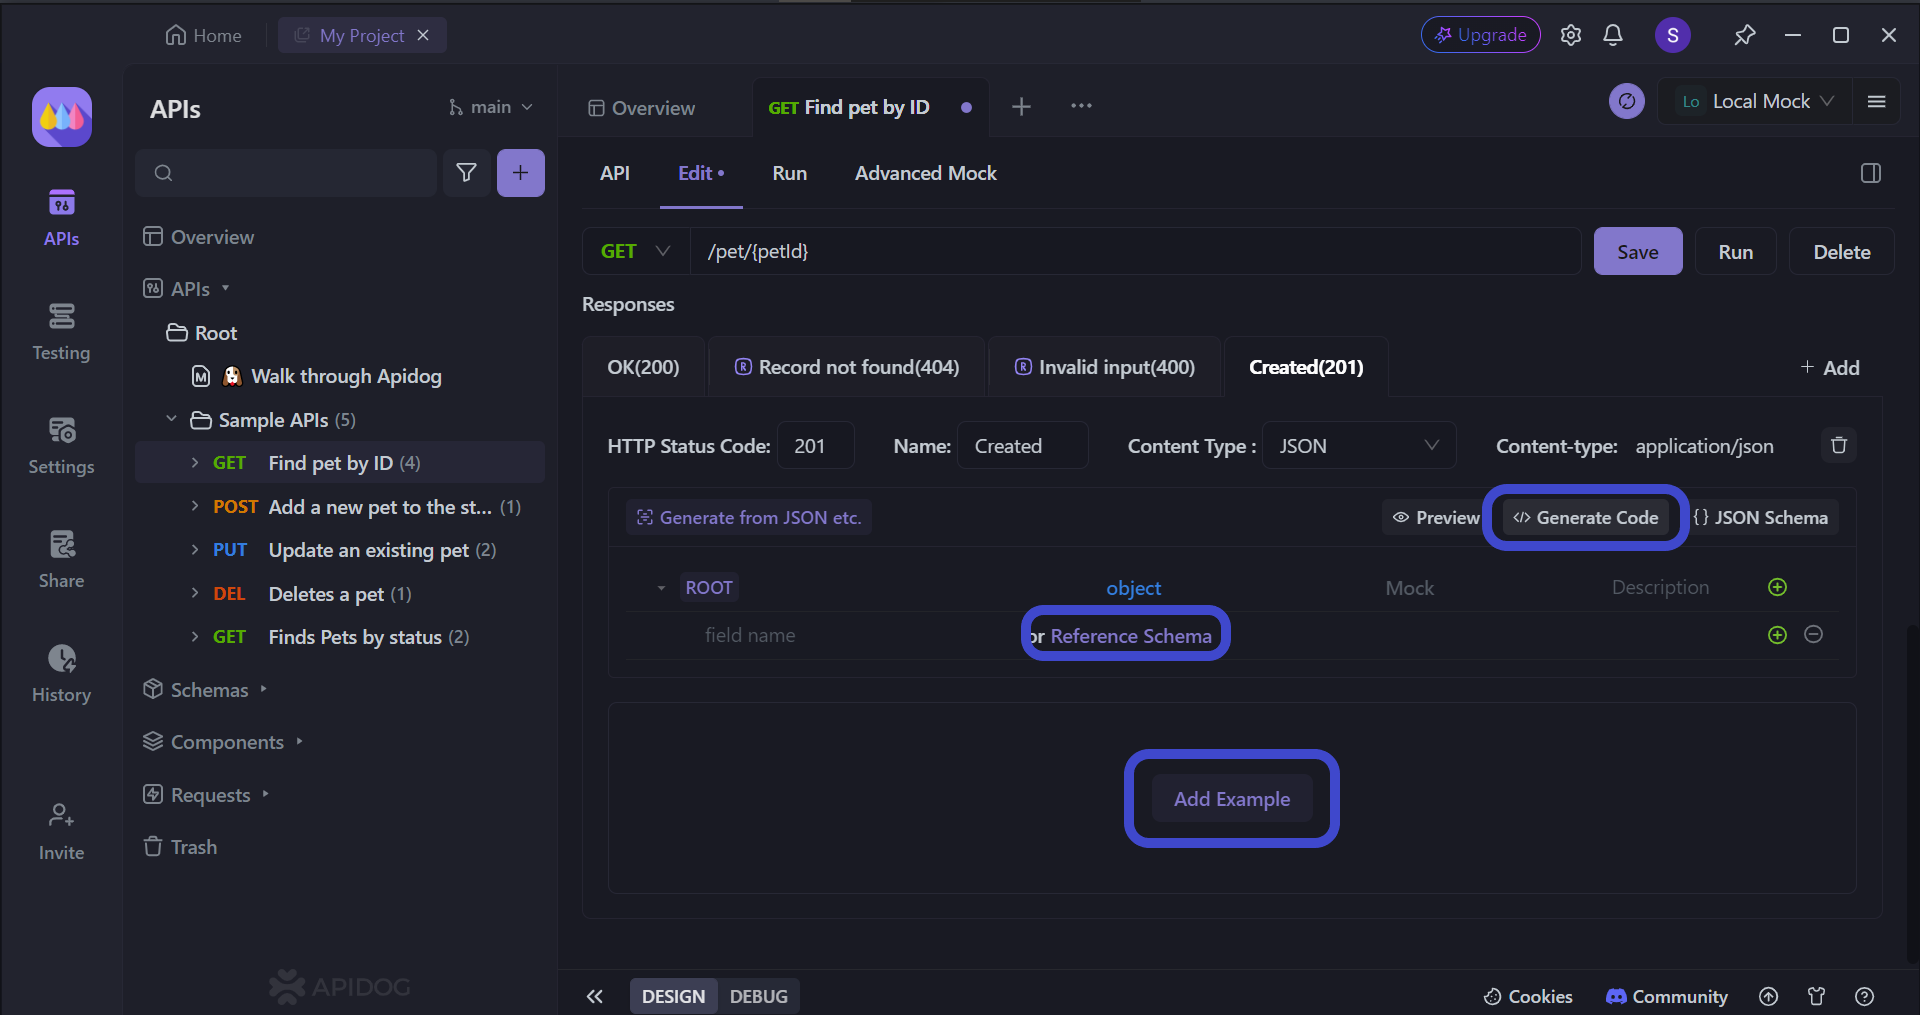
Additionally, Apidog enables the creation of new response codes to address different situations during interactions. Developers can use the + Add button to create a custom response, providing an intuitive name and corresponding HTTP status code.
Furthermore, Apidog allows personalization through automatic code generation or schema references, helping developers refine their API responses effectively. Overall, Apidog streamlines the management of API response codes, enhancing the development process and fostering the creation of user-friendly applications.
Conclusion
By following this detailed guide, you should be able to resolve the HTTP 407 Proxy Authentication Required error. If the problem continues, it might be due to more complex network configurations or restrictions, in which case further assistance from your network administrator or IT department may be necessary.