HTTP status code 405, also known as "Method Not Allowed", is a common response developer encounter when working with REST APIs. But what causes 405 errors, and how should you handle them in your code? In this post, we’ll cover 405 in depth with examples.
What is an HTTP 405 Error?
An HTTP 405 error is a response status in the Hypertext Transfer Protocol (HTTP) that indicates a specific type of request error. This protocol enables navigation on the internet by allowing hyperlinks in hypertext documents to direct users to other websites. When a user interacts with a website, such as requesting information or following a link, the website may respond with a status code like 405 to signal improper handling of the request.
This error signifies that the server received the request, recognized its validity, and acknowledged the existence of the requested resource. However, it cannot fulfill the request because the HTTP method used is not supported by the server for that particular resource. The error message typically offers minimal explanation beyond indicating the method rejection.
While relatively uncommon, this error can appear with various messages depending on the browser and operating system being used. Examples include "405 Not Allowed," "Method Not Allowed," or "HTTP Error 405 – Method Not Allowed." These messages convey the server's inability to process the request due to the unsupported HTTP method, such as GET, POST, or PUT.
Reasons of HTTP Error 405 Method Not Allowed
HTTP status code 405 is used to indicate that the server recognizes the request method (such as GET, POST, PUT, DELETE, etc.), but that method is not allowed for the requested resource. This can happen for various reasons, such as:
- Incorrect HTTP method: The client may be using an incorrect HTTP method to access the resource. For example, if a resource only allows GET requests, but the client sends a POST request, the server will respond with a 405 status code.
- Lack of permissions: The client may have the correct HTTP method, but does not have the necessary permissions to access the resource using that method. For example, a user may have read-only access to a resource, but tries to perform a write operation using a PUT or POST request.
- Resource configuration: The server may be configured to only allow certain HTTP methods for a specific resource. For example, a server may only allow GET and HEAD requests for static files, but not POST or PUT requests.
When a server returns a 405 status code, it typically includes an "Allow" header in the response. This header specifies the HTTP methods that are allowed for the requested resource. The client can then use this information to make a subsequent request with an appropriate method.

Fix HTTP Error 405 Method Not Allowed in 7 Ways
Before diving into troubleshooting, make sure to back up your database, website, or application data. Here are seven effective methods to tackle the HTTP 405 error:
1. Review the Website's URL
Take a moment to double-check the URL for accuracy. Typos or misspellings in the URL can lead to the HTTP 405 error. Some websites might automatically redirect you from a mistyped URL to the correct one, while others may block access altogether. If you suspect a typo, refreshing the page or manually correcting the URL could resolve the issue.
2. Rollback Recent Upgrades
If you've recently updated your system or installed new software, these changes might be causing compatibility issues, resulting in the HTTP 405 error. Consider reverting to a previous version of the software or system configuration to see if that resolves the problem. Check for any recent updates or installations that coincide with the appearance of the error.
3. Remove New Plugins, Extensions, or Modules
Newly installed plugins, extensions, or modules can sometimes conflict with existing software, leading to HTTP 405 errors. Try uninstalling any plugins or extensions that you've recently added to your system. Look for plugins related to tasks such as document checking, audio editing, or video processing, as these could be potential sources of the problem.
4. Validate Database Integrity
Even after removing plugins or rolling back updates, residual changes in the database could still trigger the HTTP 405 error. Take a closer look at your database to identify any unexpected modifications. Search for recently altered items and consider reverting them to their previous state to restore database integrity.
5. Audit Web Server Configuration
Misconfigurations in your web server settings can also cause HTTP 405 errors. Check the configuration files for your web server software (such as Apache or nginx) for any irregularities. Pay special attention to redirect instructions, as incorrect configurations here can lead to errors. Make necessary adjustments to the configuration files to rectify any issues.
6. Review Web Server Logs
Your web server logs can provide valuable insights into the origin of the HTTP 405 error. Take some time to examine the logs and look for any entries related to the error. Pay attention to the timing of the errors and any patterns that emerge. By analyzing the logs, you may be able to pinpoint the underlying cause of the error and take appropriate action to resolve it.
7. Debug Application Scripts or Code
Custom scripts or code within your application could be triggering the HTTP 405 error. Take a closer look at the code and try to identify any potential issues. Consider running the application in a debugging environment to trace the source of the error. By systematically debugging the code, you may be able to identify and address the underlying problem.
Following these seven steps carefully can help you diagnose and resolve HTTP 405 errors, restoring normal operation to your system, website, or application.
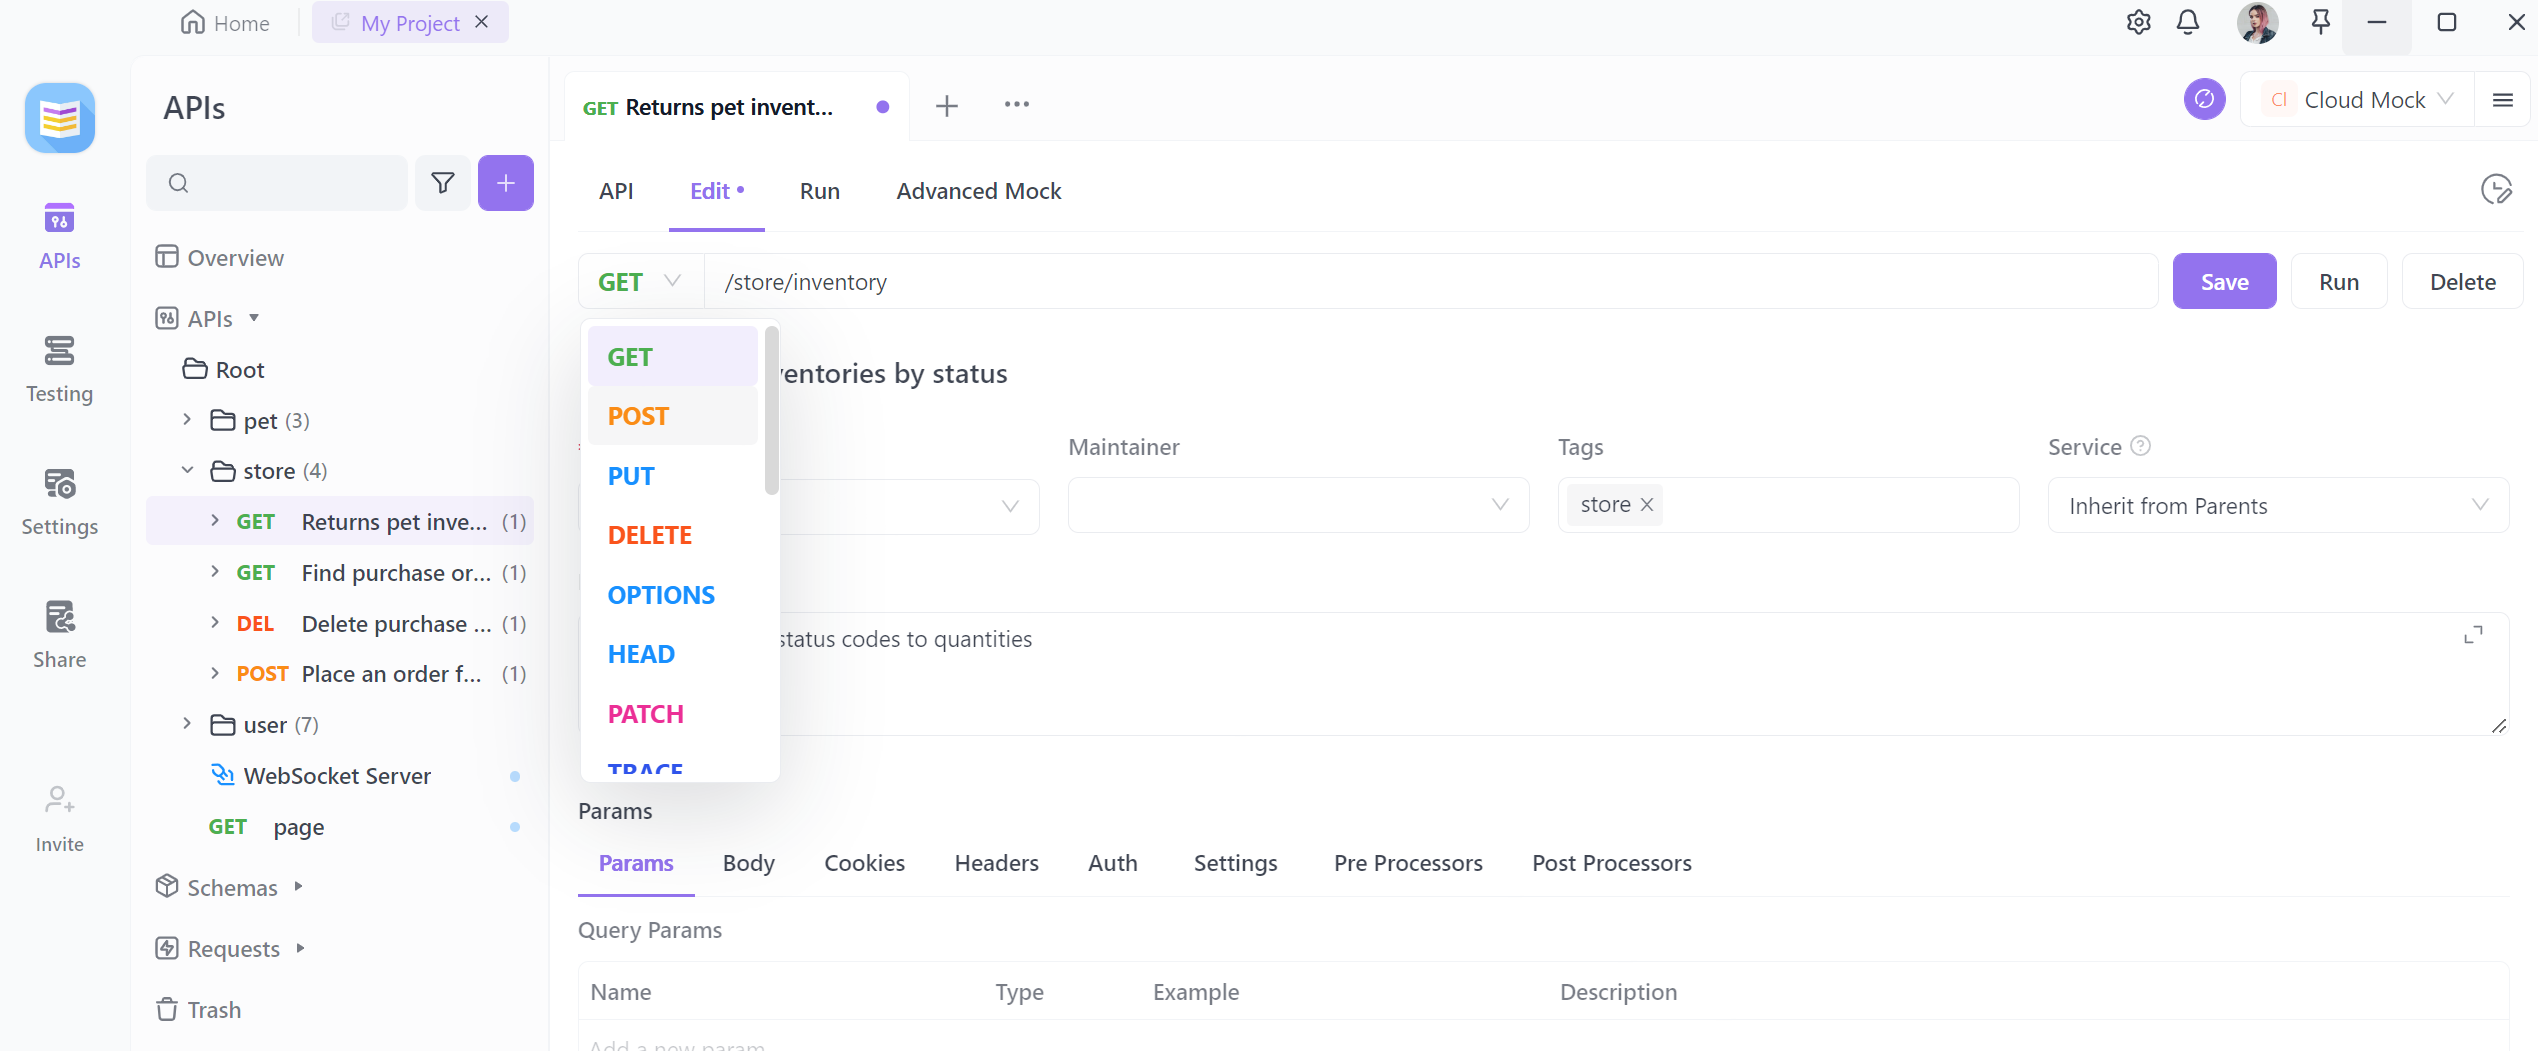
Apidog is a powerful API testing platform that can help debug API issues. When encountering a 405 error, Apidog can be used to identify the cause. In Apidog, you can create a standard request as a normal baseline test case. Copy this request and modify the method, observe the response to determine if the client and server methods match.

The mock functionality in Apidog allows sending OPTIONS requests to get the supported methods for the API. By adding or modifying authentication information in the request headers, you can evaluate if the authorization process is correct. Modifying the URL parameters and testing different paths can ensure the request is routed properly.
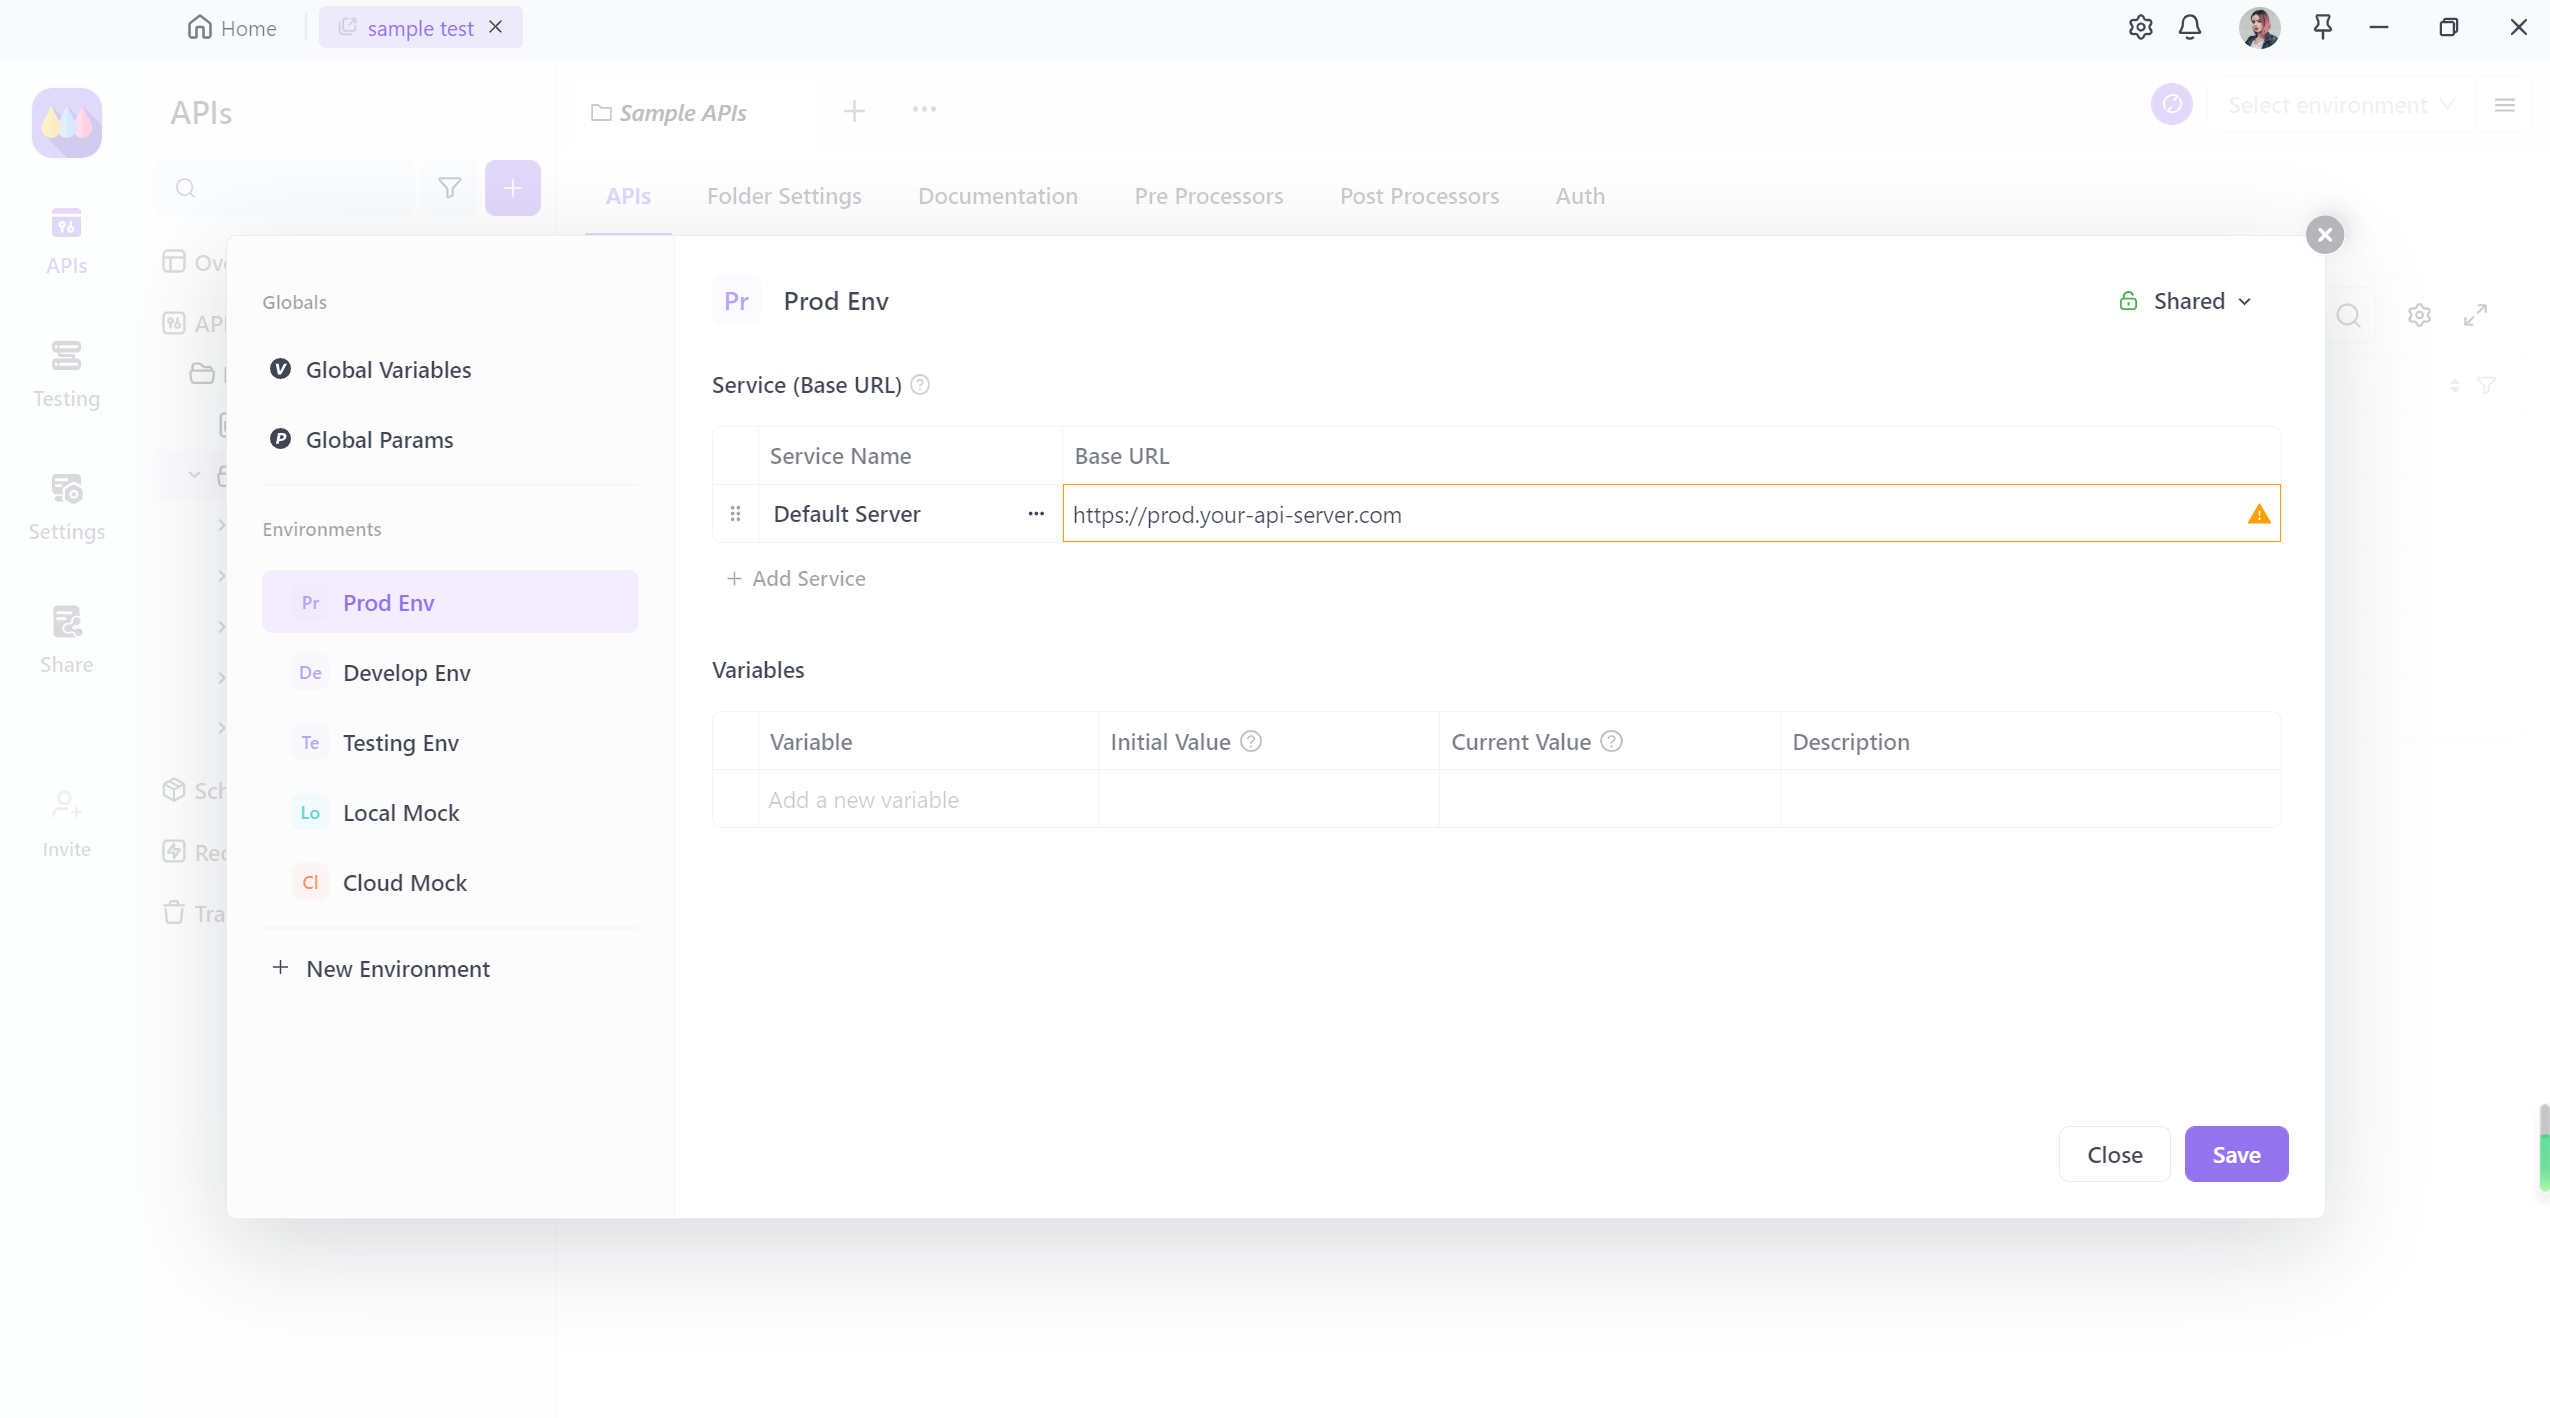
Combining analysis with server-side logs allows quick identification and resolution of 405 errors. Apidog also provides advanced features like environment management and scripting to further improve debugging efficiency. Its collaboration mechanisms can also facilitate sharing of test cases between teams.

In summary, leveraging Apidog's comprehensive feature set for testing can more efficiently analyze, pinpoint 405 errors and fix API faults. Apidog is a powerful tool for debugging interface issues.


