Looking to automate workflows and boost productivity without deep coding? n8n, an open-source automation platform, lets you connect APIs, data, and AI models in powerful ways. In this guide, you'll learn how to self-host n8n using Docker Desktop and build an AI agent that fetches and formats Wikipedia content—ideal for backend engineers and API-focused teams.
💡 Need more from your API workflows? Apidog generates beautiful API documentation and offers an all-in-one platform for collaborative, high-productivity development. See how Apidog can replace Postman at a better price and help your team deliver faster. Discover integrated API collaboration tools.
Cloud vs. Self-Hosting n8n: Which Should You Choose?
n8n offers flexibility—run it in the cloud or self-host. If you prefer not to install Docker Desktop, simply sign up for an account at the n8n Cloud AI Workflow Automation Platform.
For this tutorial, we’ll focus on self-hosting n8n with Docker Desktop, giving you full control over your automation environment.
Setting Up Docker Desktop for n8n
To get started:
- Download Docker Desktop from docker.com/products/docker-desktop and install it for your OS.
- Open Docker Desktop and create/log into your account.
Pulling and Running n8n via Docker Desktop
- In Docker Desktop, go to "Images" and search for "n8n".
- Click "Pull" to download the image.
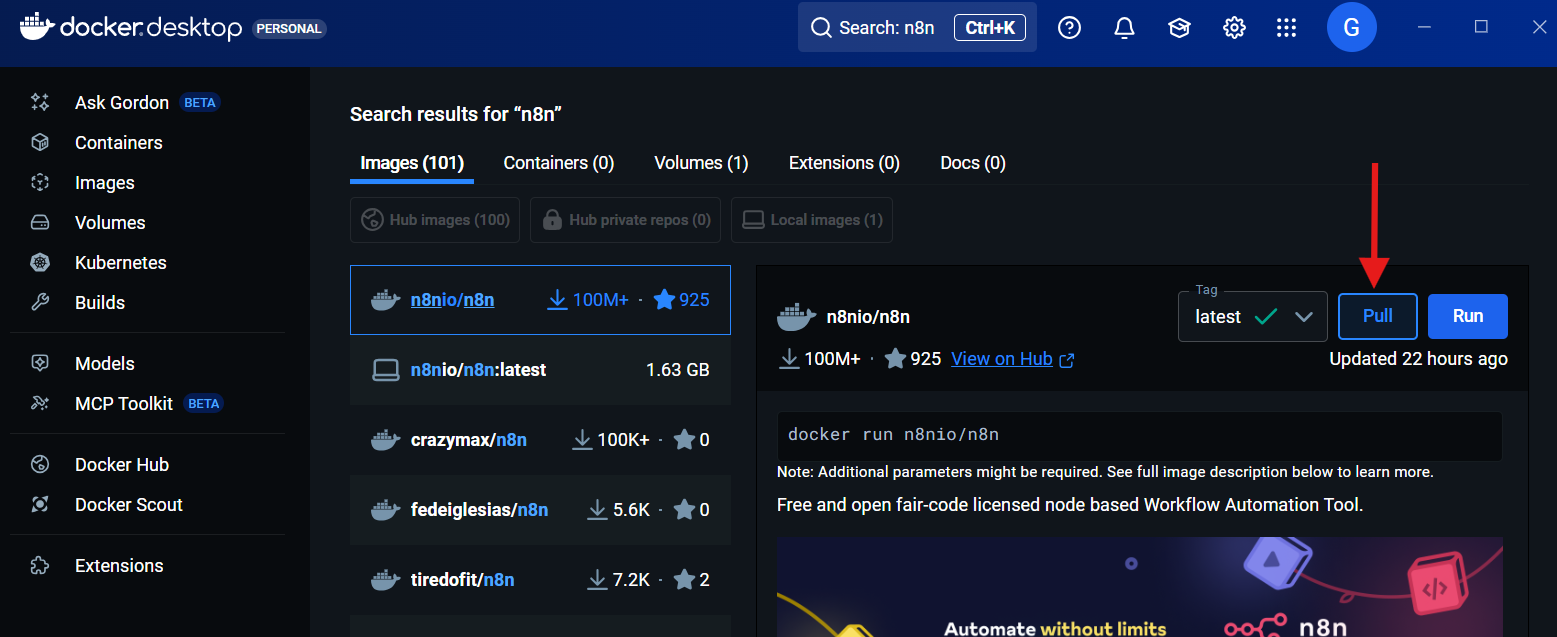
- Once pulled, click "Run" to start n8n.
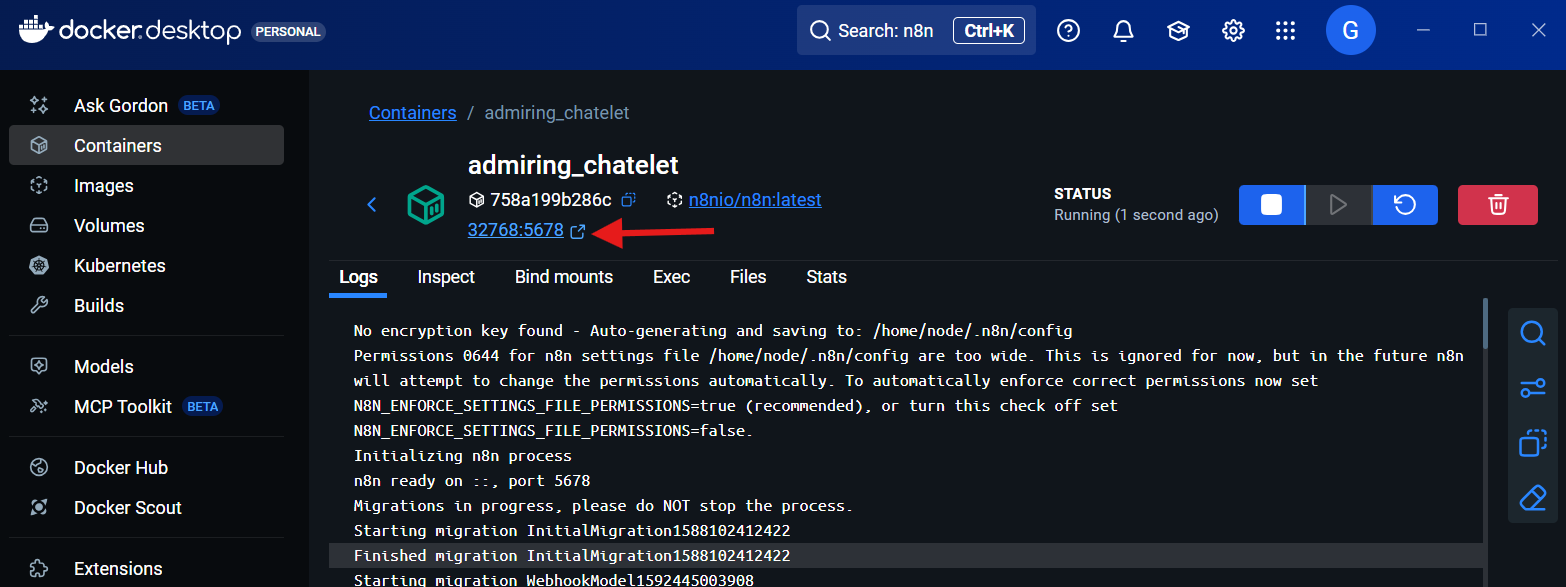
- Visit
http://localhost:5678in your browser.
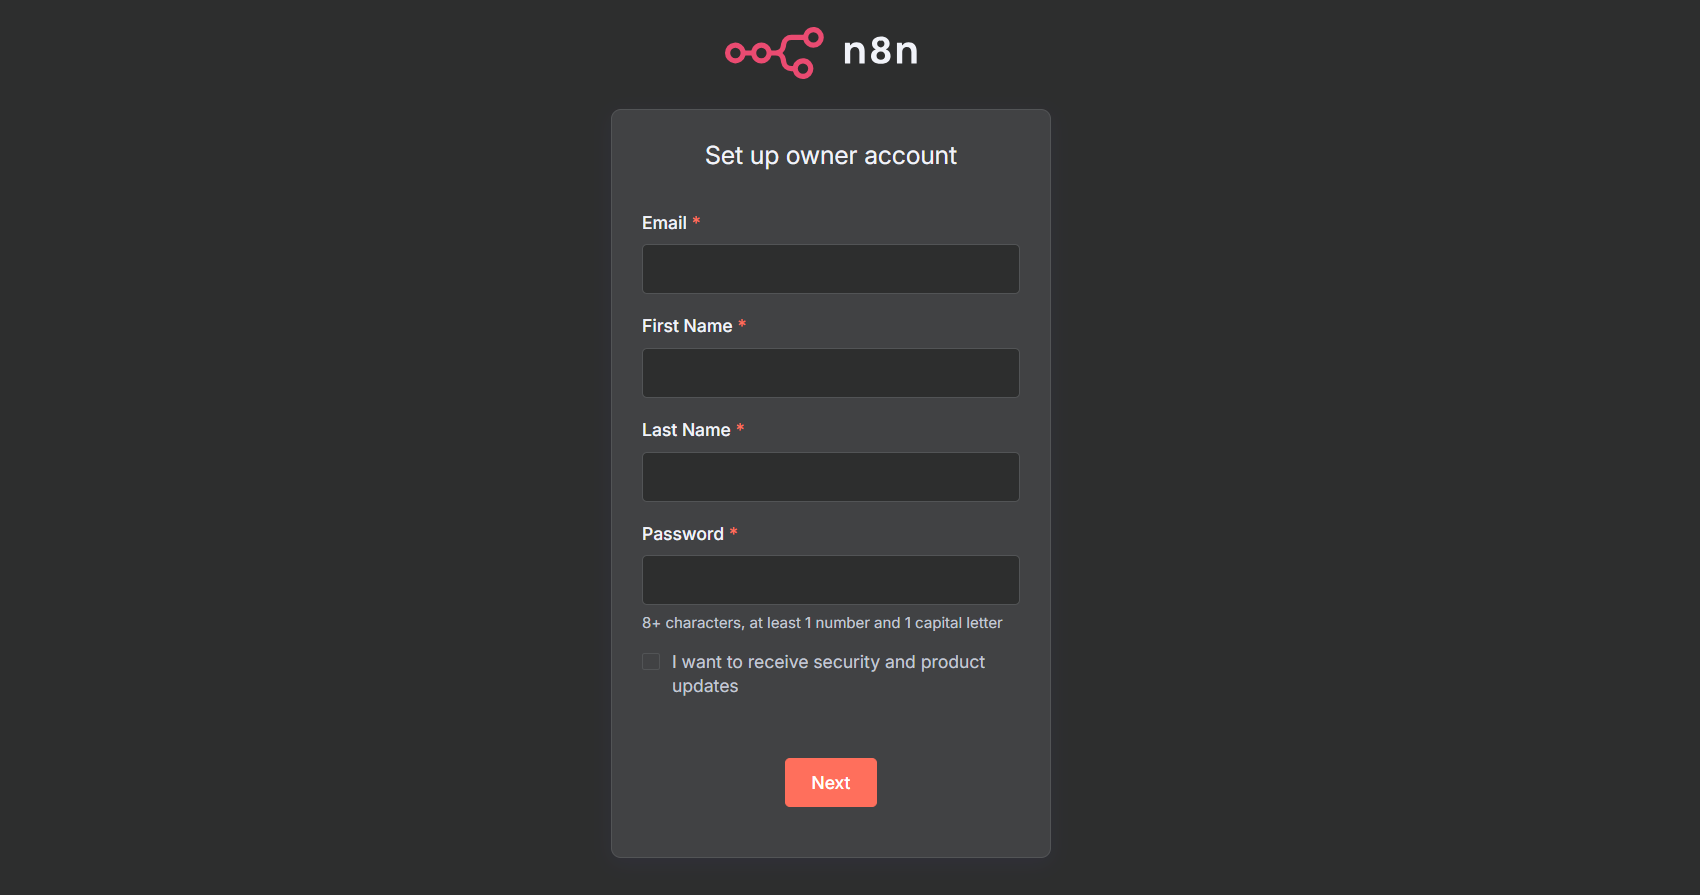
- Create a new n8n account in your browser tab when prompted.
You’re now ready to start building automated AI agents.
Explore n8n's Built-in AI Agent Examples
n8n offers prebuilt AI agent templates. For a quick start, select "Test a simple AI Agent Example." However, this guide walks you through creating an agent from scratch, giving you deeper understanding and flexibility.
Step-by-Step: Build an AI Agent That Fetches Wikipedia Data
We’ll create an AI agent ("Bob") that accepts user input, pulls relevant data from Wikipedia, and formats it using HTML. You can adapt these steps for any automation scenario—from API testing bots to workflow assistants.
- Start a New Workflow:
- Select "Start from Scratch" on the n8n homepage.
- You’ll see a blank workspace.
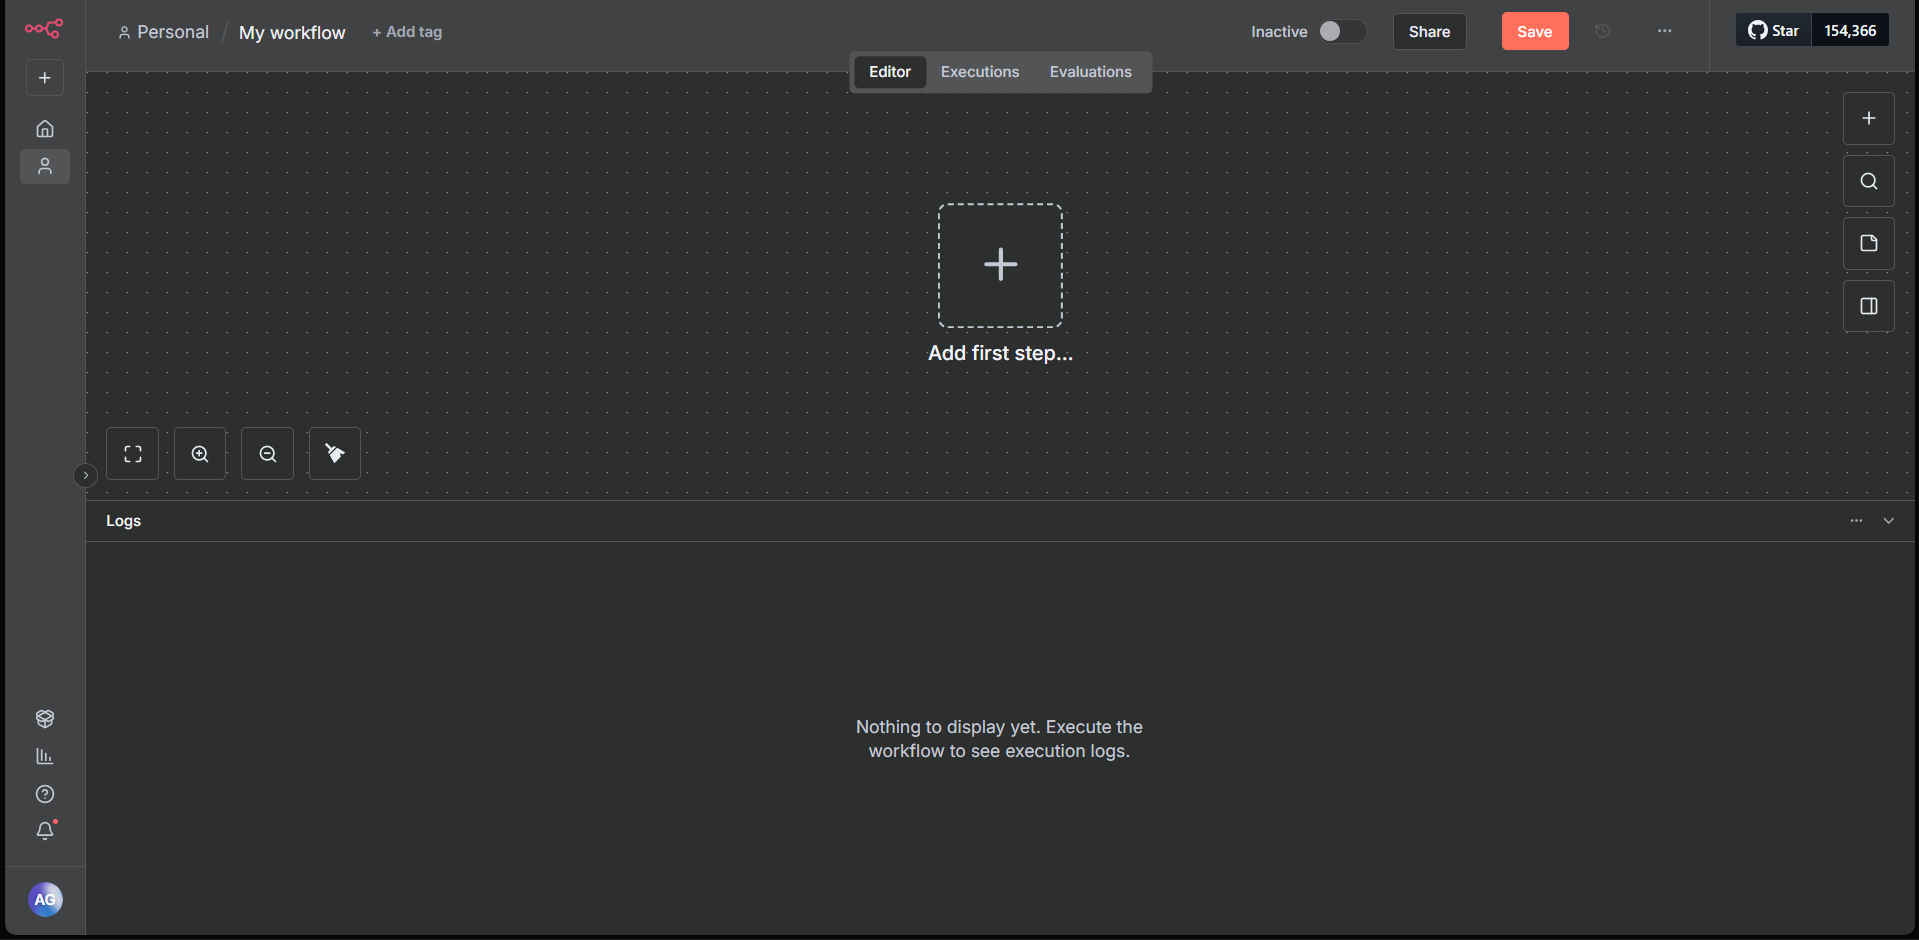
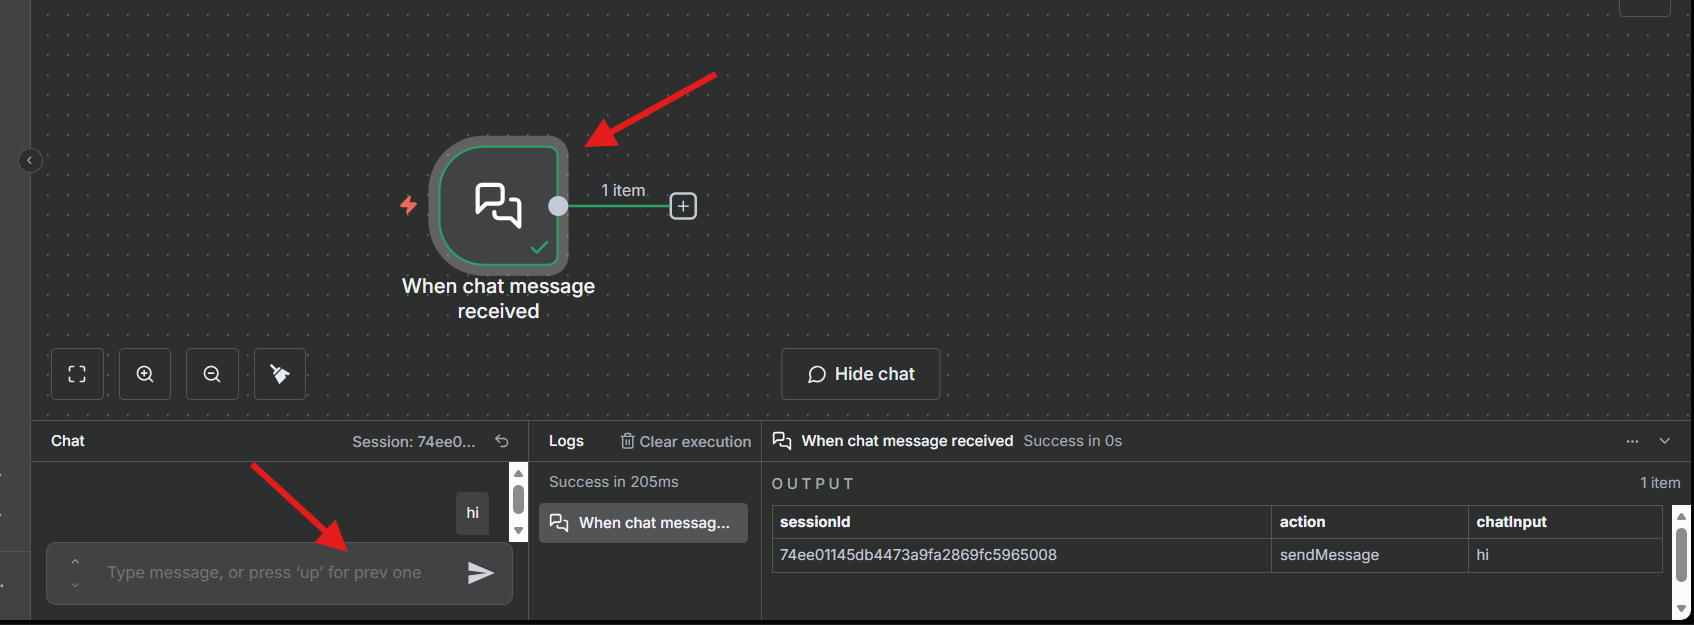
1. Add a Chat Interface
- Click "Add a first step."
- Search for "chat" in the sidebar and select "Chat Trigger."
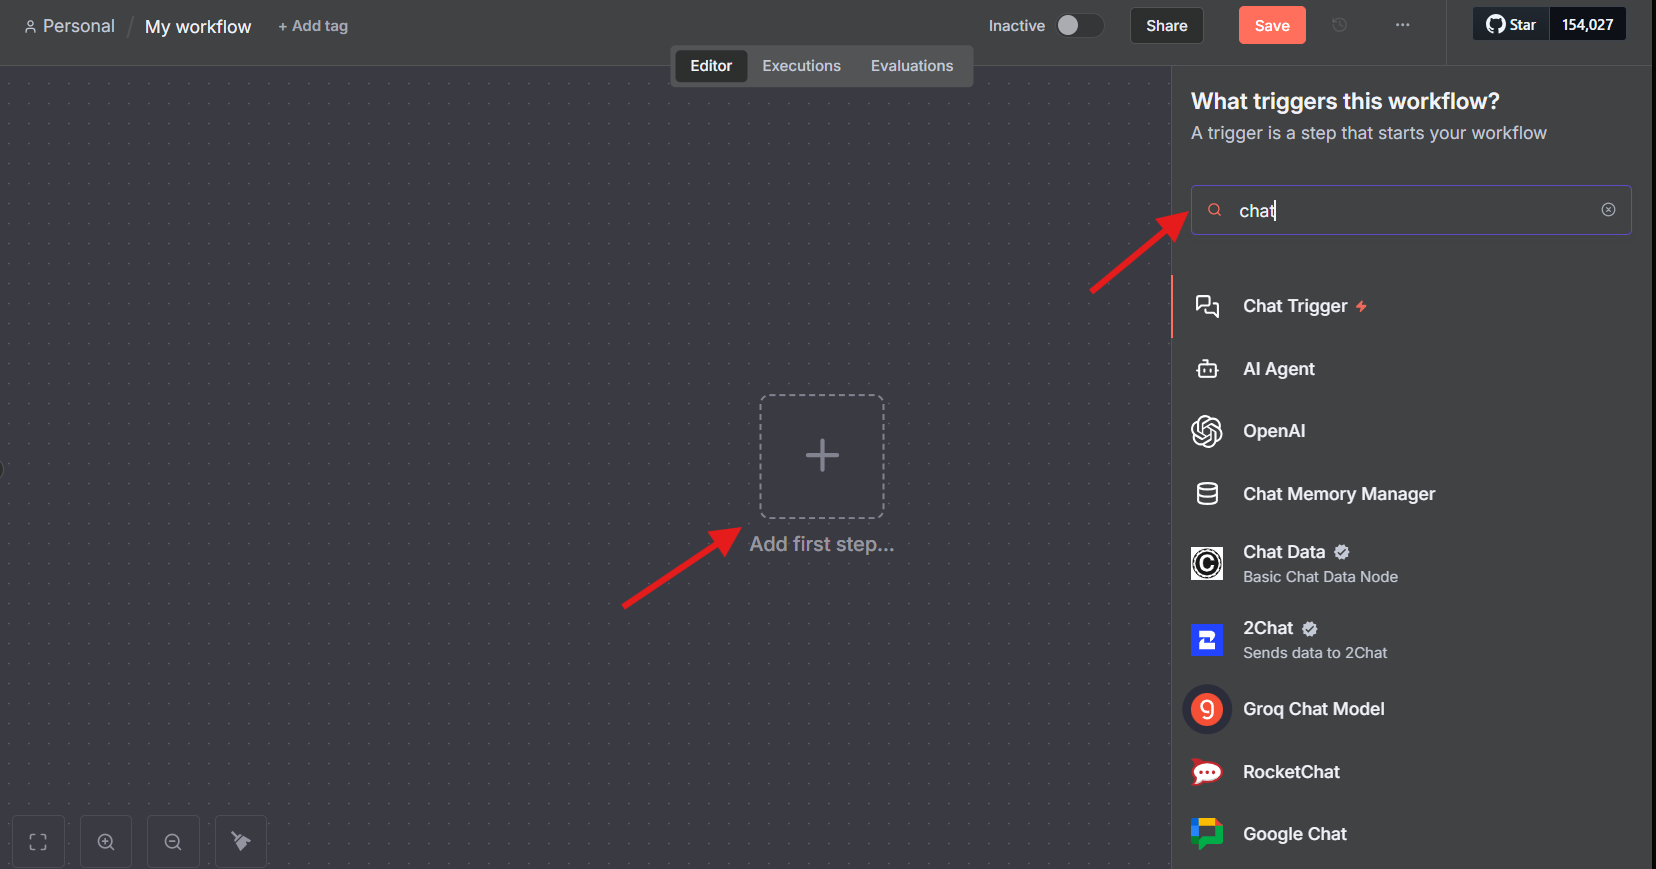
- Test it: Open the chat panel, type "Hi," and confirm the Chat Trigger node turns green.
2. Add the AI Agent Node
- Use the "+" button in the node panel.
- Select "AI" > "AI Agent" from the list.
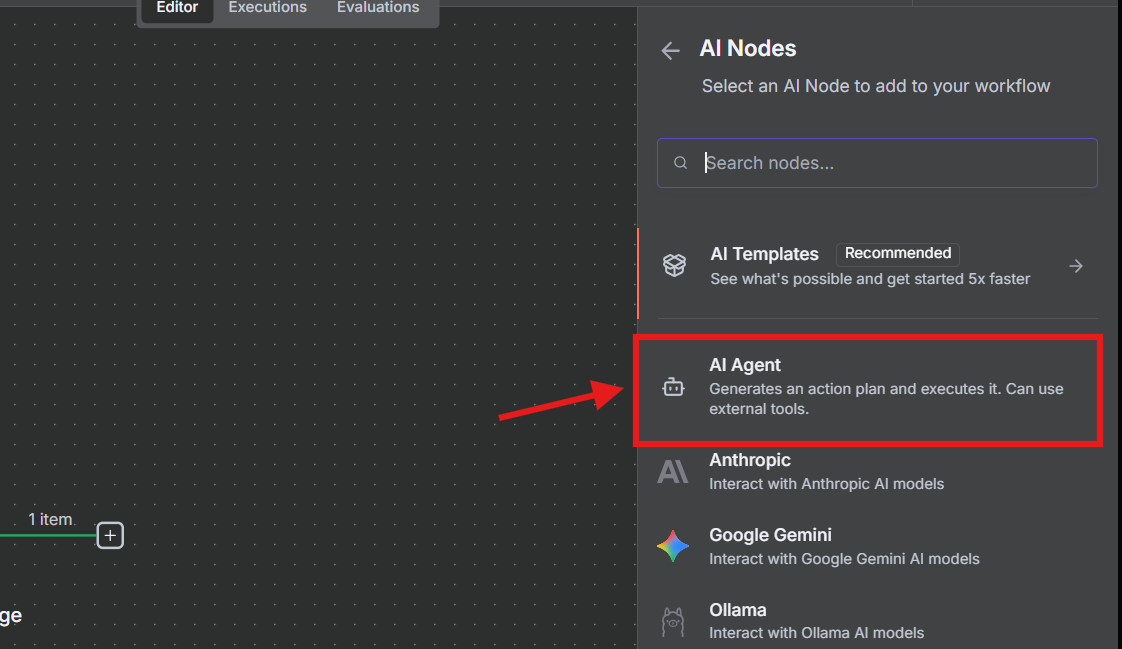
- Your workflow should now have two nodes: Chat Trigger → AI Agent.
0
3. Connect to an AI Model (OpenAI GPT)
- Search for "OpenAI Chat Model" in the node panel and add it.
1
- Get an API key from OpenAI's API keys page.
2
- In n8n, select "Select Credential," paste your API key, and choose your model (e.g., GPT-4o-mini).
3
4
- Test by sending "Hi" in the chat panel; a green node means it works.
5
4. Give Your Agent Short-Term Memory
- Search "memory" in the node panel and add "Simple Memory."
- Connect it to the Chat Trigger.
6
- Test with:
- Say "Hi"
- Then ask, "What did I just say?"
Bob should now remember the previous input.
7
5. Integrate Wikipedia Data
- Add the "Wikipedia" node from the node panel.
- Connect it to your workflow.
8
- Test with a prompt like: "Tell me something about cats from Wikipedia."
6. Apply Prompt Engineering
Refine your agent’s instructions for consistent, structured responses.
- Open the AI Agent node.
- Under "System Message," paste:
9
Role: You are a research assistant

User_Input: {{ $json.chatInput }}

Expected_structure: { 'title': 'Your title about what user is looking for', 'body': 'Your content from Wikipedia' }

Task: Your job is to look up information about User_Input from Wikipedia and return the output in JSON format following the Expected_Structure.
7. Format Results with HTML
- Add the "HTML" tool node; select "Generate HTML."
- Replace the code in the parameters section with:
<!DOCTYPE html>
<html>
<head>
  <meta charset="UTF-8" />
  <title>Generated Document</title>
  <style>
    body { font-family: Arial, sans-serif; margin: 24px; }
    .container { max-width: 700px; margin: auto; background: #fff; padding: 20px; border: 1px solid #eee; border-radius: 8px; }
    h1 { color: #ff6d5a; font-size: 32px; margin-bottom: 12px; }
    p  { color: #333; font-size: 16px; white-space: pre-line; line-height:1.5; }
  </style>
</head>
<body>
  <div class="container">
    <h1>{{ $json.output ? JSON.parse($json.output).title : 'No Title' }}</h1>
    <p>{{ $json.output ? JSON.parse($json.output).body : 'No content available.' }}</p>
  </div>
</body>
</html>
0
- This step ensures your agent displays responses in a clean, readable HTML format.
Your workflow should now look like this:
1
Test and Expand Your n8n AI Agent
You’ve built a functional n8n agent that:
- Accepts user input via chat
- Queries Wikipedia for relevant information
- Formats and displays results using HTML
Try asking:
- "What are vision transformers?"
- "Tell me about dogs."
2
Frequently Asked Questions
Q: Is n8n free to self-host?
A: Yes, n8n’s open-source core is free; paid cloud plans add convenience.
Q: What languages can I use for custom nodes?
A: JavaScript is supported for custom nodes, but most workflows use no-code visual options.
Q: Can n8n connect to other AI models?
A: Yes, integrate OpenAI, Anthropic, or other providers using API keys in the AI nodes.
Q: How do I secure my n8n instance?
A: Use HTTPS, manage API keys, rely on Docker isolation, and enable authentication in n8n’s settings.
Q: Is n8n beginner-friendly?
A: Yes—start with templates, then build step-by-step as shown above.
Conclusion
With your first n8n AI agent up and running, you’ve unlocked the power to automate research, reporting, and more with minimal code. For deeper API testing, collaboration, and documentation, Apidog integrates seamlessly into professional developer workflows—offering the tools API teams need to scale.