If you're looking for a powerful tool to test APIs, you've come to the right place. In this blog, we will introduce you to the Advanced REST Client - a popular Chrome extension used for API testing.
Read on to learn how this tool can help you efficiently and effectively test APIs and gain insights into their features and functionalities. Whether you're new to the field or have some experience with API testing, this guide is perfect for you.
What is an Advanced REST client?

Advanced REST Client (ARC) is a Google Chrome extension used for testing, debugging, and documentation of RESTful APIs. ARC provides a user-friendly API for making HTTP requests, sending them to servers, and receiving responses.
How to Test HTTP Requests with Advanced REST Client
When using an Advanced REST client (ARC), you can easily check HTTP request communication by setting items such as request method (GET, POST, etc.) and API endpoint URL.
Step ⒈ Install Advanced REST client
First, you can install a Chrome extension called Advanced REST client by visiting the following page and clicking Add to Chrome.
https://chrome.google.com/webstore/detail/arc-cookie-exchange/apcedakaoficjlofohhcmkkljehnmebp?hl=en

Step 2. Fill in the Method and Request the URL
Then, when you add an extension to Chrome, you need to specify the API's endpoint URL and request method (GET, POST, PUT, etc.).

To provide API authentication, parameters such as API token must be included. Similarly, if you need to send JSON data to the API endpoint, make sure to add the "Content-type" parameter with a value of "application/json".
Step 3: Send Request and Receive Response
Once you have successfully completed all the necessary entries, simply click the Send button to submit the HTTP request to the API endpoint. The server will respond with the required response.

Deprecation of Chrome Extension Support for Advanced REST Client
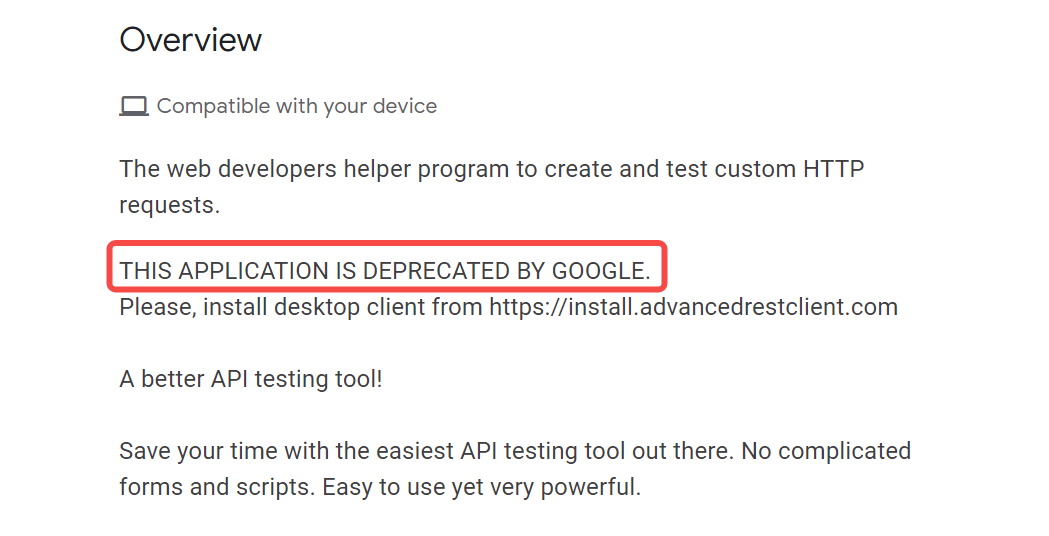
When you access Chrome's web store page for Advanced REST Client, the overview says "THIS APPLICATION IS DEPRECATED BY GOOGLE." In other words, Chrome extension support for Advanced REST Client has ended.

To ensure security and prevent any potential issues, we strongly advise downloading the desktop application of the Advanced REST client exclusively from the official website.
Official site: https://www.advancedrestclient.com/
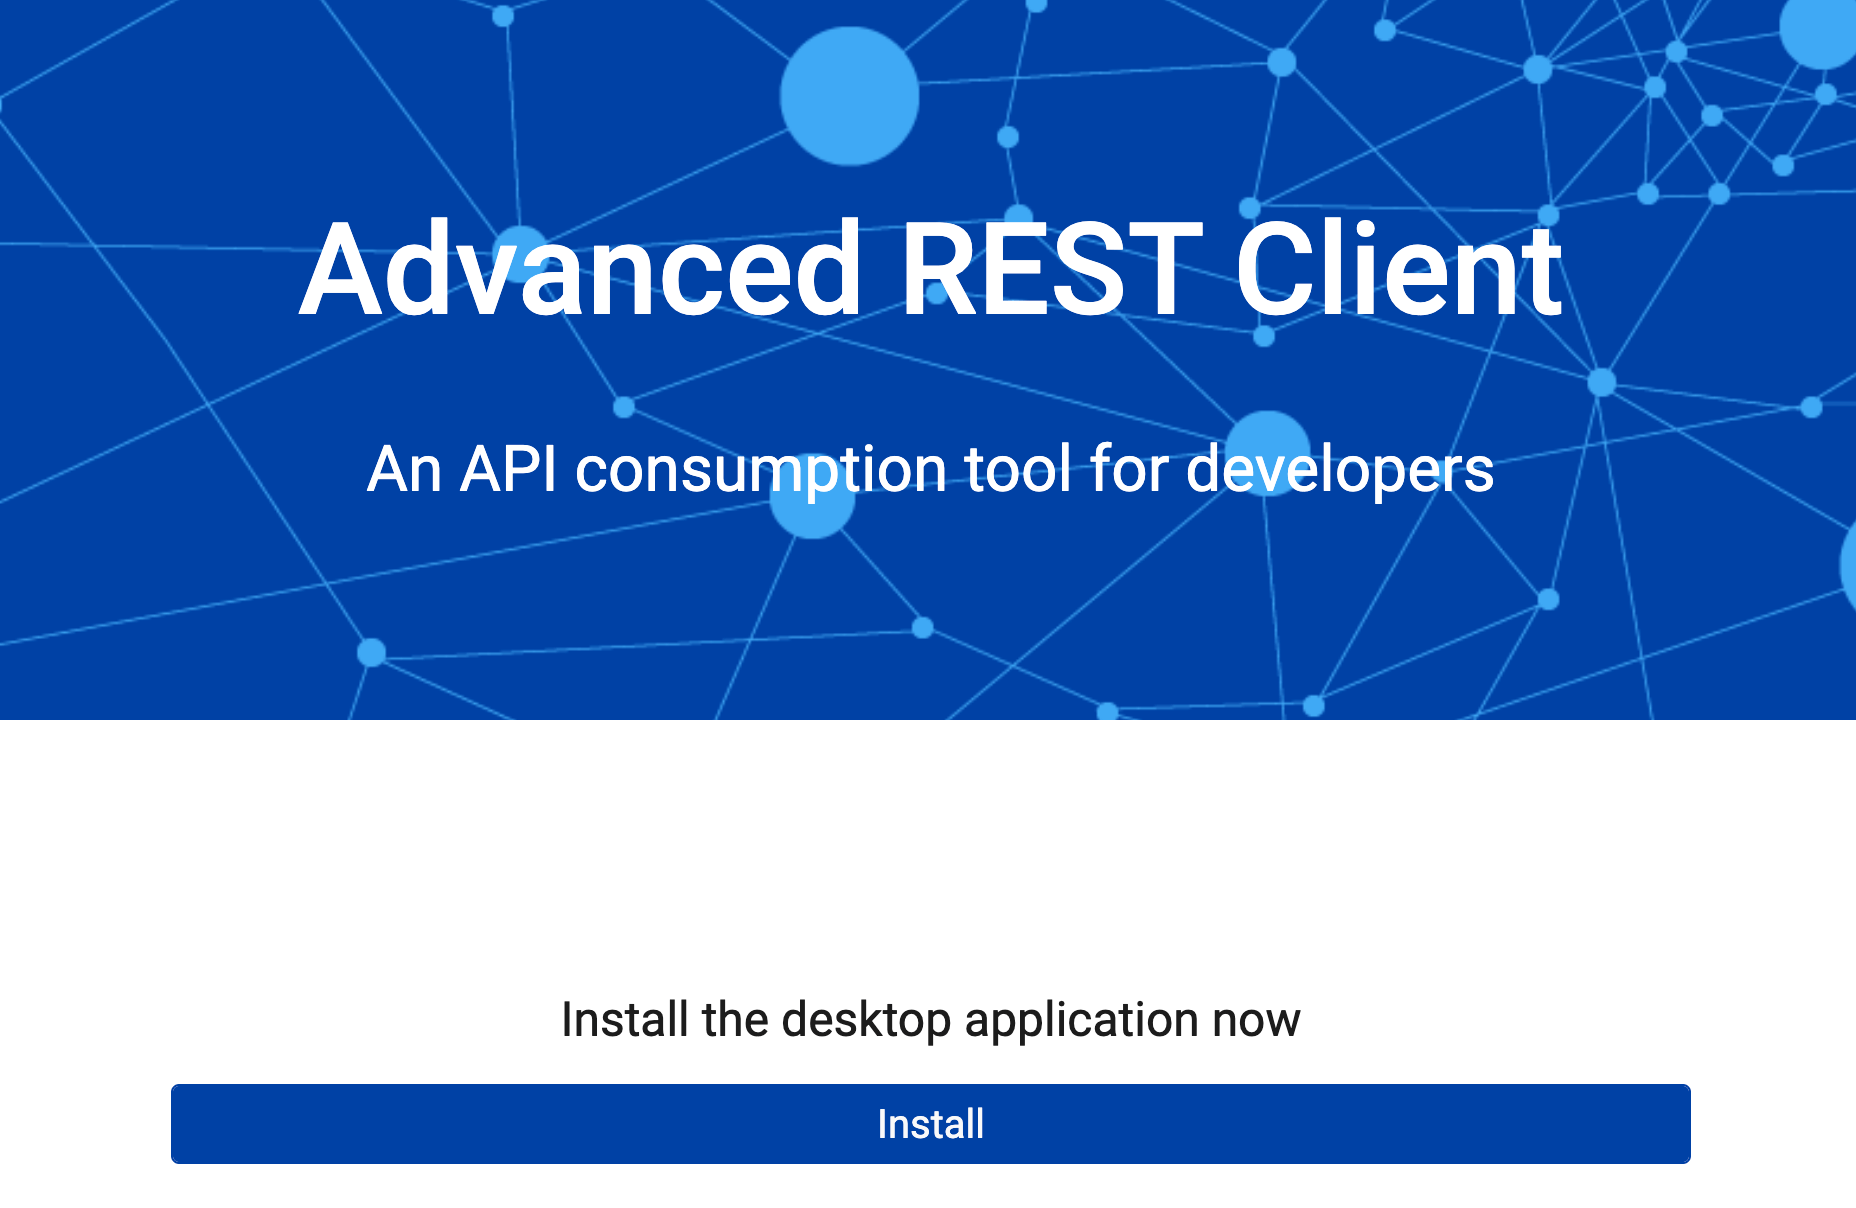
After clicking the "Install" button on the official site, you will be redirected to the GitHub page. After downloading the appropriate file for your device from Github and installing it on your computer, you will be able to use the Advanced REST client desktop app.

Advanced REST client Alternative: Apidog
Apidog not only allows you to send HTTP requests for free, but also has functions such as API design, specification generation, test automation, CI/CD, and API mocking, so it can be used at any stage of the API lifecycle.
You can easily send an HTTP or REST API request and validate the response by referring to the following instructions.
How to Send Rest API with Apidog (Just 3 Steps)
Apidog can also handle APIs that adopt protocols such as RESTful, SOAP, WebSocket, GraphQL, etc. Next, we will use Restful (HTTP) API as an example to send a request
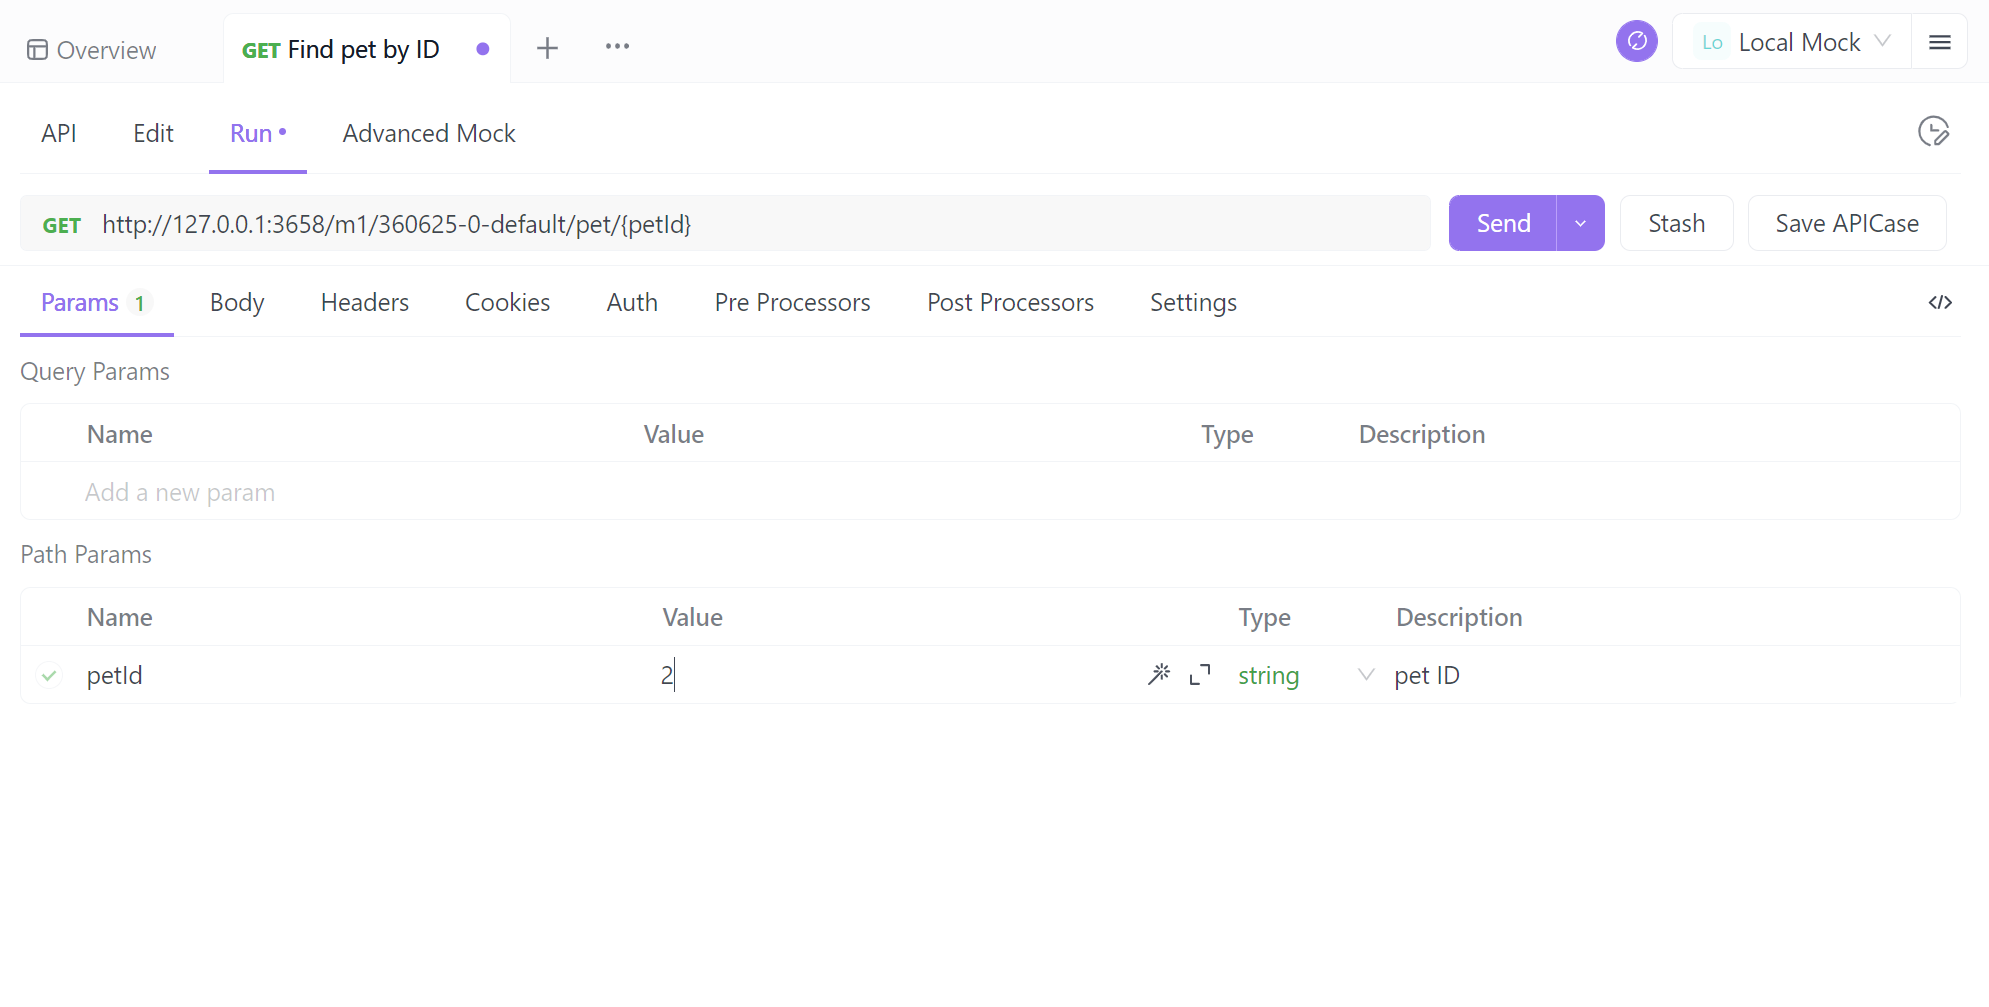
Step ⒈ On the Run API page, just enter the HTTP method, API endpoint and parameters, and click the " Send " button to send the HTTP request.

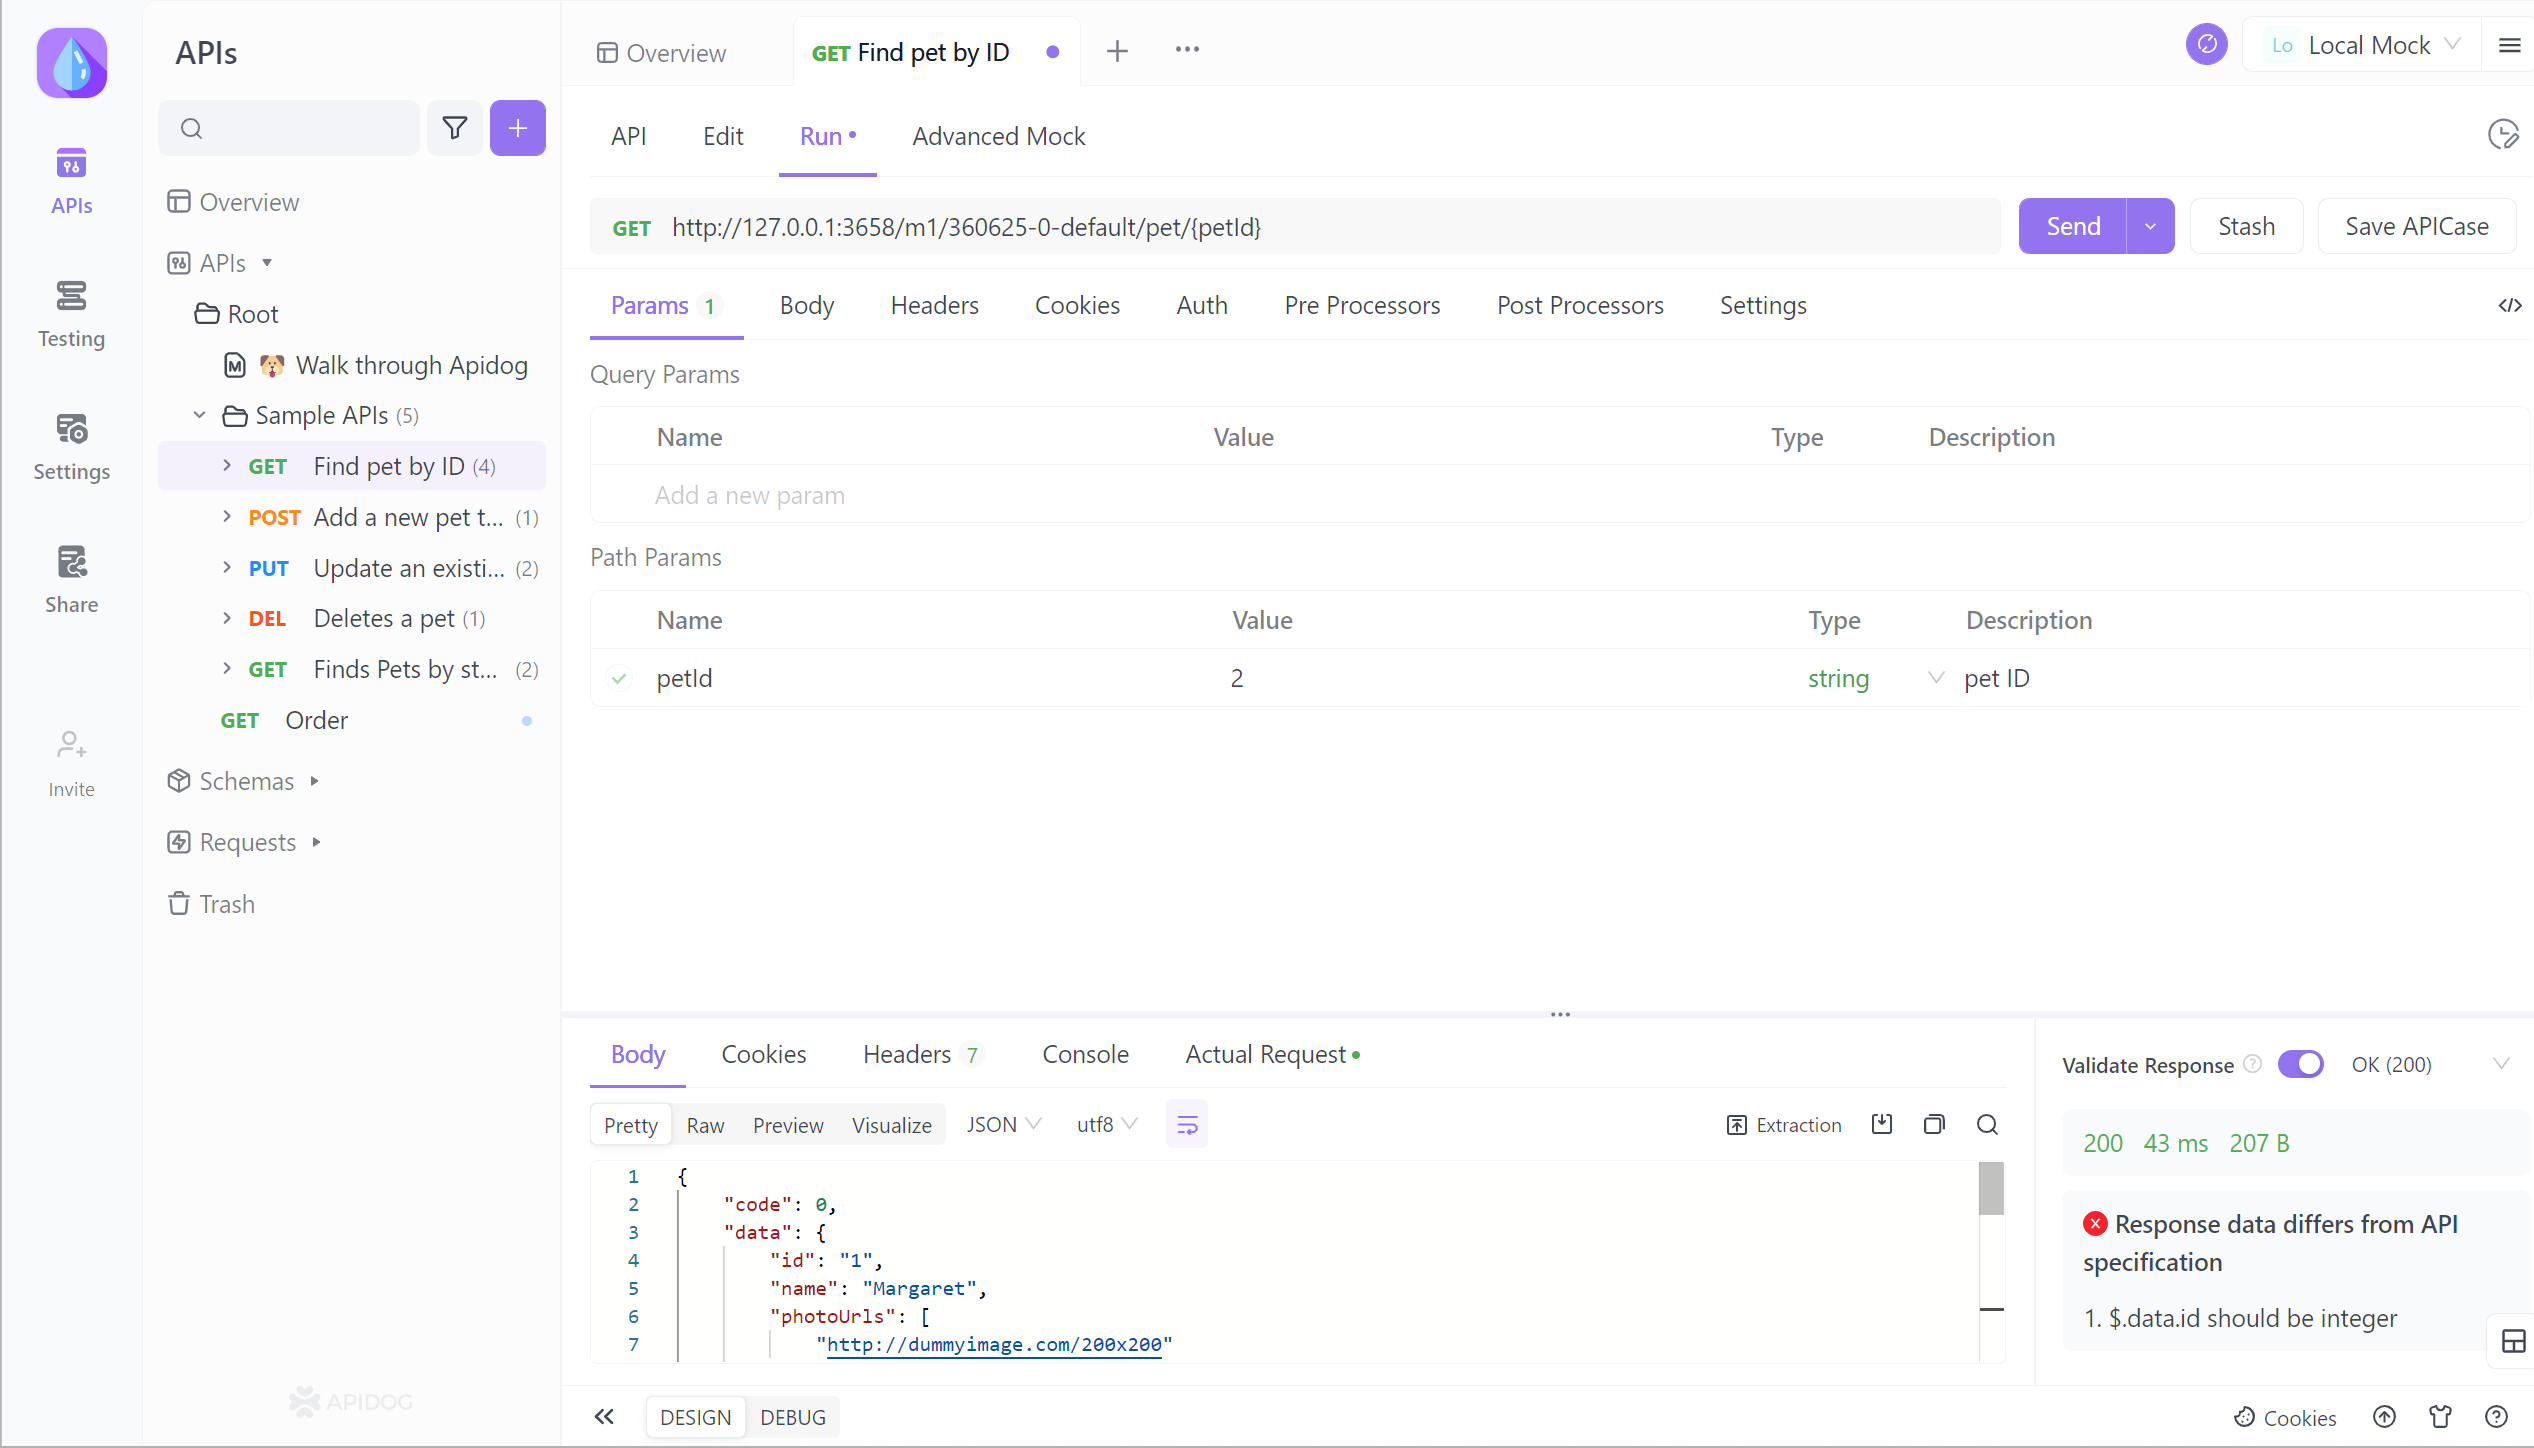
Step ⒉ Get the response here. It automatically verifies that the response you get is correct.

Step 3. You can also save this API such as the request sent this time and its response as APICase. The next time you refer to this case, it will be directly available, which is very convenient.


