Hey there, fellow developers! If you're working with Spring Boot, you know how crucial it is to document your APIs. A well-documented API is like a well-written instruction manual—it makes everyone's life easier, from developers to end-users. Today, we’re diving into a Spring Boot API documentation example using a fantastic tool called Apidog. By the end of this post, you'll have a solid grasp of how to create clean, comprehensive, and user-friendly API documentation. So, let’s get started!
Why API Documentation Matters
First things first, why should we bother with API documentation? It's simple: good documentation saves time and reduces errors. It provides clear instructions on how to use the API, what to expect, and what responses look like. This is especially important in a collaborative environment where multiple developers might be working on the same project.
What is Apidog?
Before we jump into our Spring Boot API documentation example, let's talk about Apidog. Apidog is a powerful tool designed to simplify API documentation. It offers a user-friendly interface and a plethora of features that make documenting APIs a breeze. With Apidog, you can create interactive API docs, auto-generate code snippets, and even test your APIs—all in one place. Sounds cool, right?
Setting Up Your Spring Boot Project
Alright, let's roll up our sleeves and get to work. The first step is setting up a Spring Boot project. If you’re new to Spring Boot, don’t worry—we’ll go through this step by step.
Step 1: Create a Spring Boot Project
You can create a new Spring Boot project using Spring Initializr. Choose your project settings (like Maven or Gradle, Java version, etc.), and add dependencies such as Spring Web.
curl https://start.spring.io/starter.zip -d dependencies=web -d name=spring-boot-api-example -o spring-boot-api-example.zip
unzip spring-boot-api-example.zip -d spring-boot-api-example
cd spring-boot-api-example
Step 2: Write a Simple API
Let’s create a simple REST API to demonstrate how we can document it. Open your favorite IDE and create a new controller class.
package com.example.api;

import org.springframework.web.bind.annotation.GetMapping;
import org.springframework.web.bind.annotation.RequestMapping;
import org.springframework.web.bind.annotation.RestController;

@RestController
@RequestMapping("/api")
public class ApiController {

    @GetMapping("/greet")
    public String greet() {
        return "Hello, World!";
    }
}
Documenting Your API with Apidog
Now that we have a basic API, it’s time to document it. We’ll use Apidog for this purpose.
Step 1: Create an Apidog Account
First, go to apidog and create an account if you haven’t already. Once you’re logged in, you can start creating and managing your API documentation projects.

Step 2: Creating Your API Request
An API documentation project is composed of various endpoints, each representing a specific API route or functionality. To add an endpoint, click on the "+" button or "New API" within your project.

Step 3: Configure Request Parameters
You'll need to provide details such as the endpoint's URL, description, and request/response details. Now comes the critical part – documenting your endpoints. Apidog makes this process incredibly straightforward. For each endpoint, you can:
- Specify the HTTP method (GET, POST, PUT, DELETE, etc.).
- Define request parameters, including their names, types, and descriptions.
- Describe the expected response, including status codes, response formats (JSON, XML, etc.), and example responses.


Step 4: Generate Your APIs
With Apidog set up, the next step is to generate your Spring Boot APIs.

Here, you can see the interactive documentation generated by Apidog based on your annotations.
Step 5: Sharing API specifications
Once you have defined your API you can use Apidog's sharing feature to generate a very clear API specification and share it with others. Click "Share docs" from the left menu and select "New " to display the following sharing settings. Here, select the API to share, finish setting the security settings and language if necessary, and click "Save".

A new shared item will then appear. Click "Open" and the API specification will appear in your browser.

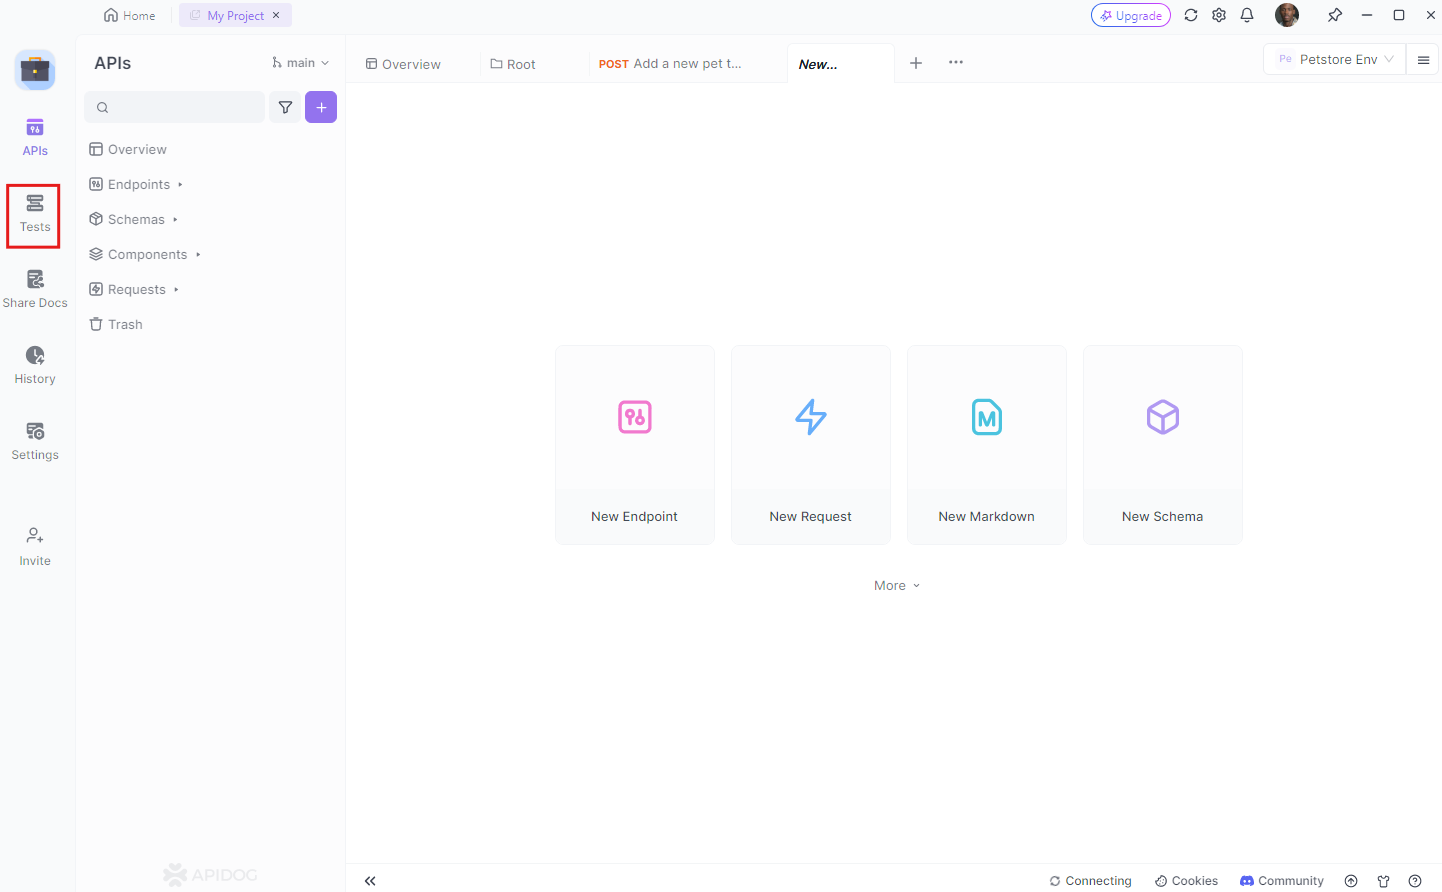
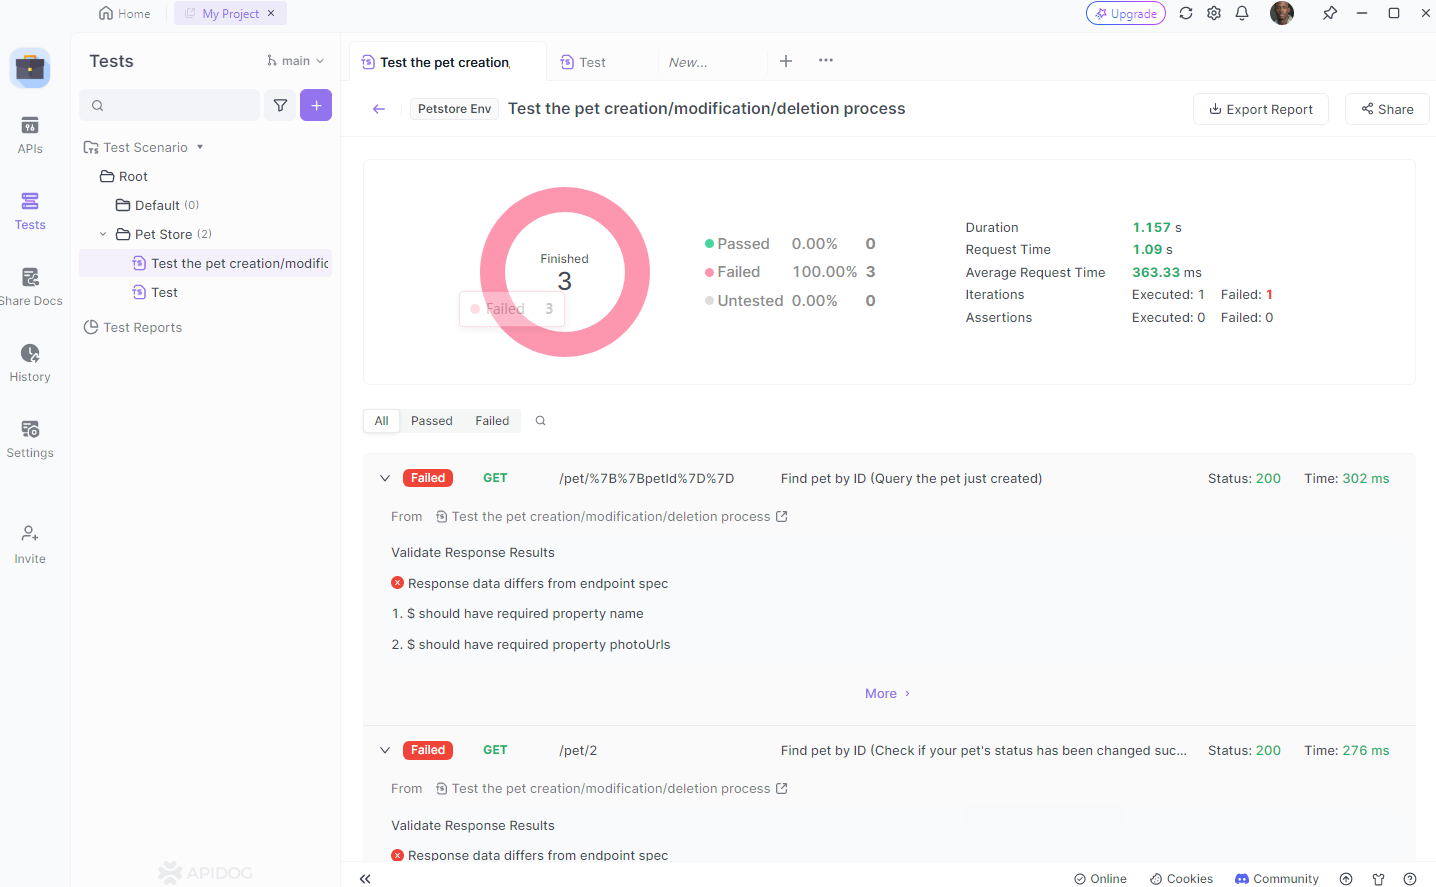
Testing Your API with Apidog
One of the standout features of Apidog is its ability to test APIs directly from the documentation interface. This is incredibly handy for developers who want to ensure their endpoints work as expected without switching between tools.
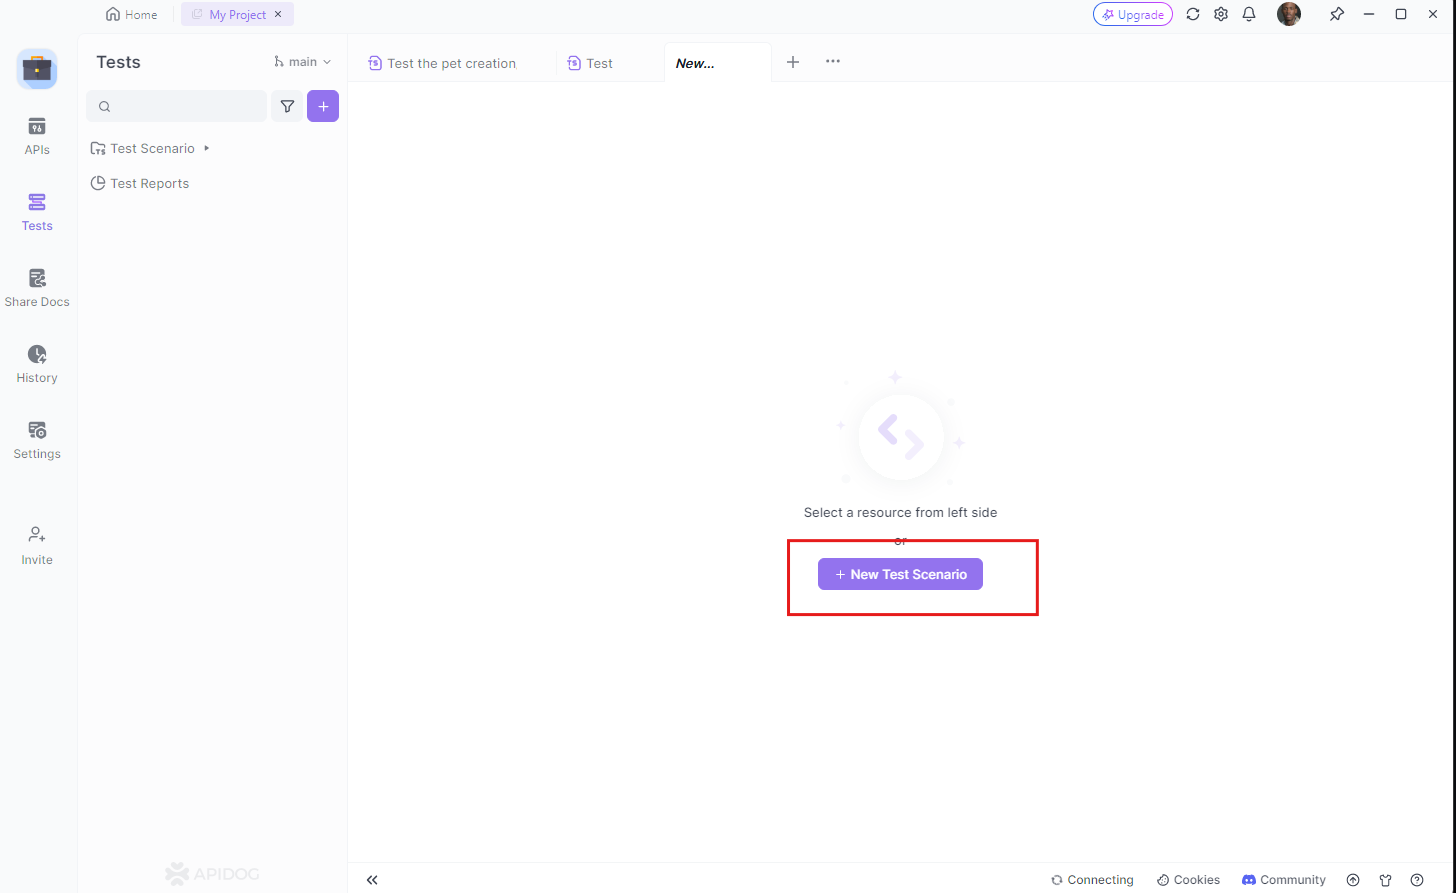
Test an Endpoint: First things first, set up your test environment. This includes the systems you want to test and Apidog. Open Apidog and switch to the test Tab
Define Your Test Cases: Next, define your test cases. Think about the different scenarios you want to test and write them down.
Run Your Tests: Now, it’s time to let Apidog do its magic! Run your tests and wait for the results.
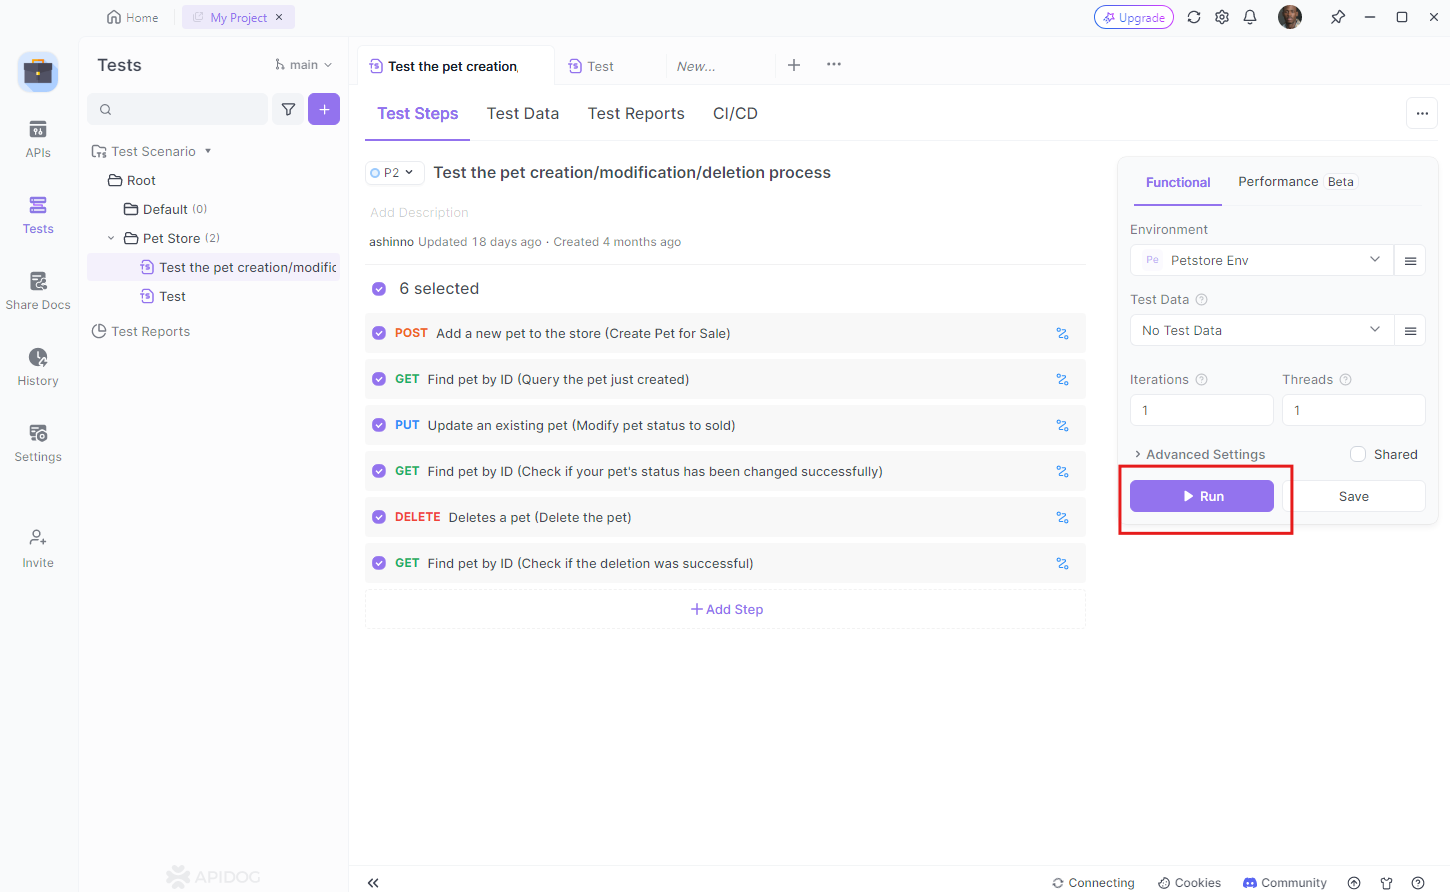
Analyze Your Results: After testing an endpoint, Apidog displays the response details, including status codes, headers, and body. This helps in quickly identifying any issues or discrepancies.
If you find any issues, fix them and run your tests again. Repeat this process until you’re satisfied with the results.
Advanced Features of Apidog
Apidog is more than just a documentation tool. It offers several advanced features that can enhance your API development experience.
Code Generation
Apidog can auto-generate client code in various programming languages. This is particularly useful when you need to share your API with developers who are using different tech stacks.
Mock Server
Apidog includes a mock server feature that allows you to simulate API responses. This is great for frontend developers who can start working with the API even before the backend is fully implemented.
Collaboration Tools
Apidog supports team collaboration, making it easier to work on API documentation as a group. You can leave comments, suggest changes, and keep track of the documentation history.
Best Practices for API Documentation
Creating good API documentation is not just about using the right tools—it's also about following best practices. Here are a few tips to keep in mind:
Be Clear and Concise
Ensure your documentation is easy to read and understand. Avoid jargon and write in simple language.
Provide Examples
Include examples for each endpoint. This helps users understand how to use your API effectively.
Keep It Up-to-Date
API documentation should always reflect the current state of the API. Make it a habit to update the documentation whenever there are changes to the API.
Use Consistent Terminology
Consistency is key in documentation. Use the same terms and style throughout your documentation to avoid confusion.
Conclusion
There you have it—a comprehensive guide to documenting your Spring Boot APIs using Apidog. By following this Spring Boot API documentation example, you can create clear, interactive, and user-friendly API documentation that will benefit both your development team and your API users.
Incorporating tools like Apidog into your workflow not only streamlines the documentation process but also enhances the overall quality of your APIs. Remember, well-documented APIs are a sign of a well-thought-out application, and they contribute significantly to the success of your project.
So, go ahead and give Apidog a try. Happy documenting!


