
Ensuring your application works flawlessly from start to finish is essential. End-to-end testing validates both the user interface (UI) and the underlying API interactions, guaranteeing a smooth user experience. Traditionally, this process demands significant coding expertise and time. Fortunately, Playwright MCP changes that by simplifying automation for both UI and API testing.
Playwright MCP, built on Claude’s Model Context Protocol (MCP), empowers testers to automate browser actions and API calls using plain English commands. This innovative approach eliminates the need for complex scripting, making testing accessible to technical and non-technical team members alike. Whether you’re checking a webpage’s functionality or verifying an API response, Playwright MCP streamlines the process with precision and ease.
What Is Playwright MCP?
Playwright MCP combines the power of Playwright a robust browser automation library with Claude’s Model Context Protocol (MCP). This integration allows users to write tests in natural language, which the tool translates into executable automation scripts. Consequently, Playwright MCP bridges the gap between human-readable instructions and technical execution, supporting both UI and API testing seamlessly.

For developers and testers, this means faster test creation without sacrificing accuracy. Whether you’re automating a login flow or validating an API endpoint, Playwright MCP adapts to your needs. Moreover, its compatibility with tools like Apidog enhances its versatility, making it a go-to solution for modern testing workflows.
Setting Up Playwright MCP
To harness Playwright MCP’s capabilities, you first need to configure your environment. Follow these steps to get started:
Install Node.js: Playwright MCP relies on Node.js. Download and install the latest version from the official Node.js website if you haven’t already.

Install Playwright MCP Server: Use npm to install the Playwright MCP Server globally. Open your terminal and run:
npm install -g @executeautomation/playwright-mcp-server
This command sets up the server, enabling MCP functionality.
Configure Claude Desktop Client: Playwright MCP integrates with Claude’s MCP ecosystem. To connect it, edit the claude_desktop_config.json file in your Claude Desktop Client directory. Add the following configuration:
{
  "mcpServers": {
    "playwright": {
      "command": "npx",
      "args": ["-y", "@executeautomation/playwright-mcp-server"]
    }
  }
}
This tells Claude to recognize the Playwright MCP Server.
Launch Claude Desktop Client: Start the Claude Desktop Client. Once running, you’ll see the Playwright MCP Server listed, ready for action.

After completing these steps, your system is primed to write and run tests with Playwright MCP. Next, let’s explore how to create UI tests.
Writing UI Tests with Playwright MCP
Playwright MCP shines in UI testing by letting you automate browser interactions with simple English commands. This feature reduces complexity and speeds up test development.

To navigate to a webpage and verify its title, use this command:
Go to https://example.com and check if the title contains "Example"
Playwright MCP interprets this, launches a browser (like Chromium, Firefox, or WebKit), visits the URL, and confirms the title matches your expectation. It’s that straightforward.
Now, consider a more interactive scenario, such as filling out a login form:
Fill the input with id "username" with "testuser"
Fill the input with id "password" with "password123"
Click the button with text "Login"
These commands direct Playwright MCP to locate the fields by their IDs, input the values, and click the login button. The tool handles the underlying automation, ensuring accurate execution.
Additionally, Playwright MCP supports advanced tasks. For instance, to wait for an element or capture a screenshot:
Wait for the element with class "popup" to appear
Take a screenshot and save it as "login_page.png"
This flexibility makes Playwright MCP ideal for testing dynamic web applications. Transitioning to API testing, let’s see how it handles backend validation.
Testing APIs with Playwright MCP
Beyond UI automation, Playwright MCP excels at API testing. It allows you to send HTTP requests and verify responses using natural language, eliminating the need for manual coding.

For example, to test a GET request:
Send a GET request to https://api.example.com/users and check if the status is 200
Playwright MCP sends the request and confirms the server returns a 200 OK status. To dig deeper into the response:
Send a GET request to https://api.example.com/users and check if the response contains "userId"
This ensures the response body includes a "userId" field, validating data integrity.
For POST requests with payloads, try this:
Send a POST request to https://api.example.com/users with body { "name": "John", "age": 30 } and check if the status is 201
Playwright MCP submits the JSON payload and verifies the 201 Created status, confirming successful resource creation.
What’s more, Playwright MCP supports chained API calls. For instance:
Send a GET request to https://api.example.com/users/1 and store the userId
Then send a GET request to https://api.example.com/posts?userId={userId} and check if the status is 200
This sequence retrieves a user ID from the first call and uses it in the second, mimicking real-world workflows. With Apidog, you can extend this API testing further, leveraging its advanced features for detailed analysis.
Combining UI and API Testing for End-to-End Workflows
Playwright MCP’s true strength lies in its ability to combine UI and API testing into cohesive end-to-end scenarios. Imagine testing an e-commerce checkout process:
Go to https://shop.example.com and click the button with text "Add to Cart"
Send a GET request to https://api.shop.example.com/cart and check if the response contains "itemId"
Fill the input with id "promo" with "SAVE10"
Click the button with text "Checkout"
Send a POST request to https://api.shop.example.com/order with body { "userId": "123" } and check if the status is 201
This script navigates the site, adds an item, verifies the cart via API, applies a promo code, and submits an order all in one flow. Playwright MCP ensures each step executes smoothly, providing comprehensive coverage.
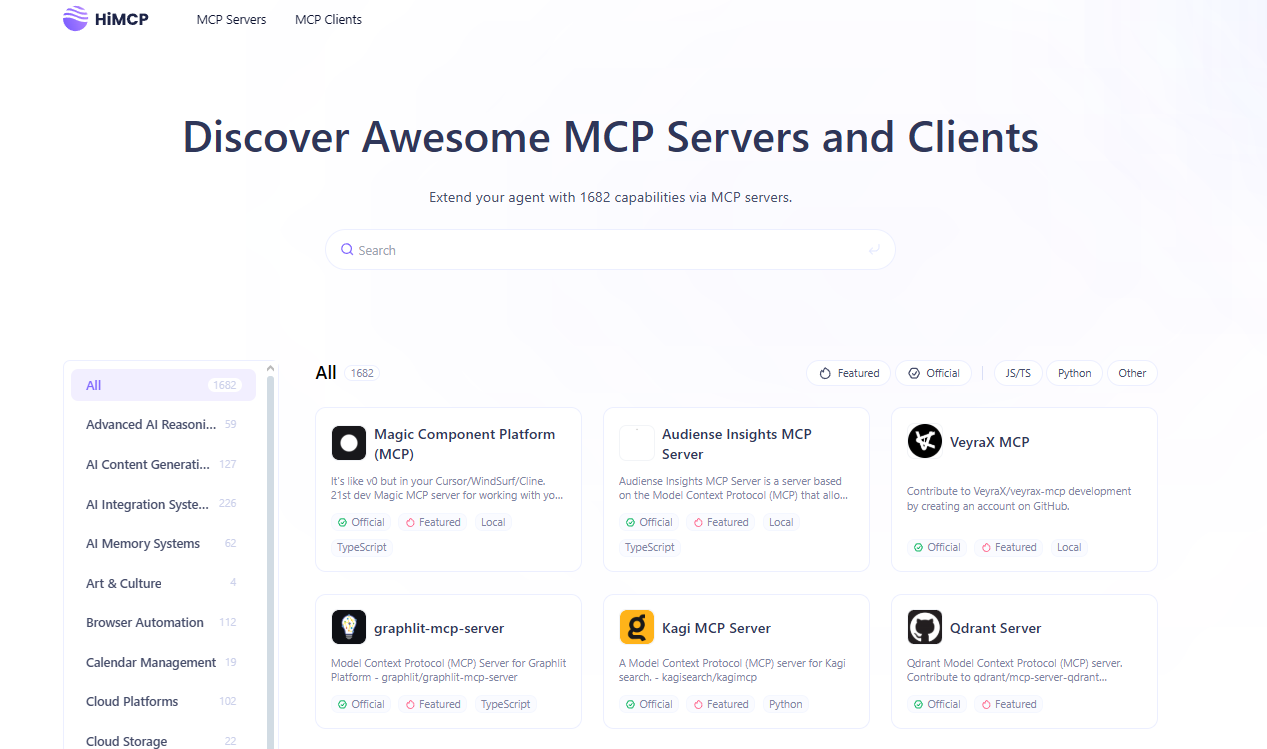
Visit himcp.ai, a platform dedicated to discovering awesome MCP servers and clients!
Conclusion
Playwright MCP revolutionizes end-to-end testing by blending simplicity with technical power. Its plain-English command structure lets you automate UI and API interactions effortlessly, ensuring your applications perform flawlessly. By setting up Playwright MCP, writing tests, and combining both testing types, you achieve comprehensive coverage with minimal effort.
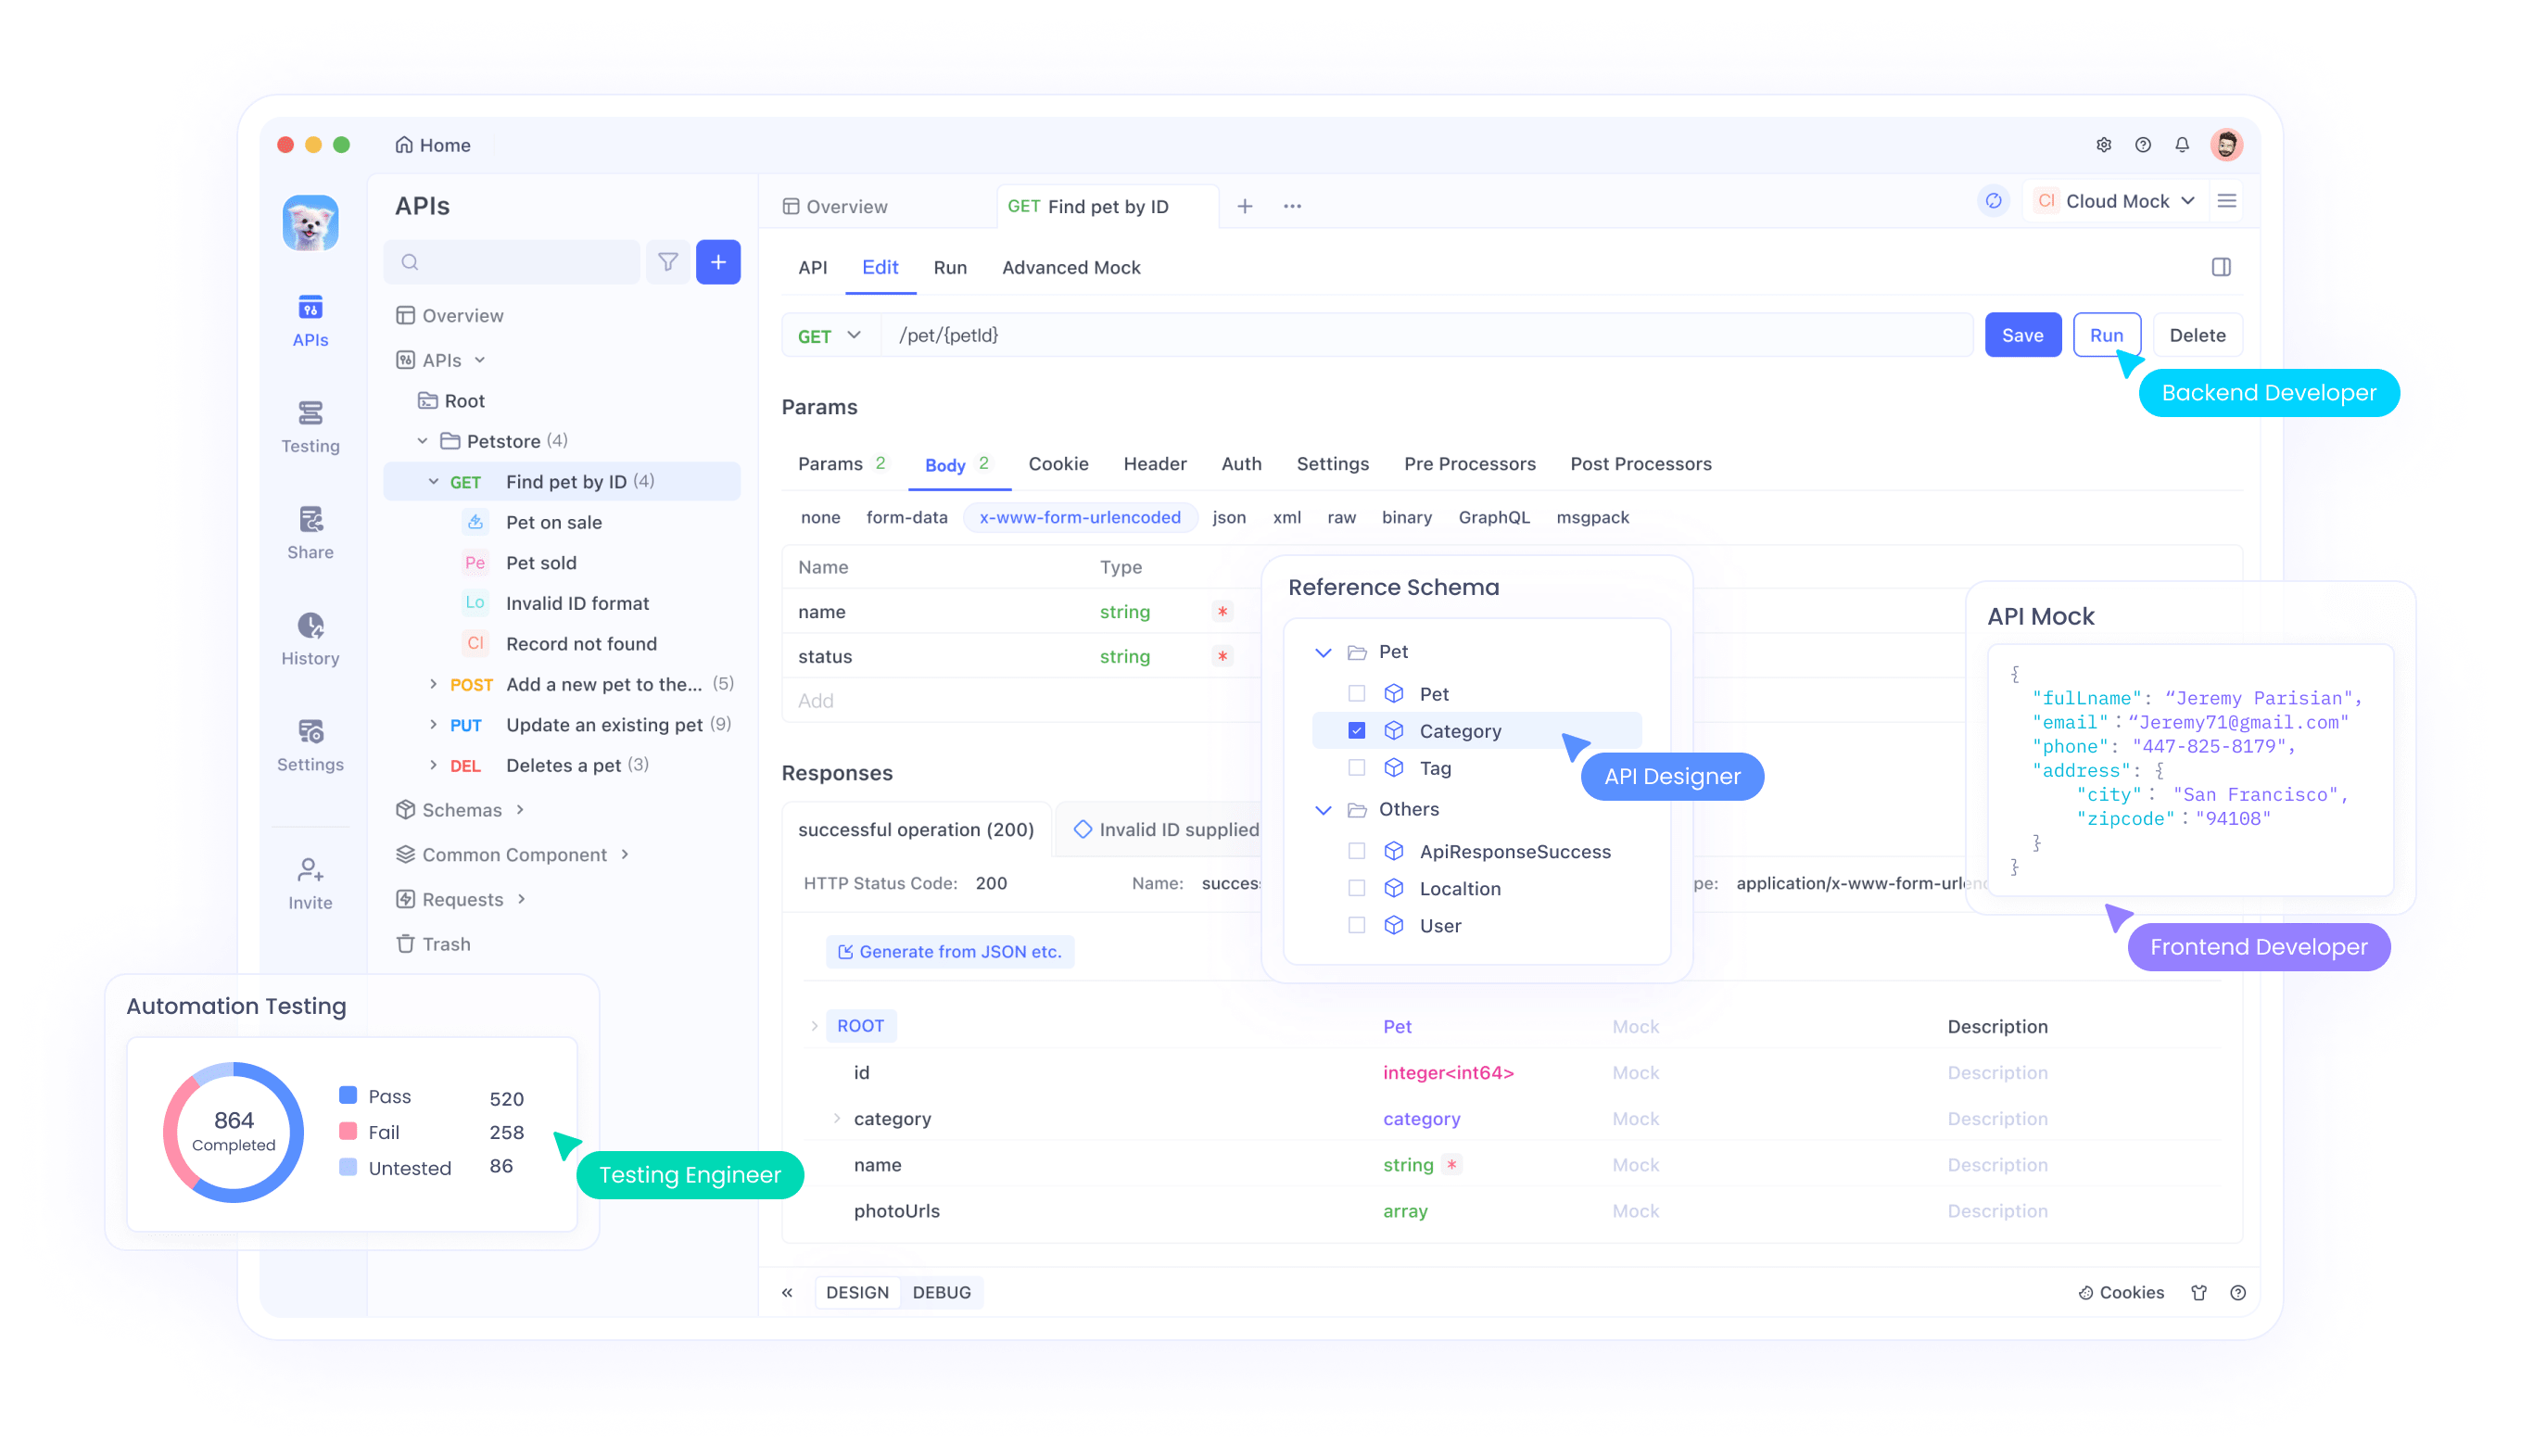
For API-focused testers, download Apidog for free to complement Playwright MCP’s capabilities. Together, they form a robust testing duo. Additionally, check out himcp.ai to explore more MCP servers and clients, expanding your automation horizons.
Start using Playwright MCP today and transform your testing process into a seamless, efficient experience.


