If you are working with APIs, you might need to make a put request in Node.js. A put request is a way of updating or modifying an existing resource on a server. For example, you might want to change the name or email of a user in a database. In this blog post, I will show you how to make a put request in Node.js using different methods and tools like Apidog.
By the end of this blog post, you will be able to make a put request in Node.js with confidence and ease. Let's get started!
What is a Put Request and When to Use It
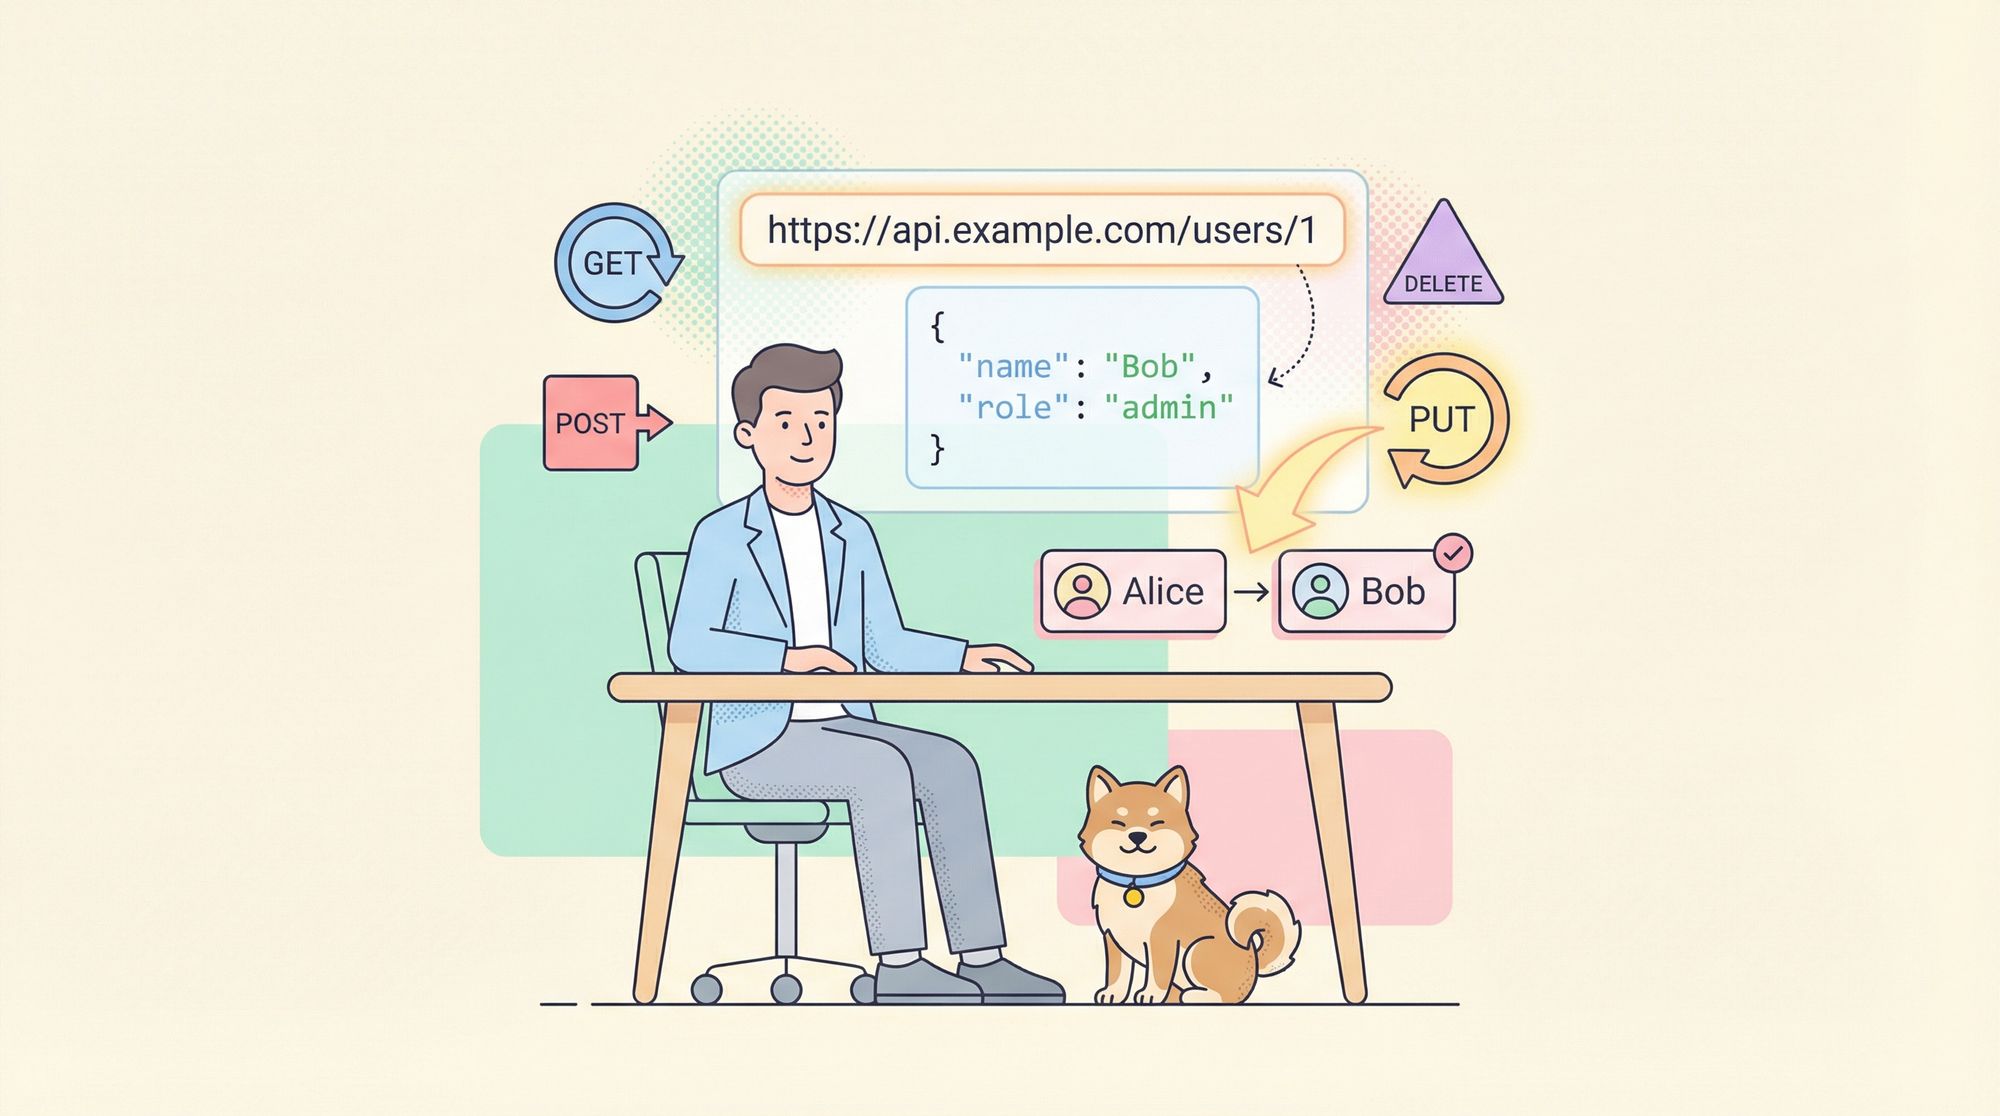
A put request is one of the four common HTTP requests, along with get, post, and delete. A put request is used to update or replace an existing resource on a server. For example, if you have a user with the id of 1 and the name of Alice, and you want to change her name to Bob, you can make a put request to the server with the new name.
A put request has two main components: a URL and a body. The URL is the address of the resource you want to update, and the body is the data you want to send to the server. For example, if you want to update the user with the id of 1, your URL might look like this:
https://example.com/api/users/1
And your body might look like this:
{ "name": "Bob" }
The body can be in different formats, such as JSON, XML, or form data. In this blog post, we will use JSON as the format of the body.
To make a put request, you need to specify the method, the URL, and the body in your code. You also need to set some headers, such as the content-type and the authorization. The content-type header tells the server what format the body is in, and the authorization header provides your credentials to access the resource. For example, if you are using JSON as the format of the body, and you need a token to access the resource, your headers might look like this:
{ "Content-Type": "application/json", "Authorization": "Bearer <your-token>" }
In the next sections, we will see how to make a put request in Node.js using different methods and libraries.
Understand NodeJs
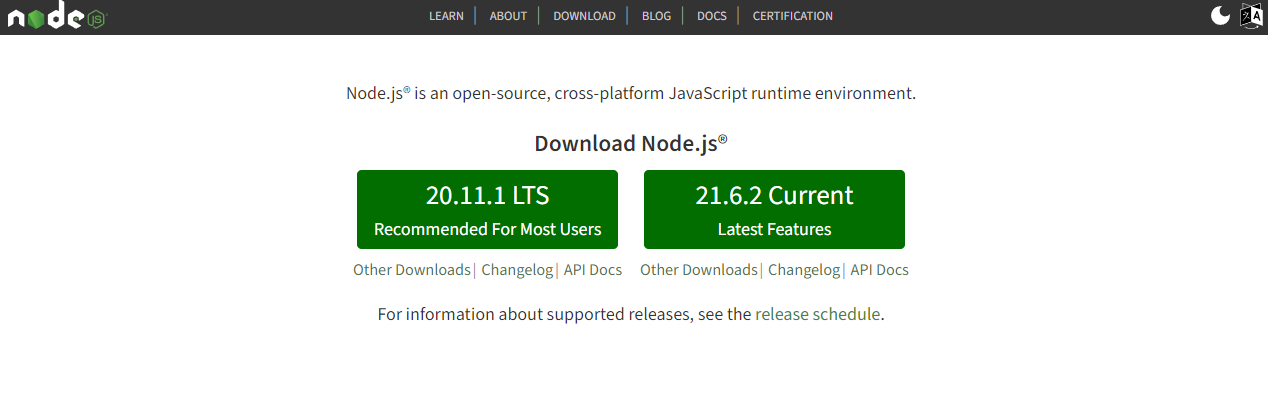
Node.js is a JavaScript runtime environment that allows you to run JavaScript code outside of a web browser. Node.js is based on the Google Chrome V8 JavaScript engine, and it is used for building web applications, especially data-intensive and real-time ones. Node.js also has a large library of modules and packages that you can use to add functionality to your projects. Some of the benefits of Node.js are:
- It is fast and scalable, thanks to its asynchronous and event-driven nature.
- It is cross-platform and open-source, meaning you can run it on various operating systems and contribute to its development.
- It is consistent and unified, as you can use the same language for both the front-end and the back-end of your web application.
How to Make a Put Request Using the Native Http Module
One way to make a put request in Node.js is to use the native http module. The http module is a core module that provides low-level functionality for making HTTP requests and responses. To use the http module, you need to require it in your code:
const http = require('http');
To make a put request using the http module, you need to use the http.request() method. The http.request() method takes two arguments: an options object and a callback function. The options object contains the details of the request, such as the method, the URL, the headers, and the body. The callback function is executed when the request is completed, and it receives a response object as an argument. The response object contains the status code, the headers, and the data from the server.
For example, if you want to make a put request to update the user with the id of 1, your code might look like this:
const http = require('http');

// Define the options object
const options = {
  method: 'PUT',
  hostname: 'example.com',
  path: '/api/users/1',
  headers: {
    'Content-Type': 'application/json',
    'Authorization': 'Bearer <your-token>'
  }
};

// Define the body
const body = JSON.stringify({ name: 'Bob' });

// Create the request
const req = http.request(options, (res) => {
  // Handle the response
  console.log(`Status code: ${res.statusCode}`);
  console.log(`Headers: ${JSON.stringify(res.headers)}`);
  let data = '';
  res.on('data', (chunk) => {
    // Concatenate the data chunks
    data += chunk;
  });
  res.on('end', () => {
    // Parse the data as JSON
    data = JSON.parse(data);
    console.log(`Data: ${JSON.stringify(data)}`);
  });
});

// Handle the error
req.on('error', (err) => {
  console.error(`Error: ${err.message}`);
});

// Write the body to the request
req.write(body);

// End the request
req.end();
The http.request() method returns a request object, which you can use to write the body to the request and end the request. You can also use the request object to handle any errors that might occur during the request.
The response object is an instance of the http.IncomingMessage class, which is a readable stream. This means that you can use the on() method to listen for different events, such as data and end. The data event is emitted when a chunk of data is received, and the end event is emitted when the response is finished. You can use these events to concatenate the data chunks and parse them as JSON.
The response object also has some properties, such as statusCode and headers, which you can use to get the status code and the headers from the server.
How to Make a Put Request Using the Popular Request Library
Another way to make a put request in Node.js is to use the popular request library. The request library is a third-party module that provides a simple and convenient way to make HTTP requests. To use the request library, you need to install it using npm:
npm install request
And then require it in your code:
const request = require('request');
To make a put request using the request library, you need to use the request.put() method. The request.put() method takes two arguments: a URL and a callback function. The URL can be a string or an object that contains the details of the request, such as the method, the headers, and the body. The callback function is executed when the request is completed, and it receives three arguments: an error, a response, and a body. The error argument is null if the request is successful, and contains an error object if the request fails. The response argument is an object that contains the status code, the headers, and the data from the server. The body argument is a string or a buffer that contains the data from the server.
How to Handle Errors and Responses from the Server
When you make a put request in Node.js, you need to be prepared to handle any errors and responses that might come from the server. Errors can occur due to various reasons, such as network issues, server issues, or invalid data. Responses can vary depending on the status code, the headers, and the data from the server.
To handle errors, you need to use the error argument or the catch() method, depending on the method or library you are using. The error argument or the catch() method will receive an error object, which you can use to get the message, the code, and the request information. You can also use the console.error() method to log the error to the console.
To handle responses, you need to use the response argument or the then() method, depending on the method or library you are using. The response argument or the then() method will receive a response object, which you can use to get the status code, the headers, and the data from the server. You can also use the console.log() method to log the response to the console.
The status code is a three-digit number that indicates the outcome of the request. The status code can be divided into five categories:
- 1xx: Informational responses
- 2xx: Successful responses
- 3xx: Redirection responses
- 4xx: Client error responses
- 5xx: Server error responses
The most common status code for a put request is 200, which means OK. This means that the request was successful and the resource was updated. However, depending on the server implementation, you might also receive other status codes, such as 201, which means Created, or 204, which means No Content. You should always check the status code before processing the response data.
The headers are a set of key-value pairs that provide additional information about the request and the response. The headers can contain information such as the content-type, the content-length, the date, the server, and the authorization. You should always check the headers before processing the response data, as they might affect how you parse or display the data.
The data is the actual content of the response, which can be in different formats, such as JSON, XML, or plain text. The data can contain information such as the updated resource, the message, or the error. You should always parse the data according to the format specified by the content-type header, and handle any errors or messages that might be included in the data.
How to Test Your Put Request Using a Tool Called Apidog
One way to test your put request in Node.js is to use a tool called Apidog . Apidog is a web-based tool that allows you to create and test APIs in a simple and interactive way. You can use apidog to create mock servers, define endpoints, send requests, and view responses. You can also use apidog to generate documentation and code snippets for your APIs.
Here is how you can use Apidog to test your PUT request:
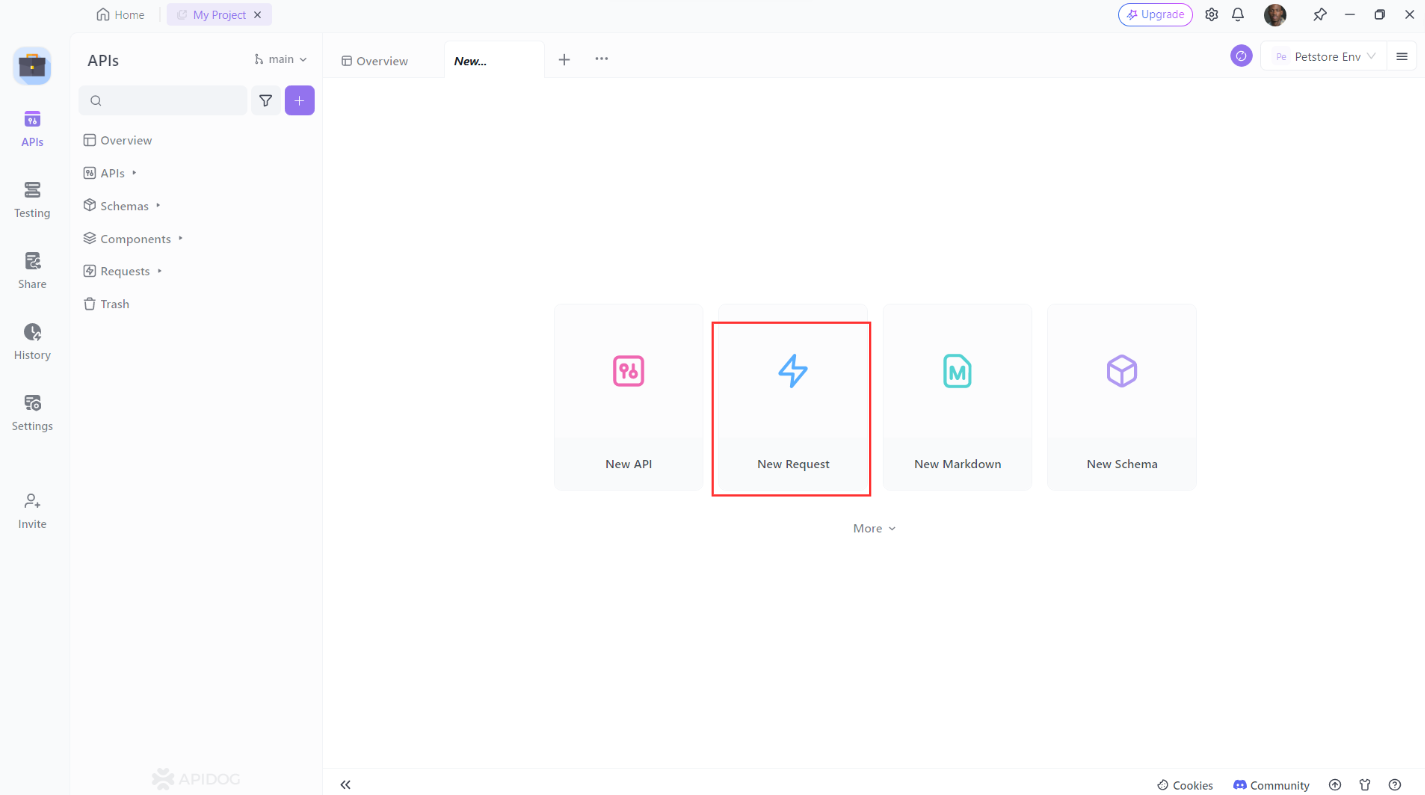
- Open Apidog and create a new request.
2. Set the request method to PUT.
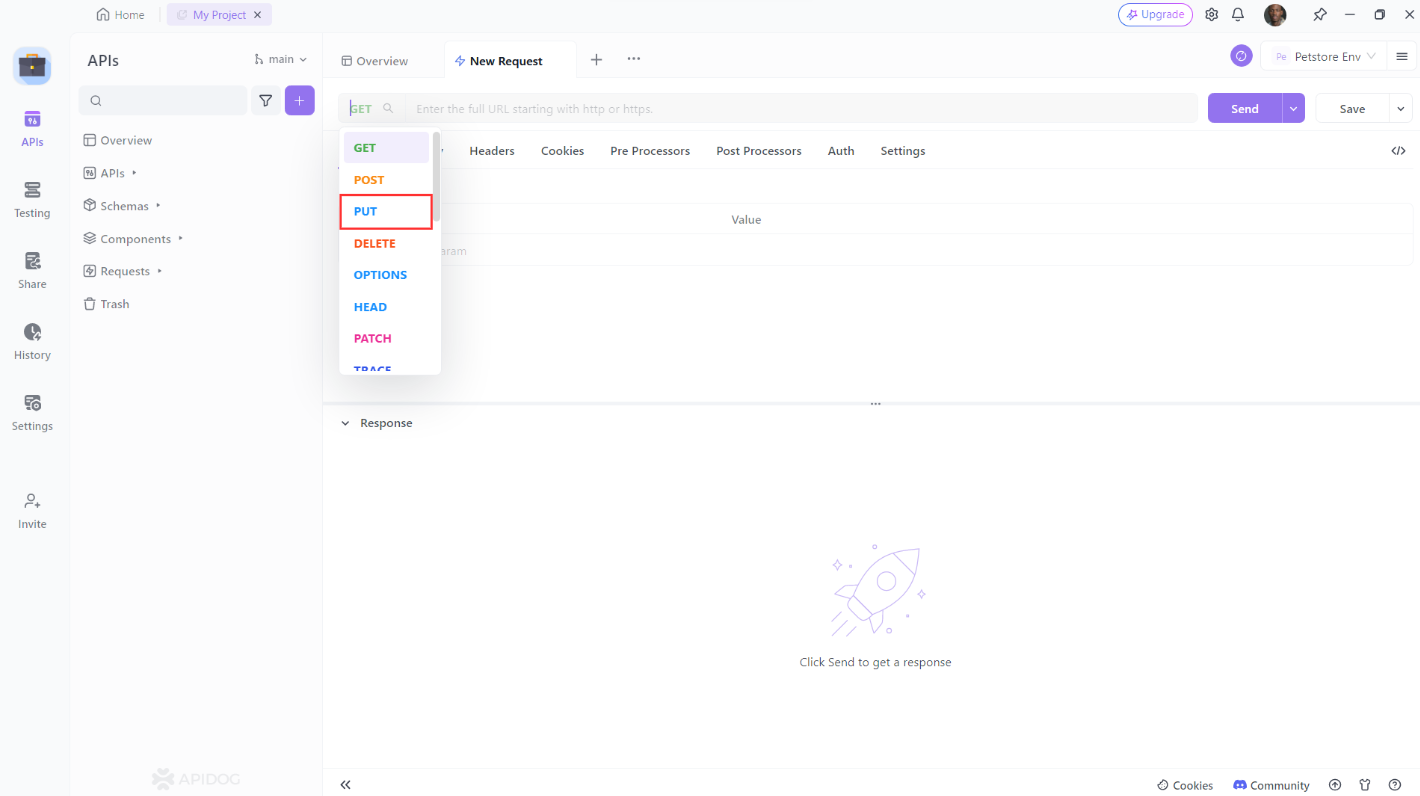
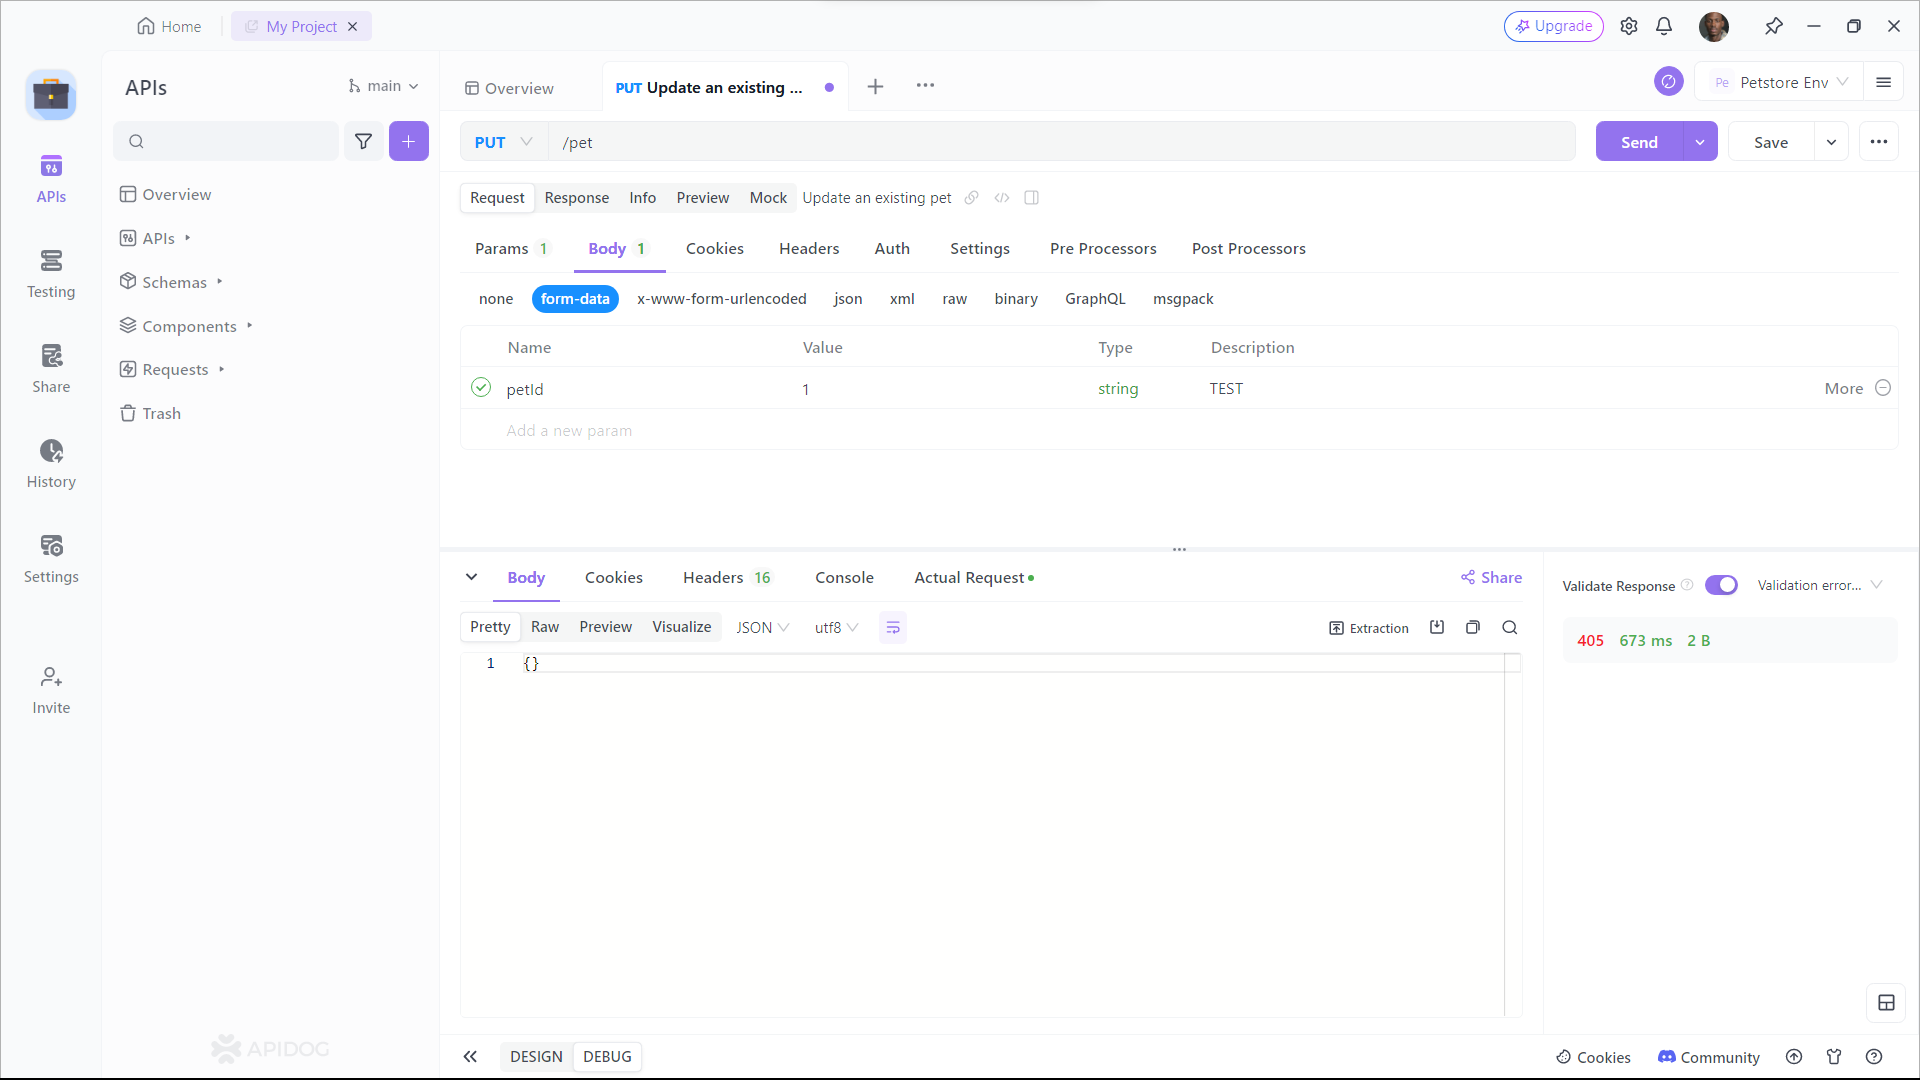
3. Enter the URL of the resource you want to update. Add any additional headers or parameters you want to include then click the “Send” button to send the request.
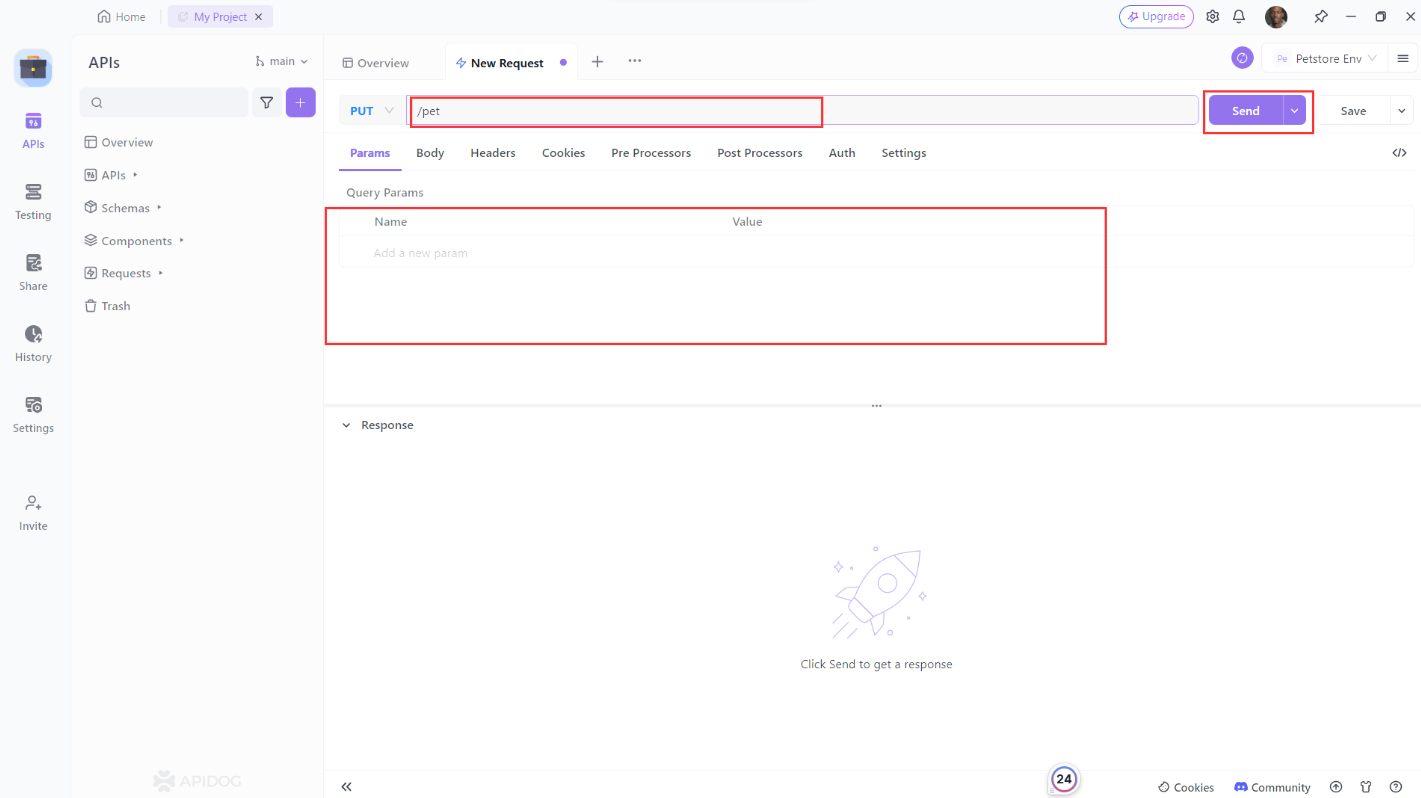
4. Verify that the response is what you expected.
Conclusion
In this blog post, you learned how to make a put request in Node.js using different methods and libraries. You also learned how to handle errors and responses from the server, and how to test your put request using a tool called apidog. You can use these skills to update or modify any resource on a server using Node.js.


