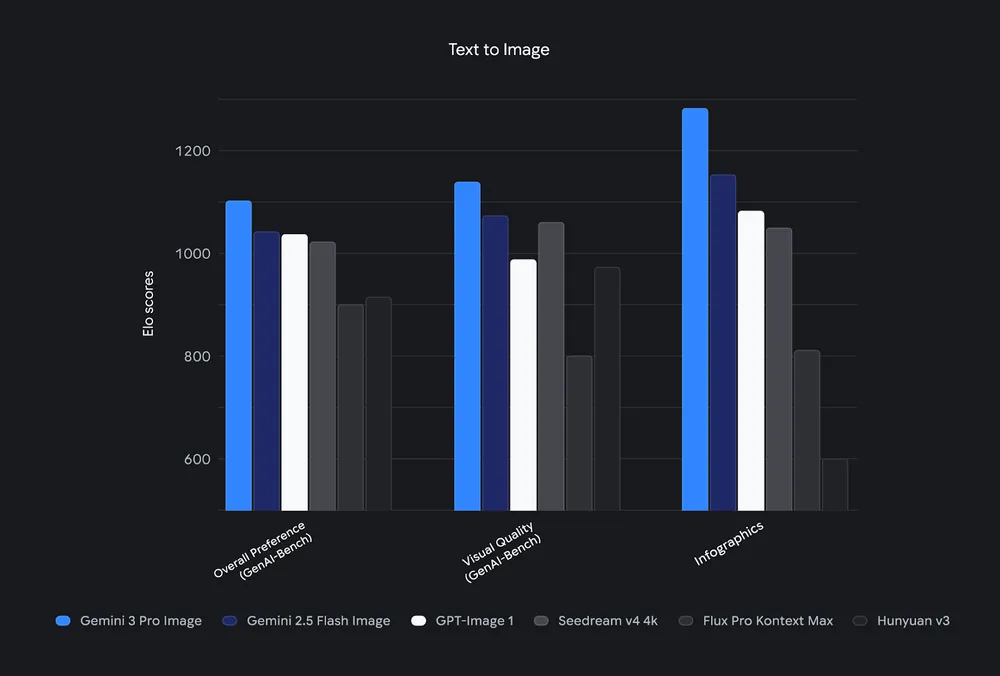
Google just released Nano Banana Pro, the official codename for Gemini 3 Pro Image, a state-of-the-art multimodal model that excels in text-to-image generation, image editing, and advanced composition control. Developers now access this powerful tool programmatically via the Gemini API. Small configuration details often determine whether your integration succeeds or fails quickly.
This guide walks you through every step to access and use the Nano Banana Pro API effectively.
What Is Nano Banana Pro and Why Use Its API?
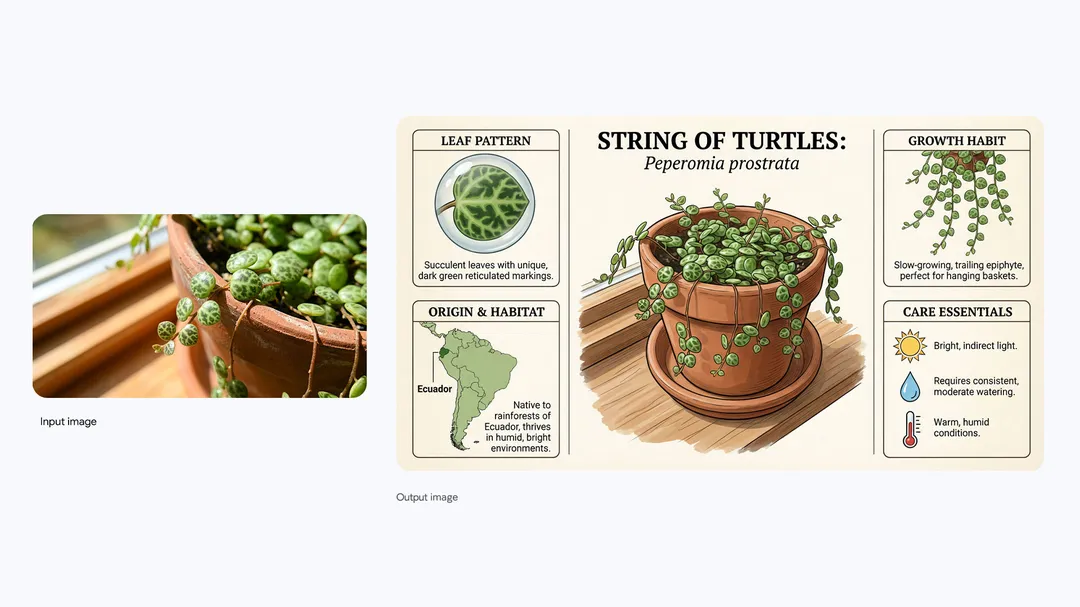
Google DeepMind built Nano Banana Pro on the Gemini 3 Pro foundation. It delivers studio-quality image outputs that previous models could not match. First, it renders text inside images with exceptional accuracy — think legible logos, multilingual signs, or styled calligraphy that aligns perfectly with the scene. Next, it supports up to 14 input images for blending while maintaining consistency across up to five subjects. Additionally, developers control camera angles, lighting, depth of field, color grading, and even resolution up to 4K.
Want to use Nano Banana API at bulk, and build AI Apps at lightening speed?

Hypereal AI replaces fragmented model and infra stacks with a unified application layer for modern AI products.

Furthermore, the model grounds generations in real-time Google Search data when you enable the feature. This ensures factual accuracy for diagrams, infographics, or product mockups. Every output carries SynthID watermarking for provenance tracking.
You access Nano Banana Pro through the standard Gemini API, but you select the specific model identifier (gemini-3-pro-image-preview or its stable successor). This approach keeps your code compatible with other Gemini variants while unlocking pro-level image capabilities.
Step-by-Step: Obtain Your Gemini API Key
Follow these actions to obtain credentials:
Go to Google AI Studio and sign in with your Google account.
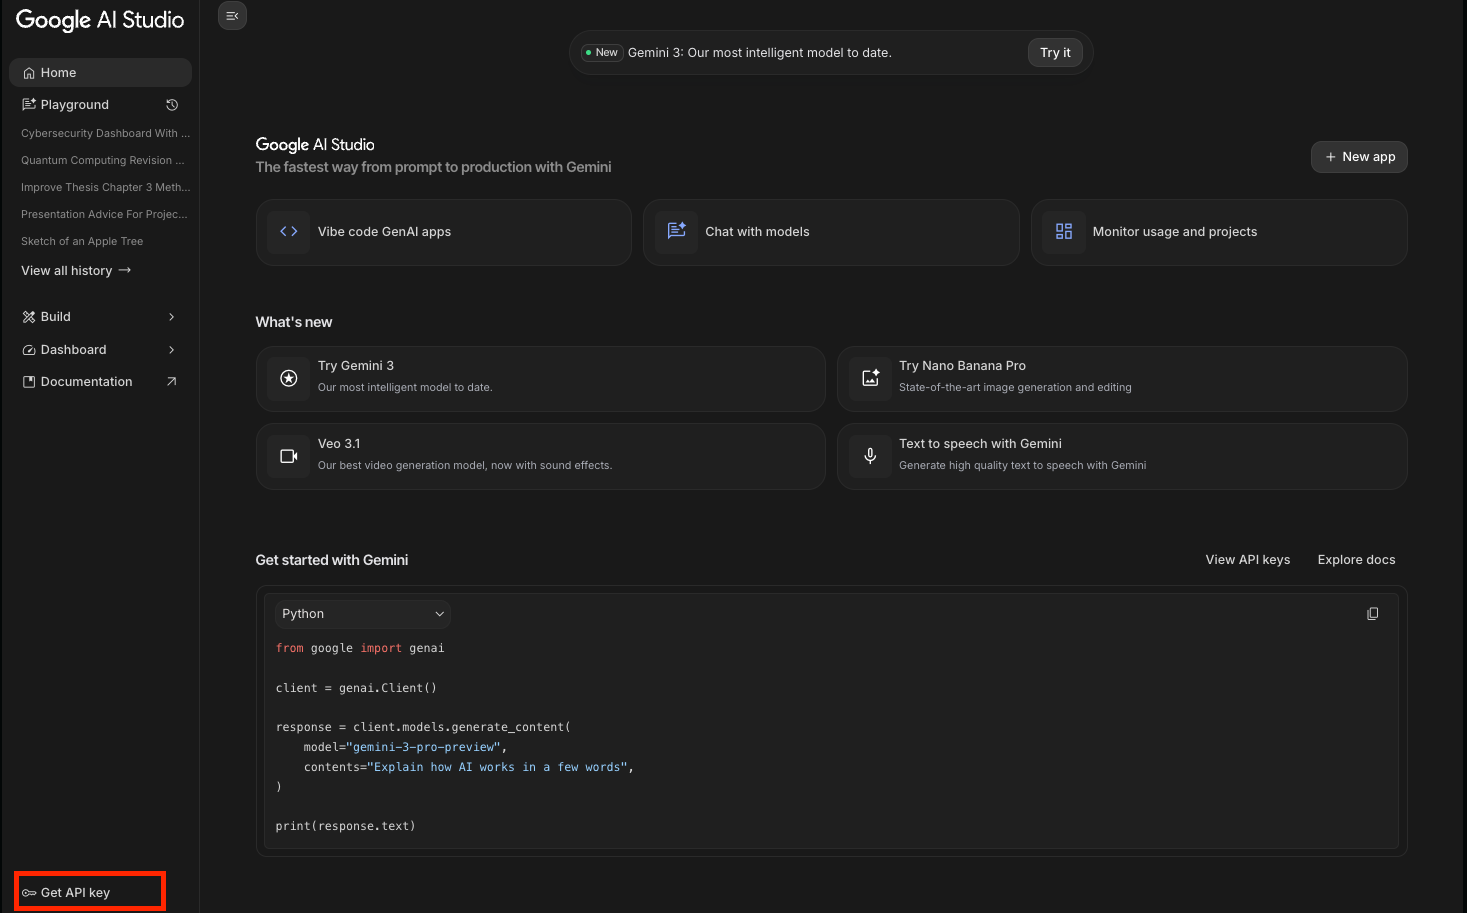
Click the "Get API key" button in the left sidebar.
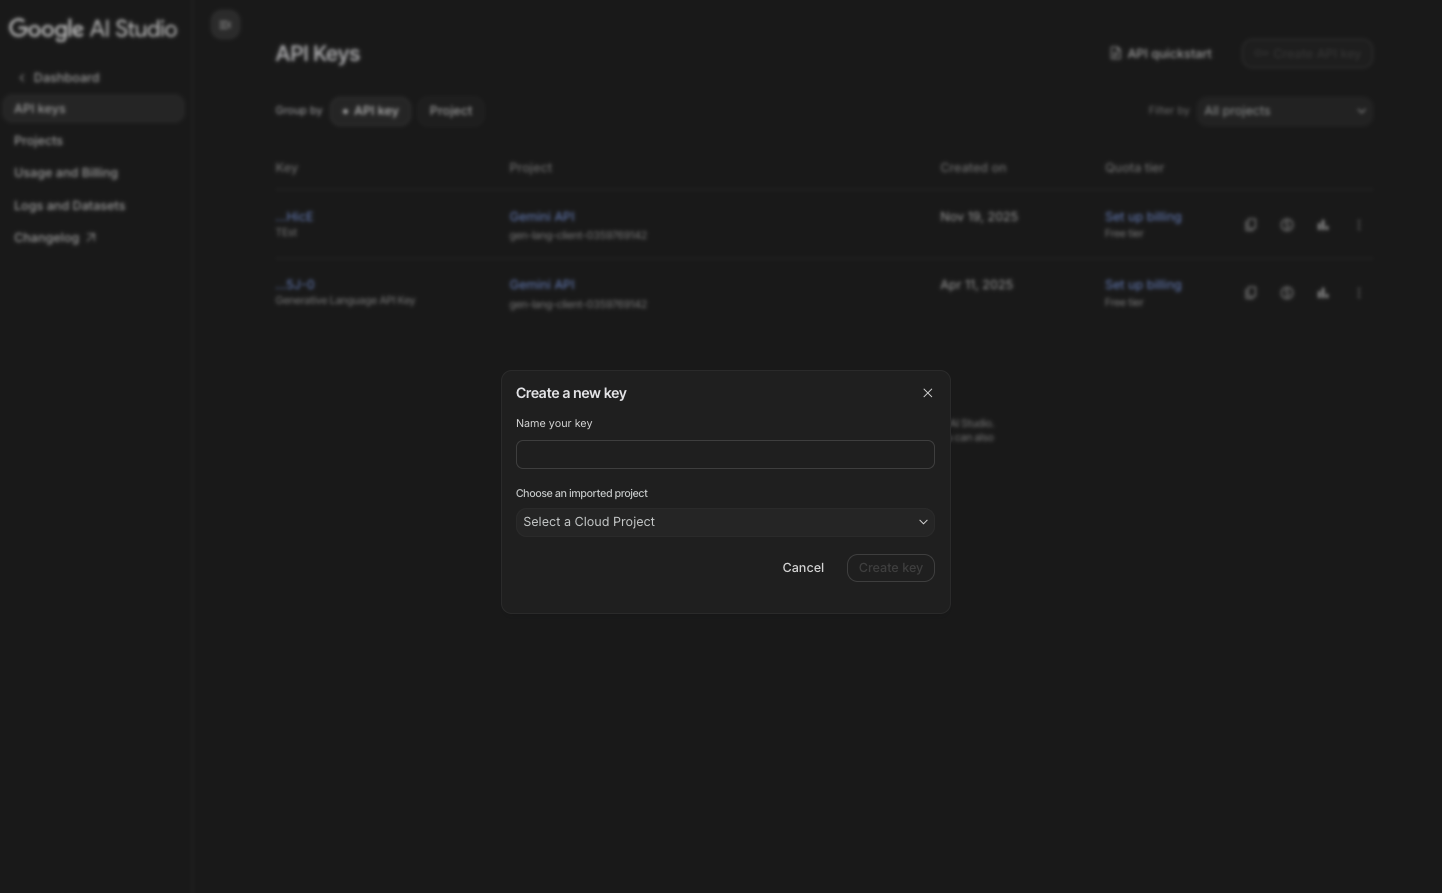
Create a new key or use an existing one.
Alternatively, in Vertex AI:
- Open the Vertex AI Studio dashboard.
- Select "Generative AI" → "Model Garden."
- Find Nano Banana Pro (listed as Gemini 3 Pro Image).
- Click "Enable API" and generate credentials.
Store the key securely in environment variables. Never hard-code it in source files.
Call the Nano Banana Pro API from Google AI Studio (Quickstart)
You often begin in Google AI Studio for rapid experimentation. First, visit ai.studio/banana-pro. Select "Nano Banana Pro" from the model dropdown.
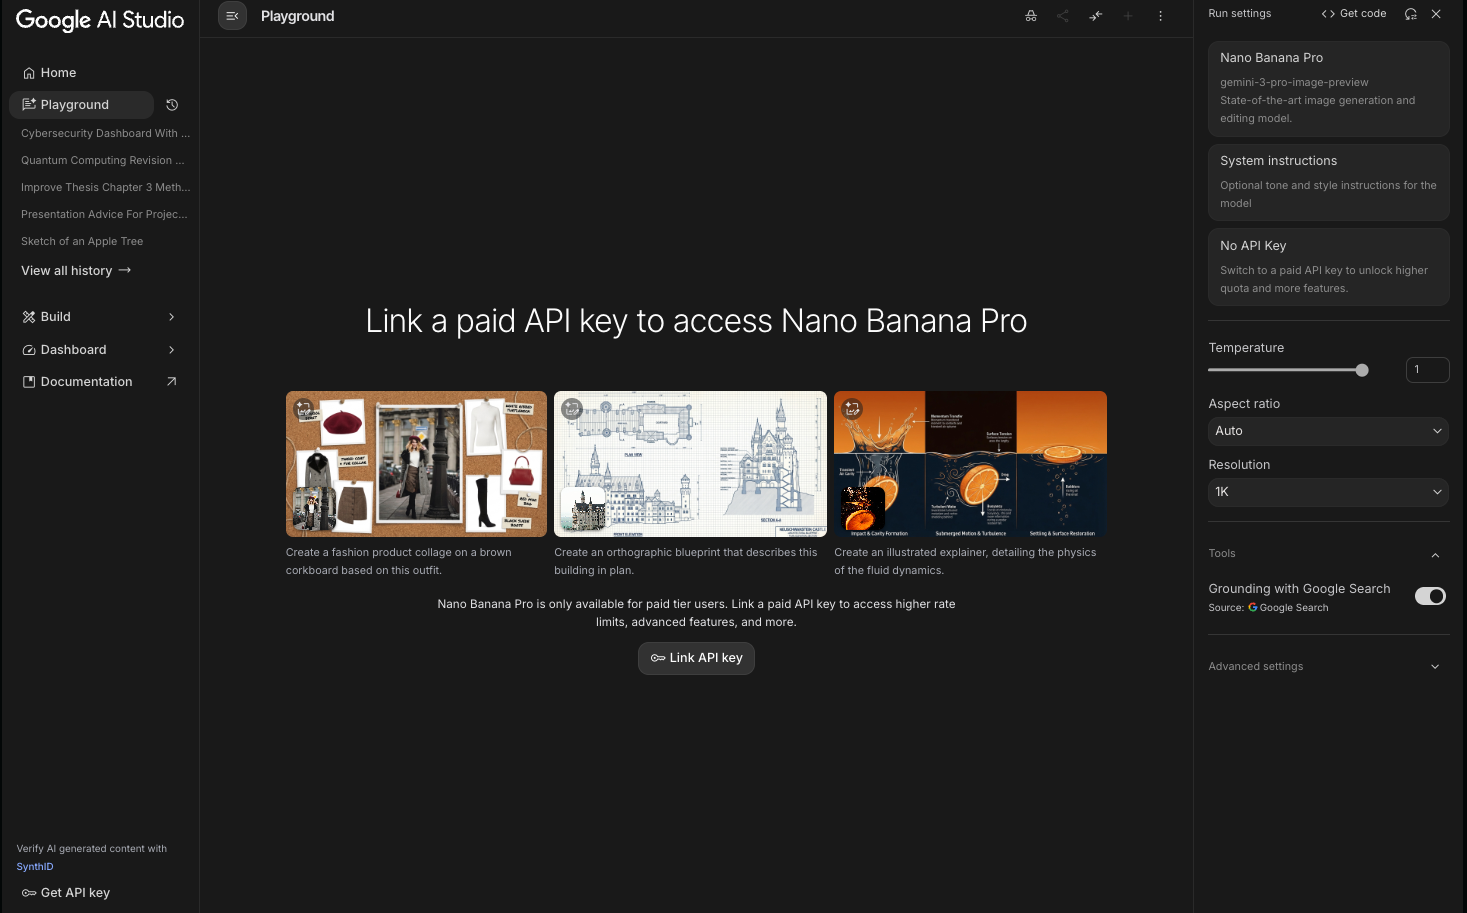
Then, switch to the "API" tab to view curl examples automatically populated with your key.
Here is a basic curl request:
curl https://generativelanguage.googleapis.com/v1beta/models/gemini-3-pro-image-preview:generateContent \
  -H 'Content-Type: application/json' \
  -H "x-goog-api-key: YOUR_API_KEY" \
  -d '{
    "contents": [{
      "role": "user",
      "parts": [{
        "text": "Generate a 4K photorealistic image of a yellow banana floating in space with Earth in the background, add text overlay: \"Nano Banana Pro\""
      }]
    }],
    "generationConfig": {
      "responseModal": "IMAGE"
    }
  }'
This endpoint remains the same as other Gemini models — only the model name changes.
Use the Official Python SDK for Nano Banana Pro
Most developers prefer the Python client library because it handles retries, streaming, and mime types automatically. Install it first:
pip install -U google-generativeai
Configure the library and generate an image:
import google.generativeai as genai

genai.configure(api_key="YOUR_API_KEY")

model = genai.GenerativeModel('models/gemini-3-pro-image-preview')

response = model.generate_content(
    "A futuristic cityscape at golden hour with flying cars and the text 'Welcome to 2042' on a billboard, 4K resolution",
    generation_config=genai.types.GenerationConfig(
        response_mime_type="image/png"
    )
)

response.candidates[0].content.parts[0].inline_data.data  # base64 image
Save the output like this:
with open("output.png", "wb") as f:
    f.write(response.candidates[0].content.parts[0].inline_data.data)
The SDK abstracts away low-level details, so you focus on prompt engineering.
Handle Image Editing and Multi-Image Inputs
Nano Banana Pro shines in editing tasks. Upload images as part of the prompt. For example:
import PIL.Image

img = PIL.Image.open("reference.jpg")

response = model.generate_content(
    [img, "Edit this photo: change daytime to dramatic sunset, add bokeh effect, keep the subject unchanged"]
)
You combine multiple images and text seamlessly. The model maintains subject consistency across references.
Advanced Features: Grounding, Safety Settings, and Controls
Enable Google Search grounding to inject real-time facts:
"systemInstruction": {
  "parts": [{"text": "Use search grounding for factual elements"}]
}
Adjust safety settings to block or allow categories:
model = genai.GenerativeModel(
    'models/gemini-3-pro-image-preview',
    safety_settings=[
        {"category": "HARM_CATEGORY_DANGEROUS_CONTENT", "threshold": "BLOCK_NONE"}
    ]
)
Specify aspect ratio and quality:
generation_config=genai.types.GenerationConfig(
    candidate_count=1,
    temperature=0.7,
    extra_params={
        "aspect_ratio": "16:9",
        "quality": "highest"
    }
)
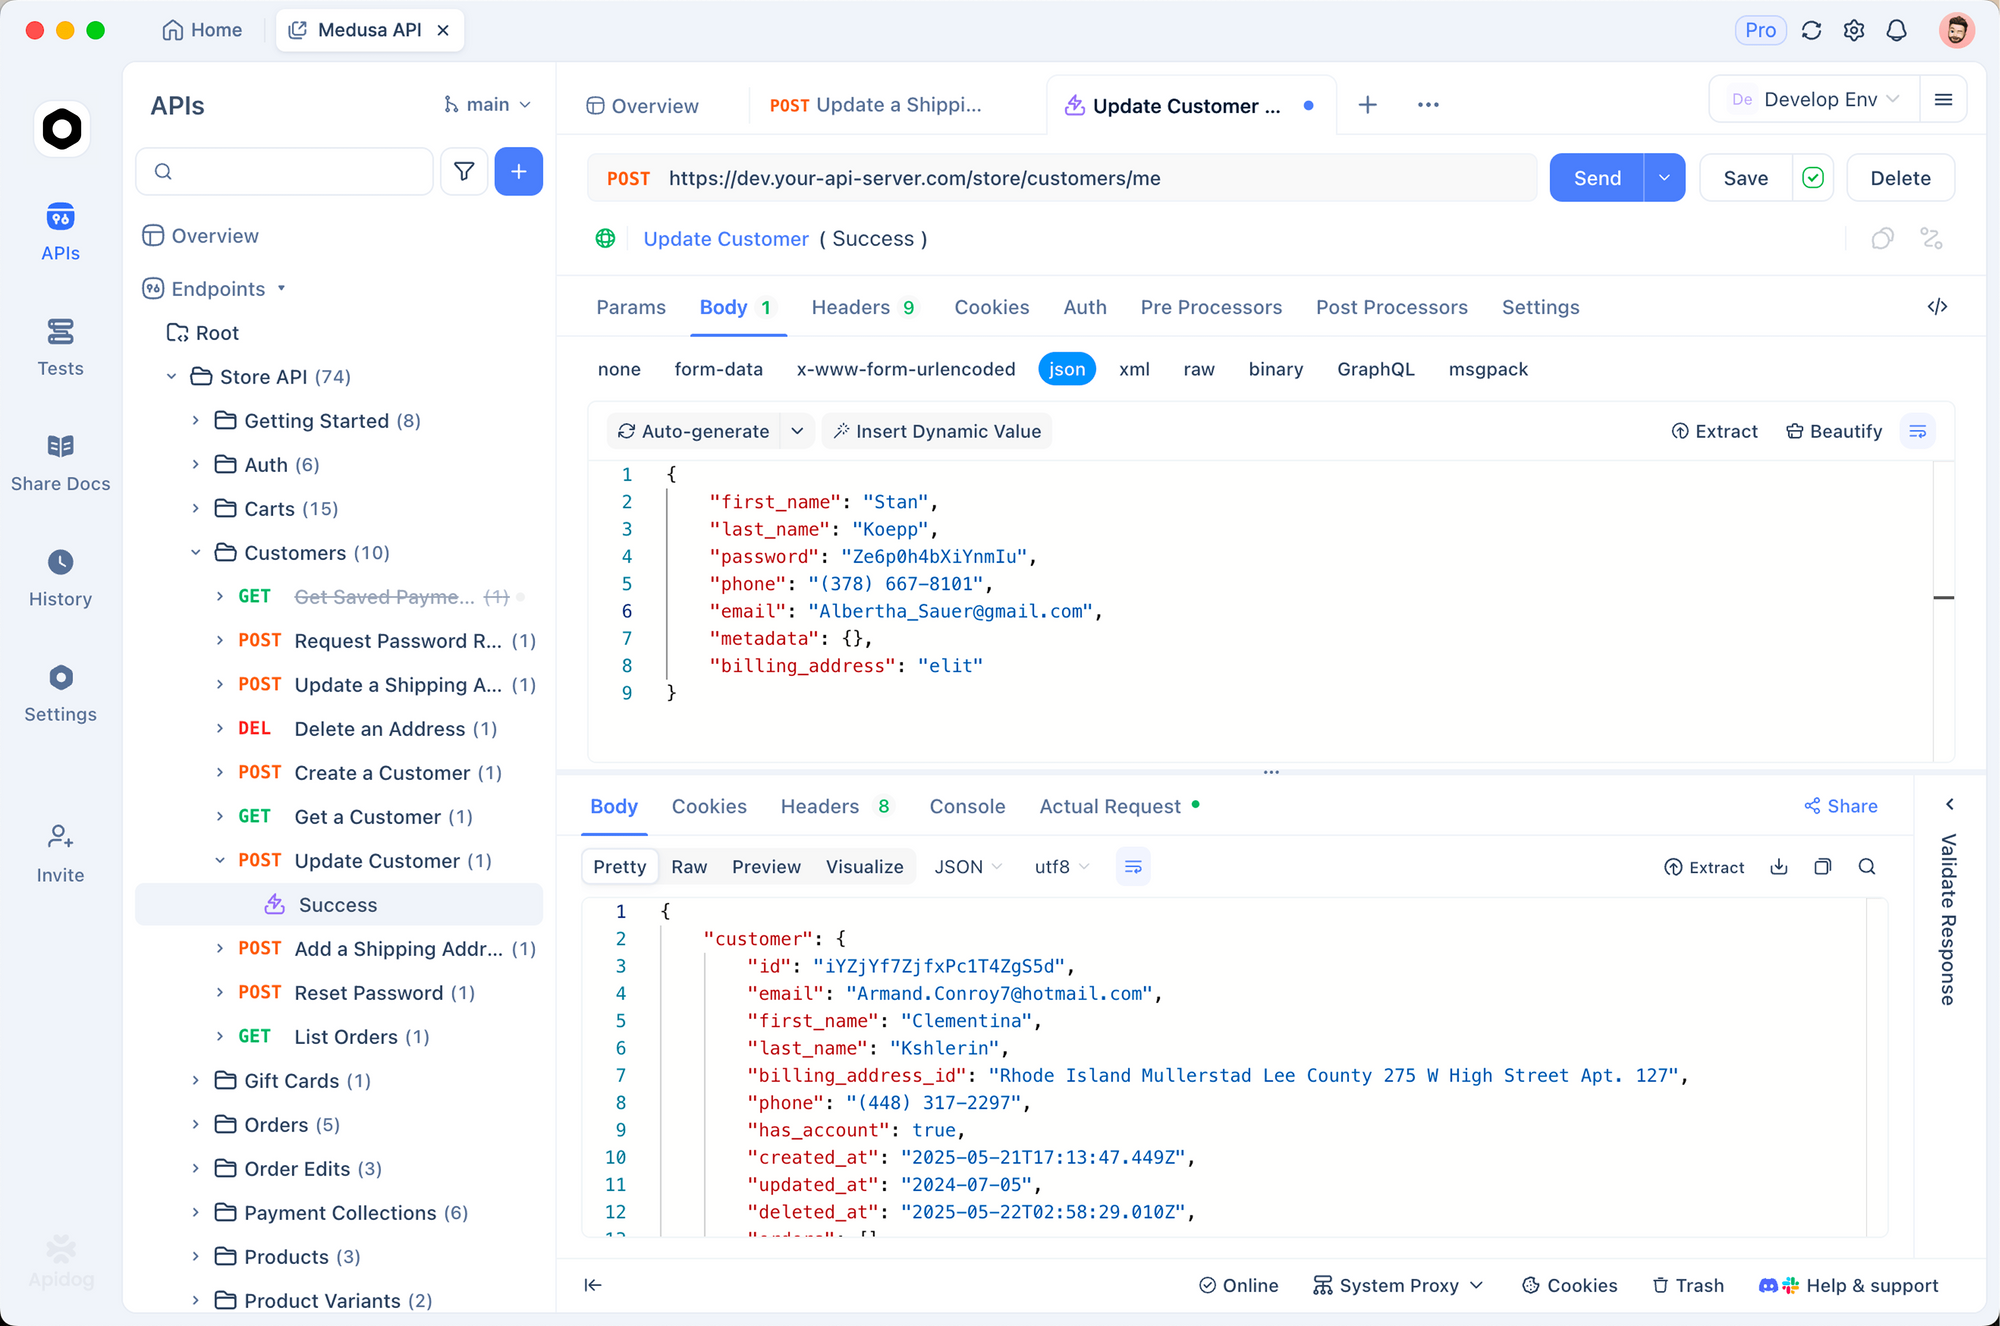
Test and Debug Nano Banana Pro API Calls with Apidog
Manual curl commands work for one-off tests, but Apidog transforms your workflow. Import the official Gemini OpenAPI spec into Apidog, and it auto-generates all endpoints, including Nano Banana Pro variants.
Here’s how you benefit:
- Visualize JSON schemas for generateContent requests.
- Save environments (dev/staging/prod keys).
- Chain requests and assert responses.
- Mock the API locally to develop offline.
- Generate client code in 20+ languages instantly.
For instance, create a new request in Apidog, paste the Gemini endpoint, add your API key as a header, and send complex multi-part payloads with uploaded images in seconds. Apidog validates required fields before you even hit "Send," preventing common 400 errors.
Many teams report 50-70% faster iteration cycles after switching to Apidog for Gemini API testing.
Deploy Nano Banana Pro on Vertex AI for Production
Enterprise users scale with Vertex AI. Create a custom endpoint:
- Go to Vertex AI → Model Garden.
- Deploy "Gemini 3 Pro Image (Nano Banana Pro)."
- Configure machine type and autoscaling.
- Call the prediction endpoint with the Vertex SDK.
This path provides private endpoints, logging, and monitoring integration with Cloud Operations.
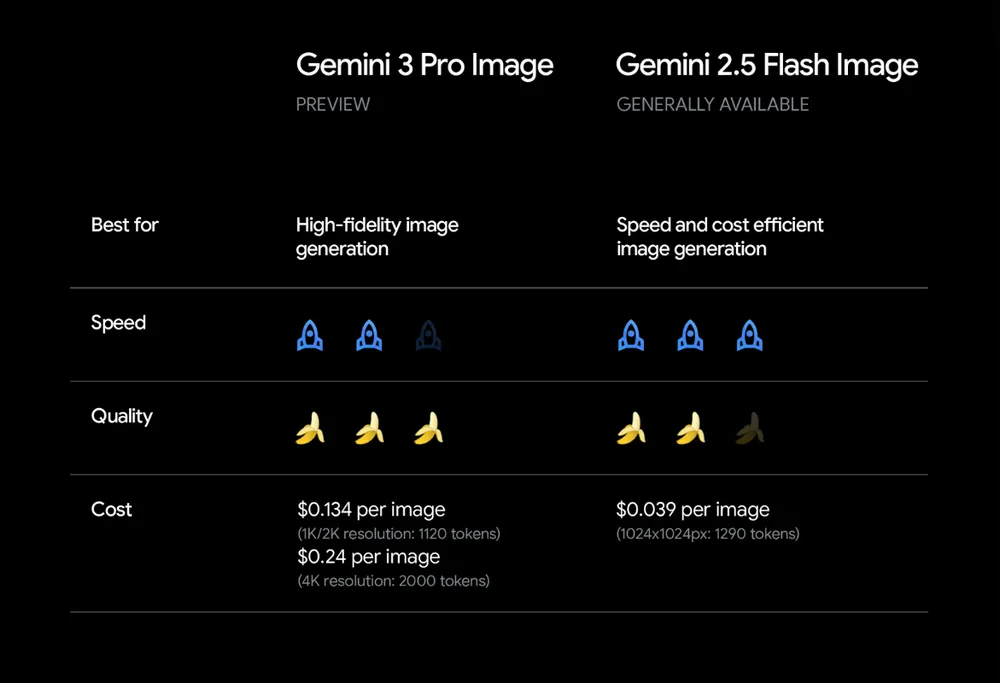
Pricing, Rate Limits, and Best Practices
Nano Banana Pro costs more than lighter models due to its higher compute requirements. Check the latest rates on the Gemini API pricing page because they adjust during preview.
Implement exponential backoff for retries. Cache common prompts when possible. Moreover, batch unrelated requests only if your use case allows — image generation does not support true batching yet.
Always include clear, structured prompts. Reference the official prompt guide for Nano Banana Pro to maximize quality.
Troubleshooting Common Issues
You encounter "model not found" errors if you use the wrong identifier. Confirm you target gemini-3-pro-image-preview during the paid preview phase.
For authentication failures, regenerate your key and verify no trailing spaces. If images appear watermarked unexpectedly, remember that only certain tiers remove the visible sparkle.
When outputs seem censored, adjust safety thresholds explicitly.
Conclusion
You now possess all the knowledge to access and integrate the Nano Banana Pro API effectively. Begin with Google AI Studio for instant results, move to the Python SDK for scripting, and leverage Apidog to streamline testing and debugging.
The combination of Gemini 3 Pro Image capabilities under the Nano Banana Pro banner opens new possibilities for automated design, personalized marketing assets, and data visualization tools. Implement these steps, experiment boldly, and watch your applications produce visuals that rival professional studios.
Download Apidog today and accelerate your Nano Banana Pro development — the difference in productivity becomes evident after your first session.