Are you ready to dive into the world of JavaScript API testing? Let's embark on this journey together and explore how we can ensure our APIs are rock-solid and reliable. In this post, we'll cover everything from the basics to advanced techniques, with a special focus on tools like APIdog that can make our lives easier. So, grab your favorite beverage, and let's get started!
Why API Testing Matters
APIs, or Application Programming Interfaces, are the backbone of modern web applications. They allow different software systems to communicate with each other, making it possible for web services to interact. But with great power comes great responsibility. Ensuring these APIs work correctly is essential for the overall functionality and user experience of your application.
API testing involves verifying that the API meets its expected functionality, reliability, performance, and security standards. It helps catch issues early in the development cycle, saving time and resources. For JavaScript developers, mastering API testing means delivering robust and error-free applications.
Getting Started with JavaScript API Testing
What is API Testing?
API testing is a type of software testing that focuses on verifying APIs directly. It checks the API's responses to different requests, ensuring they meet the specified requirements. Unlike traditional testing, which may focus on the user interface or the overall system, API testing zeroes in on the business logic layer of the software architecture.
Tools of the Trade
To perform effective API testing, you need the right tools. Here are some popular ones for JavaScript developers:
- Apidog: An all-in-one API testing tool that simplifies the process of designing, testing, and documenting APIs. It’s user-friendly and perfect for both beginners and advanced users.
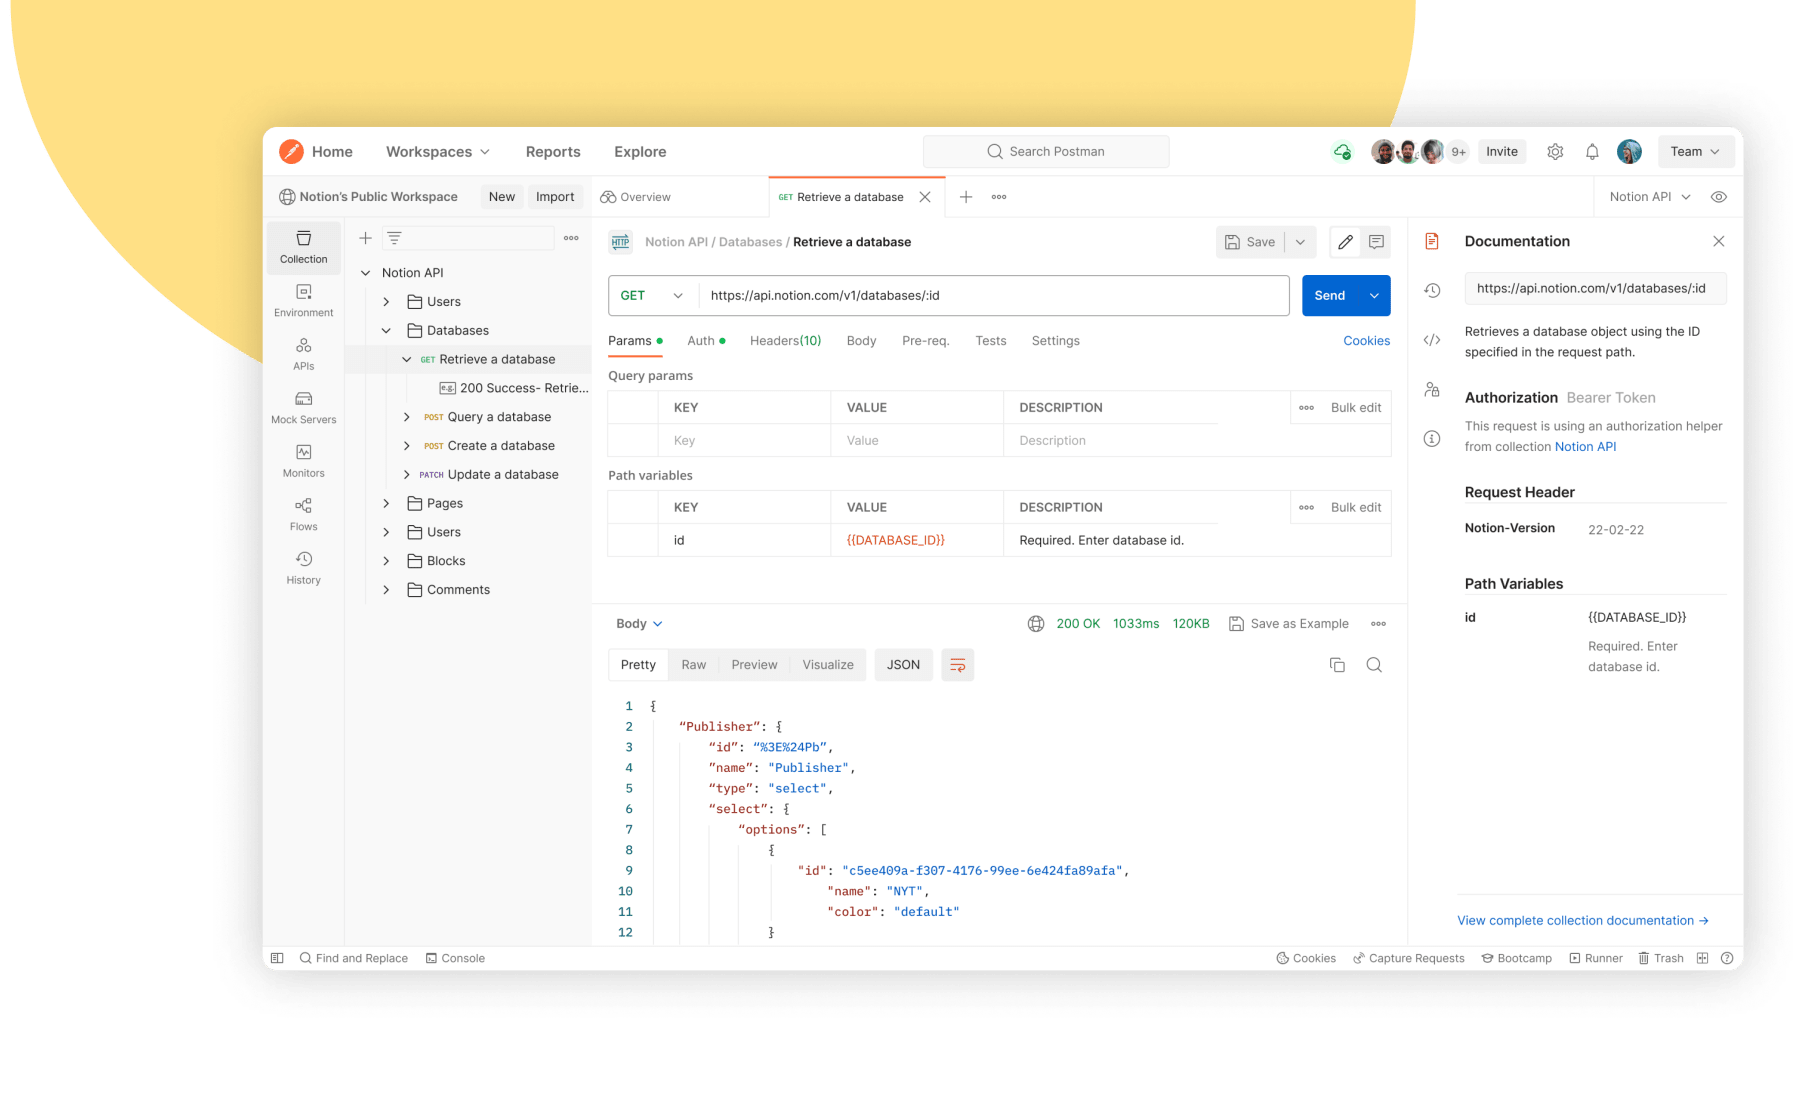
- Postman: A versatile tool that allows you to create and share API requests. It’s widely used for manual and automated testing.
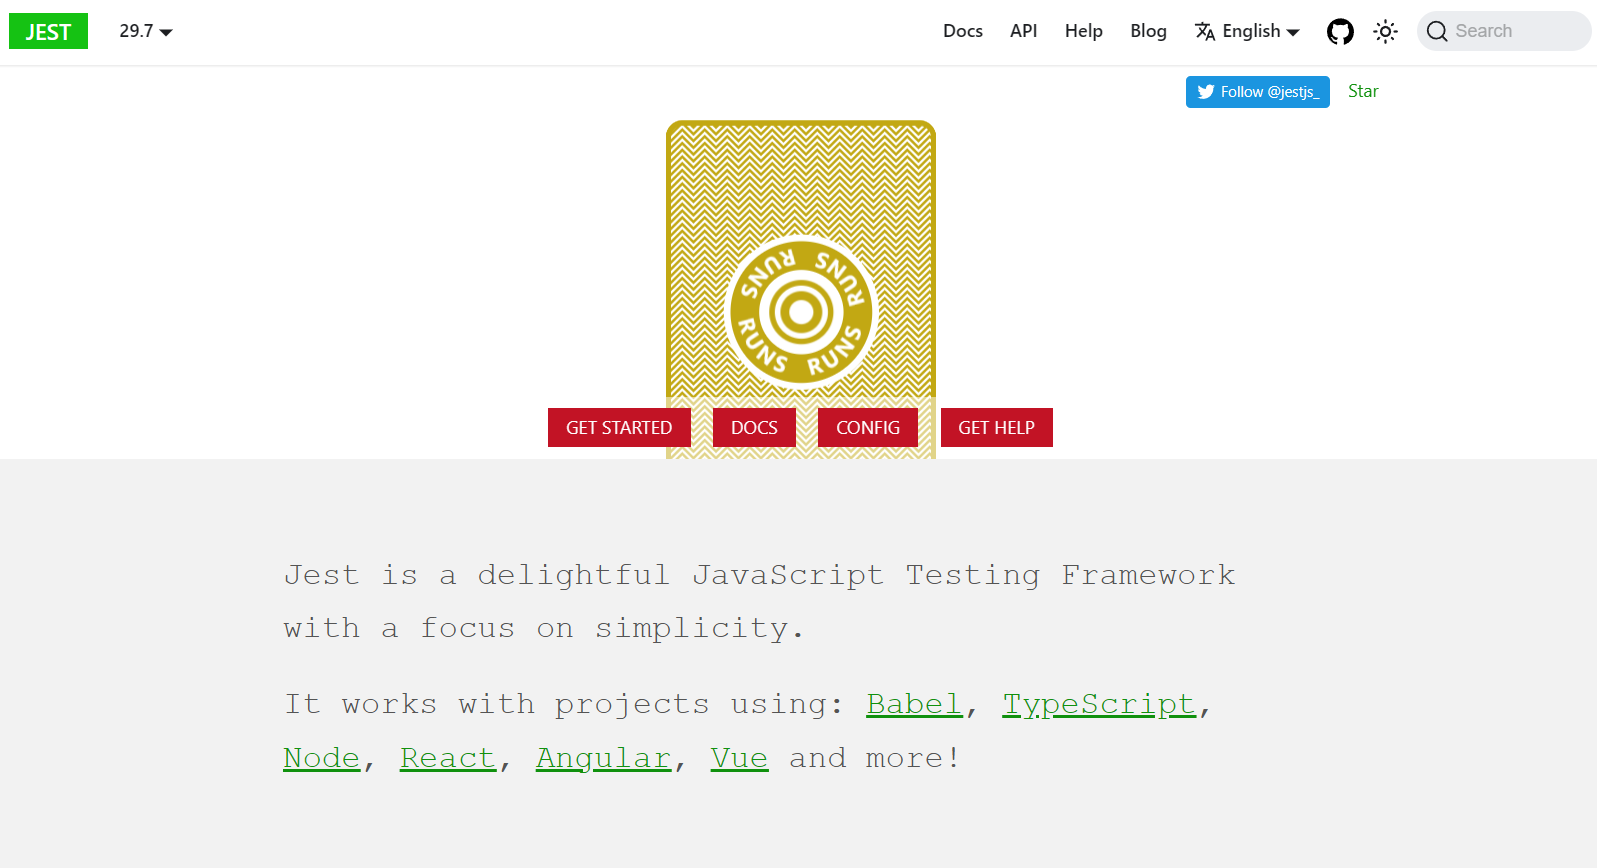
- Jest: A JavaScript testing framework that integrates seamlessly with most projects. It’s great for unit testing APIs.
- Mocha: Another popular testing framework for JavaScript, known for its flexibility and extensive feature set.

Setting Up Your Environment
Before you start testing, you need to set up your development environment. Here’s a step-by-step guide to get you started:
1. Install Node.js
Node.js is a JavaScript runtime built on Chrome’s V8 engine. It’s essential for running JavaScript outside the browser. You can download and install Node.js from here.
2. Set Up a Testing Framework
Choose a testing framework that suits your needs. For this guide, we'll use Jest. Install it globally using npm:
npm install -g jest
3. Create a Project Directory
Create a new directory for your project and navigate into it:
mkdir api-testing-project
cd api-testing-project
4. Initialize a Node.js Project
Run the following command to create a package.json file:
npm init -y
5. Install Required Packages
Install the necessary packages for API testing:
npm install jest supertest
supertest is an excellent library for testing HTTP endpoints.
Writing Your First API Test
Now that your environment is set up, let’s write your first API test. Here’s a simple example using Jest and Supertest:
1. Create a Test File
Create a new file named api.test.js in your project directory.
2. Write a Basic Test
In api.test.js, write the following code:
const request = require('supertest');
const app = require('./app'); // assuming your app is exported from app.js

describe('GET /api/users', () => {
  it('should return a list of users', async () => {
    const response = await request(app).get('/api/users');
    expect(response.status).toBe(200);
    expect(response.body).toBeInstanceOf(Array);
  });
});
This test checks if the /api/users endpoint returns a status code of 200 and an array of users.
3. Run Your Test
Run the test using Jest:
jest
If everything is set up correctly, you should see a passing test.
Advanced API Testing Techniques
Now that you’ve got the basics down, let’s explore some advanced techniques to enhance your API testing skills.
1. Testing Different HTTP Methods
APIs often expose multiple endpoints with various HTTP methods (GET, POST, PUT, DELETE). Ensure you test all relevant methods. Here’s an example of testing a POST request:
describe('POST /api/users', () => {
  it('should create a new user', async () => {
    const newUser = { name: 'John Doe', email: 'john.doe@example.com' };
    const response = await request(app).post('/api/users').send(newUser);
    expect(response.status).toBe(201);
    expect(response.body).toHaveProperty('id');
  });
});
2. Validating Response Headers
Sometimes, it’s important to validate response headers. You can do this using Supertest’s .expect() method:
it('should return the correct content type', async () => {
  const response = await request(app).get('/api/users');
  response.expect('Content-Type', /json/);
});
3. Mocking External Services
APIs often interact with external services. Mocking these services during testing can help isolate your tests and make them more reliable. Libraries like nock make it easy to mock HTTP requests in Node.js.
Integrating Apidog for Seamless API Testing
Remember our mention of Apidog at the beginning? Let’s take a closer look at how this tool can simplify your API testing process.
Why Apidog?
Apidog is an all-in-one API platform that provides tools for designing, testing, and documenting APIs. It’s designed to streamline the entire API development lifecycle, making it easier for developers to create reliable and well-documented APIs.
Key Features of Apidog
- API Design: Create and manage your API specifications with an intuitive interface.
- API Testing: Easily create and run automated tests for your APIs.
- API Documentation: Generate and maintain comprehensive API documentation.
- Collaboration: Work seamlessly with your team on API projects.
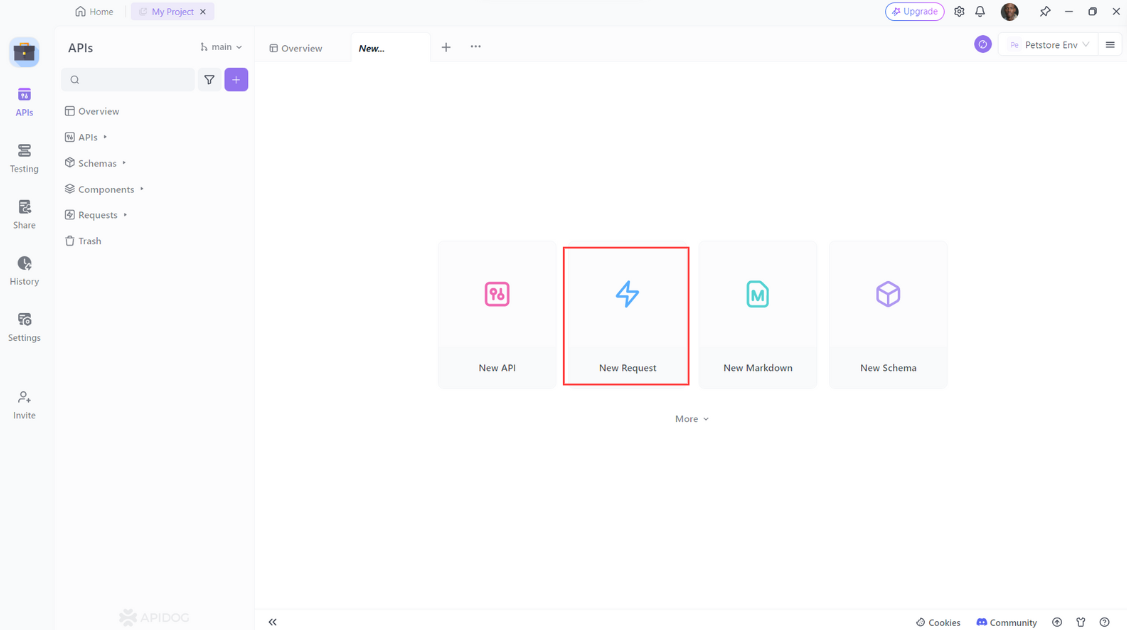
How to send Javascript API request using Apidog
- Open Apidog and click on the "New Request" button to create a new request.
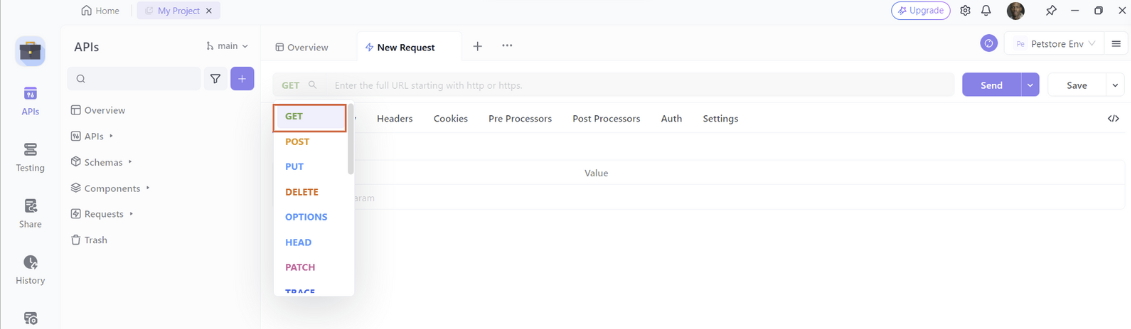
2. Select "GET" as the method of the request.
3. Enter the URL of the API endpoint
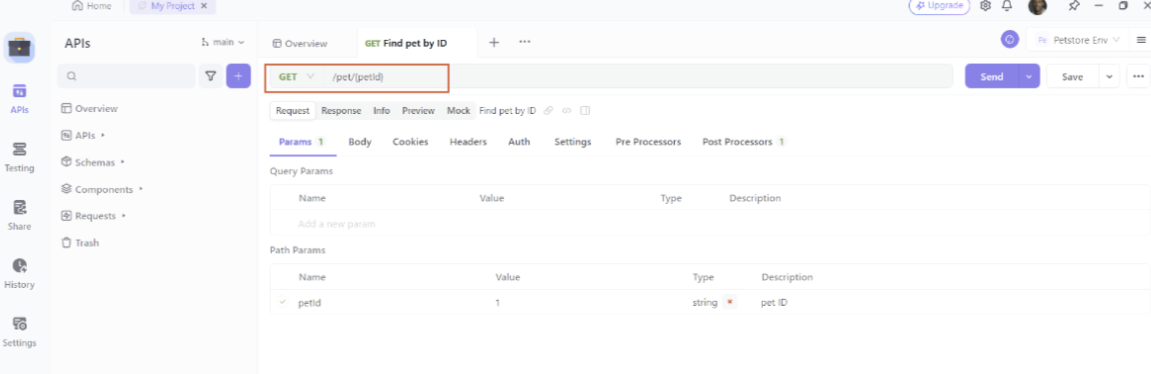
Then click on the “Send” button to send the request to the API.
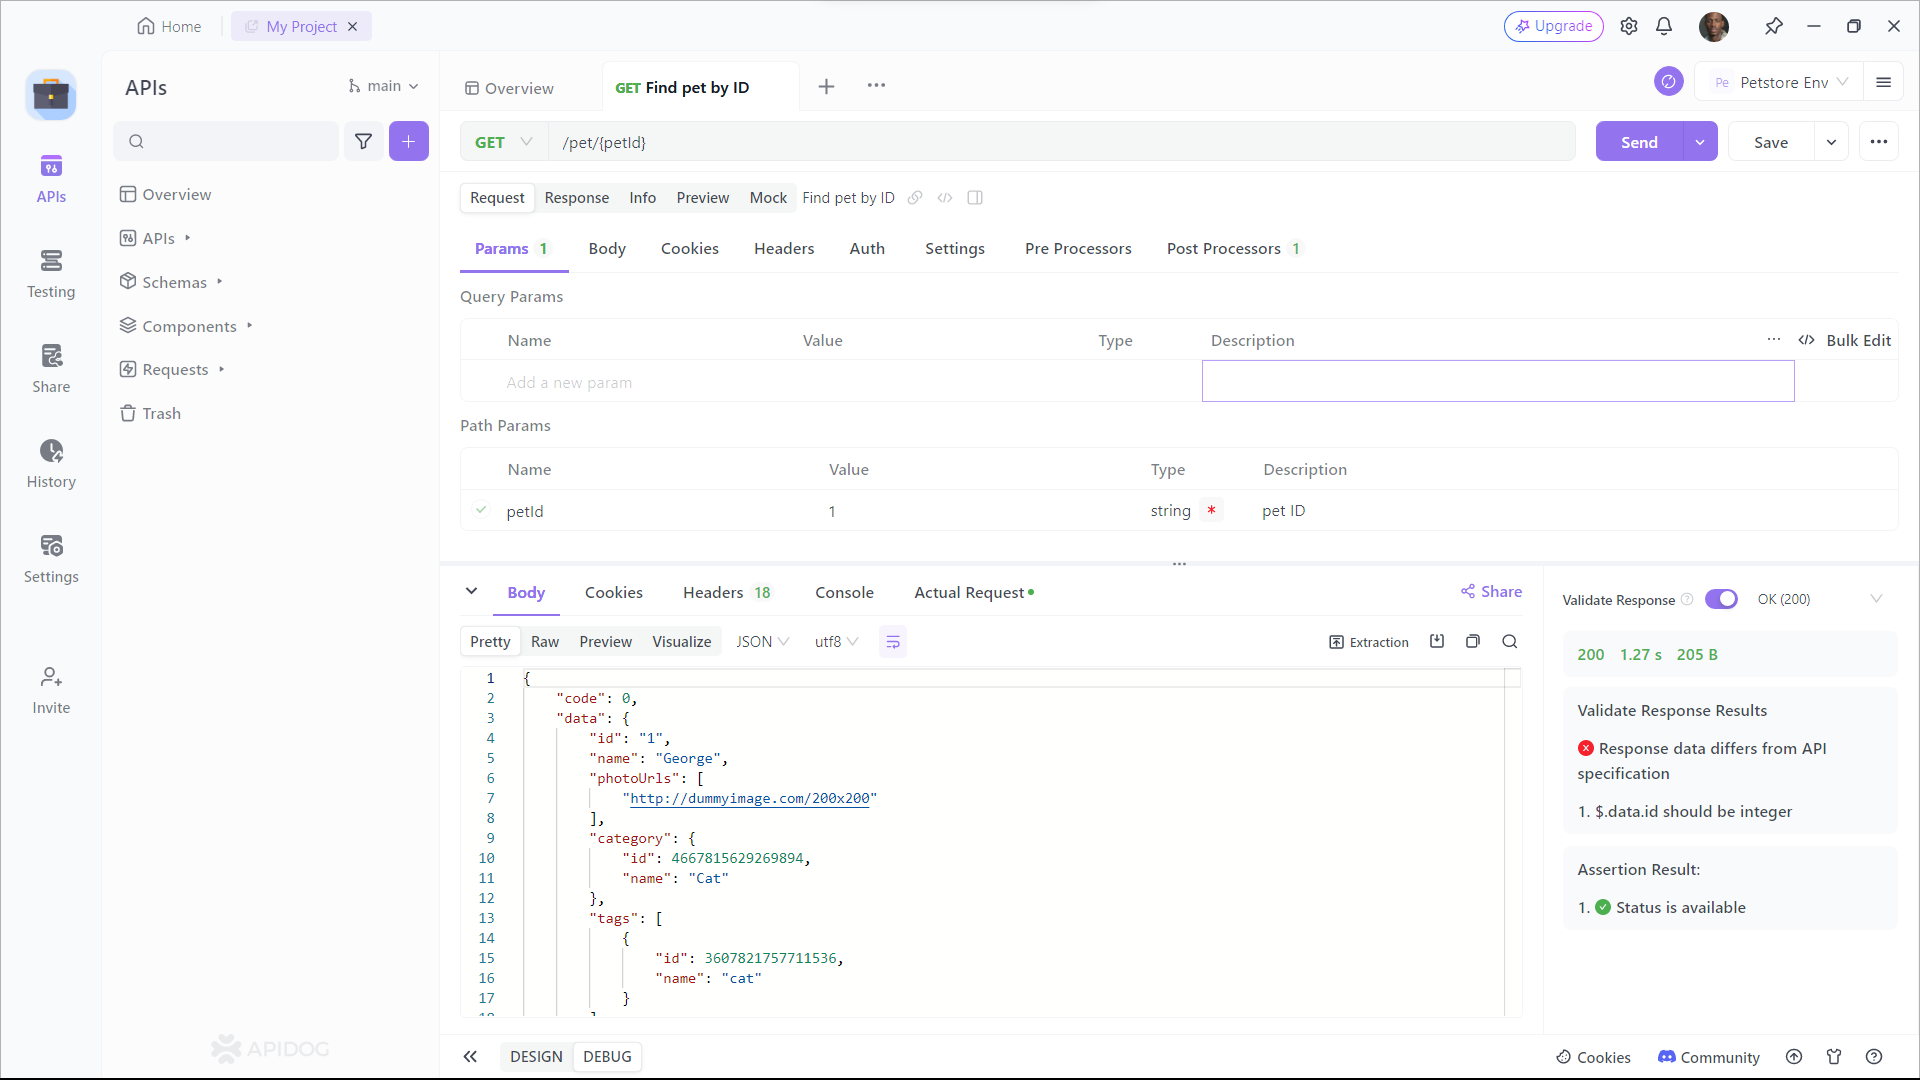
As you can see, Apidog shows you the URL, parameters, headers, and body of the request, and the status, headers, and body of the response. You can also see the response time, size, and format of the request and response, and compare them with different web APIs.
How to make Javascript automation testing using Apidog
Here’s a step-by-step guide on how to automate API testing using Apidog:
Open your Apidog Project and switch to the testing interface
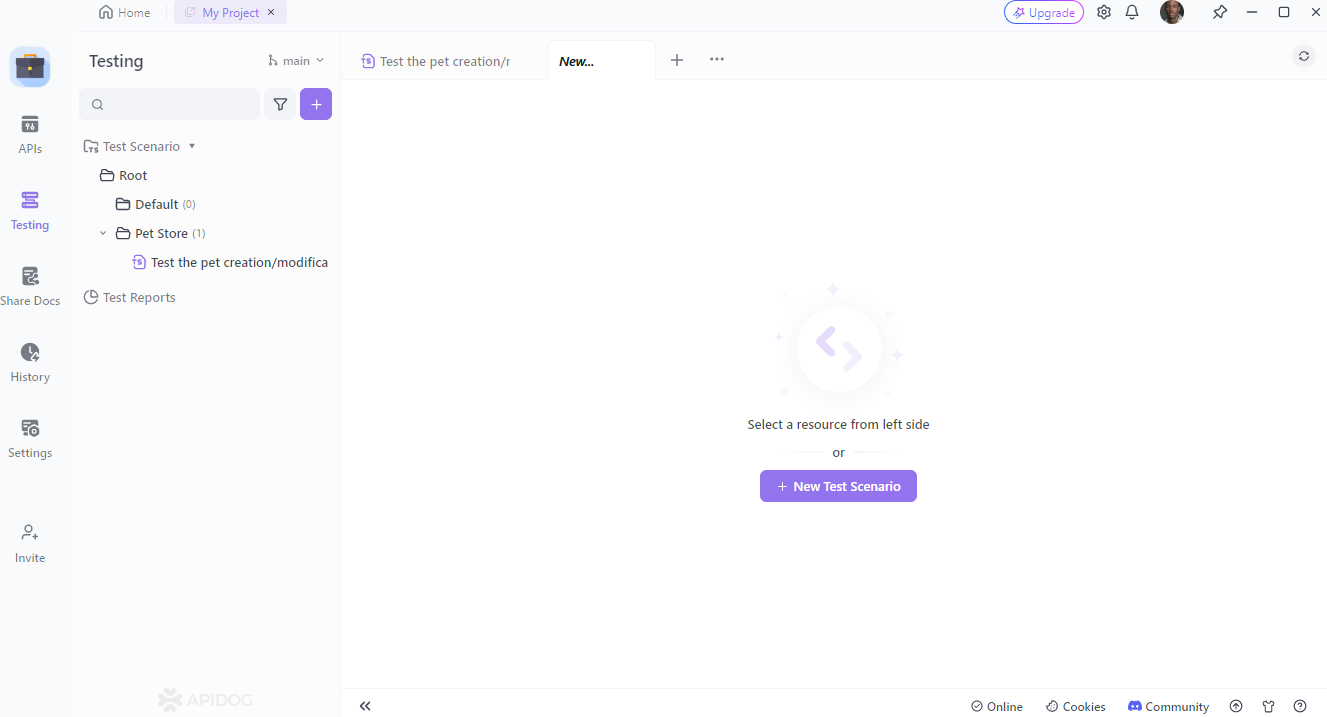
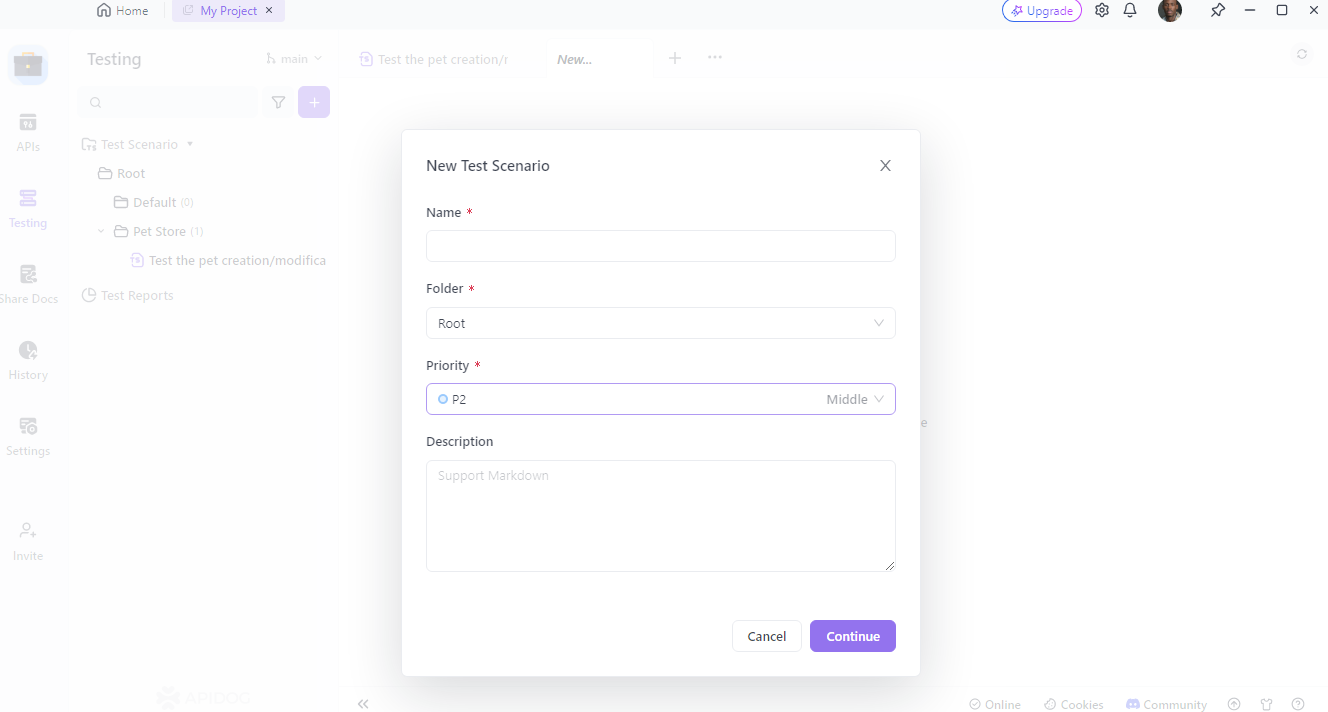
Design Your Test Scenarios: You can design your test scenarios in Apidog.
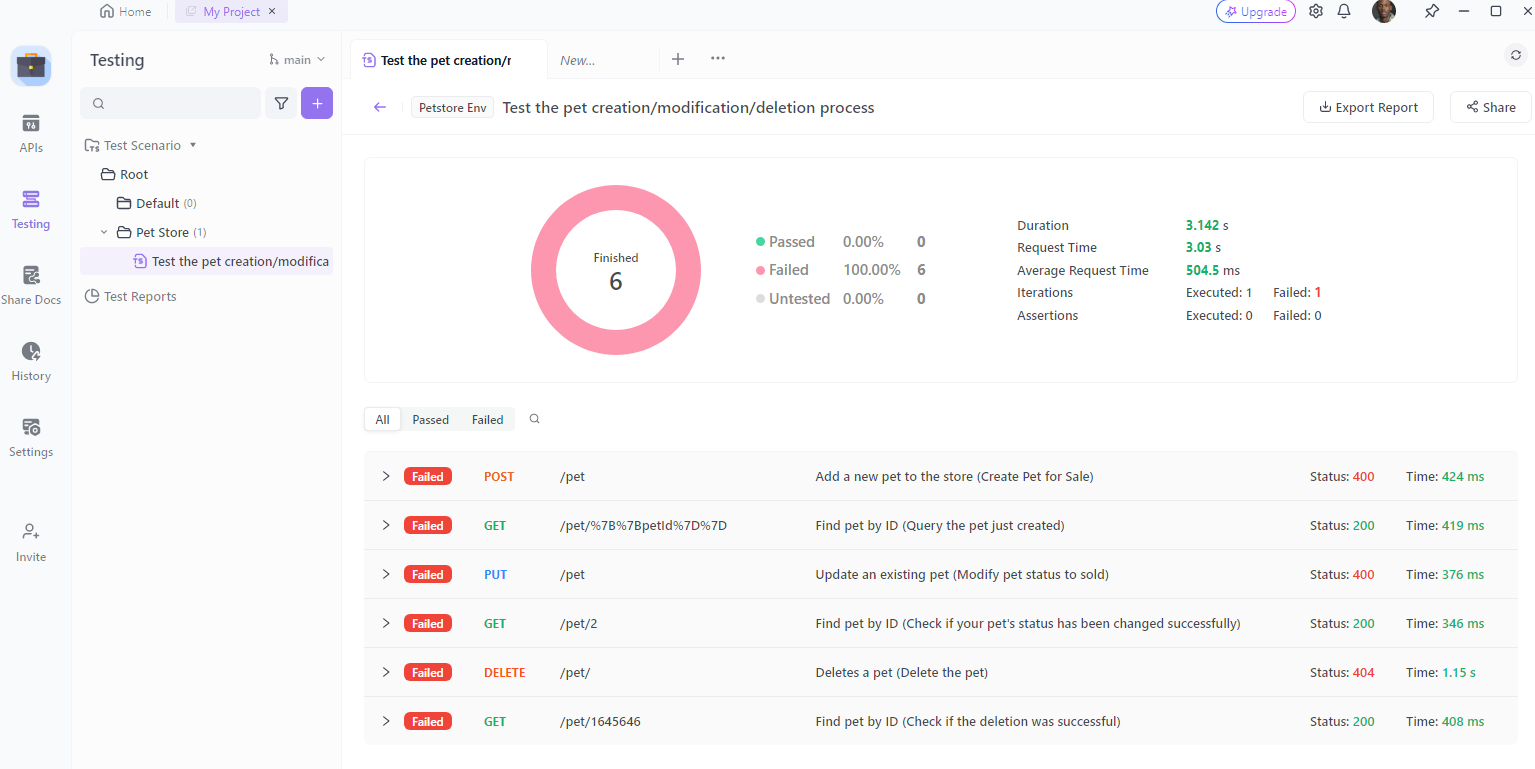
Run Your Tests: You can run your tests in Apidog.

Analyze Test Results and Optimize: After running your tests, you can analyze the test results and optimize your tests accordingly.
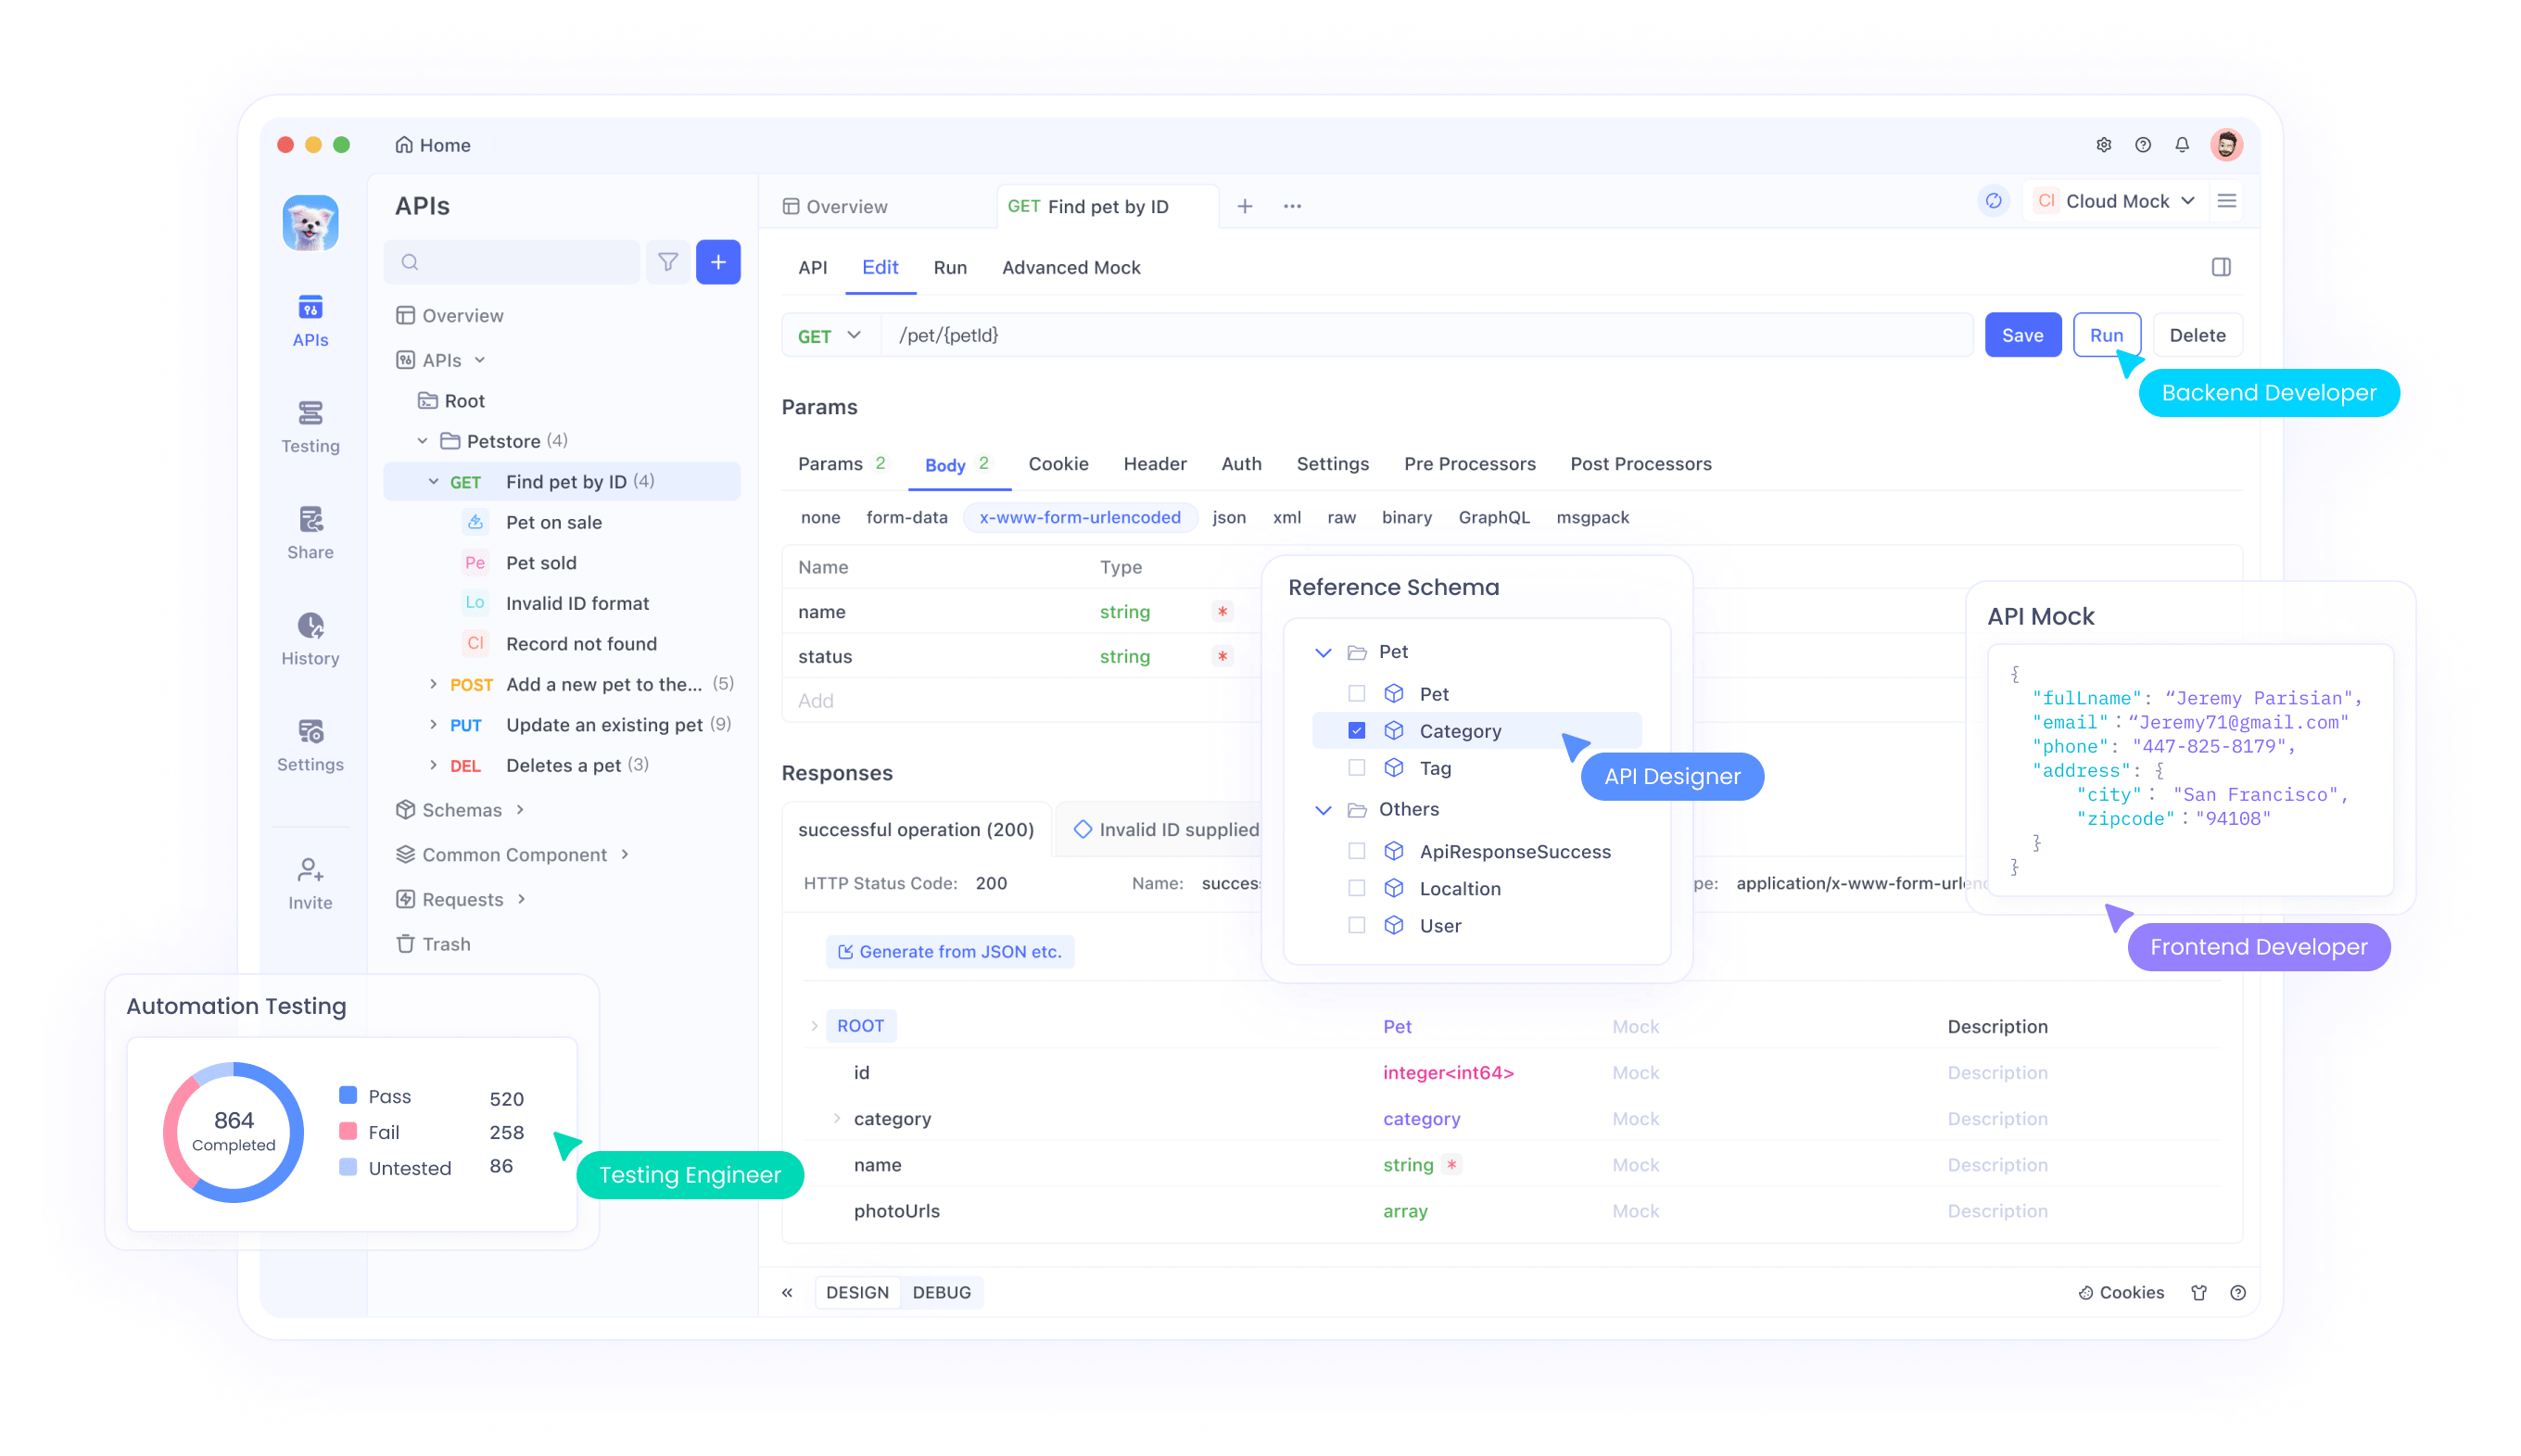
Remember, Apidog is an all-in-one toolkit for API development. The whole team can work on it together to produce APIs efficiently and conveniently. Each role in the team can use it to solve their own problems.
Best Practices for API Testing
To ensure your API tests are effective and maintainable, follow these best practices:
1. Write Clear and Concise Tests
Keep your tests simple and focused. Each test should verify a single aspect of the API. Use descriptive names for your test cases.
2. Use Fixtures and Factories
Fixtures and factories help create consistent test data. This can simplify your tests and make them more readable. Tools like factory-girl can be useful for this purpose.
3. Handle Authentication
Many APIs require authentication. Ensure your tests handle authentication correctly. You can use tools like jsonwebtoken to generate and verify tokens during testing.
4. Test Edge Cases
Don’t just test the happy path. Make sure to test edge cases and error scenarios. This includes testing with invalid input, missing fields, and unauthorized access.
5. Automate Your Tests
Automate your API tests and integrate them into your CI/CD pipeline. This ensures your tests run consistently and catch issues early in the development cycle.
Conclusion
Mastering JavaScript API testing is a crucial skill for modern developers. It ensures your applications are reliable, performant, and secure. By following the guidelines in this comprehensive guide and leveraging powerful tools like Apidog, you’ll be well on your way to becoming an API testing pro.
Remember, API testing is not just about finding bugs; it’s about ensuring your APIs deliver the best possible experience for your users. So, keep testing, keep learning, and keep improving your skills.
Ready to take your API testing to the next level? Download Apidog for free and start mastering your API testing skills today!


