
In API development, well-documented and structured APIs are essential for seamless collaboration. Swagger/OpenAPI excels in API documentation, offering human-readable formats like YAML or JSON to outline endpoints, parameters, responses, and more.
This fosters better understanding among team members and simplifies integration for third-party developers. If you're new to Swagger, check out the recommended article to explore its potential.

As developers, we understand the importance of efficient API testing and management to streamline our projects. Postman has been a go-to tool for many of us, providing a powerful platform to test APIs effectively. However, you may have come across situations where you need to work with APIs defined in the Swagger/OpenAPI format. Worry not, Apidog is a good solution for you!
In fact, both Swagger and Postman have their own unique features and benefits. Swagger focuses on API design and documentation, while Postman is more focused on API testing and development. However, they can be used together to streamline the API development process.
In this post, we will explore how to export Swagger APIs and import them into Postman, as well as how to test these APIs using Postman. We will also cover some common issues that may arise when importing Swagger APIs into Postman and how to troubleshoot them.
How to Import Swagger APIs into Postman
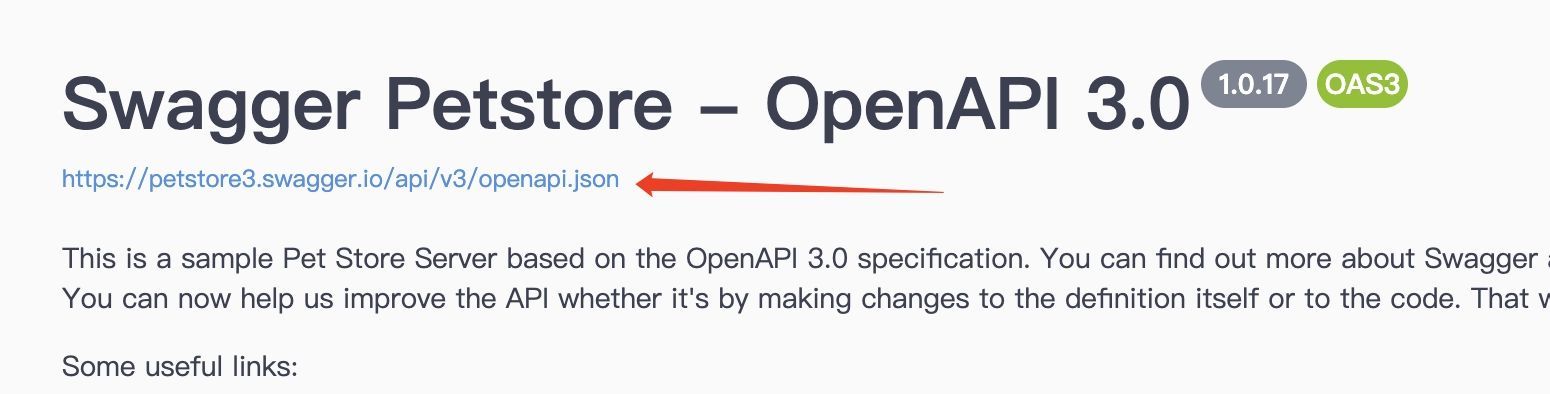
Step 1. Click and copy the Swagger documentation URL.
Access the Swagger documentation endpoint and find the highlighted link. Click on it to be redirected to a page displaying the Swagger documentation JSON.
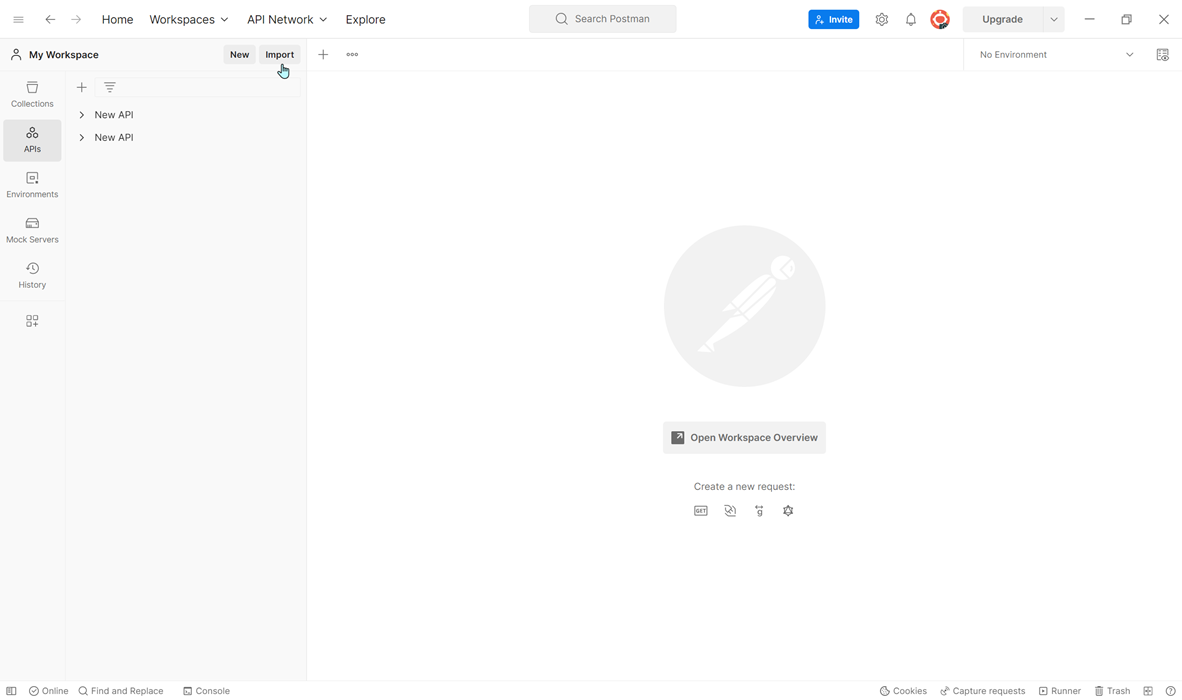
Step 2. Open Postman and click on the "Import" button located in the top-left corner of the screen.
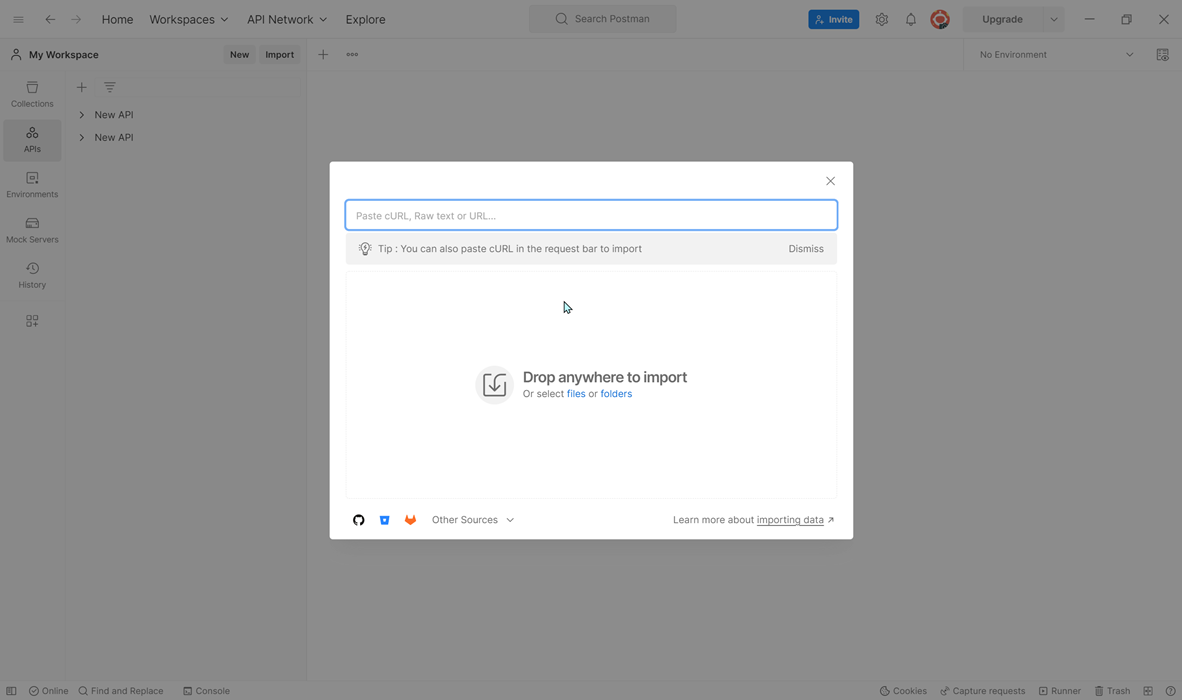
Step 3. You can import the pasted URL in the search zone on Postman. In the "Import File" modal, click on the "Choose Files" button.
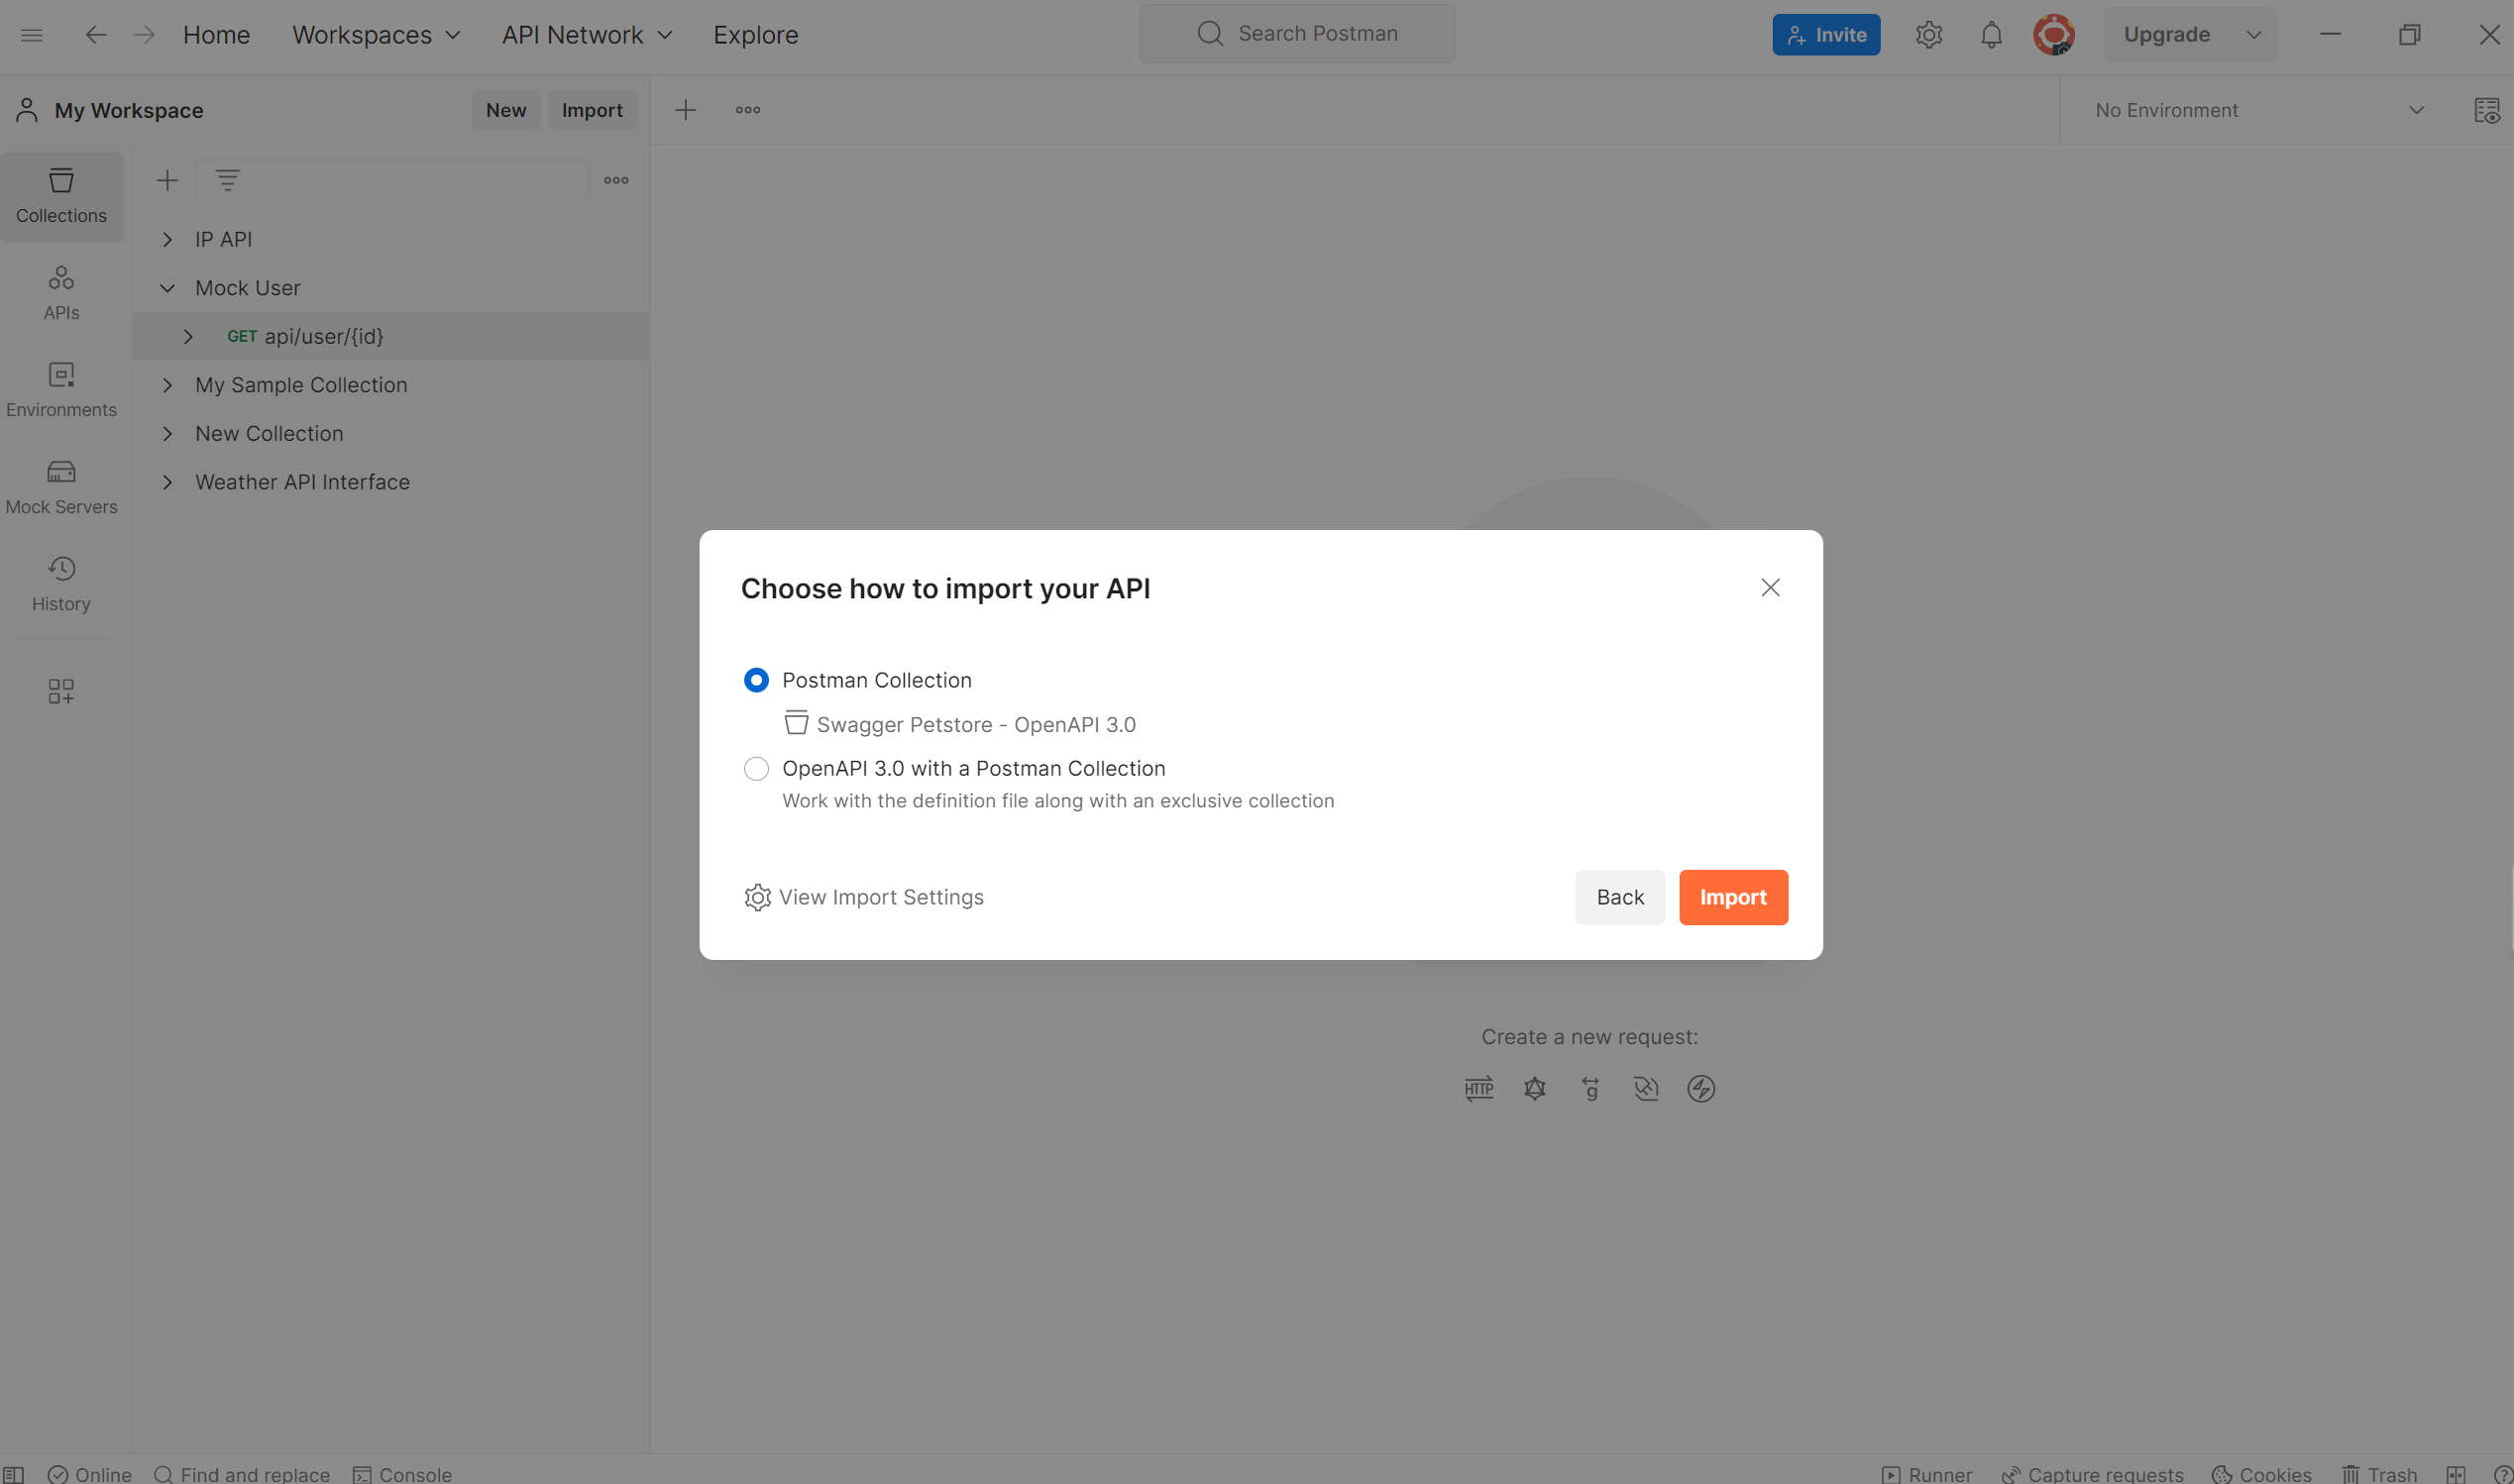
Step 4. Select the Import Settings
In addition, you can import your own APIs as a Postman Collection. Once the Swagger URL has been input, select your preference in "Choose how to input your API. For instance, we decide to import Swagger API into Postman Collection.
Step 5. After the import process is complete, you should see your newly imported Swagger collection listed in the Collections.
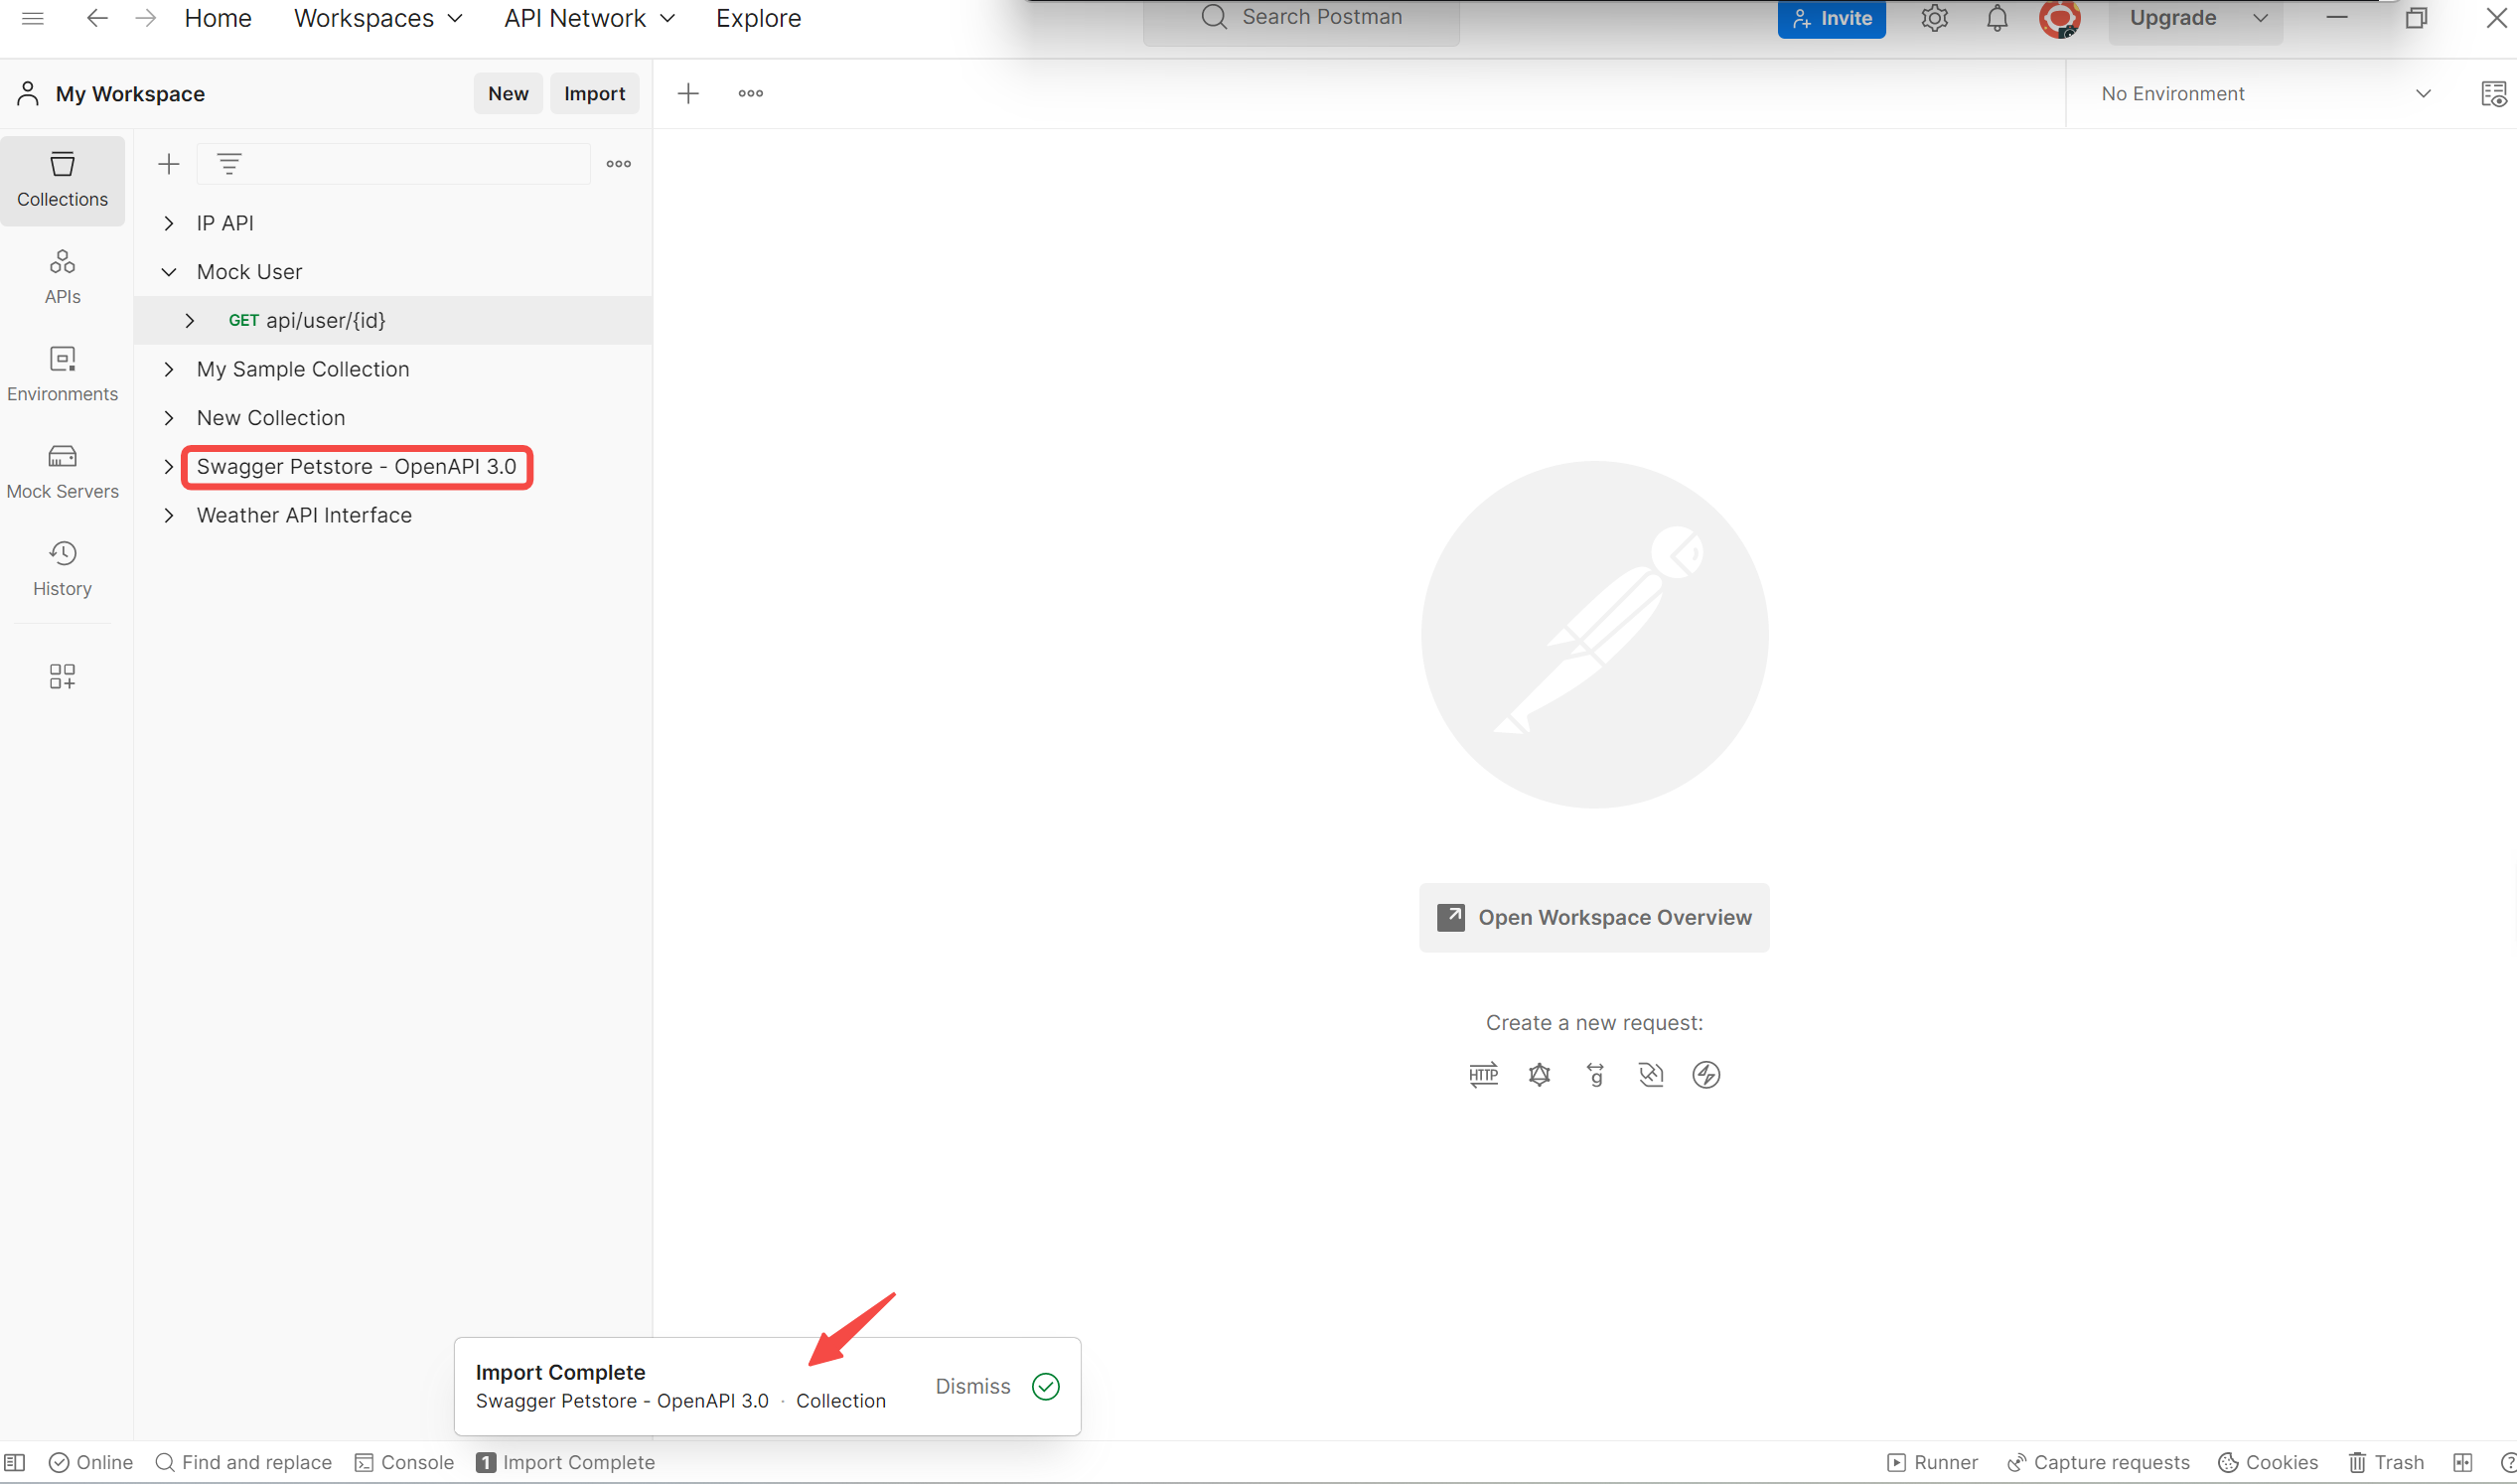
By following these steps, you can easily import Swagger APIs into Postman and start testing and exploring the API endpoints.
Postman Alternative: Apidog
Apidog emerges as the superior alternative API tool when compared to Postman, offering an All-in-One workspace for API design, documentation, debugging, mocking, and testing. With Apidog, developers can design and debug APIs faster and more efficiently while generating automatic documentation, mock data, and tests.
Advantages of Apidog over Postman include its user-friendly interface, which simplifies API creation and testing. Additionally, Apidog boasts a wide range of features that cover API design, testing, mocking, automation, documentation, and collaboration tools. The active and supportive community of developers surrounding Apidog serves as a valuable resource for troubleshooting and sharing best practices.
Apidog's integration with various other tools and platforms, such as Jenkins and GitHub, provides flexibility and choice to developers, enhancing their workflow. Furthermore, Apidog's clear navigation and low entry barrier make it easy for beginners to get started with API development.
Better Way: Import Swagger APIs into Apidog
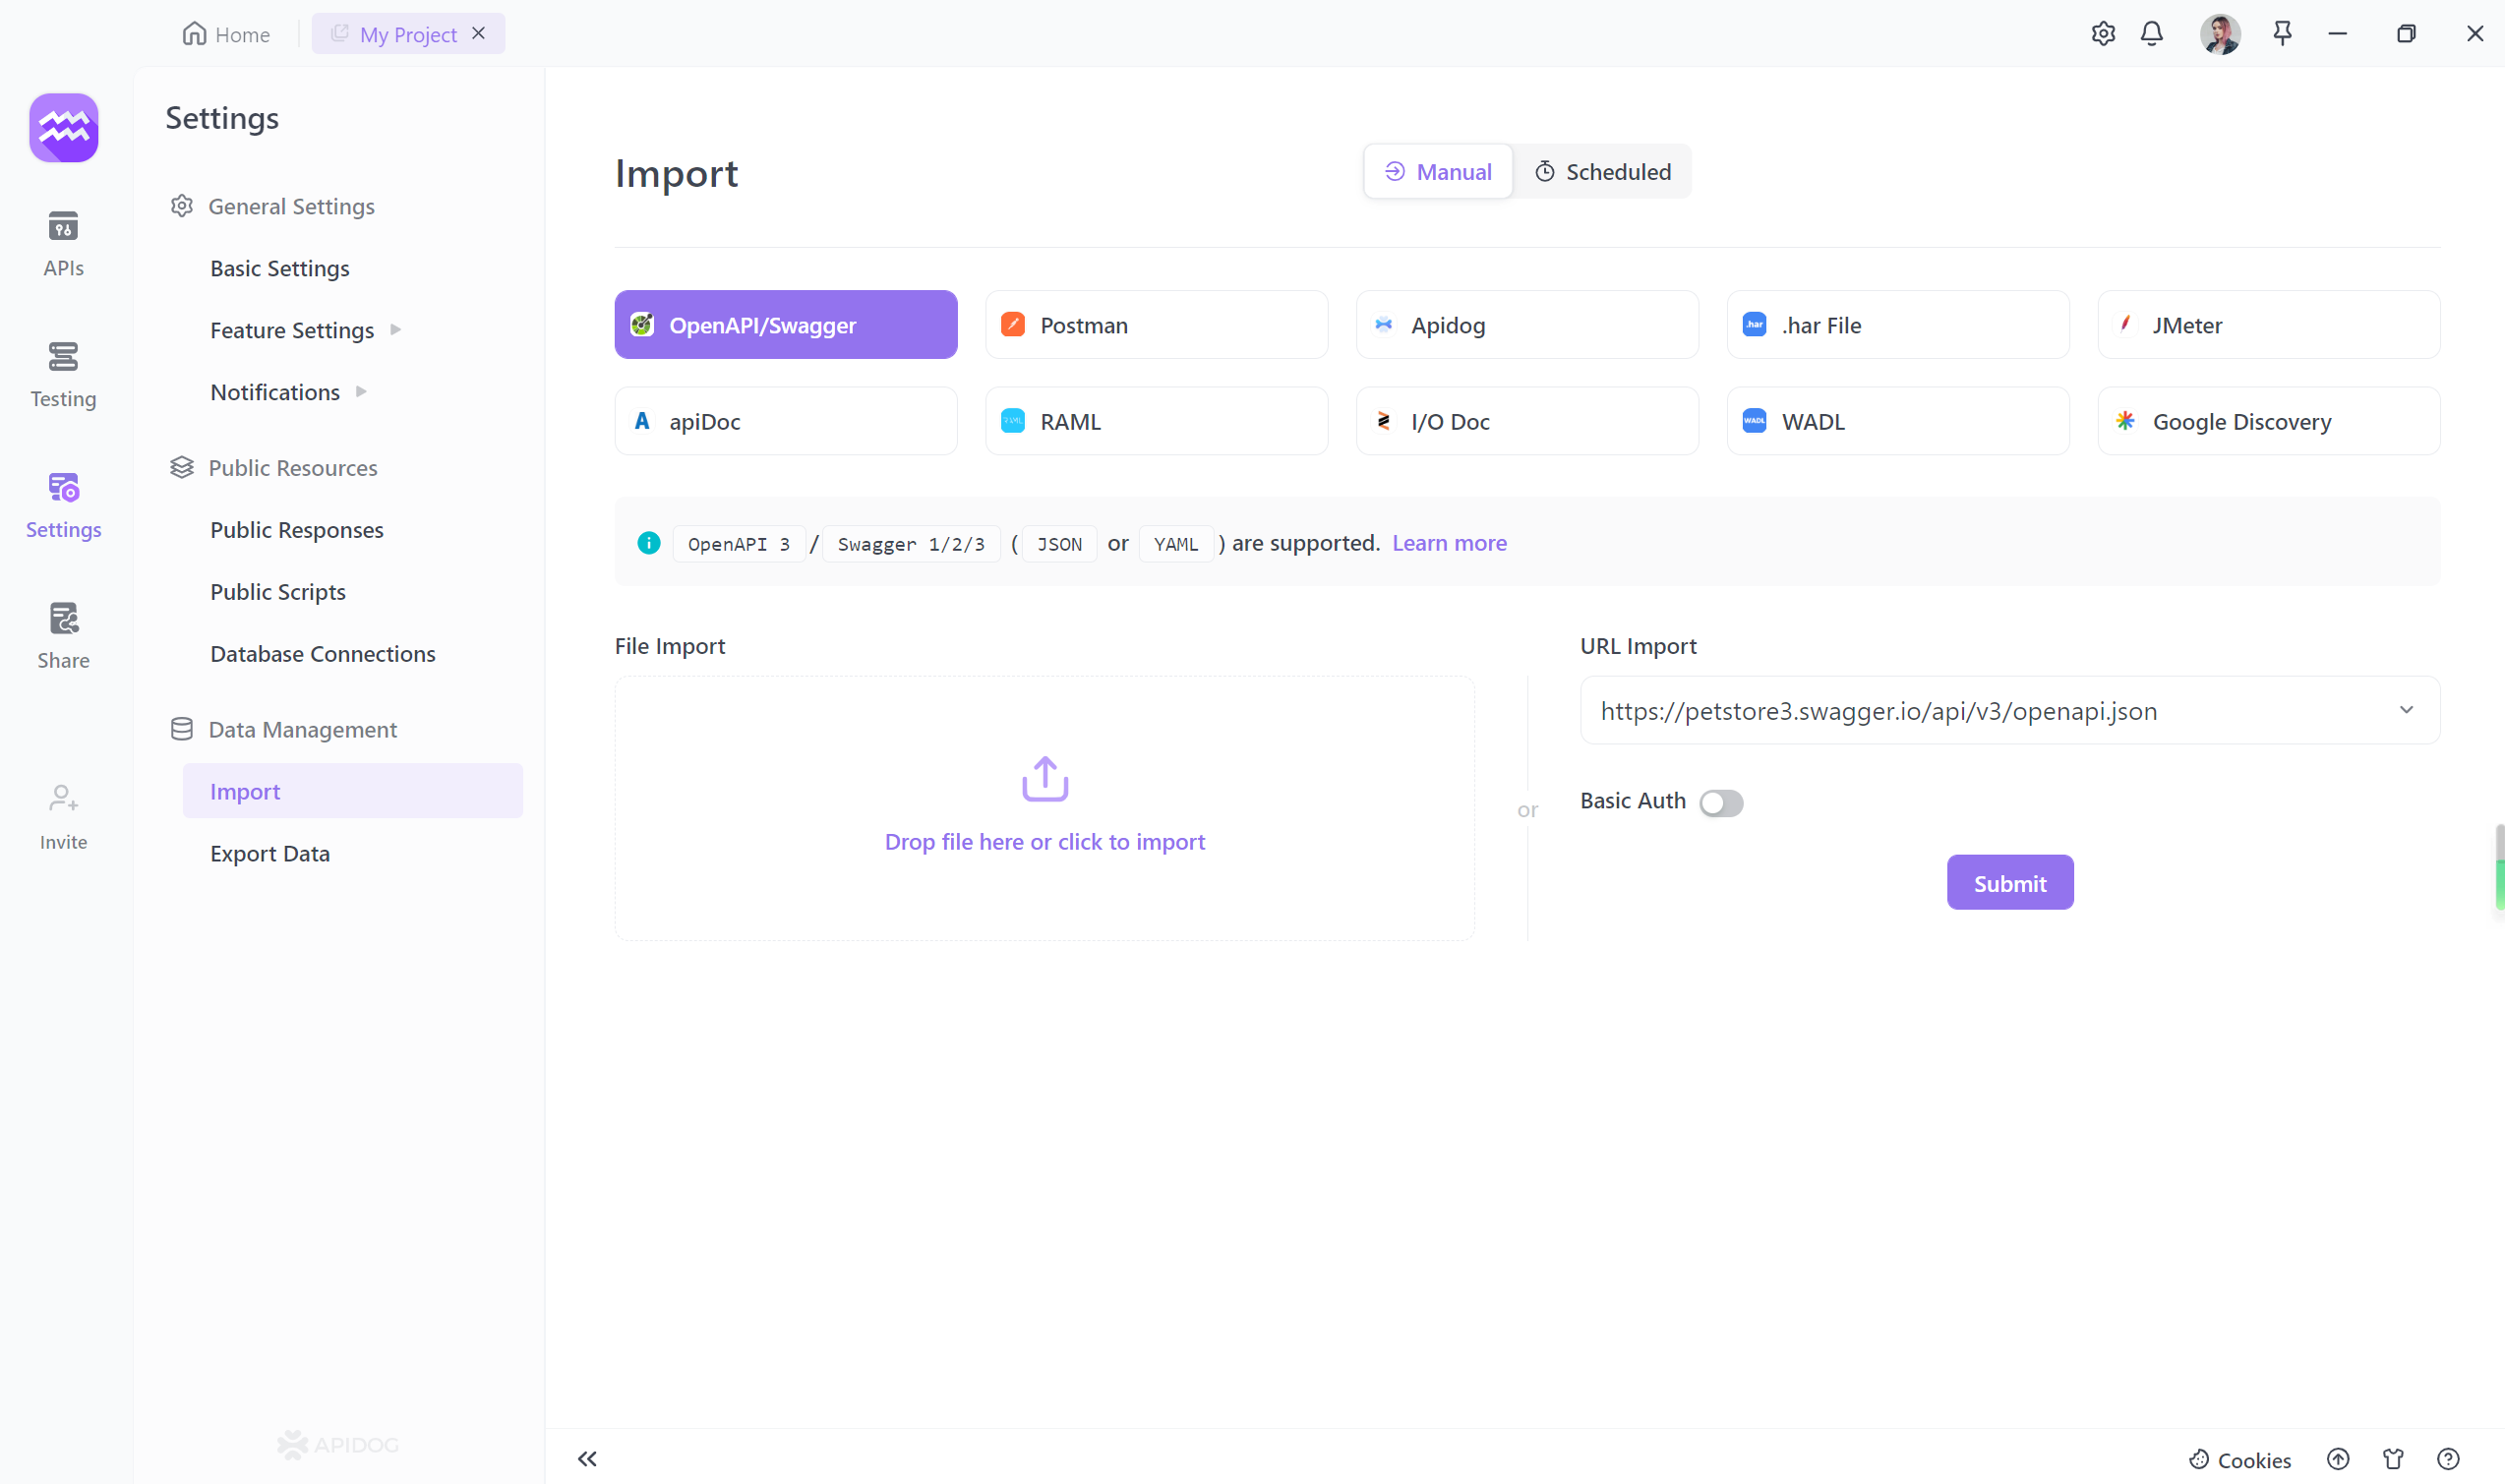
Step 1. Log into Apidog, select "Settings" from the left menu, and then select "Import " to import the exported file as displayed in the image.

Apidog is available to import various files formats, including OpenAPI/Swagger, Postman, JMeter, apiDoc, etc.
Step 2. Import your collection by entering the OpenAPI/Swagger URL. Additionally, you have the option to import APIs either by dropping a file or providing a URL, according to your preference.
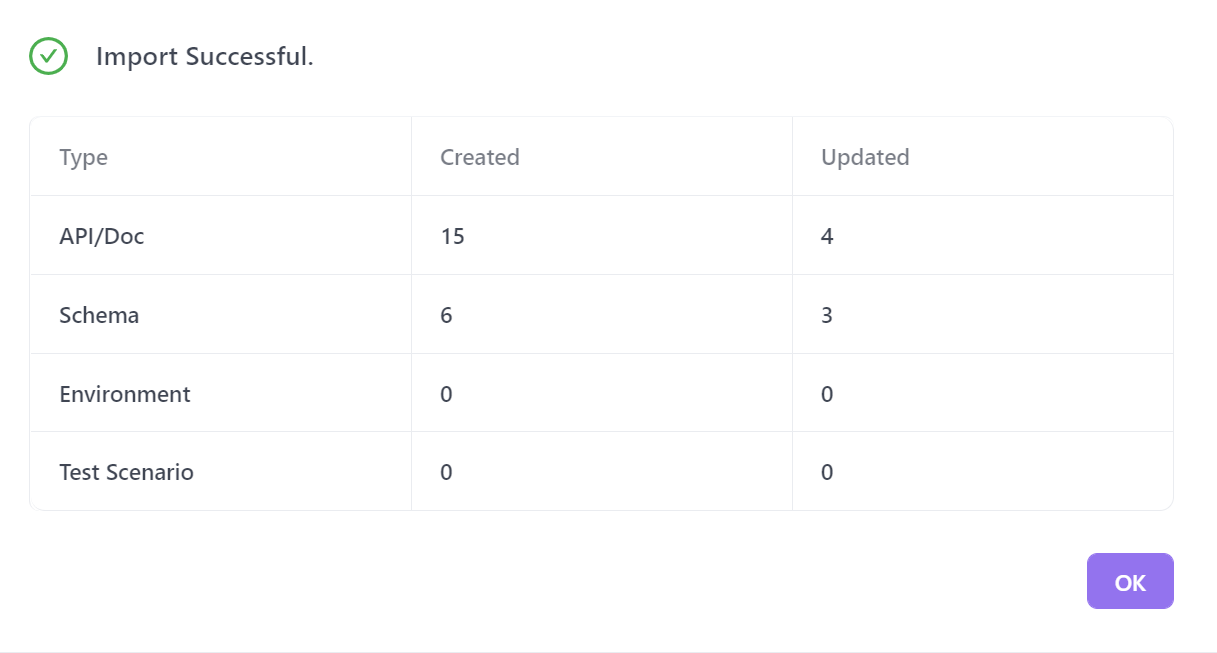
Step 3. You can view the API collection in detail, and confirm it if no questions.
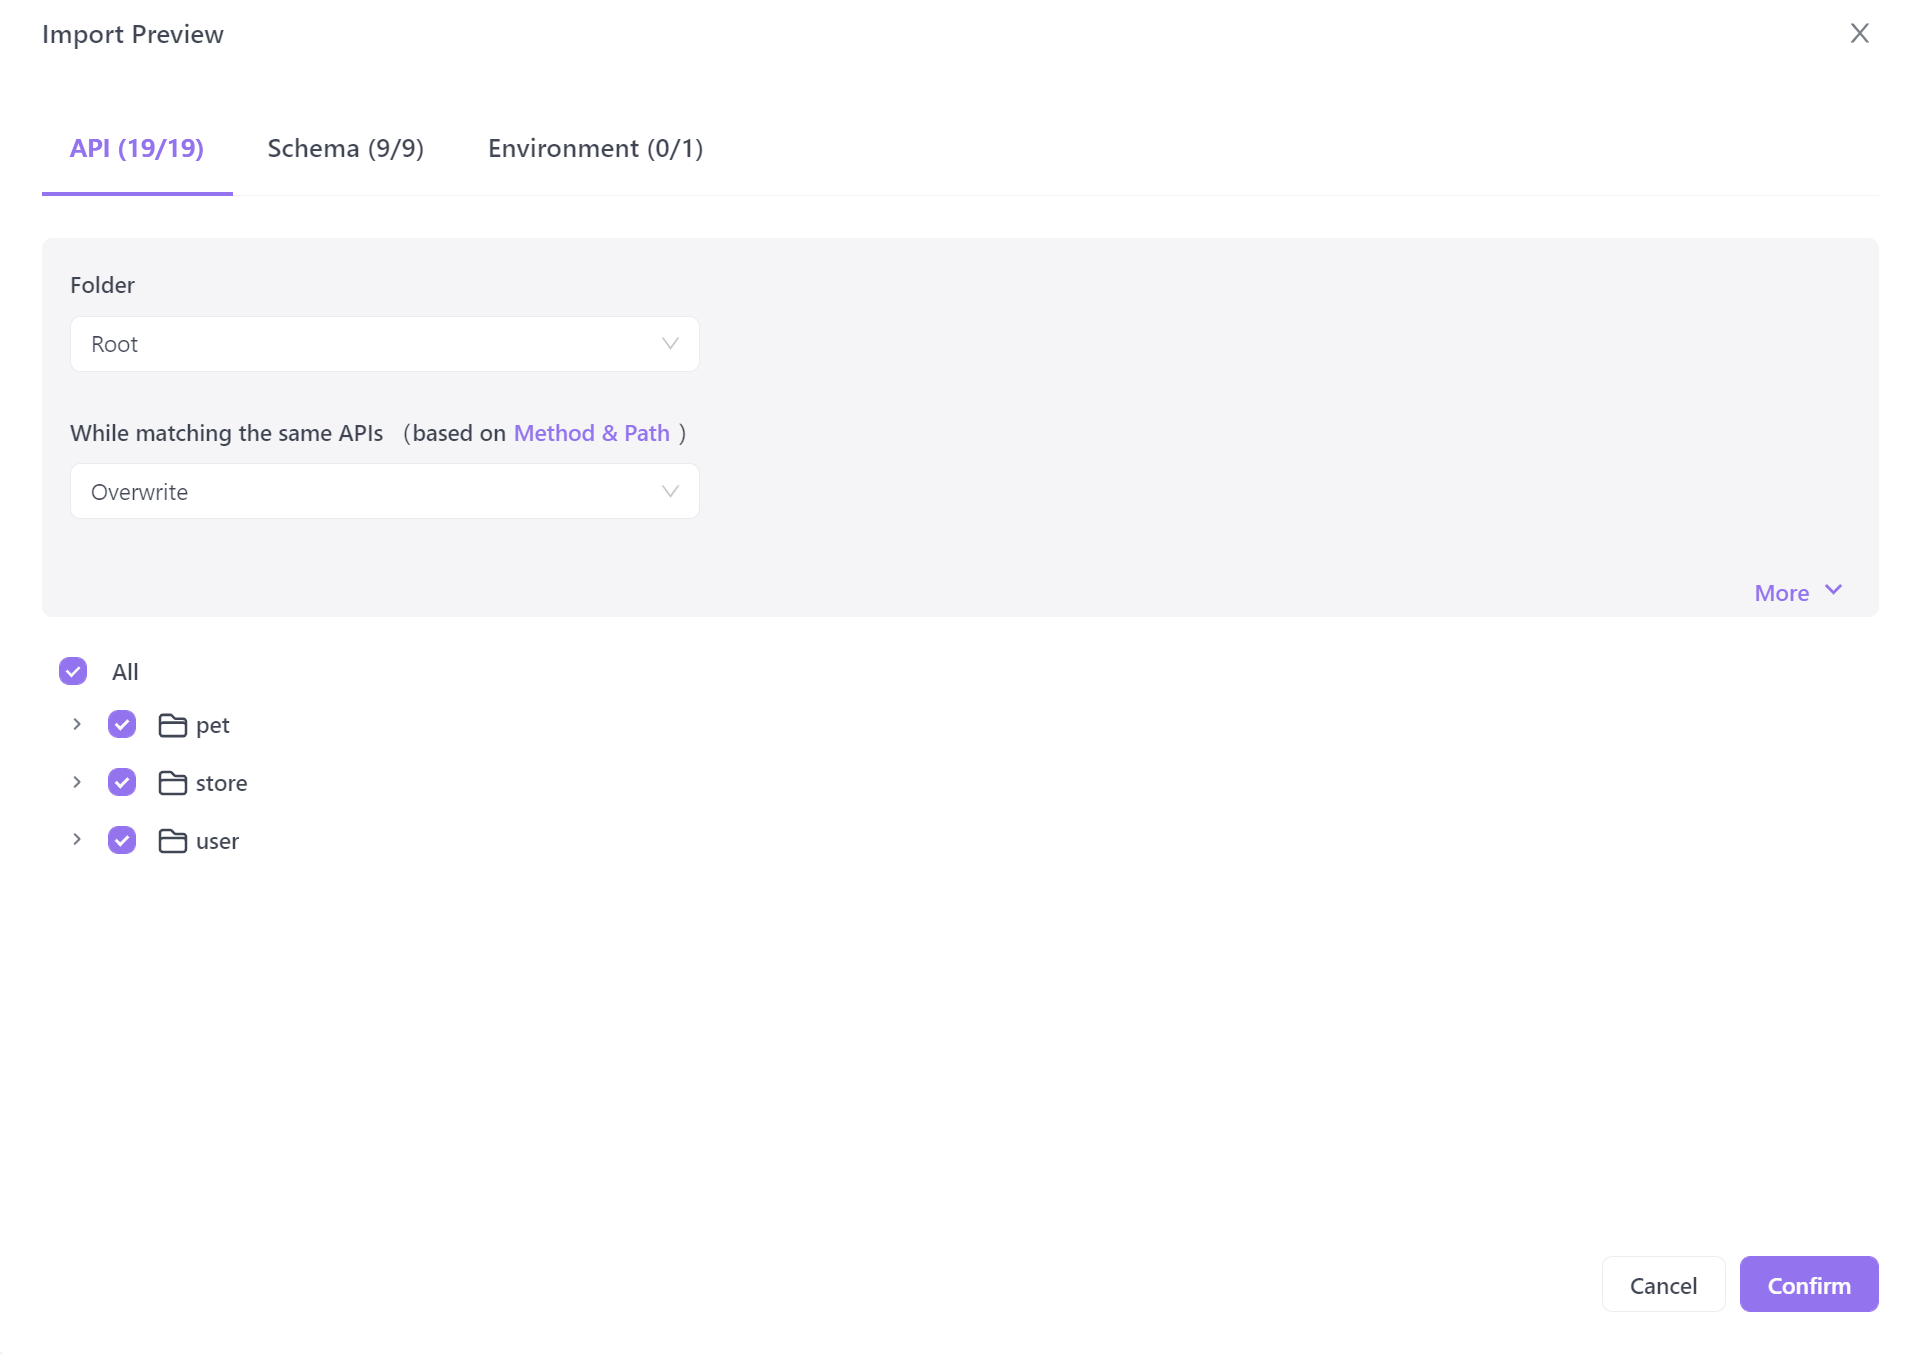
Importing successfully like below.
You can now proceed with the next steps, as Apidog offers not only automated testing but also various functions like documentation management, API debugging, and more. What's even better is that the interface is clean and user-friendly, making it easy for beginners to get started. Come and explore more practical features!
Notably, Apidog supports multiple operating systems, including Windows, Mac, and Linux, as well as Chrome and Edge extensions, ensuring compatibility with various devices and environments.
How to Fix Common Issues when Importing Swagger APIs into Postman
When importing Swagger APIs into Postman, you may encounter some common issues. In this section, we will discuss these issues and provide troubleshooting tips to help you resolve them.
- Incompatible Swagger Version: Postman supports Swagger version 2.0. If you are trying to import a Swagger API specification that is not compatible with this version, you may encounter errors. Make sure that the Swagger version you are using is compatible with Postman.
- Missing Required Fields: When importing Swagger APIs into Postman, ensure that all required fields are present in the Swagger specification. If any required fields are missing, Postman may not be able to import the API successfully. Check the Swagger specification for any missing or incorrect fields.
- Invalid Swagger File: Postman expects a valid Swagger JSON or YAML file for importing APIs. If the Swagger file is not valid or contains syntax errors, Postman may not be able to import the APIs correctly. Validate the Swagger file using a Swagger editor or validator to ensure its correctness.
- Conflicting Definitions: Sometimes, there may be conflicting definitions in the Swagger specification that can cause issues when importing into Postman. For example, if there are duplicate definitions or conflicting data types, Postman may not be able to import the APIs correctly. Review the Swagger specification for any conflicting definitions and resolve them before importing into Postman.
- Authentication and Authorization: If the Swagger specification includes authentication or authorization requirements, make sure to configure them correctly in Postman. Postman may not be able to import APIs that require authentication or authorization if they are not configured properly.
- Network Connectivity: Ensure that you have a stable internet connection when importing Swagger APIs into Postman. If there are any network connectivity issues, Postman may not be able to fetch the Swagger specification or import the APIs correctly. Check your internet connection and try importing the APIs again.


