
Designing REST APIs sounds simple until it isn’t.
At first, everything feels straightforward. You define a few endpoints, add some parameters, return JSON, and you’re done… right? But then reality hits. Teams grow. APIs evolve. Versions change. New developers join. Frontend and backend teams get out of sync. Documentation lags behind. And suddenly, your “simple” REST API becomes a source of confusion instead of clarity.
That’s exactly why choosing the right tool to design REST APIs matters more than ever.
If you've ever felt this friction, you're not alone. The traditional approach to API design is fragmented and inefficient. But what if there was a better way? What if you could design, test, and document your API in one seamless workflow?
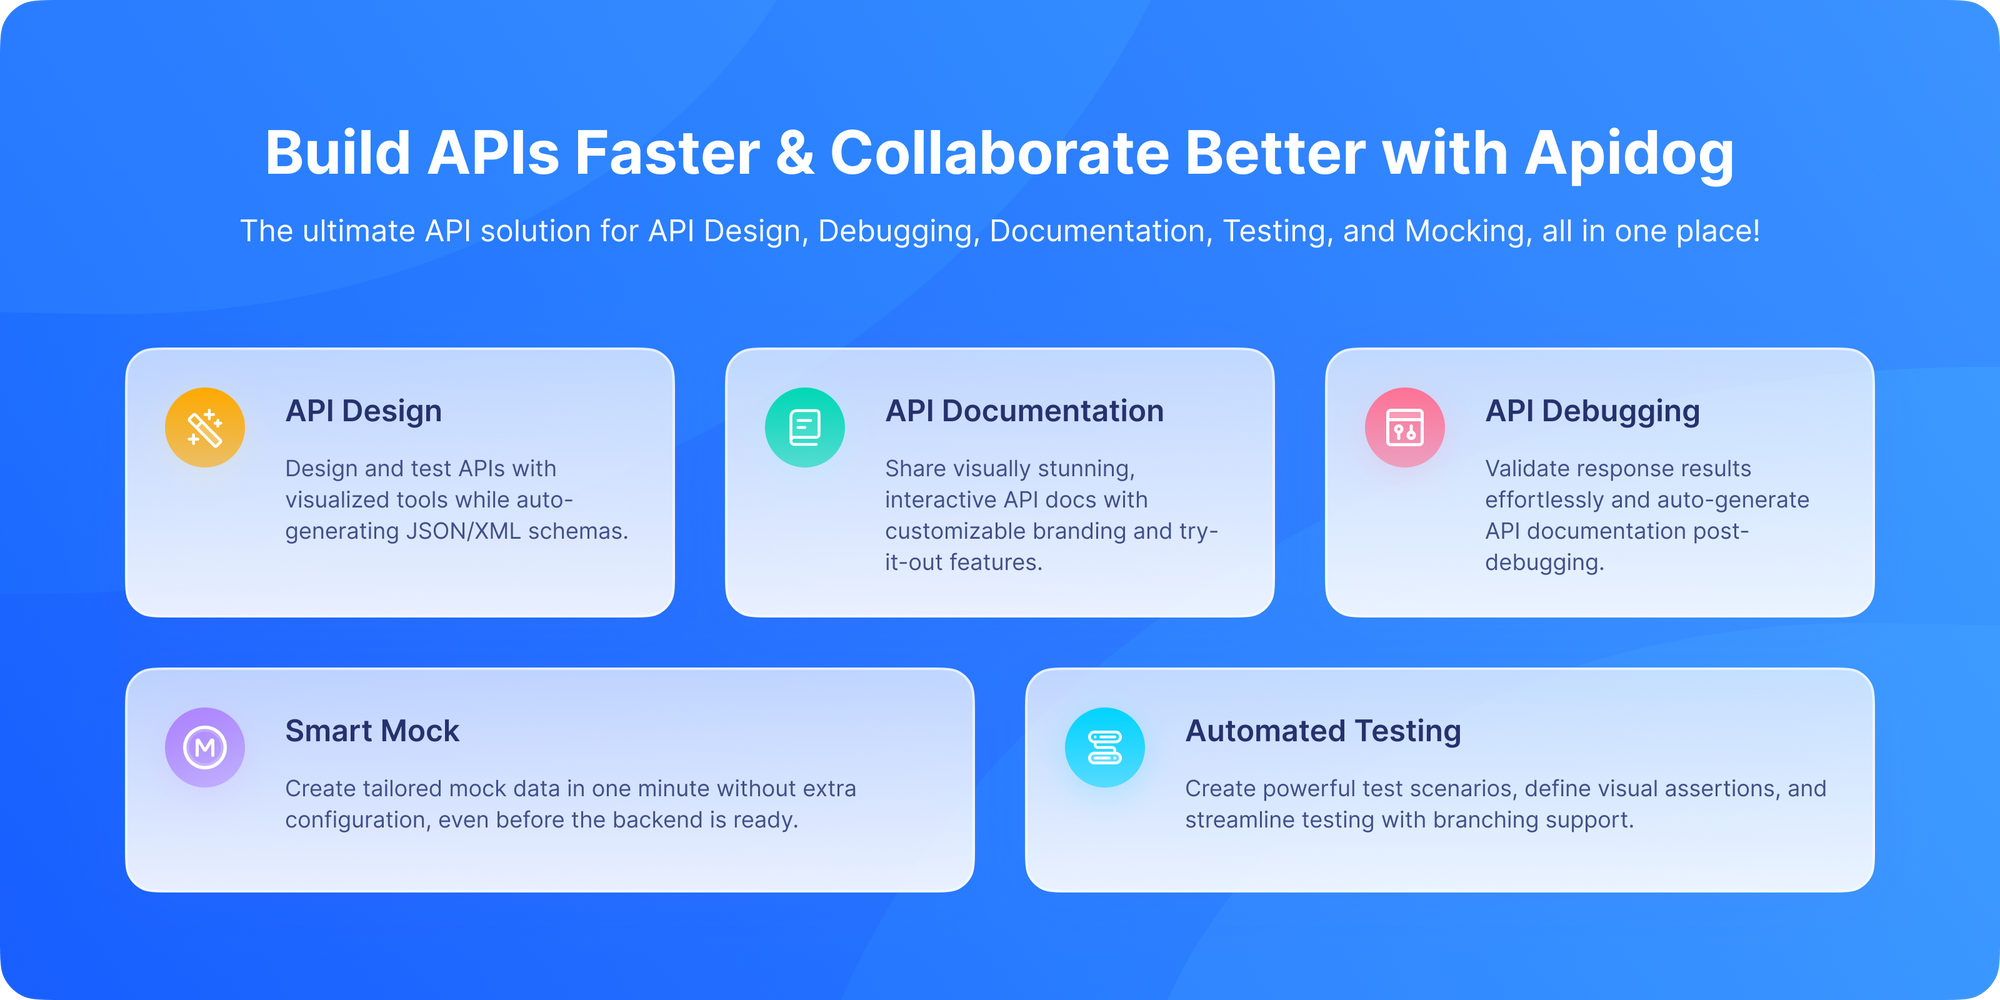
Now, let me show you exactly why Apidog is the ultimate tool for designing REST APIs and how it makes the process intuitive, collaborative, and efficient.
The Problem with Traditional API Design
Before we dive into the solution, let's acknowledge the pain points of traditional API design:
- The Documentation Afterthought: Many teams code first and document later (or never). This leads to outdated docs, frustrated consumers, and endless support questions.
- Tool Switcher's Fatigue: You use Swagger/OpenAPI for design, Postman for testing, another tool for mocking, and something else for documentation. Context switching kills productivity.
- Collaboration Nightmares: Sharing YAML files via email or Git and hoping everyone's on the same version is a recipe for misalignment.
- The Mocking Gap: Frontend developers can't start work until the backend is built, creating development bottlenecks.
Apidog solves all these problems by adopting a design-first, collaborative approach where your API design becomes the single source of truth for your entire team.
The Apidog Philosophy: Design-First, Collaborate Always
Apidog is built on a simple but powerful principle: design your API contract first, before writing any code. This API-first approach ensures that:
- Frontend and backend teams can work in parallel
- The API contract serves as an unambiguous agreement between teams
- Changes are tracked and communicated clearly
- Documentation is always up-to-date because it's generated from the design itself
Let's walk through exactly how you design REST APIs in Apidog.
Step 1: Creating Your API Project
The journey begins with creating a new project in Apidog. According to their documentation on creating a new API project, this is your workspace where all your APIs, team members, and documentation will live.
When you start a new project, you're presented with a clean, organized interface. You can choose from templates or start from scratch, define your base URL, and set up authentication methods right from the beginning. This establishes the foundation for all your endpoints.
What's brilliant about this approach is that everything is organized from day one. No more scattered files or confusing folder structures, just a single, coherent project that your entire team can access.
Step 2: Structuring with Modules
Before you even create your first endpoint, Apidog encourages you to think about organization through modules. As described in the Apidog documentation on modules, these are like folders or categories that help you group related endpoints together.
For example, if you're building an e-commerce API, you might create modules like:
AuthenticationProductsOrdersUsersInventory
This modular approach isn't just about organization it makes your API more understandable for consumers and helps your team maintain logical separation of concerns. When you publish your documentation later, these modules become the navigation structure, making it easy for developers to find what they need.
Step 3: Designing Endpoints Visually
This is where Apidog truly shines. Instead of writing YAML or JSON, you design your endpoints using a clean, visual interface. According to the guide on how to specify an endpoint, you can:
1. Define the HTTP Method and Path: Simply select GET, POST, PUT, DELETE, etc., and type your endpoint path (like /products or /users/{id}).
2. Add Parameters with Ease: Click to add query parameters, path variables, or headers. For each parameter, you can specify:
- Name and data type
- Whether it's required or optional
- Example values
- Description and validation rules
3. Design Request and Response Bodies: This is where the magic happens. Using a visual editor, you can define your JSON schemas. Let me show you what this looks like in practice:
Example: Designing a POST /products Endpoint in Apidog
Imagine we're creating an endpoint to add a new product. In Apidog, you would:
- Select POST method and enter
/productsas the path - In the "Request" tab, switch to "Body" and select "JSON"
- Use the visual editor to define your schema:
{
  "name": "Product Name",
  "description": "Product description",
  "price": 29.99,
  "category": "electronics",
  "in_stock": true,
  "specifications": {
    "weight": "1.5kg",
    "dimensions": "10x5x2cm"
  }
}
But here's the best part: you're not just typing JSON. You're defining a schema. You can click on any field to:
- Set its data type (string, number, boolean, array, object)
- Mark it as required or optional
- Add a description that will appear in your documentation
- Set validation rules (minimum/maximum values, patterns, etc.)
4. Define Multiple Responses: A well-designed API returns appropriate status codes. In Apidog, you can define multiple responses for a single endpoint:
201 Createdfor successful product creation (with the created product in the body)400 Bad Requestfor invalid input (with error details)401 Unauthorizedif authentication fails
For each response, you define the exact JSON structure, just like you did for the request. This ensures that both backend and frontend developers know exactly what to expect.
Step 4: Iterating and Refining
API design isn't a one-and-done process. As you get feedback from your team or start implementing, you'll need to make changes. With Apidog, this is straightforward:
- Edit Directly: Click on any part of your endpoint design and make changes.
- Version History: Apidog tracks changes, so you can see who changed what and when.
- Compare Versions: Need to see what changed between iterations? Apidog makes it easy.
- Sync Across Teams: When you save changes, everyone on your team sees them immediately.
This iterative process ensures your API design evolves based on real feedback and implementation experience.
Step 5: Publishing Your Documentation
Once your API design is stable, it's time to share it with consumers. According to Apidog's guide on how to publish docs sites, this process is incredibly simple:
- Click the "Publish" button in your project
- Choose your settings (public or private, custom domain if you want)
- Apidog generates a professional, interactive documentation site
Your published documentation will include:
- All your endpoints, organized by modules
- Interactive "Try it out" functionality (users can make real API calls)
- Request and response examples
- Authentication instructions
- Search functionality
And here's the key: if you update your API design in Apidog, you can republish with one click. Your documentation is never out of date.
Real-World Example: Designing an E-Commerce API
Let's put this all together with a practical example. Suppose we're building an e-commerce API. Here's how we'd approach it in Apidog:
Phase 1: Project Setup
- Create project "E-Commerce API v1"
- Set base URL:
https://api.ourstore.com/v1 - Configure authentication (Bearer token)
Phase 2: Module Structure
- Create modules:
Products,Orders,Users,Cart,Authentication
Phase 3: Endpoint Design
In the Products module, we design:
GET /products- List products with filtering and paginationGET /products/{id}- Get single product detailsPOST /products- Create new product (admin only)PUT /products/{id}- Update productDELETE /products/{id}- Delete product
For each endpoint, we define:
- Parameters (query params for filtering, path params for IDs)
- Request bodies (for POST and PUT)
- Multiple responses (200, 201, 400, 401, 404, 500)
- Authentication requirements
Phase 4: Mocking and Testing
- Share the mock server URL with frontend team
- Test the design ourselves using Apidog's built-in testing features
- Iterate based on feedback
Phase 5: Publish and Share
- Publish documentation for internal teams
- Frontend begins development against mocks
- Backend begins implementation against the design spec
This entire workflow happens in one tool, with one source of truth.
Why Apidog Beats Traditional Approaches
Let's compare Apidog to the traditional OpenAPI/Swagger approach:
| Aspect | Traditional (OpenAPI + Tools) | Apidog |
|---|---|---|
| Design Experience | Write YAML/JSON in text editor | Visual, form-based design |
| Mocking | Requires separate tool/service | Built-in, automatic mocking |
| Testing | Use Postman or similar | Built-in testing tools |
| Documentation | Generate with Swagger UI | Auto-generated, always current |
| Collaboration | Share files via Git | Real-time collaboration in-app |
| Learning Curve | Steep (YAML/JSON syntax) | Gentle (visual interface) |
The difference is night and day. Apidog provides an integrated experience that feels natural and productive.
Best Practices for API Design in Apidog
Based on Apidog's documentation and best practices:
- Start with Modules: Organize before you create endpoints. It saves time later.
- Be Descriptive: Use clear descriptions for endpoints, parameters, and fields. This becomes your documentation.
- Design All Responses: Don't just design the happy path. Define error responses too.
- Use Examples Liberally: Provide realistic example data. This helps consumers understand your API.
- Iterate with Your Team: Use comments and @mentions to collaborate effectively.
- Test as You Design: Use Apidog's testing features to validate your design decisions.
Conclusion: The Future of API Design is Here
Designing REST APIs doesn't have to be a painful, fragmented process. With Apidog, you get a unified platform that guides you from initial concept to published documentation, with collaboration and iteration built into every step.
The design-first approach isn't just a methodology it's a productivity superpower. When your API design is the single source of truth, everything else falls into place: parallel development becomes possible, documentation stays current, and team alignment improves dramatically.
If you're still designing APIs the old way, with separate tools and manual processes, you're working harder than you need to. The modern approach is integrated, visual, and collaborative and Apidog delivers exactly that.
Ready to transform how you design APIs? Download Apidog for free and experience the difference yourself. From creating your first project to publishing interactive documentation, you'll discover a more efficient, enjoyable way to build the APIs that power your applications.


