API development requires powerful tools that streamline workflows and enhance productivity. Apidog emerges as a comprehensive platform that excels at designing, documenting, mocking, and testing APIs, making it indispensable for modern developers. At the heart of Apidog's efficiency lies Cursor—a feature that transforms how developers navigate and interact with API elements. By integrating Cursor with Apidog, you can revolutionize your development process, bringing precision and speed to every project.
In this guide, we’ll walk you through how to use Cursor with Apidog, leveraging the Apidog MCP Server to connect your API specifications directly to your AI coding assistant.
Why does Cursor matter?
In today's complex API landscape, developers often struggle with navigating through hundreds of endpoints, parameters, and response schemas. This is where Cursor becomes invaluable. Acting as a sophisticated navigation system, Cursor allows you to instantly locate, examine, and modify specific API components without tedious scrolling or searching. Whether you're refining endpoint definitions, adjusting request parameters, or troubleshooting responses, Cursor eliminates the friction that typically slows development. By providing targeted access to exactly what you need when you need it, Cursor transforms API development from a maze of specifications into a streamlined, intuitive process that saves time and reduces errors.
How to Use Cursor with Apidog-mcp-server
For developers using Cursor, integrating with Apidog can accelerate the development cycle, by connecting Cursor with apidog-mcp-server.
Apidog-mcp-server allows developers to quickly select, inspect, and read API elements such as endpoints, parameters, headers, or responses. Imagine Cursor as a precise pointer that cuts through the clutter of large API projects, letting you focus on specific components without endless scrolling or manual searches.

Why does Cursor matter? In complex APIs with dozens of endpoints and hundreds of parameters, finding and editing elements can become time-consuming. Cursor streamlines this by offering direct access and control, boosting efficiency and reducing errors. Essentially, it empowers you to interact with your API structure dynamically, whether you’re designing, documenting, or debugging.
So, let's get started!
Getting Ready with Cursor and Apidog-MCP-Server
Before you jump into the setup, ensure you have the necessary tools and resources ready. Here’s what you’ll need:
- Node.js: Install version 18 or higher (the latest LTS version is recommended). The Apidog MCP Server relies on Node.js to run.

- Apidog Account: Create an account on Apidog and set up a project with API specifications.
- Cursor Editor: Download and install Cursor, the AI-powered IDE that will connect to your Apidog project.

- API Access Token: Generate this token from your Apidog account to authenticate the MCP Server.

If any of these components are missing, pause here and set them up. Once everything is in place, you’re ready to proceed.
Setting Up the Apidog MCP Server
First, let’s set up the Apidog MCP Server. This server acts as the bridge between your Apidog project and Cursor, allowing the AI to access your API specifications directly.
Step 1: Generate an API Access Token in Apidog
To connect the MCP Server to your Apidog project, you need an API access token. Follow these steps to generate one:
- Log in to Apidog and hover over your profile picture in the top-right corner.

- Navigate to Account Settings → API Access Token.

- Click to create a new token, then copy it. You’ll use this token shortly.

This token ensures secure communication between the MCP Server and your Apidog project.
Step 2: Locate Your Apidog Project ID
Next, identify the project ID for the Apidog project containing your API specifications:
Open your project in Apidog.

Click Project Settings in the left sidebar. Go to the Basic Settings tab and copy the Project ID.

Keep this ID handy, as it’s critical for configuring the MCP Server.
Configuring Cursor for MCP Integration
With the MCP Server operational, let’s configure Cursor to connect to it. This step integrates your AI assistant with your Apidog project.
Step 1: Access Cursor Settings
Start by opening the Cursor editor:
Click the settings icon in the top-right corner. Select MCP from the features menu.

Click + Add new global MCP server to begin adding a new server.

Step 2: Add the MCP Configuration
In the configuration window, paste this JSON snippet:
{
  "mcpServers": {
    "API specification": {
      "command": "npx",
      "args": [
        "-y",
        "apidog-mcp-server@latest",
        "--project=<project-id>"
      ],
      "env": {
        "APIDOG_ACCESS_TOKEN": "<access-token>"
      }
    }
  }
}
Replace <project-id> and <access-token> with your specific project ID and API access token. This configuration tells Cursor how to launch and connect to the MCP Server.
Step 3: Verify the Connection
After saving the configuration, Cursor connects to the MCP Server. To confirm it’s working, test the AI assistant with prompts like:
- "Please fetch API specification via MCP and tell me how many endpoints exist in the project."

If the AI responds with accurate details from your Apidog project, the integration is successful. Congratulations—you’ve connected Cursor with Apidog!
Using the AI Assistant with Connected API Specifications
Now that Cursor is linked to your Apidog project, you can harness the AI assistant for a variety of tasks. Let’s explore some practical applications.
Generating Code Based on API Documentation
One standout feature is generating code directly from your API specifications. For example, prompt the AI with:
- "Generate Java records for the 'Product' schema and related schemas."
- "Create a TypeScript interface for the 'User' model based on the API spec."
The AI accesses your specifications via the MCP Server and produces code tailored to your API’s structure. This saves you from manually translating documentation into code.
Here’s an example output for a TypeScript interface:
interface User {
  id: number;
  name: string;
  email: string;
}
Updating Existing Code to Match API Changes
As your API evolves, keeping your code in sync can be challenging. Fortunately, the AI simplifies this. Try prompts like:
- "Add the new 'status' field to the 'Product' DTO based on the API spec."
- "Update the service class to handle new parameters in the /users endpoint."
The AI modifies your code to reflect the latest API changes, ensuring consistency without manual rework.

Searching Through API Documentation
You can also query your API documentation directly within Cursor. Ask questions such as:
- "What authentication methods does our API support?"
- "What error responses might the /payments endpoint return?"
The AI pulls answers from your Apidog specifications, eliminating the need to dig through documentation manually.
Creating Comprehensive API Clients
Need an API client fast? The AI can generate one for you. Prompt it with:
- "Generate a Python client for the authentication endpoints."
- "Create a type-safe TypeScript API client for all endpoints."
Here’s a sample Python client snippet:
import requests

class AuthClient:
    def __init__(self, base_url):
        self.base_url = base_url

    def login(self, username, password):
        response = requests.post(f"{self.base_url}/login", json={"username": username, "password": password})
        return response.json()
The AI ensures the client matches your API’s endpoints and parameters perfectly.
Advanced Configuration and Best Practices
To maximize the benefits of this integration, consider these advanced options and tips.
Working with Multiple API Projects
If you manage multiple Apidog projects, configure multiple MCP Servers in Cursor. Update your configuration like this:
{
  "mcpServers": {
    "Project A API": {
      "command": "npx",
      "args": ["-y", "apidog-mcp-server@latest", "--project=<project-a-id>"],
      "env": { "APIDOG_ACCESS_TOKEN": "<access-token>" }
    },
    "Project B API": {
      "command": "npx",
      "args": ["-y", "apidog-mcp-server@latest", "--project=<project-b-id>"],
      "env": { "APIDOG_ACCESS_TOKEN": "<access-token>" }
    }
  }
}
This setup lets you switch between projects effortlessly.
Using OpenAPI Specifications
Beyond Apidog projects, the MCP Server supports OpenAPI Specification (OAS) files.
{
    "mcpServers": {
        "Project C API": {
            "command": "npx",
            "args": ["-y", "apidog-mcp-server@latest", "--oas=https://example.com/openapi.json"]
            }
    }
}
To use an OAS file, adjust the command:
npx apidog-mcp-server --oas=https://example.com/openapi.json
This flexibility accommodates various API documentation formats.
Security Considerations
Protect your API access token by avoiding hardcoding it in shared files. Instead, use environment variables, as shown earlier. For team collaboration, ensure each developer sets the APIDOG_ACCESS_TOKEN variable locally to prevent accidental exposure.
Effective Prompting Techniques
For optimal AI responses, craft precise prompts. Compare these examples:
- Vague: "Generate code for the API."
- Specific: "Generate a JavaScript function to call the /users endpoint with pagination parameters."
Clear instructions yield better results, so be detailed in your requests.
One More Thing About Better API Testing...
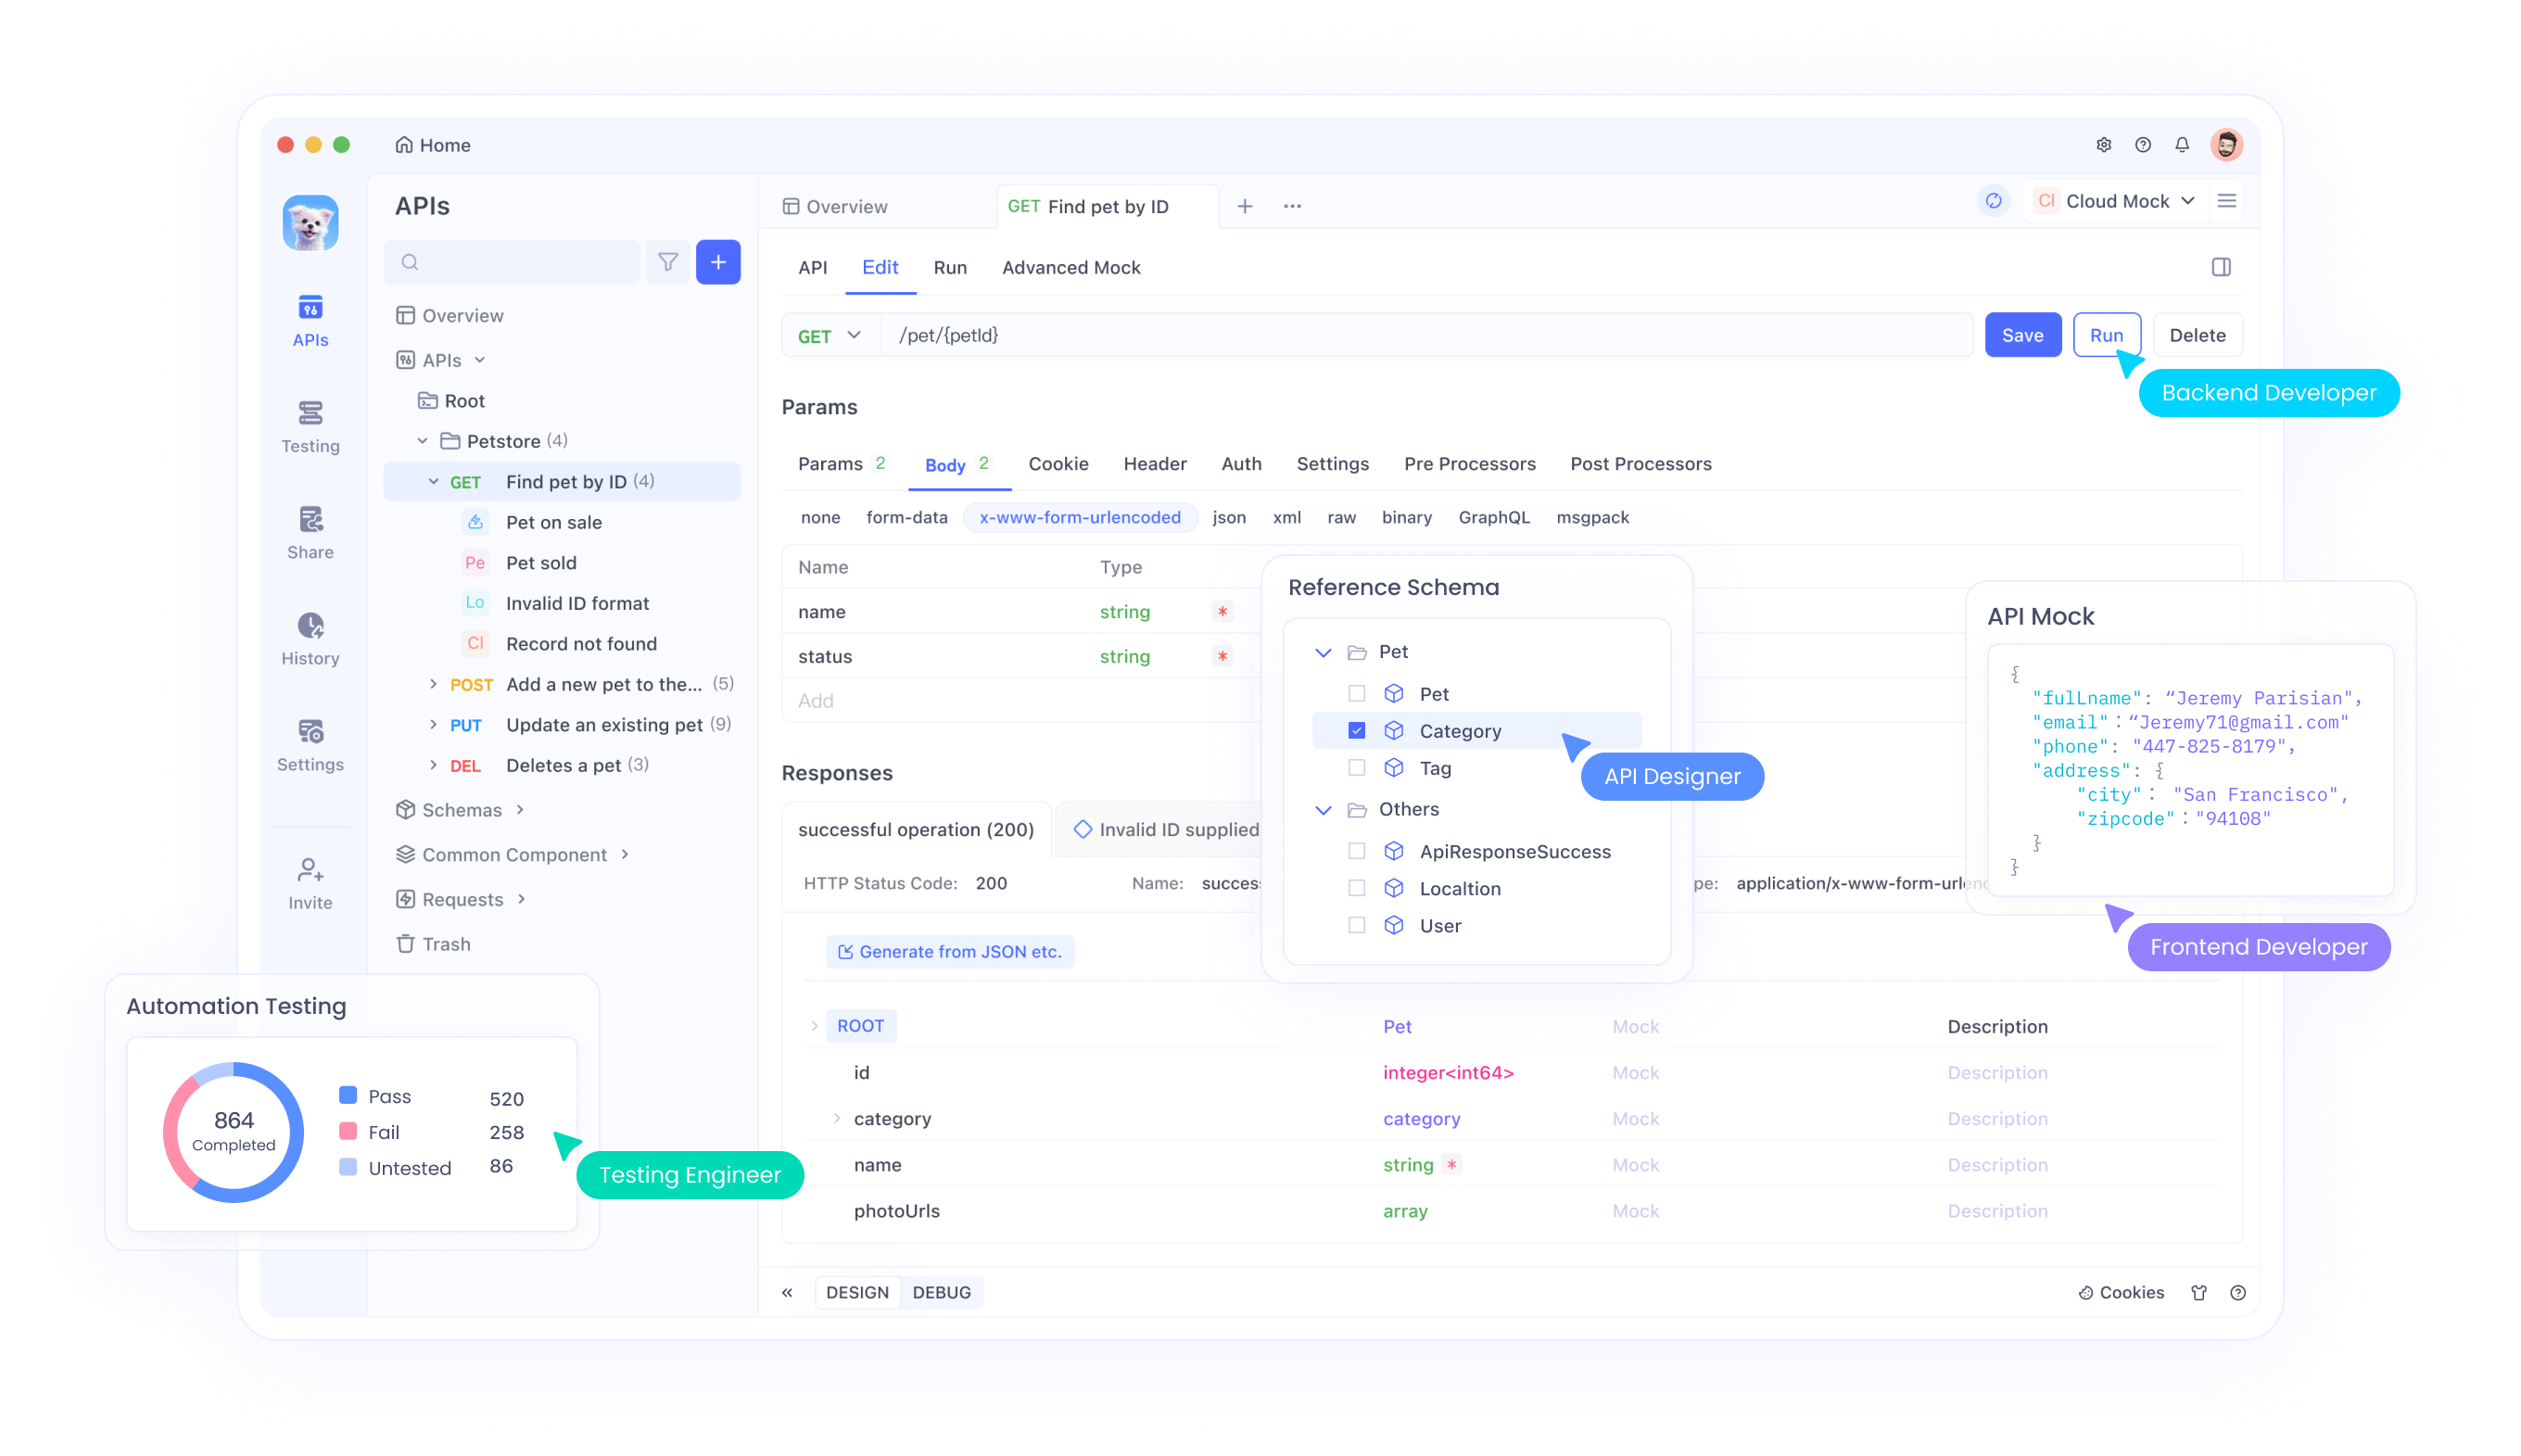
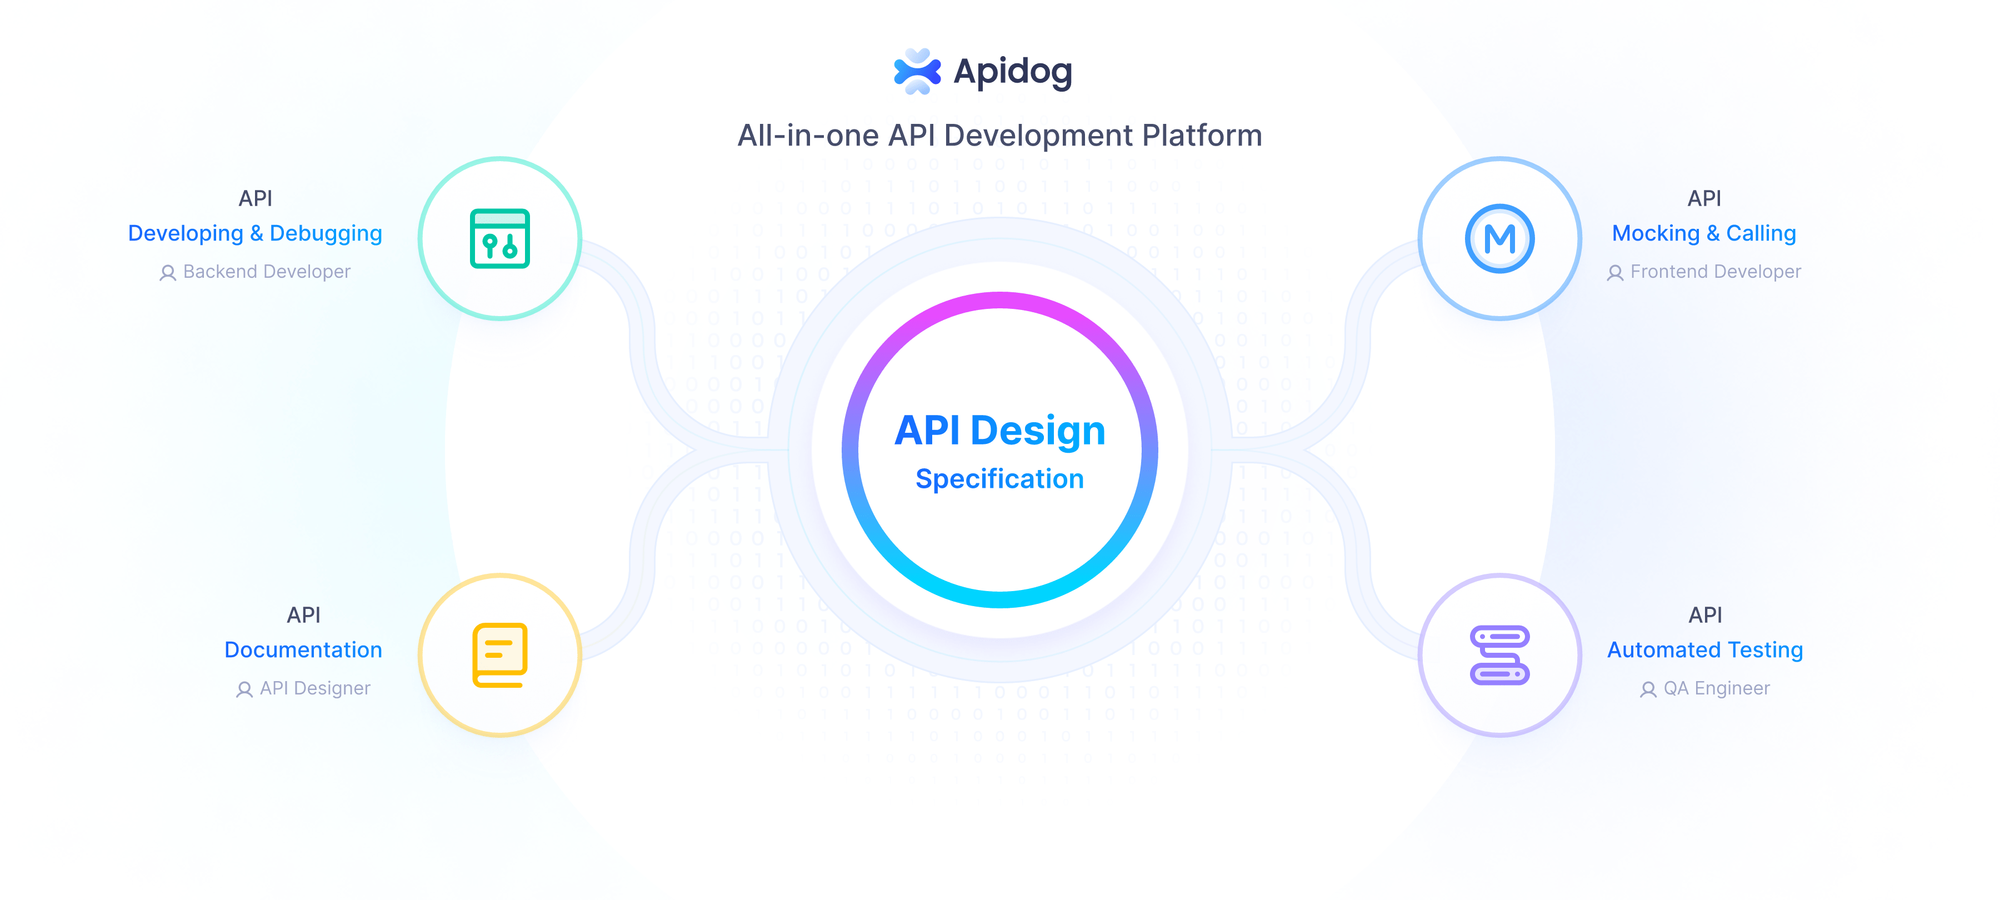
Apidog is an all-in-one API development tool designed to meet the needs of developers, testers, and product managers. It offers a seamless environment for creating API designs, generating detailed documentation, setting up mock servers, and running automated tests. With its intuitive interface, Apidog simplifies intricate tasks, enabling teams to collaborate efficiently and deliver high-quality APIs.

Key features of Apidog include:
- API Design: Create and visualize API structures with ease.
- Documentation: Automatically generate clear, shareable API docs.
- Mocking: Simulate API responses for testing purposes.
- Testing: Perform automated tests to ensure API reliability.

Apidog supports multiple protocols like HTTP, WebSocket, and gRPC, making it versatile across various projects. Compared to other tools, Apidog provides similar capabilities but enhances usability with features like Cursor, which we’ll explore next.
Conclusion
Integrating Cursor with Apidog through the Apidog MCP Server revolutionizes API development. By connecting your API specifications to your AI assistant, you eliminate manual lookups and streamline coding tasks. The AI can generate accurate code, update implementations, and answer questions based on your API structure, making your workflow faster and more efficient.
Whether you’re tackling a single project or juggling multiple APIs, this setup empowers you to focus on solving problems while the AI handles the details. Start using Cursor with Apidog today and experience the future of API development firsthand.


