Understanding API basics is essential for any developer building or integrating services in modern software. APIs (Application Programming Interfaces) enable communication between systems, but without a clear grasp of how requests and responses work (what headers and bodies contain, how authentication is handled, and how to debug issues) working with APIs can feel like guesswork.
This guide teaches you how to use Apidog to intuitively explore and master core API concepts, with practical examples, CLI and GUI walk-throughs, and real scenarios you’ll encounter every day as a developer.
What Is an API?
At its heart, an API is:
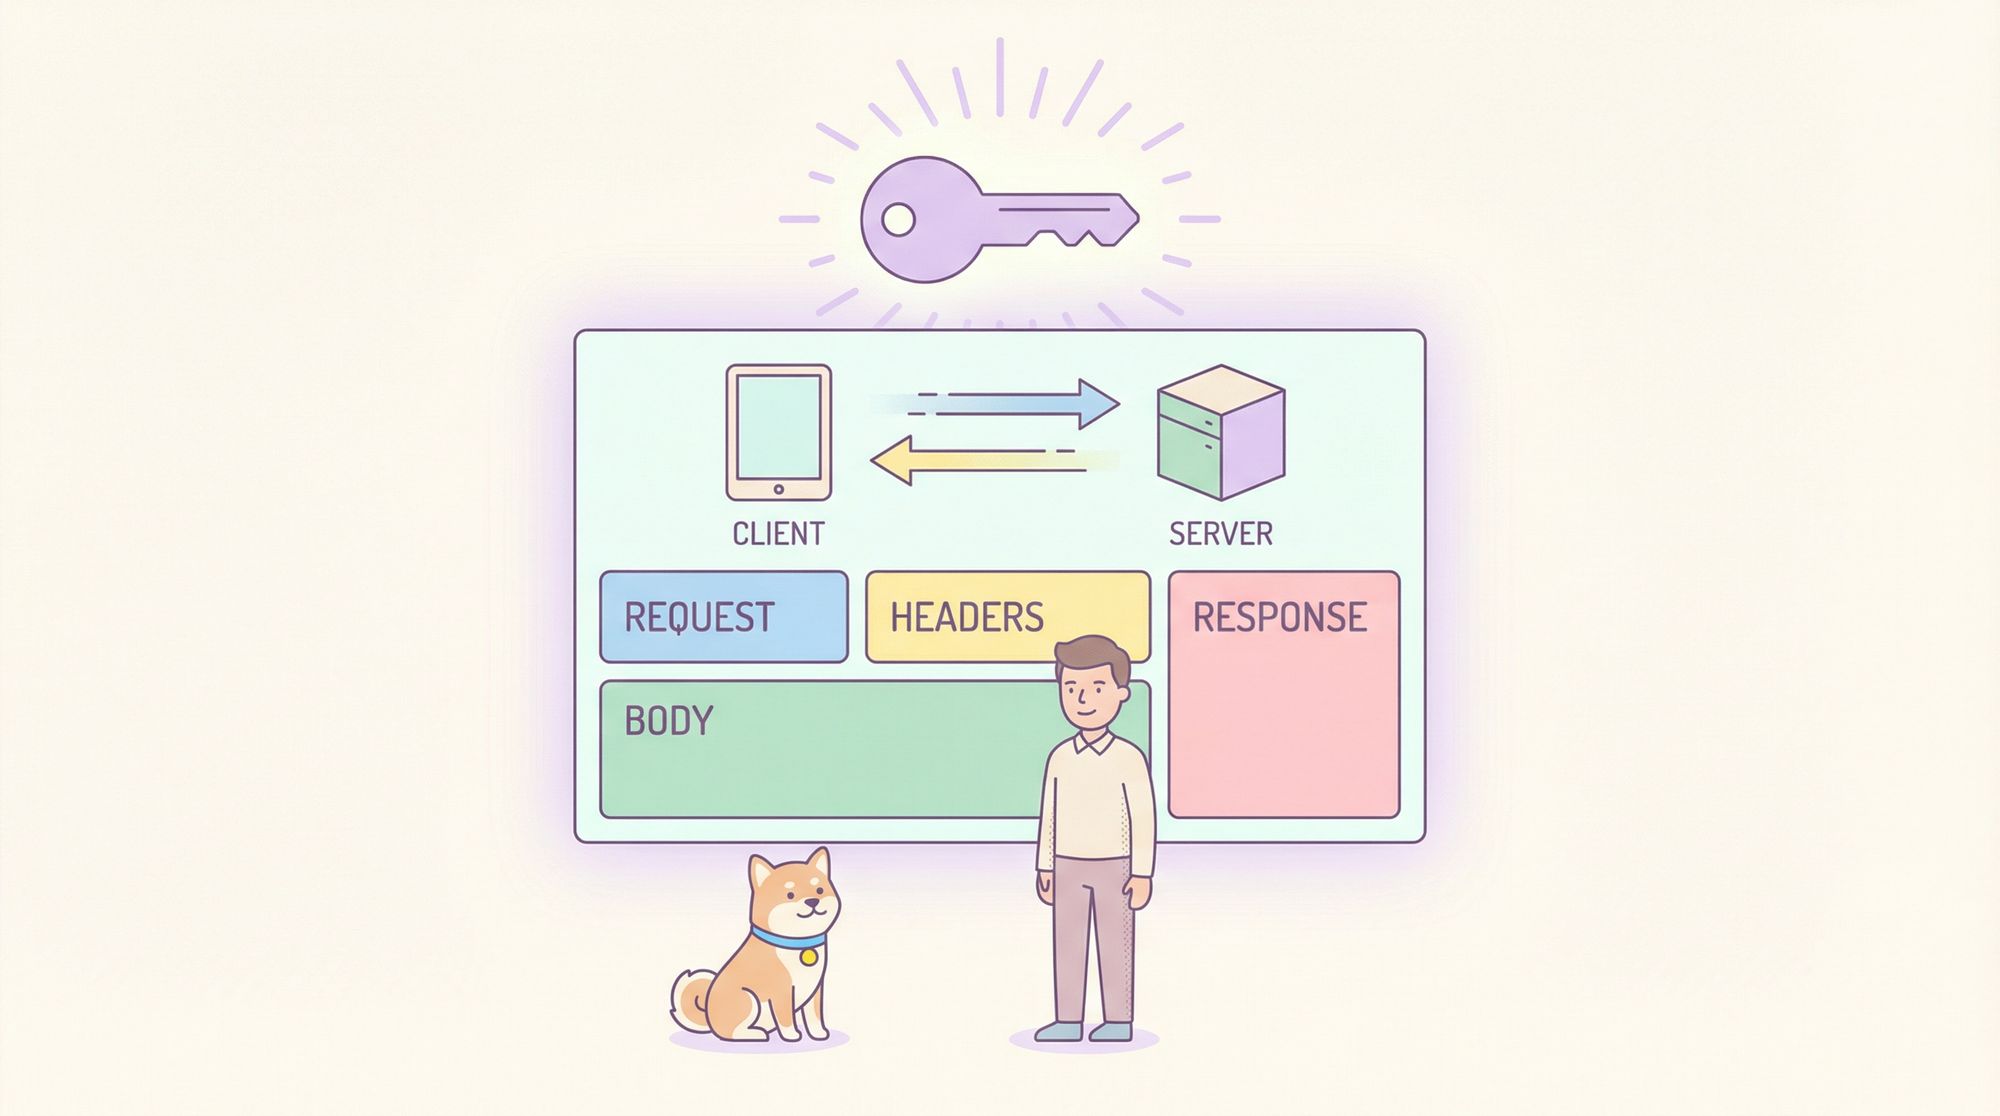
A contract between a client and a server, specifying requests the client can make and responses the server will return.
You use APIs to fetch data, submit information, trigger actions, and coordinate services across systems. A clear understanding of the building blocks—requests, responses, headers, body, and auth—is crucial for correctly designing, testing, and troubleshooting APIs.
Getting Started with Apidog
Apidog is an all-in-one API development platform that combines testing, documentation, and collaboration into a single tool. You can:
- Visualize API requests and responses
- Inspect status codes, response time, and headers
- Generate API test cases
- Perform contract testing
- Automate your API workflows
Best of all, you can start with Apidog for free and immediately begin understanding API behavior without having to write a single line of code.
API Requests: What You Send
Request Method
Every API interaction begins with a request, which tells the server what you want to do. Common HTTP methods include:
| Method | Purpose |
|---|---|
GET | Retrieve data |
POST | Create new resources |
PUT | Update existing resources |
DELETE | Delete a resource |
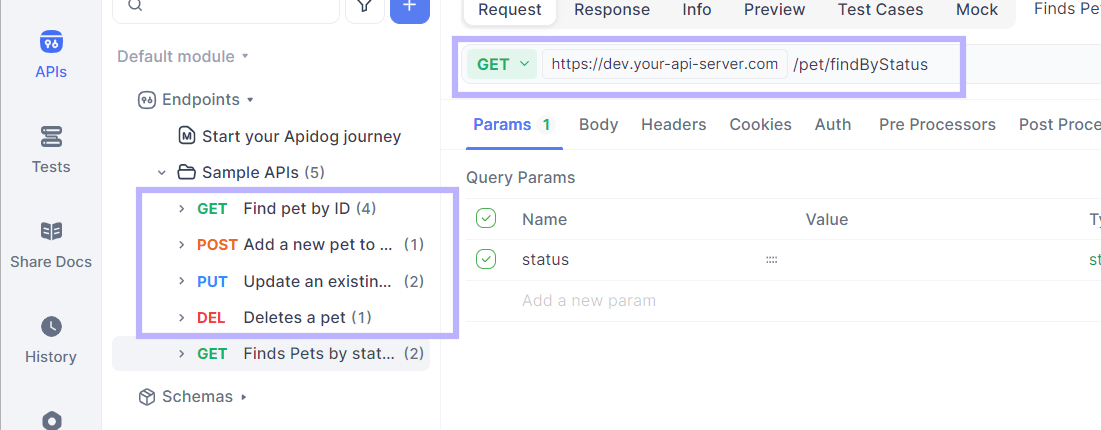
In Apidog, you start by creating a request:
- Click “+ New Request”
- Choose the request method (e.g., GET/POST/PUT)
- Enter the endpoint URL
(e.g.,https://api.myapp.com/users)
URL and Parameters
The URL points to the API endpoint. You can also include:
- Path parameters → embedded in the URL
- Query parameters → appended after a
?
Example:
https://api.myapp.com/users?page=1&limit=10
Apidog lets you manage these parameters visually, making it easy to test without manual crafting. (docs.apidog.com)
Request Headers: Metadata You Send
Headers provide additional instructions about the request. They tell the server how to interpret the request, handle the data, or authenticate the caller.
Common headers include:
- Content-Type: Format of the body (e.g.,
application/json) - Accept: Expected response format
- Authorization: Credentials for protected endpoints
- User-Agent: Client information
Headers can be added easily in Apidog’s Headers pane when you create the request. These values affect how servers parse your data and enforce rules like authentication.
Request Body: Data You Send
When interacting with APIs, you often send structured data in the body of your request. While GET requests typically don’t have a body, most others do (POST, PUT, PATCH).
The most common body format is JSON:
{
  "username": "john_doe",
  "email": "john@example.com",
  "password": "secretpassword"
}
Apidog lets you choose various body types, including:
application/jsonform-datamultipart/form-data
… and it ensures that the Content-Type header matches the body format. (docs.apidog.com)
Responses: What the Server Returns
After making a request, the server sends a response that includes:
- Status Code – Indicates success or error (e.g.,
200 OK,404 Not Found,500 Server Error) - Response Headers – Metadata about the returned data
- Response Body – The actual data you requested
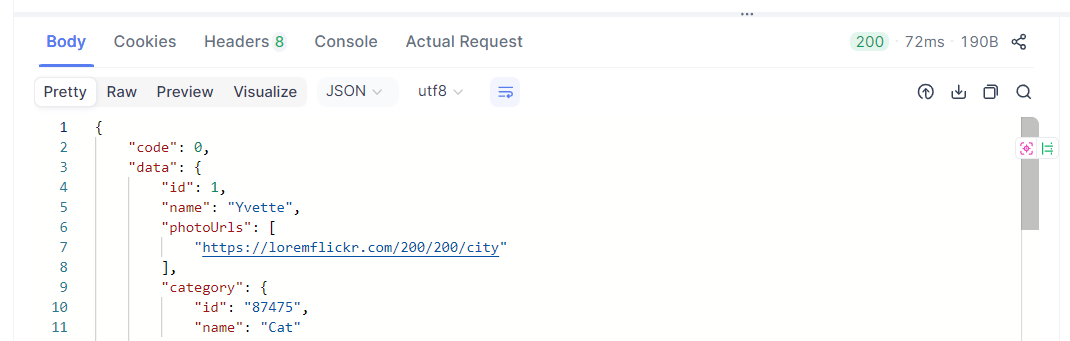
In Apidog, you see this visually:
- Status codes and timing displayed prominently
- Headers in a key-value layout
- Body in raw, pretty, or preview modes
This helps you diagnose problems instantly, as well as confirm that the API is returning correct, expected data.
Authentication: Proving Your Identity
Protected APIs require you to prove who you are. The method depends on the server’s design.
Common Auth Methods
1. API Key:
A simple token sent in the header:
Authorization: Bearer your-api-key-here
Servers validate this key and allow access.
2. Basic Auth:
You send a base64-encoded username and password in the header. This is simple but less secure for public APIs.
3. OAuth:
Used by social logins and services like Google or GitHub, OAuth lets you authenticate without exposing credentials directly.
4. JWT (JSON Web Token):
After logging in, the server issues a token containing encoded user info. Clients send this token with each request.
In Apidog you configure auth in the Authorization tab of your request, where you can choose the type and provide details without messing with raw headers. (docs.apidog.com)

Putting It All Together: A Full API Interaction
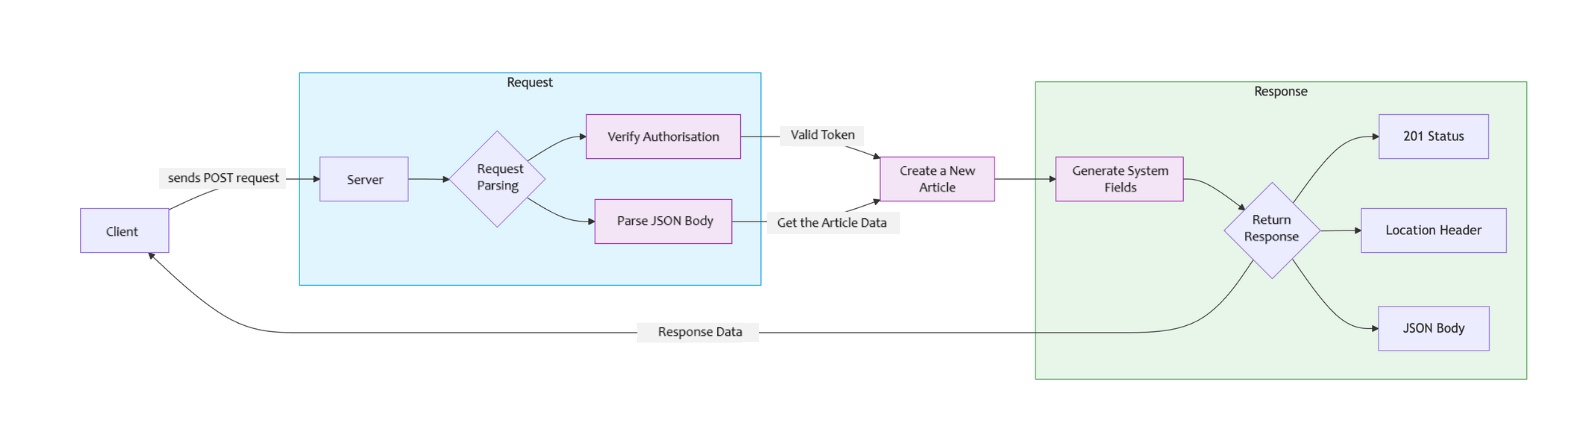
Let’s say you’re building a blog app. You want to create a new article.
Step 1: Build the Request
URL:
POST https://api.myblog.com/articles
Headers:
Content-Type: application/json
Authorization: Bearer eyJhbGciOi...
Body:
{
  "title": "API Basics Introduction",
  "content": "This article explores how APIs work.",
  "tags": ["API", "Development"]
}
Step 2: Send and Inspect Response
After clicking Send in Apidog:
- Check the status code (e.g.,
201 Created) - Review response headers (e.g., location of new resource)
- Inspect response body for returned data
This holistic interaction helps you verify whether everything worked as expected.

Debugging and Testing with Apidog
Real API work invariably hits bumps:
- Wrong status codes
- Mistyped field names
- Incorrect auth method
- Body formatting issues
Apidog helps you debug by showing:
- Full request and response logs
- Header and body breakdowns
- Response timing and size stats
Instead of guessing with browser dev tools alone, Apidog’s interface consolidates everything you need to diagnose problems quickly and accurately.
How is Apidog Used by Developers Working with API Endpoints?
If you’re a developer regularly working with APIs, Apidog becomes indispensable. Beyond basic request/response inspection, it provides:
- API test case generation
- API contract validation
- Visual, easy-to-read request history and reuse
… all without manual scripting or reliance on multiple tools.
You can get started with Apidog for free and begin testing, learning, and documenting its features immediately.

Frequently Asked Questions
Q1. What is the difference between request headers and body?
Headers describe metadata about the communication, while the body contains actual data being sent.
Q2. Why do APIs use status codes?
Status codes quickly indicate whether a request succeeded, failed, or encountered an error.
Q3. Do all APIs require authentication?
No—public APIs may allow unauthenticated access; protected endpoints require API keys, OAuth, JWT, etc.
Q4. What is form-data vs JSON body?
Form-data is useful for files and mixed types; JSON is common for structured data.
Q5. Can Apidog simulate API auth flows?
Yes — using its built-in auth options, you can simulate API token and credential based flows.
Conclusion
Understanding the API basics—requests, responses, headers, body, and authentication—is essential for building reliable systems and integrations. With Apidog, you can interactively explore how each component works, send requests, inspect responses, debug issues, and even automate tests. The result? Faster development, fewer errors, and a deeper grasp of how APIs really function.
Download Apidog to take your API skills to the next level and make your development workflow smoother and more efficient.