
In the world of modern web development, asynchronous data exchange between the client and server is a crucial aspect of building dynamic and responsive applications. One of the fundamental tools that enable this functionality is the XMLHttpRequest object, specifically its POST method. While the XMLHttpRequest API may seem dated in the era of more modern APIs like Fetch and Axios, understanding its core principles is still essential for any JavaScript developer.
The XMLHttpRequest POST method allows you to send data asynchronously to a server without refreshing the entire web page. This approach enhances the user experience by providing a smoother and more efficient flow of information, ultimately leading to a better overall application performance.
Setting up an XMLHttpRequest POST
Before diving into the code, let's review the basic setup process for an XMLHttpRequest POST request:
- Create a new XMLHttpRequest object instance.
- Define the request method (POST) and the URL endpoint.
- Set up the request headers, if necessary.
- Define the function to handle the server response.
- Send the request with the data payload.
// 1. Create a new XMLHttpRequest instance
const xhr = new XMLHttpRequest();

// 2. Define the request method and URL
xhr.open('POST', '/api/endpoint', true);

// 3. Set request headers (if needed)
xhr.setRequestHeader('Content-Type', 'application/json');

// 4. Define the response handler
xhr.onreadystatechange = function() {
  if (xhr.readyState === XMLHttpRequest.DONE && xhr.status === 200) {
    // Handle the server response
    console.log(xhr.responseText);
  }
};

// 5. Send the request with data payload
const data = JSON.stringify({ name: 'John Doe', email: 'john@example.com' });
xhr.send(data);
In the example above, we create a new XMLHttpRequest instance, define the POST method and the URL endpoint, set the appropriate request headers, and handle the server response in the onreadystatechange event handler. Finally, we send the request with the data payload in JSON format using the send() method.

Handling Responses and Error Handling
While sending the request is crucial, properly handling the server response is equally important. The onreadystatechange event handler allows you to monitor the progression of the request and take appropriate actions based on the readyState and status properties.
xhr.onreadystatechange = function() {
  if (xhr.readyState === XMLHttpRequest.DONE) {
    if (xhr.status === 200) {
      // Successful response
      console.log(xhr.responseText);
    } else {
      // Error handling
      console.error('Request failed. Status:', xhr.status);
    }
  }
};
In the example above, we check the readyState to ensure the request has completed (XMLHttpRequest.DONE), and then examine the status property to determine the success or failure of the request. A status code of 200 typically indicates a successful response, while other status codes may indicate various error conditions.
Sending Form Data
While the previous examples focused on sending JSON data, XMLHttpRequest also allows you to send form data seamlessly. This is particularly useful when working with traditional HTML forms or when dealing with file uploads.
const formData = new FormData();
formData.append('name', 'John Doe');
formData.append('email', 'john@example.com');
formData.append('file', fileInput.files[0]);

xhr.open('POST', '/api/endpoint', true);
xhr.send(formData);
In this example, we create a FormData instance and append the form fields using the append() method. We can even include file uploads by appending the File object from an <input type="file"> element. Finally, we send the FormData object directly using the send() method.
Generate XMLHttpRequest code with Apidog
Apidog is an all-in-one collaborative API development platform that provides a comprehensive toolkit for designing, debugging, testing, publishing, and mocking APIs. Apidog enables you to automatically create XMLHttpRequest code for making HTTP requests.
Here's the process for using Apidog to generate XMLHttpRequest code:
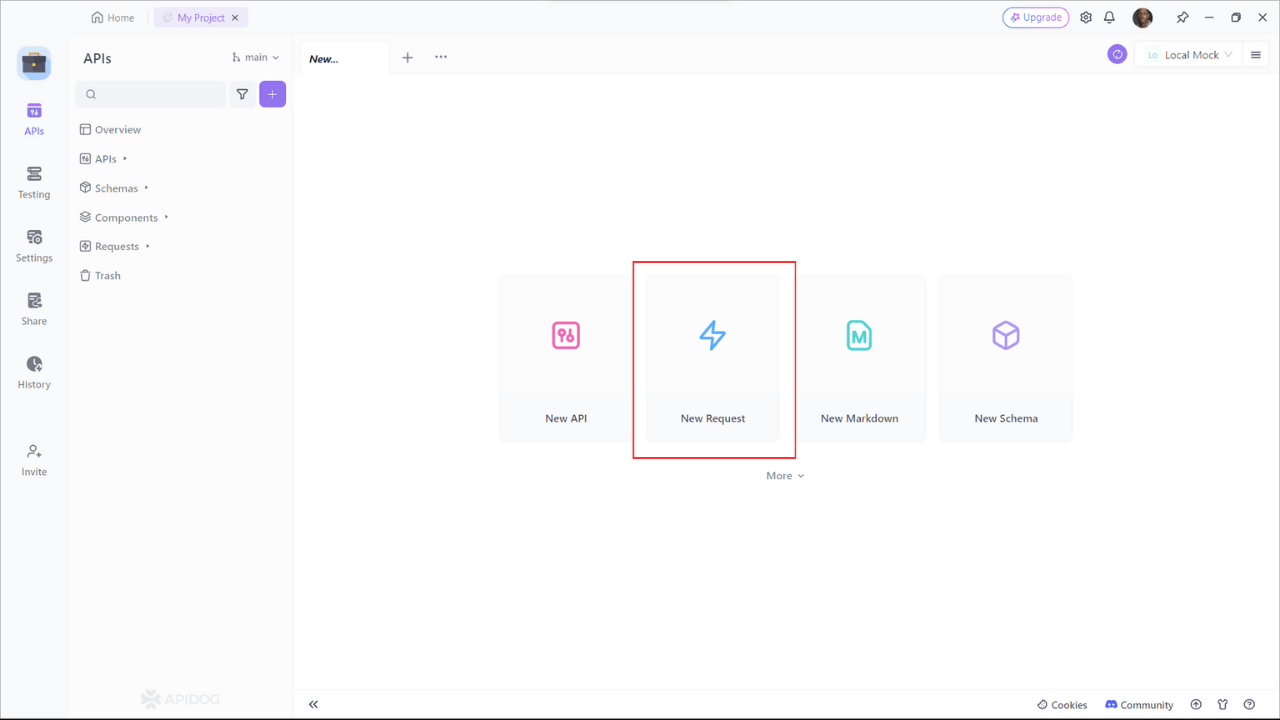
Step 1: Open Apidog and select new request

Step 2: Enter the URL of the API endpoint you want to send a request to,input any headers or query string parameters you wish to include with the request, then click on the "Design" to switch to the design interface of Apidog.

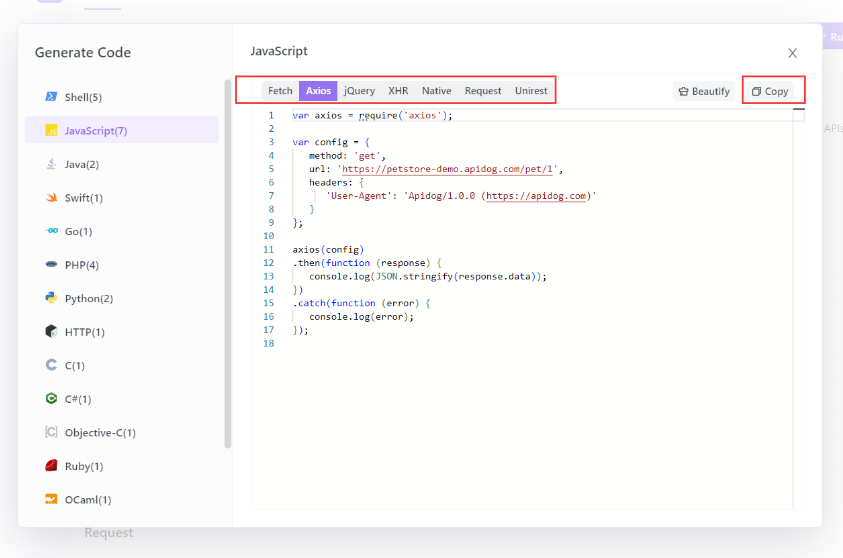
Step 3: Select "Generate client code " to generate your code.
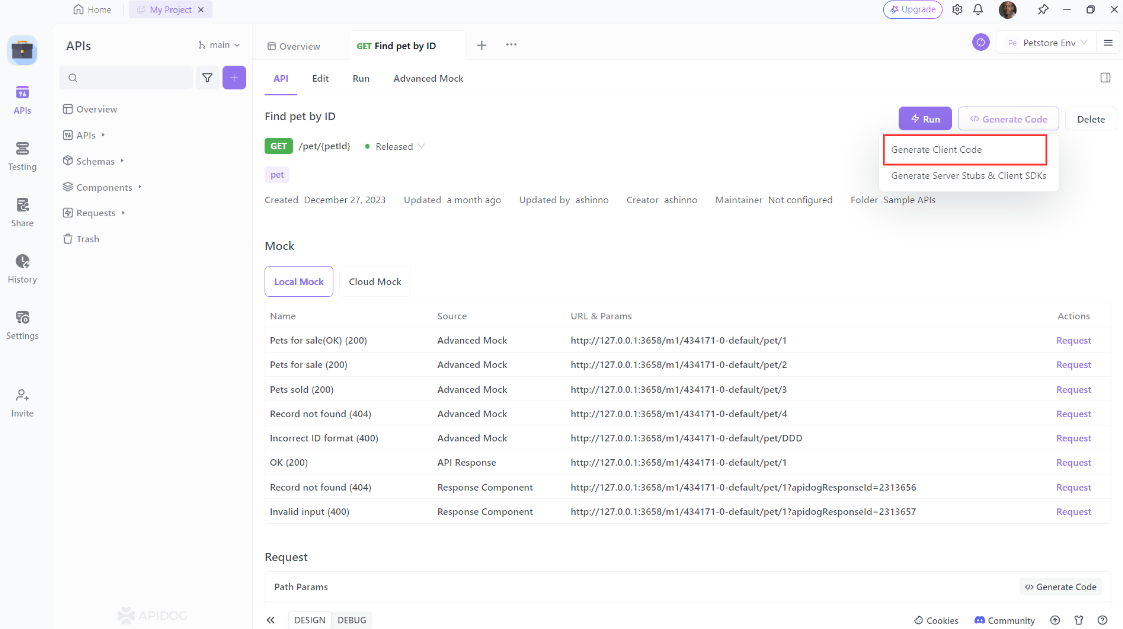
Step 4: Copy the generated code and paste it into your project.
Using Apidog to Send HTTP Requests
Apidog offers several advanced features that further enhance its ability to test HTTP requests. These features allow you to customize your requests and handle more complex scenarios effortlessly.
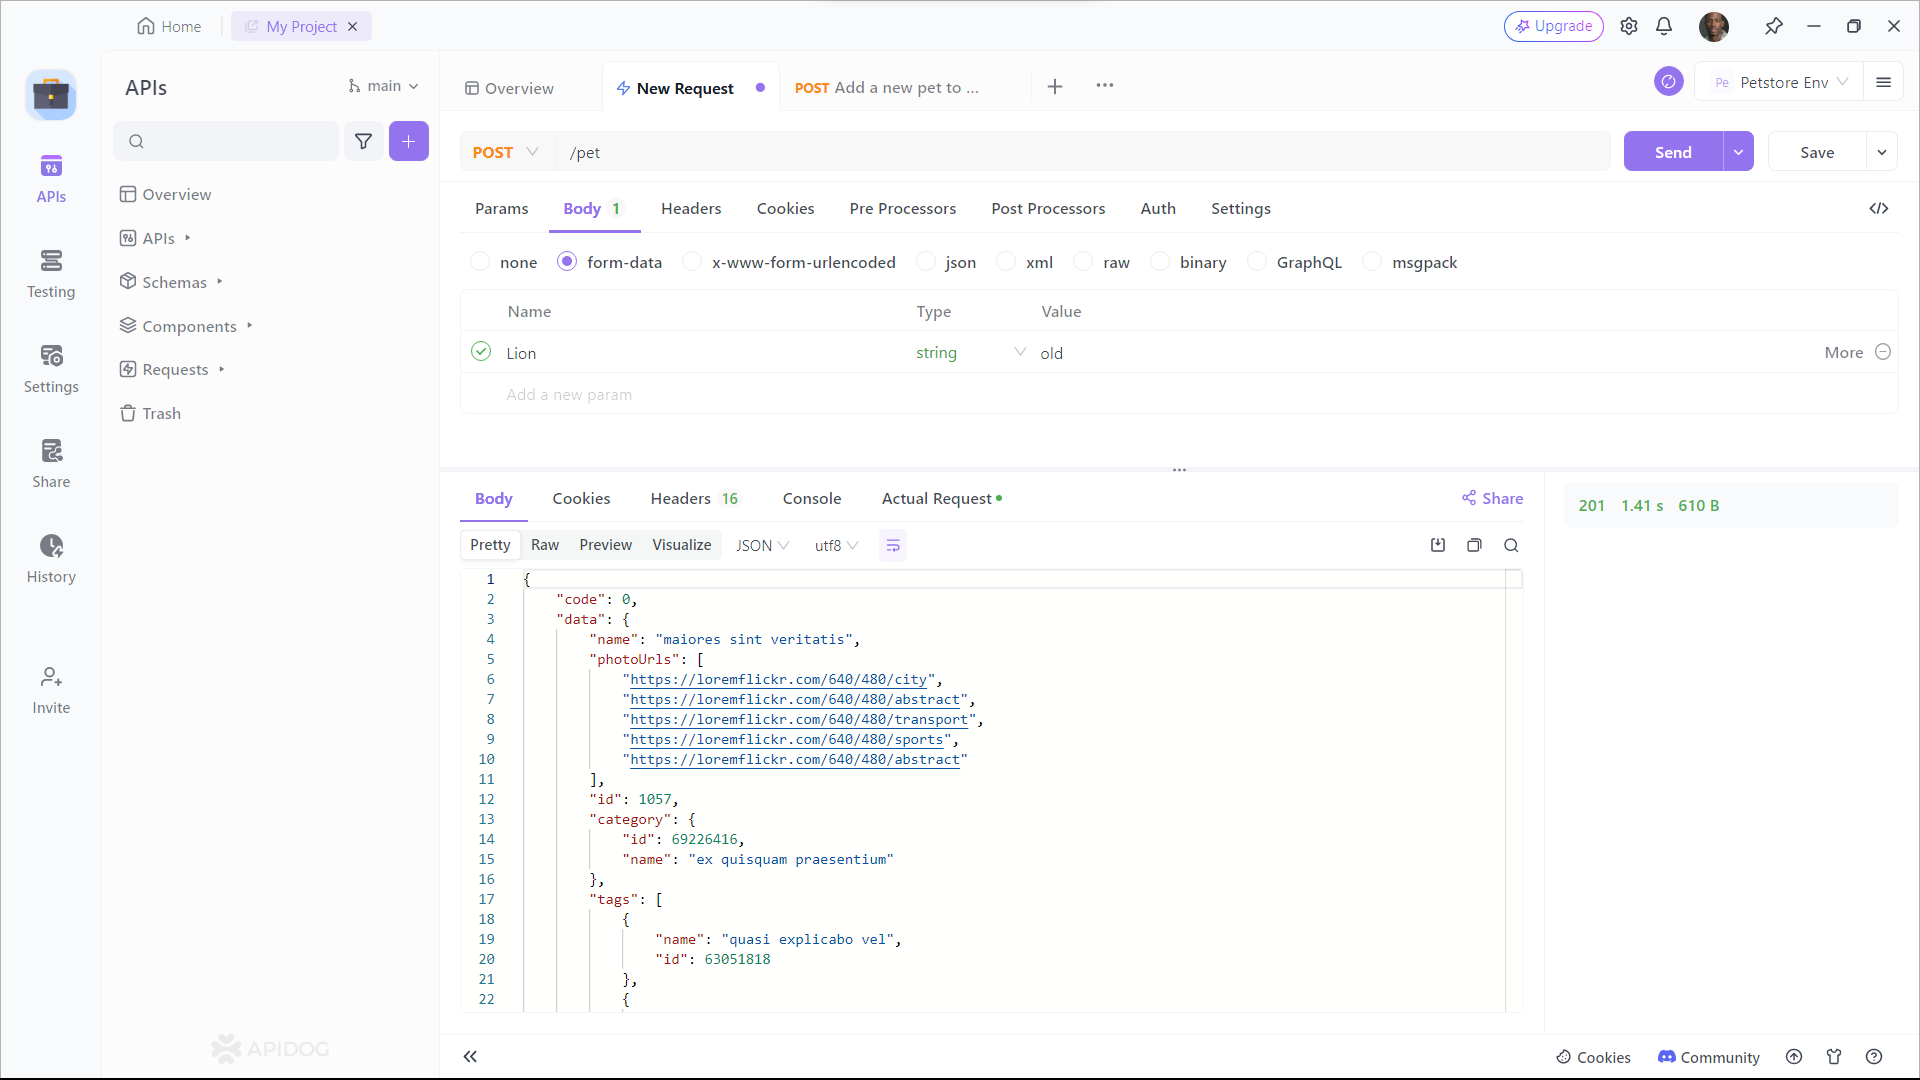
Step 1: Open Apidog and create a new request.
Step 2: Find or manually input the API details for the POST request you want to make.
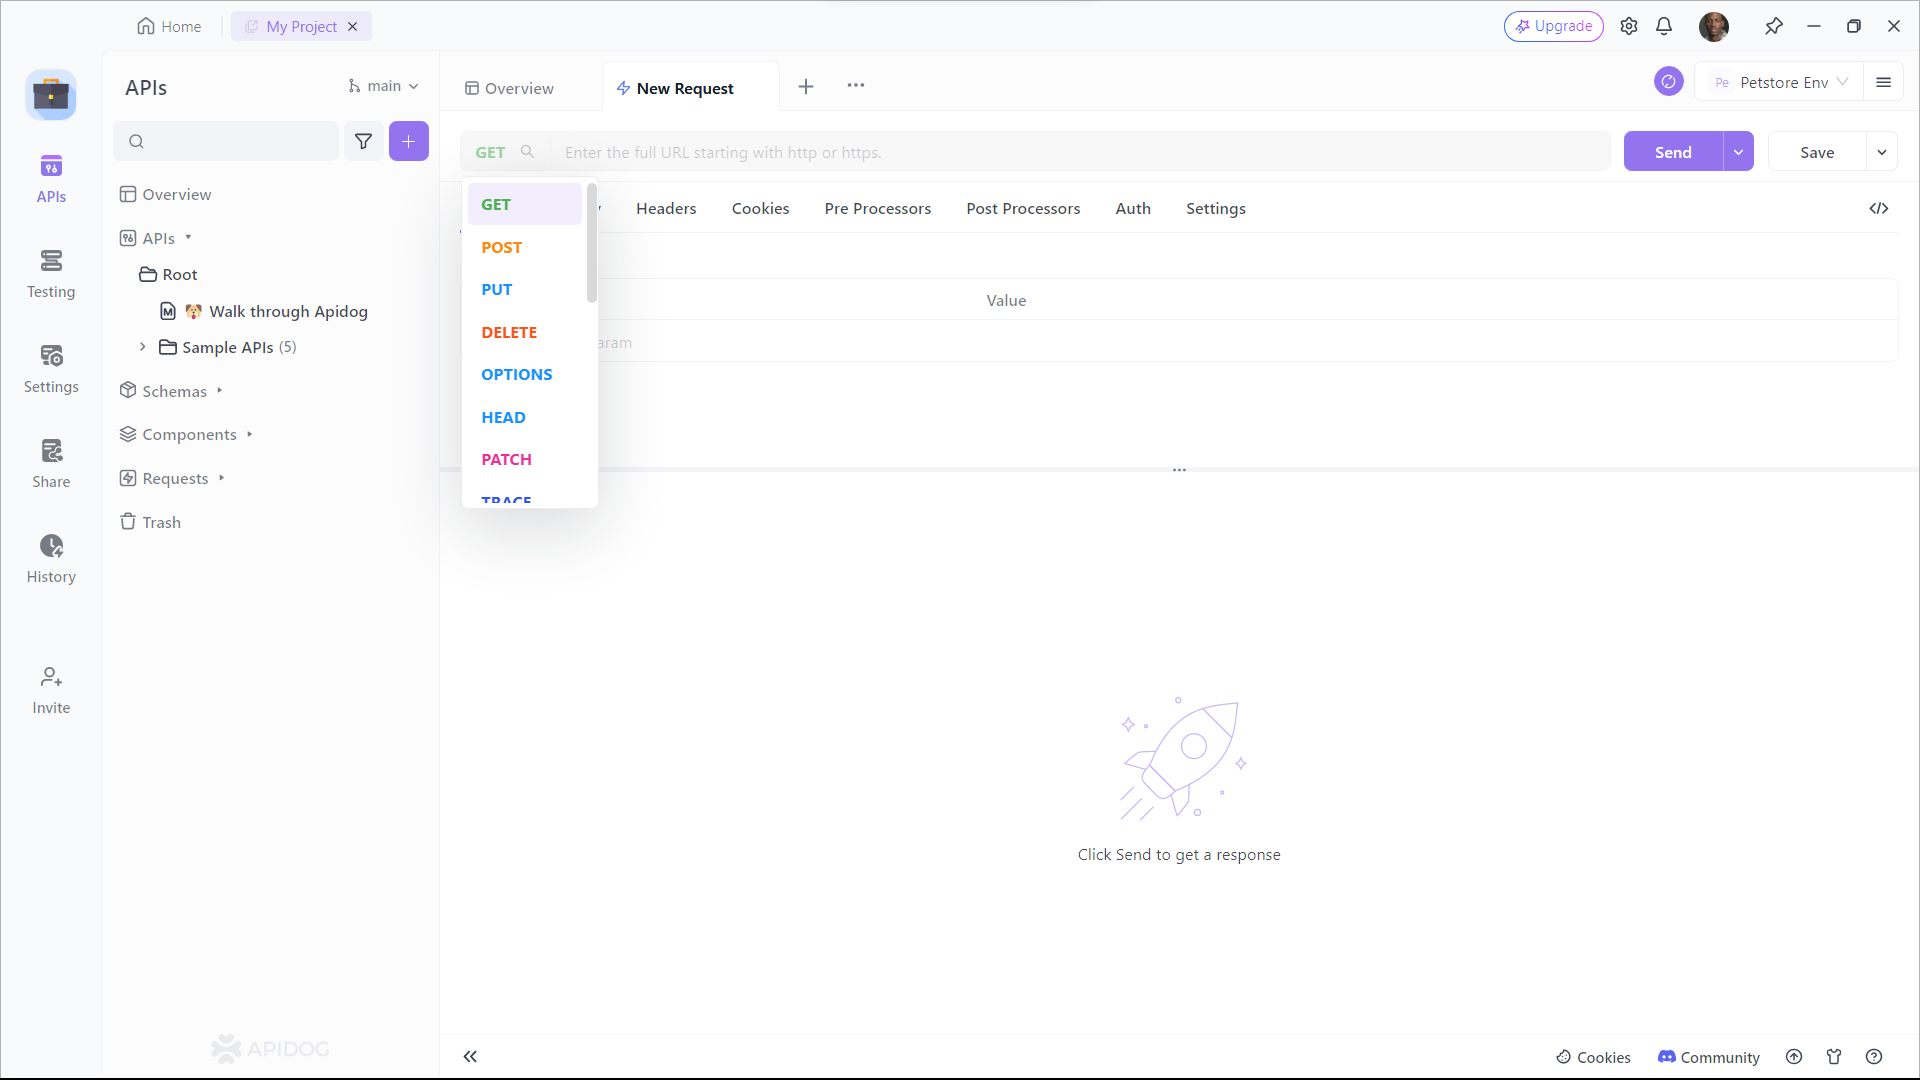
Step 3: Fill in the required parameters and any data you want to include in the request body.
Conclusion
As you can see, XMLHttpRequest POST is more than just a technical tool – it's a game-changer that opens up a world of possibilities for web developers. Whether you're building dynamic user interfaces, integrating with powerful APIs, or creating the next generation of immersive web experiences, XMLHttpRequest POST is your secret weapon.


