
Wget is a powerful command-line utility for downloading files from the web. It supports various protocols, including HTTP, HTTPS, and FTP, making it a versatile tool for developers and system administrators.
In this comprehensive guide, I will provide you with detailed instructions on how to install Wget on Windows, macOS, and Linux, along with sample commands to get you started. Additionally, I will cover some advanced usage scenarios, troubleshooting tips, and best practices for using Wget effectively. Furthermore, I will discuss how integrating Wget with tools like Apidog can enhance your API management and download processes.
What is Wget?
Wget is a free software package for retrieving files using HTTP, HTTPS, and FTP protocols. It is part of the GNU Project and is designed to be robust, allowing users to download files in a reliable manner. Wget can handle slow or unstable network connections, making it an ideal choice for downloading large files or mirroring entire websites.
Key Features of Wget
- Recursive Downloads: Wget can download entire directories or websites by following links recursively. This feature is particularly useful for creating backups or mirroring websites.
- Resume Downloads: If a download is interrupted, Wget can resume it from where it left off. This is beneficial for large files or unreliable connections.
- Proxy Support: Wget can work through HTTP and FTP proxies, making it suitable for various network configurations.
- User-Agent Customization: Users can set custom User-Agent strings to mimic different browsers or applications, which can be helpful when accessing websites that restrict certain user agents.
- Download Rate Limiting: Wget allows users to limit the download speed, which can be useful for conserving bandwidth during large downloads.
Integrating Apidog with Wget
While Wget is an excellent tool for downloading files, integrating it with Apidog can streamline your workflow, especially when dealing with APIs. Apidog is a comprehensive platform for designing, testing, and documenting APIs. By using Apidog alongside Wget, you can automate the process of downloading data from APIs, making it easier to manage your API interactions.
Example Use Case: Downloading API Responses
Imagine you are working with an API that provides daily reports in JSON format. Instead of manually downloading these reports every day, you can use Wget in conjunction with Apidog's API management capabilities to automate this task. Here’s how you can do it:
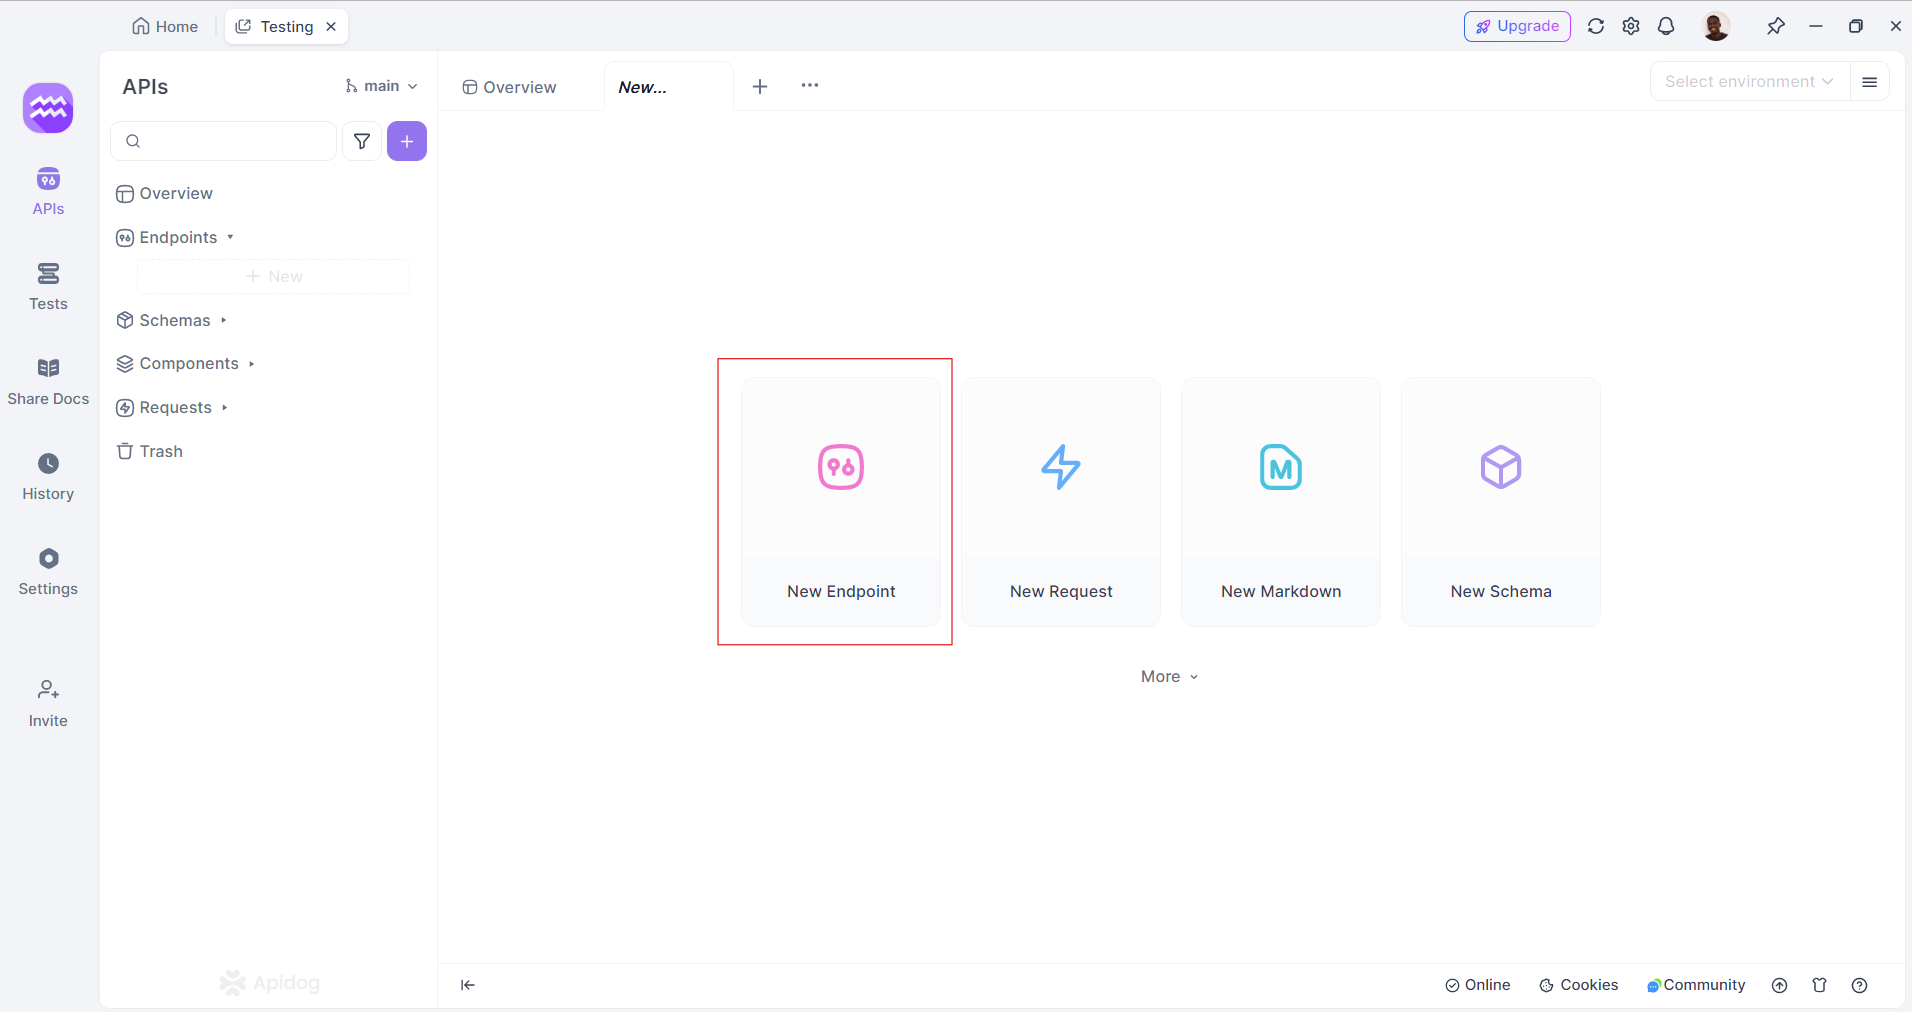
- Define Your API Endpoint in Apidog: Use Apidog to document your API endpoint, including the necessary headers and parameters for authentication.
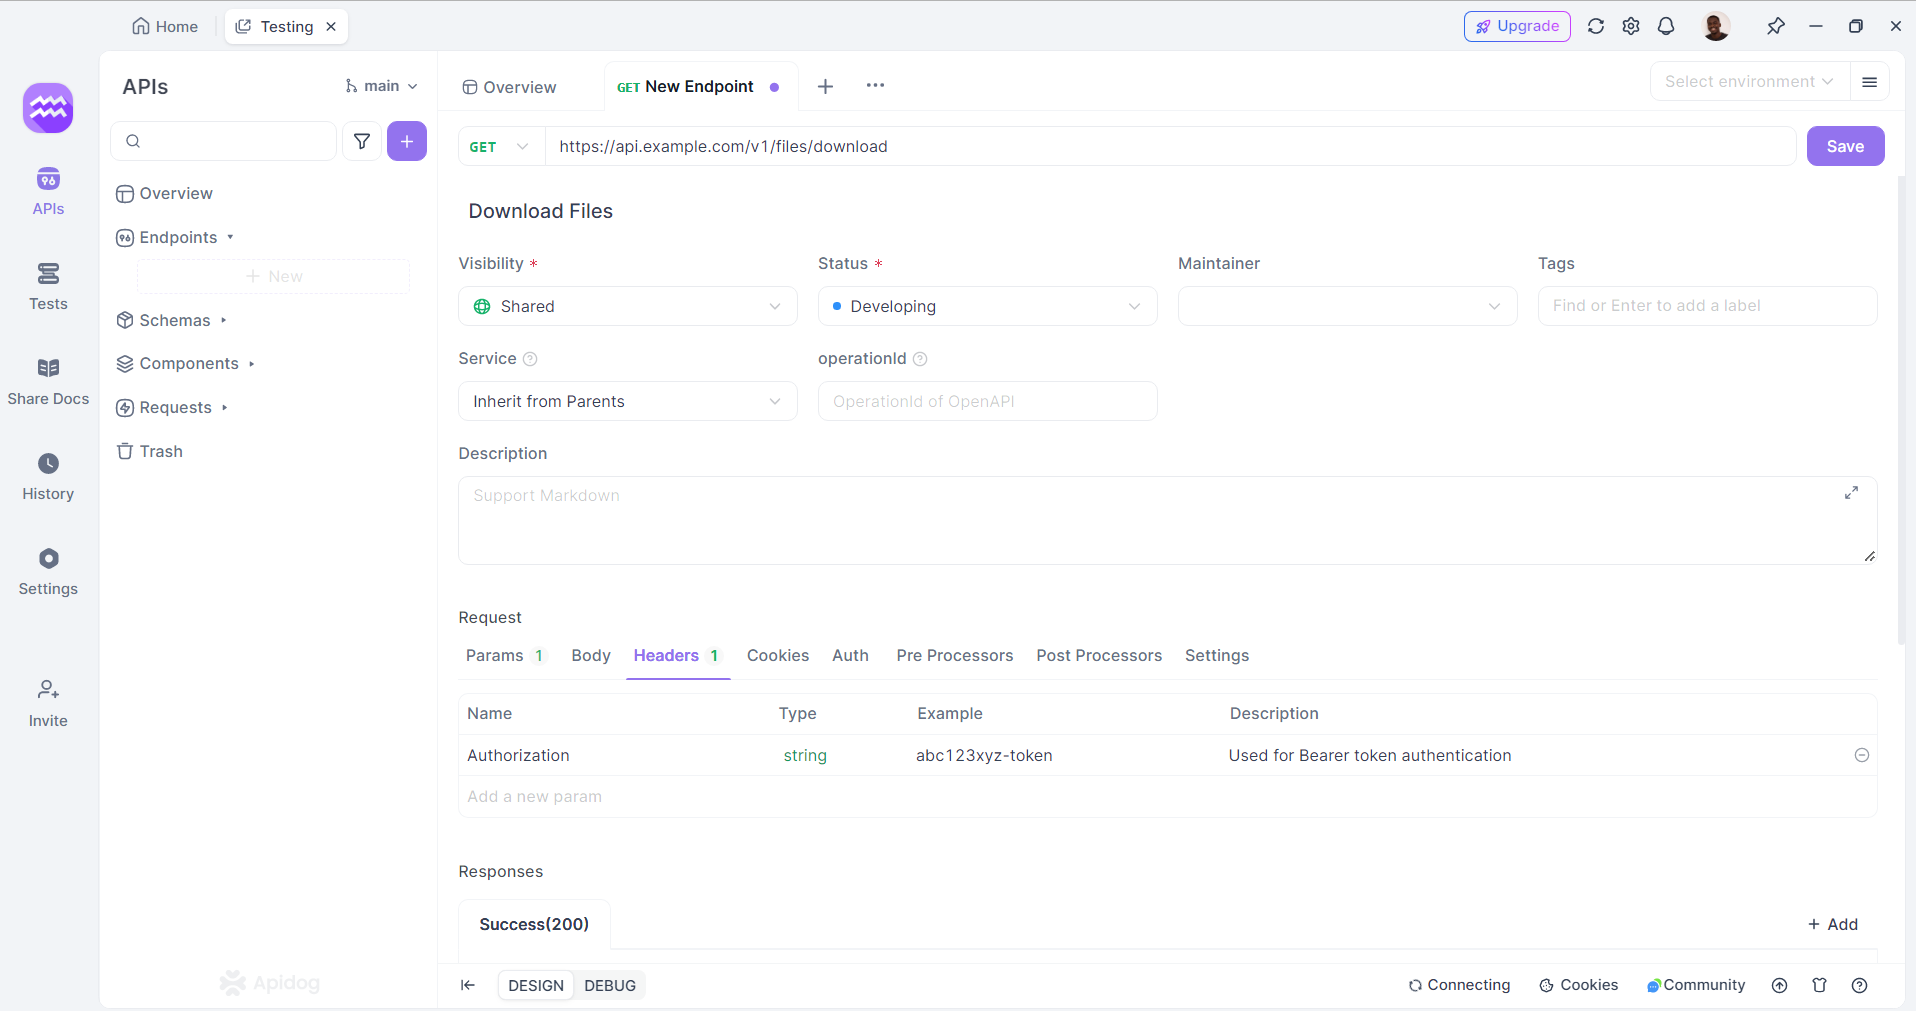
2. Generate the Wget Command: Based on the API documentation in Apidog, you can construct a Wget command to download the report. For example:
wget --header="Authorization: Bearer YOUR_API_TOKEN" https://api.example.com/v1/files/download
Installing Wget on Windows
Step 1: Download Wget for Windows
- Visit the Wget for Windows Page: Go to the Eternally Bored website to download the latest version of Wget for Windows.
- Choose the Correct Version: Depending on your system architecture (32-bit or 64-bit), select the appropriate
.exefile. If you're unsure, most modern systems are 64-bit. - Download the File: Click on the link to download the
wget.exefile.
Step 2: Install Wget
- Locate the Downloaded File: Once the download is complete, navigate to the folder where you saved the
wget.exefile. - Move the File: To make Wget accessible from any command prompt, move the
wget.exefile to theC:\Windows\System32folder. This allows you to run Wget from any command prompt without specifying the full path.
- To do this, you can right-click on the file and select "Cut," then navigate to
C:\Windows\System32, right-click in the folder, and select "Paste."
Step 3: Verify the Installation
- Open Command Prompt: Press
Win + R, typecmd, and hit Enter to open the Command Prompt. - Check Wget Version: Type the following command and press Enter:
wget --version3. Confirm Installation: If Wget is installed correctly, you should see the version information displayed. This confirms that Wget is ready for use.
Installing Wget on macOS
Step 1: Install Homebrew (if not already installed)
Homebrew is a popular package manager for macOS that simplifies the installation of software.
- Open Terminal: You can find Terminal in Applications > Utilities or by searching for it using Spotlight (
Cmd + Space). - Install Homebrew: Run the following command in Terminal to install Homebrew:
/bin/bash -c "$(curl -fsSL https://raw.githubusercontent.com/Homebrew/install/HEAD/install.sh)"3. Follow the Prompts: Follow the on-screen instructions to complete the installation. You may need to enter your password.
Step 2: Install Wget
- Update Homebrew: Before installing Wget, ensure that Homebrew is up to date by running:
brew update2. Install Wget: Run the following command in the Terminal:
brew install wget3. Wait for Installation: Homebrew will download and install Wget along with any necessary dependencies.
Step 3: Verify the Installation
- Check Wget Version: After the installation is complete, verify it by running:
wget --version2. Confirm Installation: You should see the version information if Wget is installed correctly.
Installing Wget on Linux
Step 1: Update Package Repository
- Open Terminal: Depending on your Linux distribution, you can usually find Terminal in the applications menu or by pressing
Ctrl + Alt + T. - Update Package Repository: Run the following command to update your package repository:
sudo apt updateStep 2: Install Wget
For Debian-based distributions (like Ubuntu):
sudo apt install wgetFor Red Hat-based distributions (like Fedora):
sudo dnf install wgetFor Arch Linux:
sudo pacman -S wgetStep 3: Verify the Installation
- Check Wget Version: After the installation, verify it by running:
wget --version2. Confirm Installation: You should see the version information if Wget is installed correctly.
Basic Usage of Wget
Now that you have installed Wget on your system, here are some basic commands to get you started:
Download a Single File
To download a single file, use the following command:
wget http://example.com/file.zipDownload a File with a Different Name
To save the downloaded file with a different name, use the -O option:
wget -O newfilename.zip http://example.com/file.zipDownload Files Recursively
To download an entire website or directory, use the -r option:
wget -r http://example.com/directory/Resume a Broken Download
If your download is interrupted, you can resume it using the -c option:
wget -c http://example.com/file.zipDownload Only Specific File Types
To download only specific file types (e.g., PDFs), use the -A option:
wget -r -A.pdf http://example.com/directory/Download with User-Agent String
Sometimes, websites may block requests from command-line tools. You can mimic a browser by setting a custom User-Agent string:
wget --user-agent="Mozilla/5.0 (Windows NT 10.0; Win64; x64) AppleWebKit/537.36 (KHTML, like Gecko) Chrome/58.0.3029.110 Safari/537.3" http://example.comLimiting Download Speed
To limit the download speed, use the --limit-rate option:
wget --limit-rate=200k http://example.com/file.zipThis command limits the download speed to 200 KB/s.
Advanced Usage of Wget
Wget is not just for simple downloads; it has many advanced features that can be incredibly useful.
Downloading with Authentication
If you need to download files from a site that requires authentication, you can use the --user and --password options:
wget --user=username --password=password http://example.com/protected/file.zipDownloading Multiple Files
You can create a text file containing a list of URLs and use Wget to download all of them at once. Create a file named urls.txt with the following content:
http://example.com/file1.zip
http://example.com/file2.zip
http://example.com/file3.zip
Then run:
wget -i urls.txtMirroring a Website
To create a local copy of an entire website, you can use the --mirror option, which is a shortcut for -r -N -l inf --no-remove-listing:
wget --mirror http://example.comThis command will download the entire website while preserving the directory structure.
Using Wget with Proxies
If you're behind a proxy, you can configure Wget to use it by specifying the proxy settings in your .wgetrc file or by using command-line options:
export http_proxy=http://proxy-server:port
export https_proxy=https://proxy-server:port
Downloading from FTP Servers
Wget can also be used to download files from FTP servers. For example:
wget ftp://username:password@ftp.example.com/file.zipHandling Cookies
If you need to maintain a session or login state, you can use cookies with Wget. First, export the cookies from your browser to a file (using a browser extension), and then use:
wget --load-cookies cookies.txt http://example.com/protected/file.zip
Troubleshooting Common Issues with Wget
While Wget is a robust tool, you may encounter some common issues. Here are some troubleshooting tips:
1. SSL Certificate Errors
If you receive SSL certificate errors, you can bypass SSL verification (not recommended for production use) with the following command:
wget --no-check-certificate https://example.com/file.zip2. 403 Forbidden Error
If you encounter a 403 Forbidden error, it may be due to the server blocking requests from Wget. Try changing the User-Agent string or using a proxy.
3. Connection Timeout
If Wget times out while trying to connect, check your internet connection and ensure the URL is correct. You can also increase the timeout duration:
wget --timeout=30 http://example.com/file.zip4. Insufficient Disk Space
If you run out of disk space while downloading, Wget will stop the download. Make sure you have enough space before starting large downloads.
Best Practices for Using Wget
To make the most of Wget, consider the following best practices:
1. Use the Latest Version
Always ensure you are using the latest version of Wget to benefit from the latest features and security updates.
2. Read the Documentation
Familiarize yourself with the official Wget documentation to understand all available options and features.
3. Test with Small Downloads
Before downloading large files or entire websites, test your commands with smaller files to ensure everything works as expected.
4. Respect Website Policies
When downloading files, respect the website's robots.txt file and terms of service. Avoid overwhelming servers with too many requests.
5. Use Logging
Use the -o option to log the output of your Wget commands to a file for later review:
wget -o download.log http://example.com/file.zip6. Schedule Downloads with Wget
You can automate your download tasks using cron jobs on Linux and macOS or Task Scheduler on Windows. Scheduling downloads with Wget allows you to run commands at specific times, ensuring that files are downloaded without manual intervention. This is particularly useful for tasks like downloading daily reports, backing up files, or mirroring websites. To enhance this process, integrating Apidog can offer additional benefits, especially when working with APIs. Apidog provides a platform for designing, testing, and documenting APIs, making it easier to manage the endpoints you want to download data from. By combining Wget's scheduling capabilities with Apidog's API management features, you can streamline your workflow and automate the retrieval of data from APIs effectively.
Using Cron Jobs on Linux and macOS
Cron is a time-based job scheduler in Unix-like operating systems that allows you to run scripts or commands at specified intervals. Here’s how to set up a cron job to schedule Wget commands:
Step 1: Open the Crontab File
- Open your terminal.
- Type the following command to edit the crontab file:
crontab -eThis command opens the crontab file in the default text editor (usually vi or nano).
Step 2: Add a Cron Job
In the crontab file, you can specify the timing and the command you want to run. The syntax for a cron job is as follows:
* * * * * command_to_executeThe five asterisks represent the following time fields:
- Minute (0-59)
- Hour (0-23)
- Day of Month (1-31)
- Month (1-12)
- Day of Week (0-6, where 0 is Sunday)
For example, to schedule a Wget command to download a file from an API every day at 2 AM, you could add the following line to your crontab, utilizing Apidog to manage your API endpoint:
0 2 * * * wget --header="Authorization: Bearer YOUR_API_TOKEN" -O /path/to/save/daily-report.json https://api.example.com/reports/dailyStep 3: Save and Exit
- If you are using
vi, pressEsc, type:wq, and hit Enter to save and exit. - If you are using
nano, pressCtrl + X, thenYto confirm saving, and hit Enter.
Step 4: Verify the Cron Job
To verify that your cron job has been added successfully, you can list your current cron jobs with:
crontab -1This command will display all scheduled jobs for your user.
Example Cron Job Scenarios
Download a File Every Hour: To download a file every hour, you can use the following cron job:
0 * * * * wget http://example.com/file.zip -O /path/to/save/file.zipDownload a File Every Monday at 6 AM: To download a file every Monday at 6 AM, use:
0 6 * * 1 wget http://example.com/weekly-report.zip -O /path/to/save/weekly-report.zipRun Multiple Commands: You can schedule multiple commands by separating them with semicolons. For example, to download two files every day at 3 PM:
0 15 * * * wget http://example.com/file1.zip -O /path/to/save/file1.zip; wget http://example.com/file2.zip -O /path/to/save/file2.zipUsing Task Scheduler on Windows
On Windows, you can use Task Scheduler to automate Wget commands. Here’s how to set it up:
Step 1: Open Task Scheduler
- Press
Win + Rto open the Run dialog. - Type
taskschd.mscand hit Enter to open Task Scheduler.
Step 2: Create a New Task
- In the right-hand pane, click on Create Basic Task.
- Follow the wizard to name your task and provide a description.
Step 3: Set the Trigger
- Choose when you want the task to start (e.g., Daily, Weekly).
- Set the specific time and frequency based on your needs.
Step 4: Set the Action
- Select Start a program as the action.
- In the Program/script field, browse to the location of
wget.exe. - In the Add arguments (optional) field, enter your Wget command. For example:
http://example.com/daily-report.zip -O C:\path\to\save\daily-report.zipStep 5: Finish and Save
- Review your settings and click Finish to create the task.
Step 6: Verify the Task
You can verify that your task is scheduled by looking for it in the Task Scheduler Library. You can also run the task manually to ensure it works as expected.
Conclusion
Wget is a powerful tool for downloading files from the web, and it is easy to install on Windows, macOS, and Linux. By following the steps outlined in this guide, you can quickly set up Wget on your system and start using it to automate downloads, mirror websites, and perform other tasks efficiently. Whether you are a developer, system administrator, or power user, Wget is an essential tool for your toolkit. With its robust features and flexibility, Wget can help you manage downloads effectively and streamline your workflow.
Additional Resources
To further enhance your understanding of Wget and its capabilities, consider exploring the following resources:
- Wget Official Documentation: GNU Wget Manual
- Wget GitHub Repository: Wget on GitHub
By investing time in learning and applying these best practices, you will be well-equipped to tackle your download tasks and create efficient workflows using Wget.


