Welcome to our comprehensive guide on wget, a powerful command-line tool that has become an essential part of any developer’s toolkit. Whether you’re a seasoned developer or a beginner just starting out, understanding wget can significantly enhance your productivity and streamline your workflow.
In this blog post, we’ll demystify wget, starting from its basic installation to exploring its advanced features. We’ll also introduce you to Apidog CLI, a powerful companion to wget for API testing. By the end of this guide, you’ll have a solid understanding of how to use wget and how Apidog CLI can enhance your API development and testing workflow.
So, let’s dive in and start our journey into the world of wget and Apidog CLI!
What is wget ?
Wget is a free utility for non-interactive download of files from the web. It supports HTTP, HTTPS, and FTP protocols, as well as retrieval through HTTP proxies. It’s a command-line utility that allows you to download files and webpages from the internet. It’s very powerful and versatile, and can be used in scripts and cron jobs.

Wget Installation
- On Ubuntu/Debian: You can install
wgetusing the APT package management system. Open your terminal and type the following command:
sudo apt install wget
- On CentOS/Fedora: You can install
wgetusing the YUM package manager. Open your terminal and type the following command:
sudo yum install wget
- On Windows: You can download
wgetfor Windows and install the package. After installation, copy and paste thewget.exefile to thesystem32folder.
Basic Commands of wget
- Download a File: In its simplest form,
wgetwill download the resource specified in the URL to the current directory. For example:
wget https://example.com/file.txt
- Download and Rename a File: To save the downloaded file under a different name, pass the
-Ooption followed by the chosen name:
wget -O newname.txt https://example.com/file.txt
- Download to a Specific Directory: To save the file to a specific location, use the
-Poption:
wget -P /path/to/directory https://example.com/file.txt
- Limit the Download Speed: To limit the download speed, use the
--limit-rateoption . By default, the speed is measured in bytes/second:
wget --limit-rate=200k https://example.com/file.txt
- Resume Interrupted Downloads: If your download gets interrupted, you can continue it using the
-coption:
wget -c https://example.com/file.txt
Remember, wget has many more options and functionalities. You can see all of them by typing wget --help in your terminal.

Advanced Features and Options of Wget
Now that you've got the basics down, let's explore some of wget's more advanced features and options. Trust me; these tricks will make your download experience smoother than a buttered-up penguin on an ice rink.
Sure, wget is a powerful tool with many advanced features and options. Here are some of them:
Recursive Downloading:
wget can follow links in HTML, XHTML, and CSS pages to create local versions of remote web sites, fully recreating the directory structure of the original site. This is sometimes referred to as “recursive downloading”. You can use the -r or --recursive option for this.
Time-Stamping:
wget can read the time-stamp information given by both HTTP and FTP servers, and store it locally. This allows wget to see if the remote file has changed since the last retrieval, and automatically retrieve the new version if it has.
Resuming Interrupted Downloads:
If your download gets interrupted, you can continue it using the -c optionwget performs well over slow or unstable network connections and can resume incomplete downloads due to a network problem.
Bandwidth Throttling:
You can limit the download speed using the --limit-rate option.
IPv6 Support:
wget supports IP version 6, the next generation of IP4. IPv6 is autodetected at compile-time, and can be disabled at either build or run time.
Passive FTP Downloading:
By default, wget uses the passive FTP downloading, with active FTP being an option.
HTTP Proxies:
wget supports retrieval through HTTP proxies.
Controlling Retries and Setting Timeout Values:
There are options available for controlling retries and setting timeout values.
Enhancing Your Workflow with Apidog
Apidog is an all-in-one toolkit for API development. It’s designed to improve the efficiency of team collaboration during the API development process. It provides features for API design, development, testing, management, documentation, and mocking.
Apidog also offers a CLI (Command Line Interface) tool, which is mainly designed to run Apidog test cases in the command line. It is used for automation testing. This could be where the connection between Apidog and wget comes in, as both are command-line tools that can be used in automation and scripting.
Sure, here’s how you can access and use the Apidog CLI (Command Line Interface) tool:
Installation:
- The Apidog CLI relies on Node.js version number >= v161. Please install Node.js before using it.
- Once Node.js is installed, you can install the Apidog CLI using the following command:
sudo npm install -g apidog-cli
- Here are some commands to verify if Apidog CLI is installed successfully1:
node -v && apidog -v && which node && which npm && which apidog
If installed successfully, it will directly print the version number and installation path after executing commands above.
Basic Commands:
apidog [options]: This is the basic command structure.-h, --help: View help information.-v, --version: Show Apidog version.apidog run <file-source> [options]:file-sourceneeds to be the path for test cases files exported from Apidog.
There are many more options available with the Apidog CLI, such as :
1. Execution within CI/CD Platforms
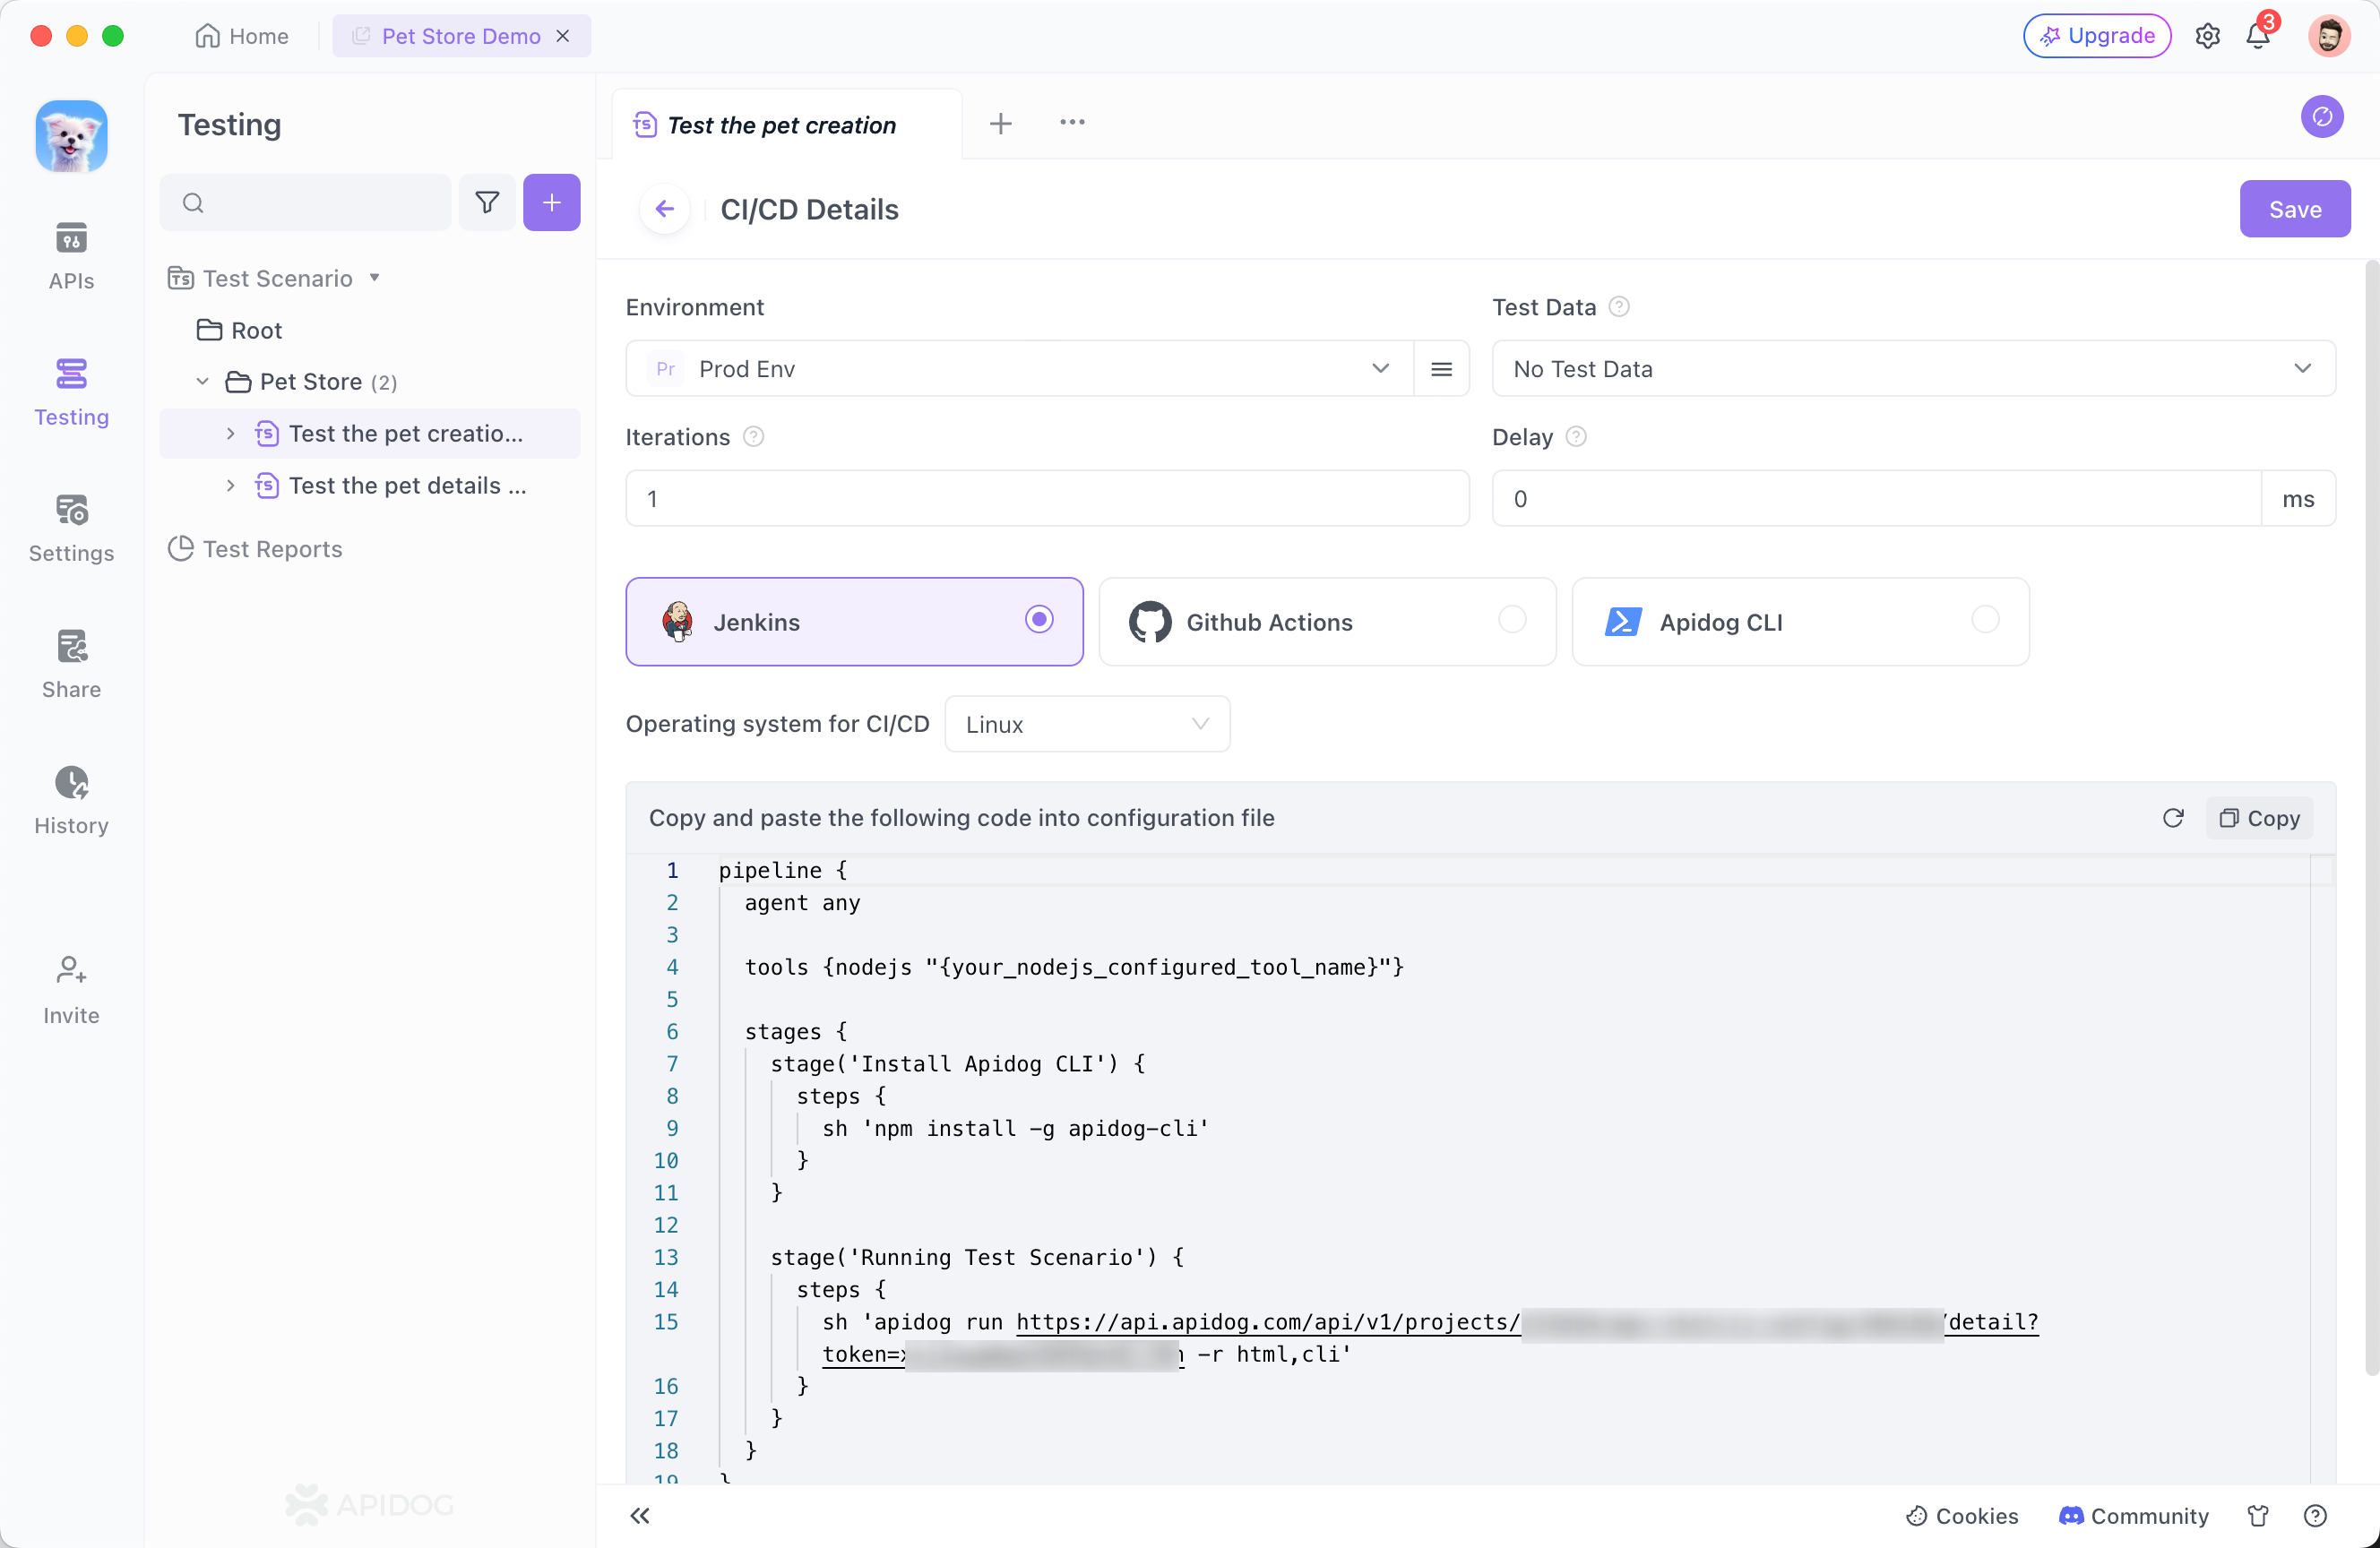
Apidog automates the generation of configuration scripts for Jenkins and Github Actions. Upon saving the continuous integration settings, embedded code for the "CI / CD Tools" Tab page is created, enabling integration directly into the configuration files of the continuous integration system to seamlessly join the existing research and development workflows.

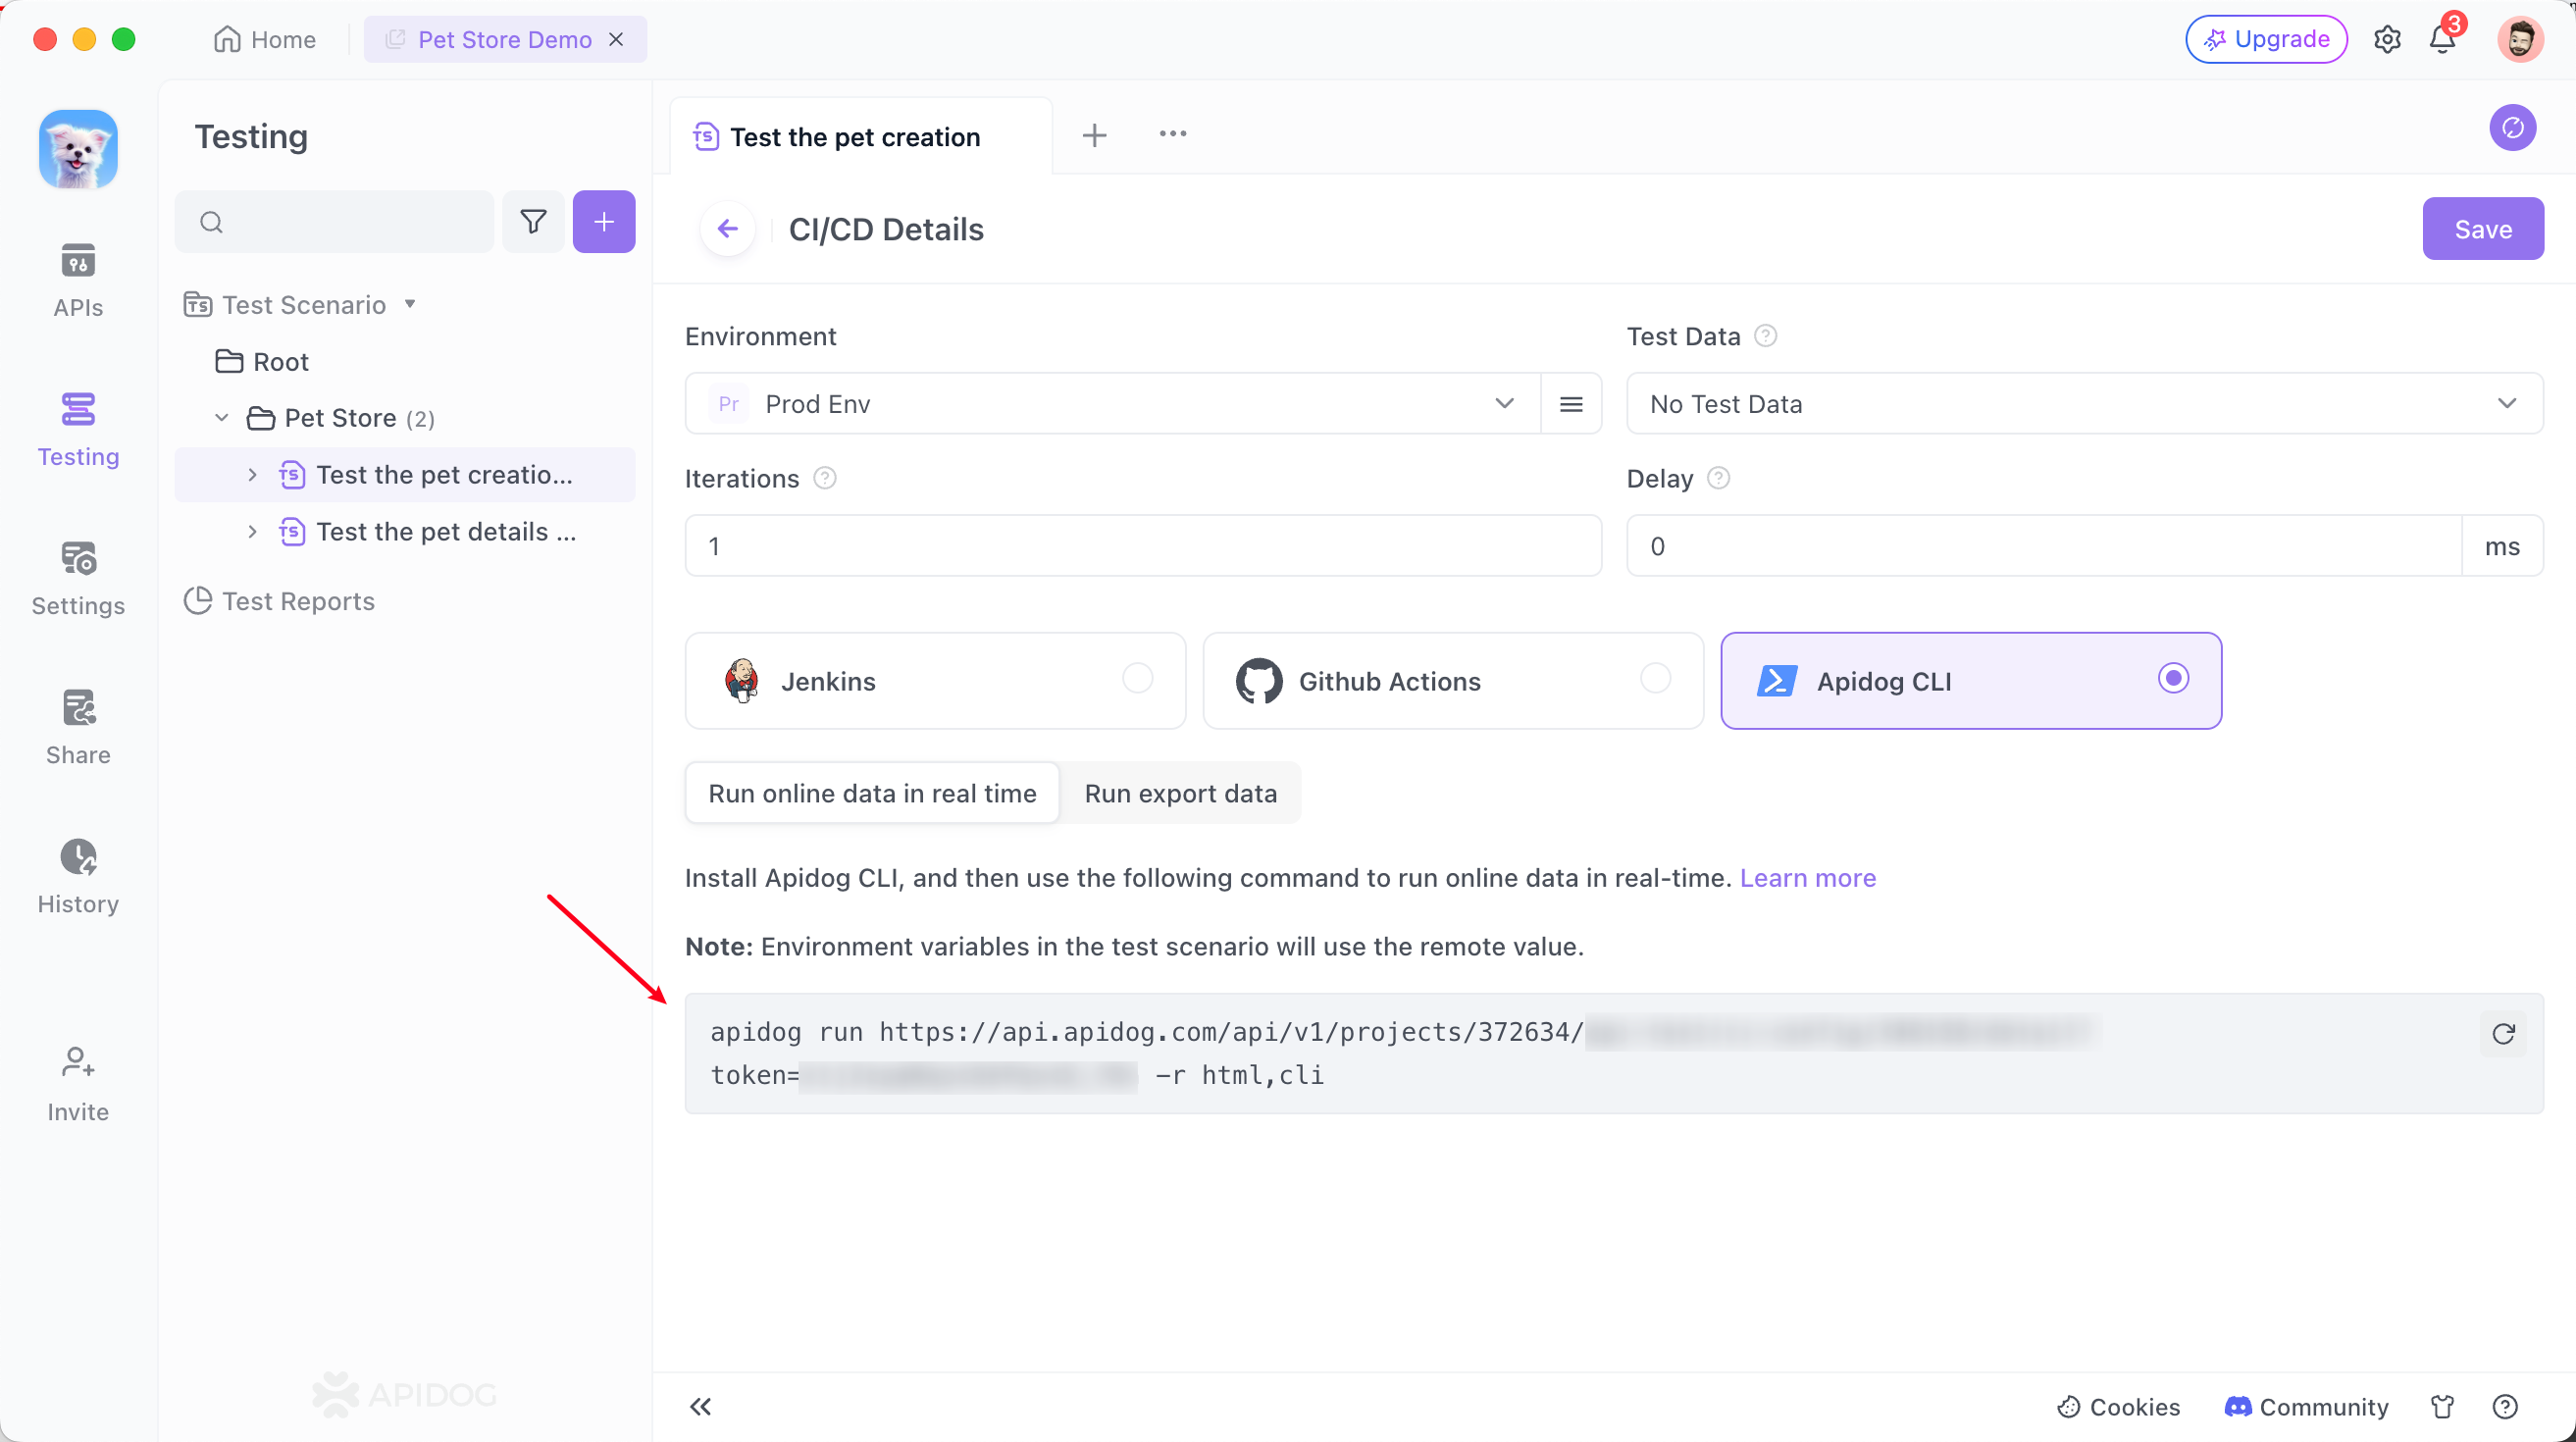
2. Real-time Execution Based on Online Data
A sequence of executable command lines becomes available on the page immediately after saving the continuous integration setup.

3. Local Test File Execution
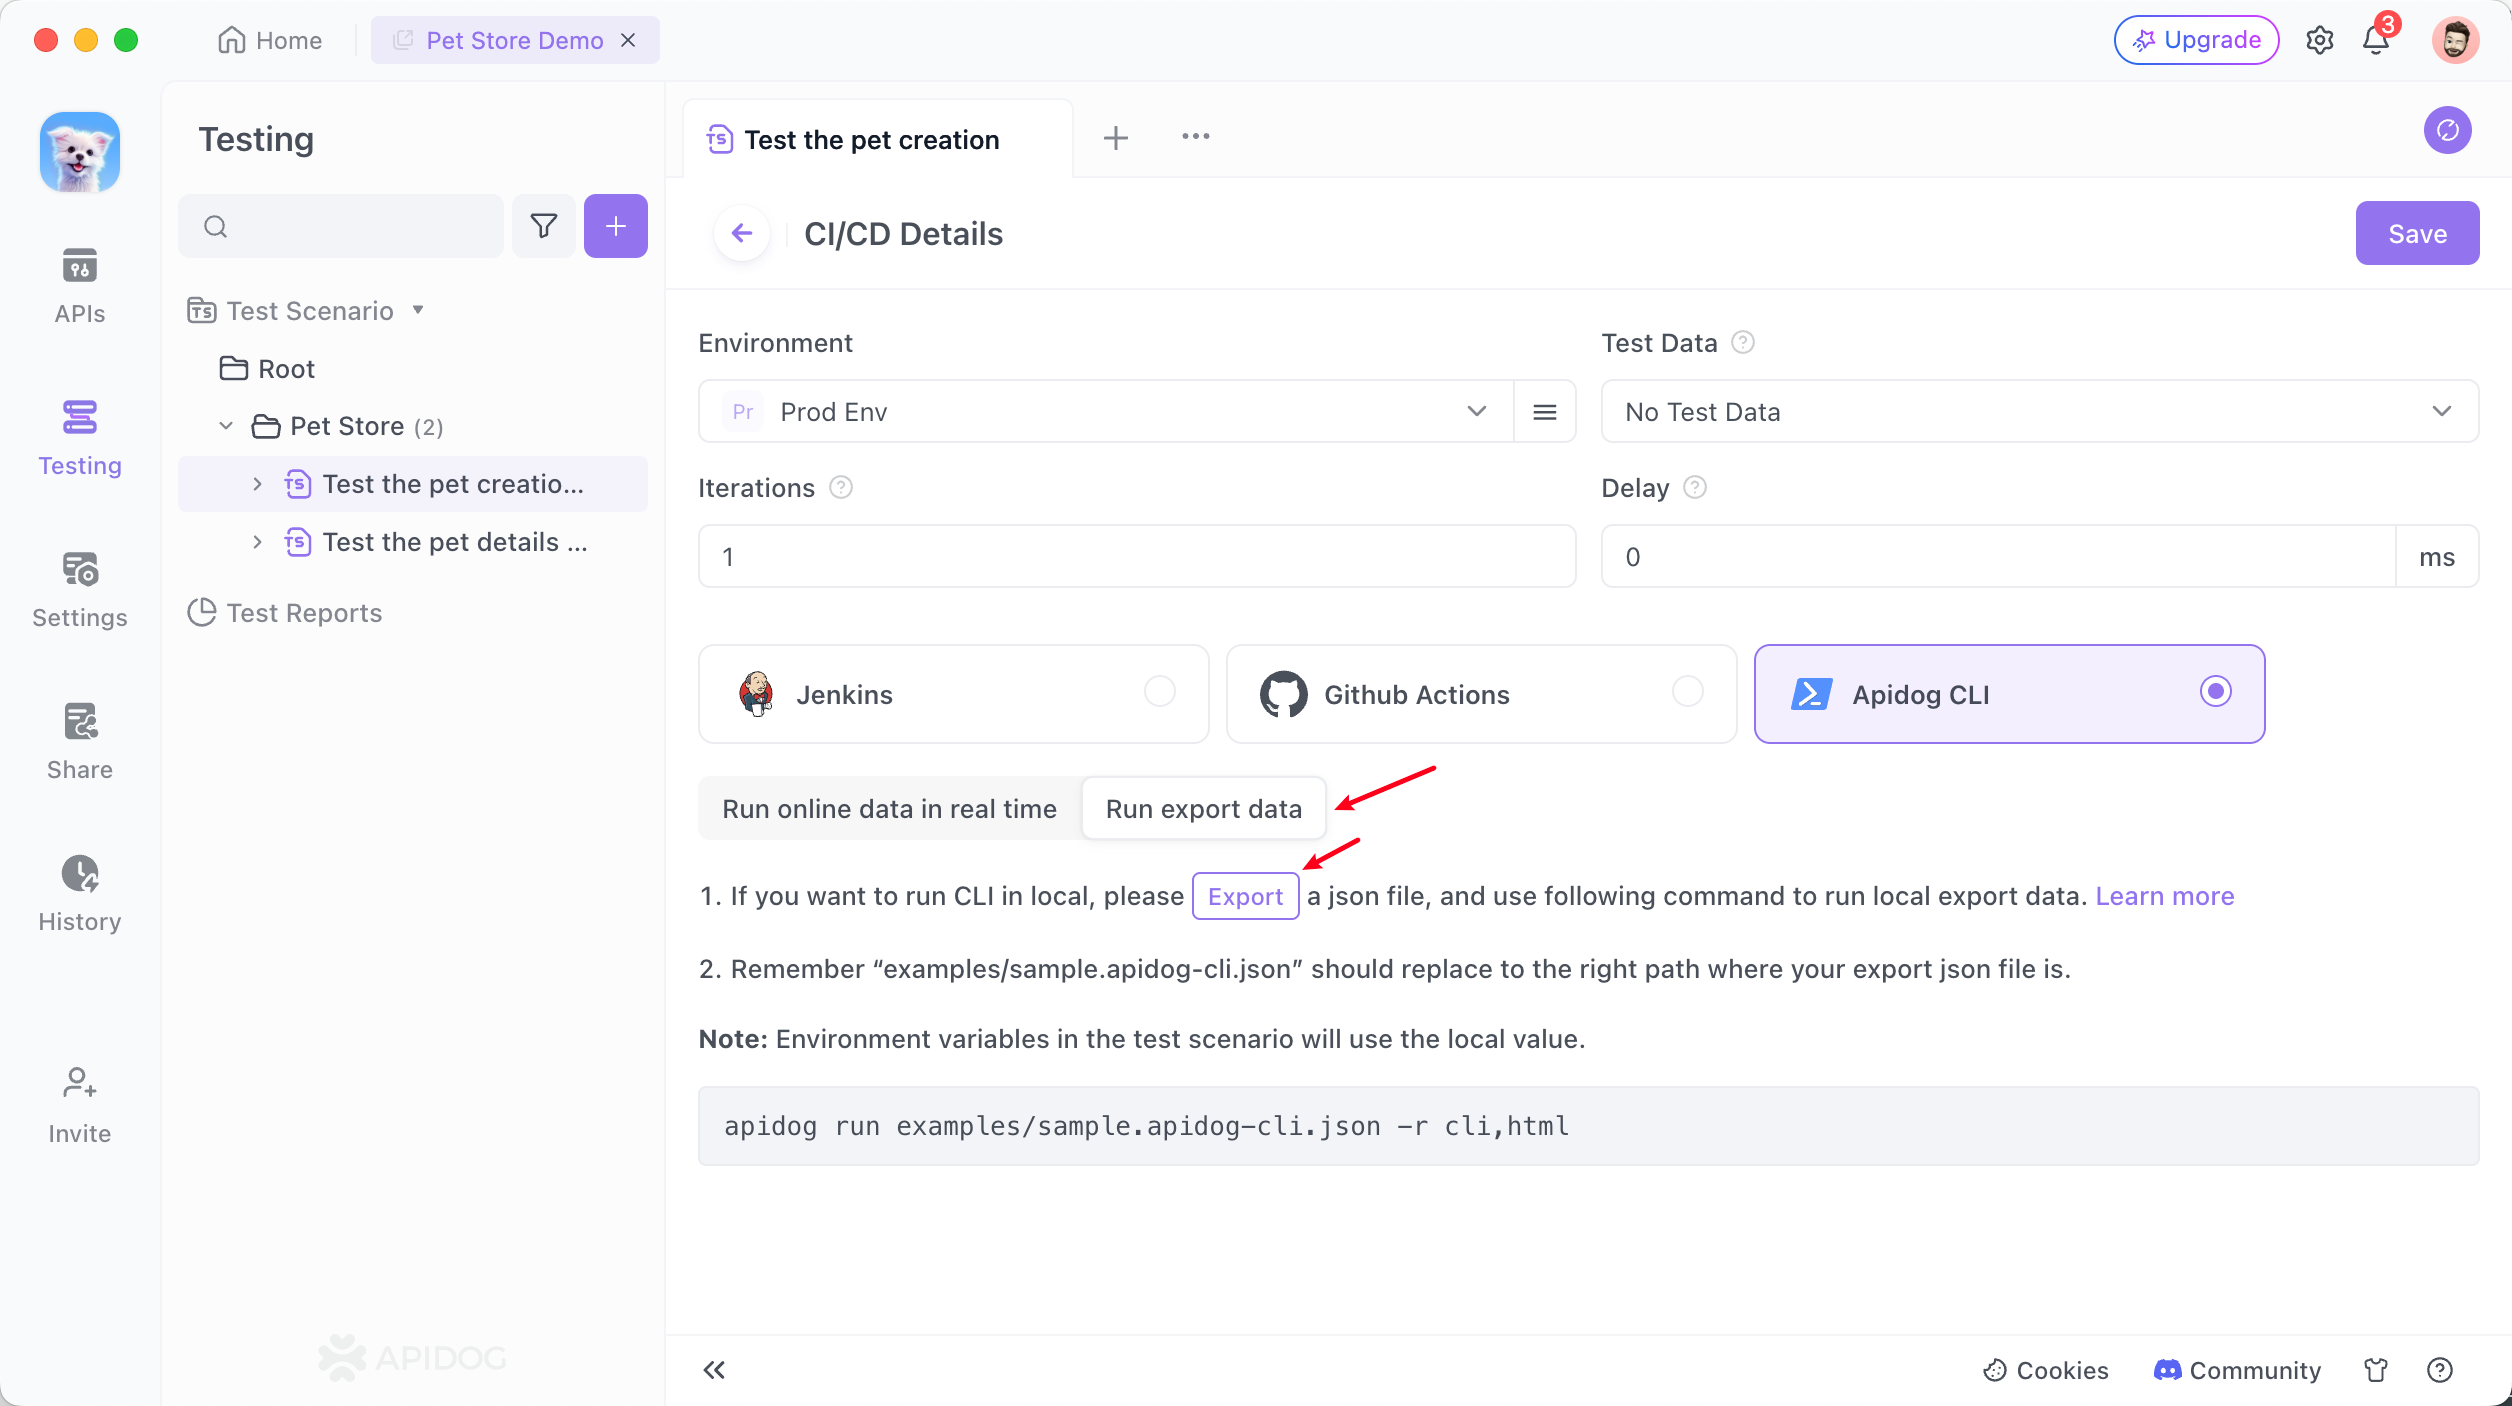
To run a particular test scenario using the Apidog CLI locally, the Json file associated with that scenario must be exported first. The file is then executed using the Apidog CLI tool.

Substitute examples/sample.apidog-cli.json in the following command with the path to your stored file and execute it in the terminal.
Conclusion
In conclusion, wget is a powerful and versatile command-line tool that allows you to download files from the internet with ease and efficiency. Whether you’re a beginner just starting out or an experienced user looking to streamline your workflow, understanding how to use wget can significantly enhance your productivity.
Moreover, when it comes to API testing and development, tools like Apidog CLI can be a great companion to wget. While wget handles the downloading of files, Apidog CLI can help you design, develop, test, manage, document, and mock APIs, making it an invaluable tool in any developer’s toolkit.


