
OpenAI recently launched the gpt-image-1 model, bringing advanced image generation capabilities to developers through its API. This API empowers developers to create high-fidelity images, explore diverse visual styles, and perform precise image editing—all programmatically. Whether you’re building a creative tool, a consumer app, or an enterprise solution, gpt-image-1 offers a robust foundation for integrating image generation into your workflows.
What Is OpenAI’s gpt-image-1 API?
The gpt-image-1 API is an extension of OpenAI’s image generation technology, previously popularized through ChatGPT. Now available for developers, this API allows you to generate, edit, and manipulate images programmatically. According to OpenAI’s announcement, gpt-image-1 offers several key features:
- High-fidelity images: Produces detailed and accurate visuals.
- Diverse visual styles: Supports a range of aesthetics, from photorealistic to abstract.
- Precise image editing: Enables targeted modifications to generated images.
- Rich world knowledge: Understands complex prompts with contextual accuracy.
- Consistent text rendering: Renders text within images reliably.
These capabilities make the API a game-changer for industries like design, e-commerce, and software development. For instance, companies like Adobe and Figma are already integrating gpt-image-1 into their platforms to enhance creative workflows.
Prerequisites for Using the gpt-image-1 API
Before diving into the technical details, ensure you have the following prerequisites in place:
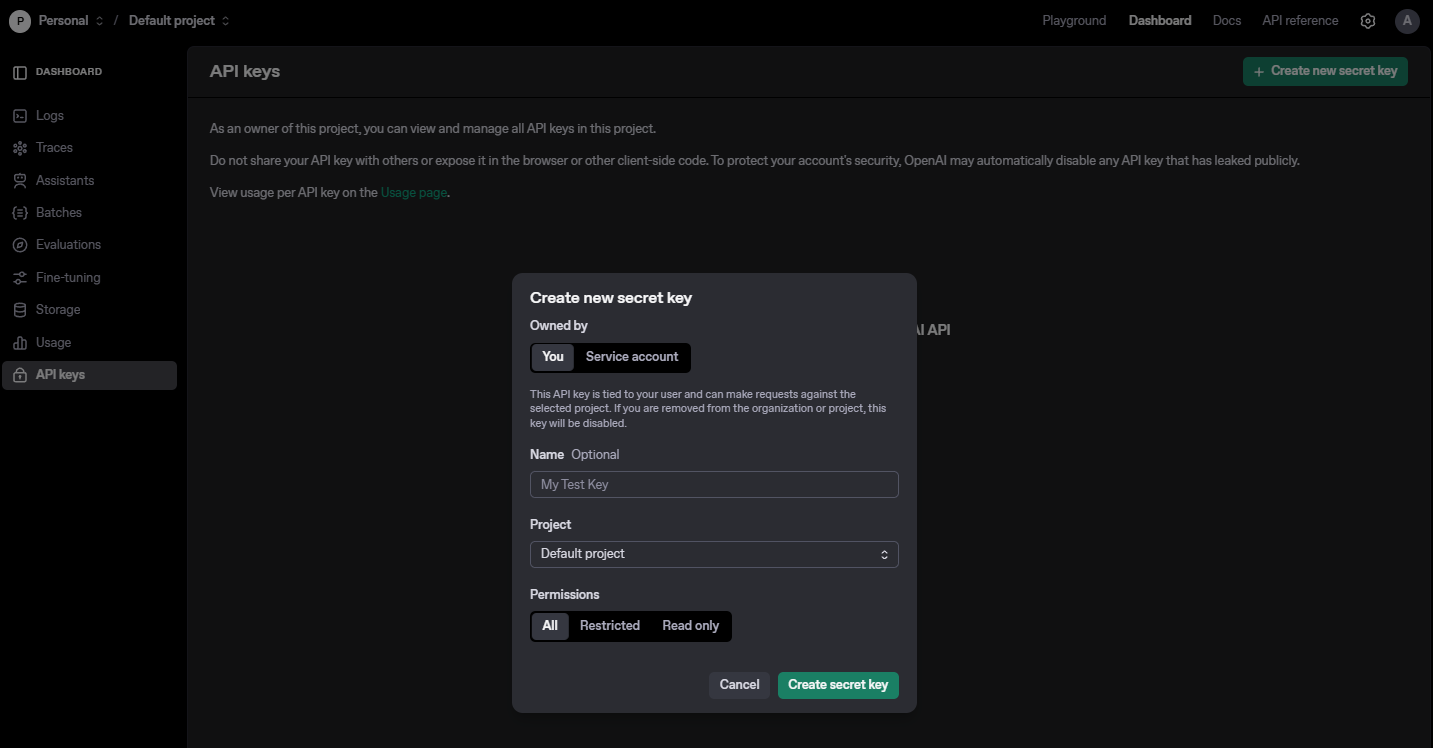
OpenAI Account and API Key: Sign up on the OpenAI platform and generate an API key. You’ll need to verify your organization to access gpt-image-1.
Development Environment: Set up a coding environment with a language that supports HTTP requests, such as Python, JavaScript, or Java.
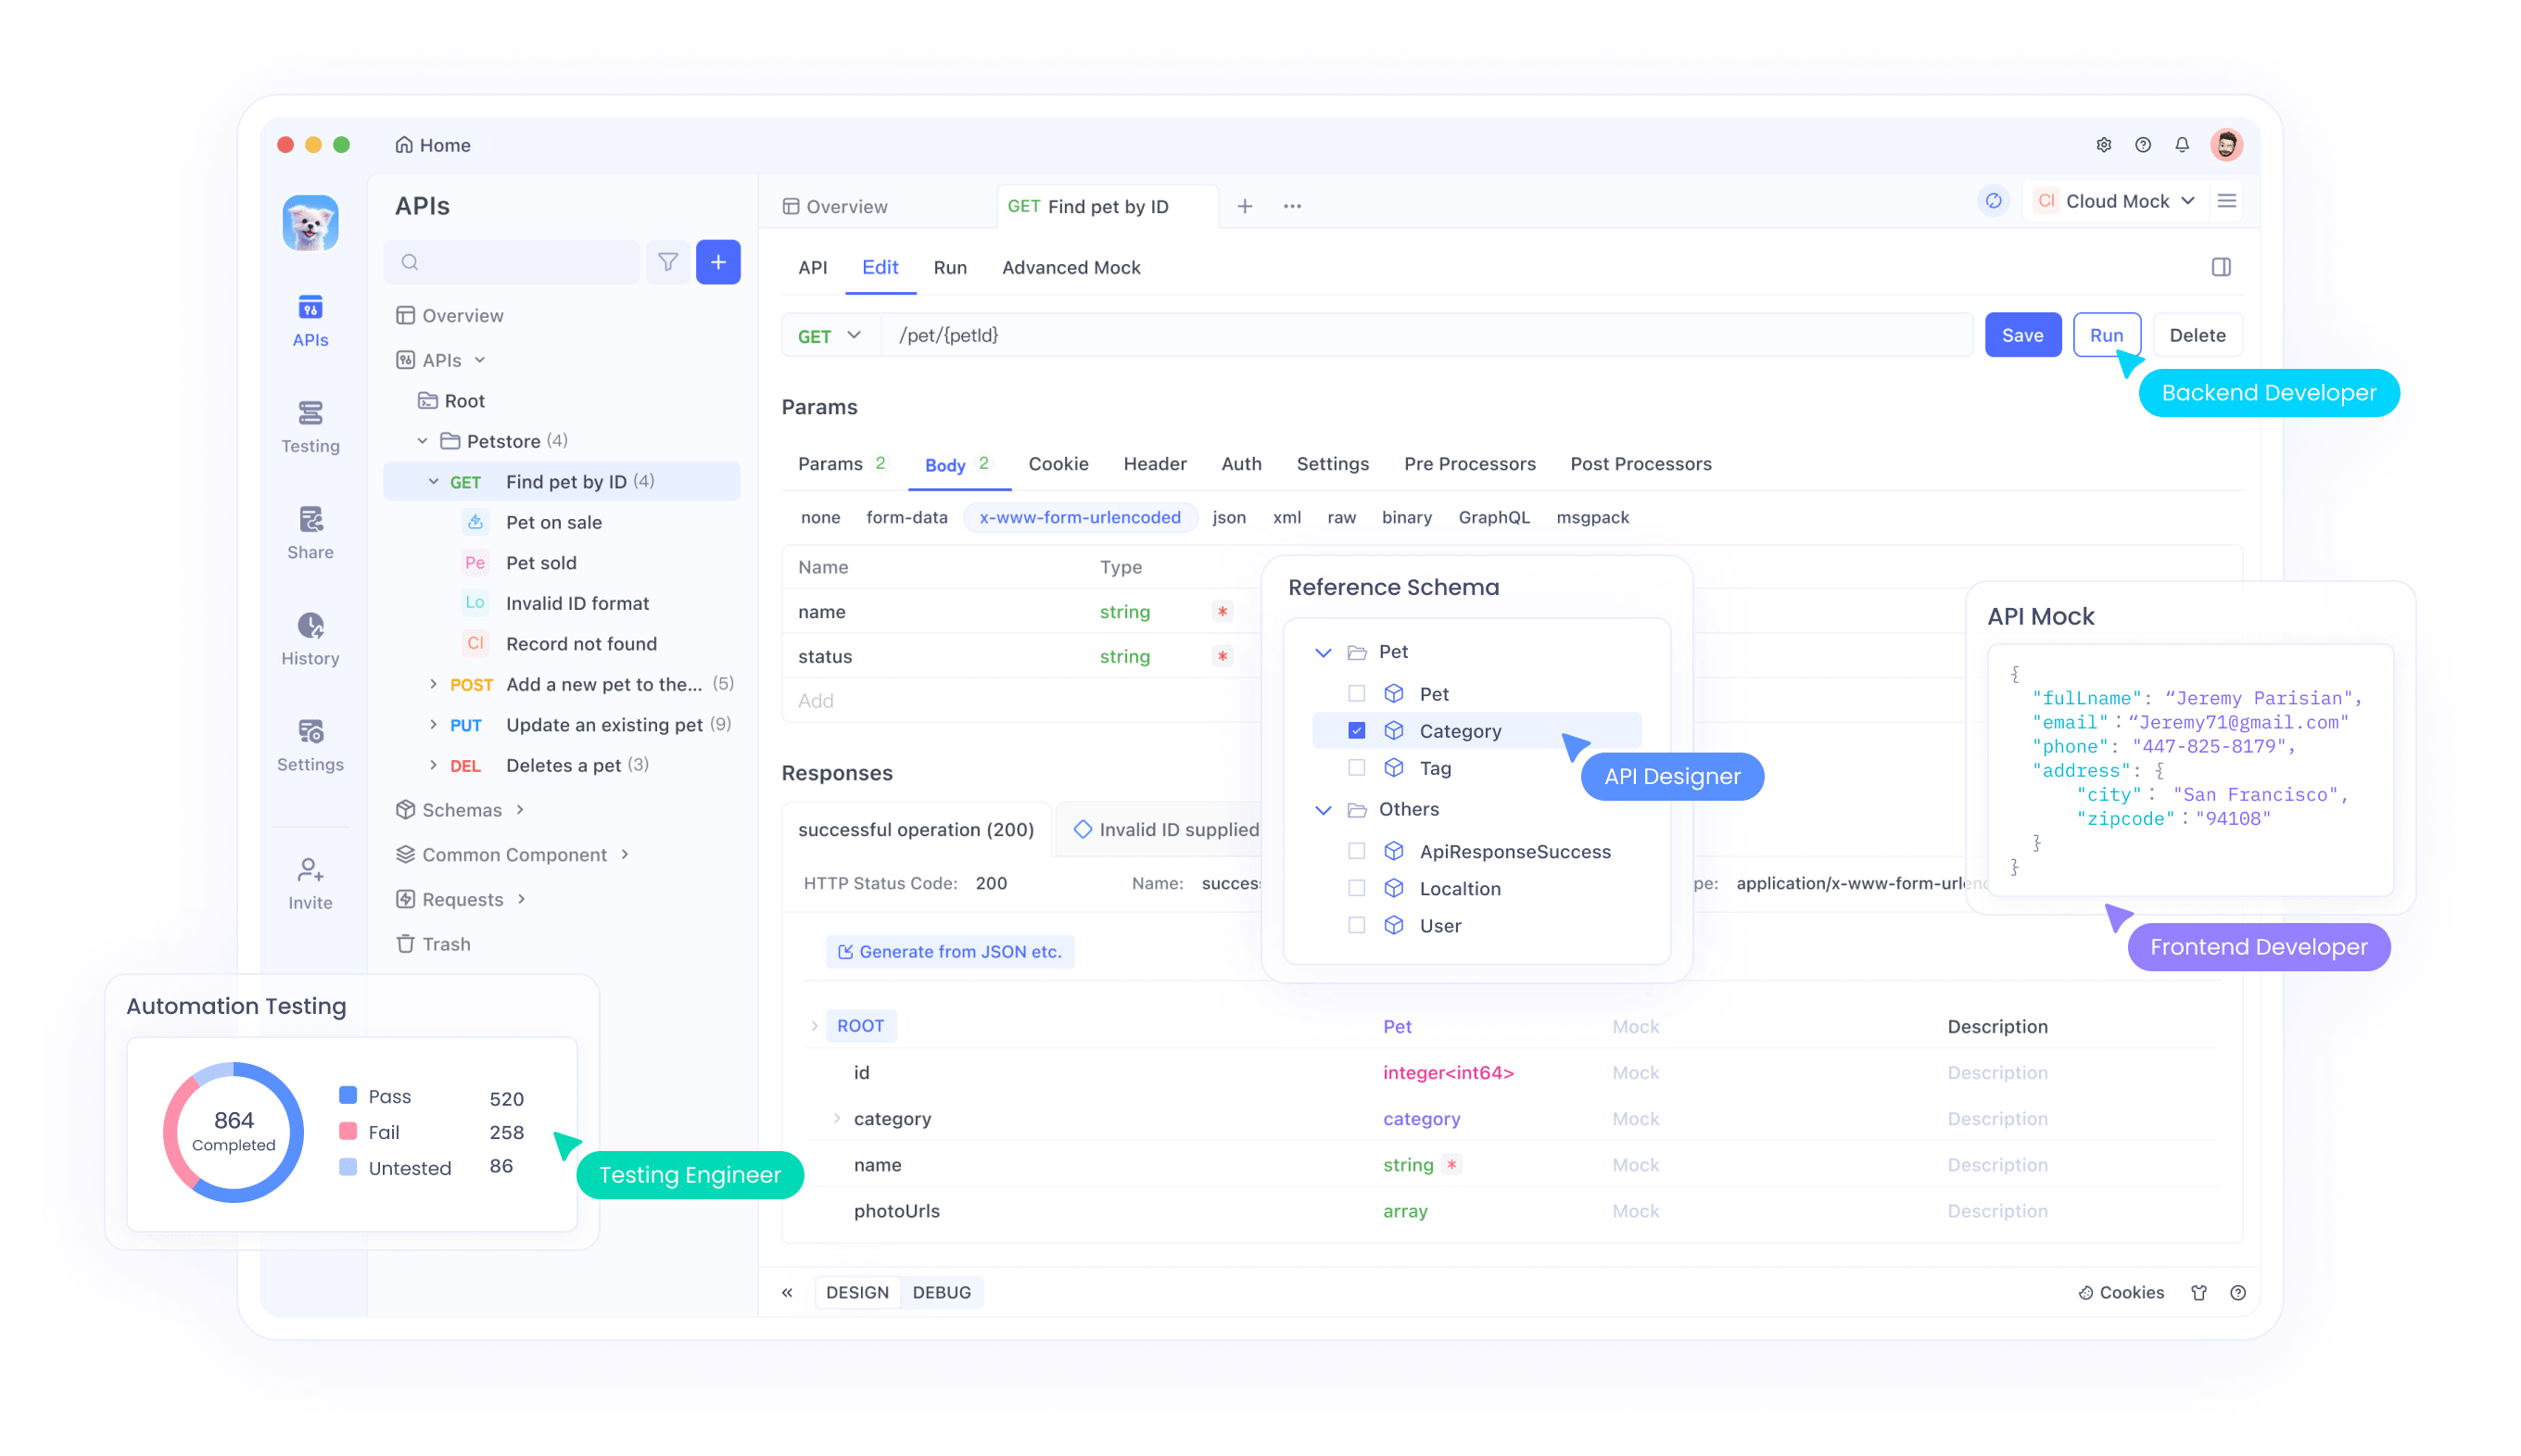
API Testing Tool: We recommend using Apidog to test your API calls. It offers a user-friendly interface to send requests, inspect responses, and debug issues.
Basic Knowledge of APIs: Familiarity with RESTful APIs, HTTP methods (like POST), and JSON formatting is essential.
With these prerequisites met, let’s move on to setting up your environment.
Step 1: Set Up Your Development Environment
First, configure your development environment to interact with the gpt-image-1 API. We’ll use Python for this guide due to its simplicity and widespread use among developers.
Install Required Libraries
Install the requests library to make HTTP requests to the API. Open your terminal and run:
pip install requests
Store Your API Key
Securely store your OpenAI API key in an environment variable or a configuration file. For simplicity, you can define it directly in your script (though this isn’t recommended for production):
API_KEY = "your-openai-api-key"
Now that your environment is ready, let’s proceed to authenticate with the API.
Step 2: Authenticate with the gpt-image-1 API
The gpt-image-1 API uses API key-based authentication. Include your API key in the Authorization header of your HTTP requests. Here’s how to set up a basic request in Python:
import requests

# API endpoint for image generation
url = "https://api.openai.com/v1/images/generations"

# Headers for authentication
headers = {
    "Authorization": f"Bearer {API_KEY}",
    "Content-Type": "application/json"
}
With authentication in place, you’re ready to make your first API call.
Step 3: Generate Your First Image with gpt-image-1
The gpt-image-1 API allows you to generate images by sending a prompt in a POST request. Let’s create a simple image generation request.
Create a Basic Image Generation Request
Define a prompt that describes the image you want to generate. For example, let’s generate an image of “a futuristic cityscape at sunset.” Here’s the Python code:
# Define the payload
payload = {
    "model": "gpt-image-1",
    "prompt": "A futuristic cityscape at sunset with neon lights and flying cars",
    "n": 1,  # Number of images to generate
    "size": "1024x1024"  # Image resolution
}

# Send the request
response = requests.post(url, headers=headers, json=payload)

# Check the response
if response.status_code == 200:
    data = response.json()
    image_url = data["data"][0]["url"]
    print(f"Image generated successfully! URL: {image_url}")
else:
    print(f"Error: {response.status_code} - {response.text}")
Understanding the Response
The API returns a JSON object containing the URL of the generated image. You can download the image using the URL or display it in your application. The response structure looks like this:
{
    "created": 1698259200,
    "data": [
        {
            "url": "https://example.com/generated-image.png"
        }
    ]
}
Congratulations! You’ve generated your first image with the gpt-image-1 API. Next, let’s test this request using Apidog.
Step 4: Test Your API Calls with Apidog
Testing your API calls ensures they work as expected before integrating them into your application. Apidog is an excellent tool for this purpose, offering a clean interface to send requests and analyze responses.
Analyze the Response
Apidog displays the response status, headers, and body. If successful, you’ll see the same JSON response with the image URL. If there’s an error, Apidog’s error logs help you debug issues like incorrect headers or malformed payloads.
Using Apidog simplifies testing and debugging, ensuring your gpt-image-1 API integrations are robust. Now, let’s explore advanced features of the API.
Step 5: Explore Advanced Features of the gpt-image-1 API
The gpt-image-1 API offers more than basic image generation. Let’s dive into some advanced features that make it versatile for developers.
Generate Images in Different Styles
You can specify the visual style in your prompt. For example, to generate an image in a “watercolor painting” style:
payload = {
    "model": "gpt-image-1",
    "prompt": "A serene lake surrounded by mountains, in the style of a watercolor painting",
    "n": 1,
    "size": "1024x1024"
}

response = requests.post(url, headers=headers, json=payload)
Edit Existing Images
The API supports image editing by providing an initial image and a prompt for modifications. You’ll need to upload the image and include it in your request. Here’s an example:
# Example for image editing (requires image upload)
edit_url = "https://api.openai.com/v1/images/edits"

payload = {
    "model": "gpt-image-1",
    "image": open("input-image.png", "rb"),  # Path to your image
    "prompt": "Add a bright red balloon in the sky",
    "n": 1,
    "size": "1024x1024"
}

# Note: For image uploads, use the `files` parameter in requests
response = requests.post(edit_url, headers=headers, files={"image": payload["image"]}, data={"prompt": payload["prompt"], "n": payload["n"], "size": payload["size"]})
Render Text in Images
The gpt-image-1 API excels at rendering text consistently within images. For example:
payload = {
    "model": "gpt-image-1",
    "prompt": "A billboard in a city square that reads 'Welcome to the Future'",
    "n": 1,
    "size": "1024x1024"
}

response = requests.post(url, headers=headers, json=payload)
These advanced features demonstrate the flexibility of the gpt-image-1 API. Next, let’s look at best practices to optimize your usage.
Step 6: Best Practices for Using the gpt-image-1 API
To get the most out of the gpt-image-1 API, follow these best practices:
- Craft Clear Prompts: Use detailed and specific prompts to get accurate results. For example, instead of “a dog,” use “a golden retriever playing in a sunny park.”
- Handle Rate Limits: The API has rate limits, so monitor your usage and implement retry logic for failed requests.
- Optimize Image Size: Choose the appropriate resolution (e.g., 512x512 or 1024x1024) based on your needs to save on costs and processing time.
- Secure Your API Key: Never hardcode your API key in your code. Use environment variables or a secure vault solution.
- Test with Apidog: Regularly test your API calls with Apidog to catch errors early and ensure consistent performance.
By following these practices, you’ll ensure a smooth and efficient experience with the API. Now, let’s explore some real-world use cases.
Real-World Use Cases for the gpt-image-1 API
The gpt-image-1 API is already being adopted across various industries. Here are some practical applications:

Creative Tools
Companies like Adobe are integrating gpt-image-1 into their platforms to help creators experiment with different aesthetic styles. For example, a graphic designer can generate a series of logo concepts in various styles (e.g., minimalist, retro, or futuristic) with a single prompt.
E-Commerce
Online sellers can use the API to create studio-quality visuals for their products. Photoroom, for instance, leverages gpt-image-1 to generate lifestyle scenes and on-model shots from a single product photo.
Design and Prototyping
Figma uses the API to enable designers to generate and edit images directly within their workflows. This speeds up the ideation process, allowing designers to iterate visually without leaving the platform.
These use cases highlight the transformative potential of the gpt-image-1 API. Finally, let’s wrap up with some troubleshooting tips.
Troubleshooting Common Issues
While working with the gpt-image-1 API, you might encounter some challenges. Here’s how to address them:
- 401 Unauthorized Error: Double-check your API key and ensure it’s included in the
Authorizationheader. - 429 Too Many Requests: You’ve hit the rate limit. Wait a few seconds and retry, or optimize your request frequency.
- 400 Bad Request: Verify your payload format. Ensure the prompt, model, and other parameters are correctly specified.
- Image Quality Issues: If the generated image doesn’t meet your expectations, refine your prompt to be more specific.
Testing with Apidog can help you identify and resolve these issues quickly by providing detailed error logs and response data.
Conclusion
The gpt-image-1 API from OpenAI opens up a world of possibilities for developers looking to integrate advanced image generation into their applications. By following the steps outlined in this guide—setting up your environment, authenticating with the API, generating and editing images, and testing with Apidog—you can harness the full power of gpt-image-1. Whether you’re building a creative tool, an e-commerce platform, or a design solution, this API offers the flexibility and precision you need to succeed.
Start exploring the gpt-image-1 API today, and don’t forget to use Apidog to streamline your testing process. Happy coding!


