
If you're dipping your toes into web development, APIs, or server communications, HTTP status codes become part of your daily life. One HTTP response status code you'll often encounter is 201 Created. While it might sound straightforward, understanding its meaning, proper usage, and implications can make a real difference in building clean, reliable APIs and web applications.
In this blog post, we'll explore what the 201 Created status code is, why it's important, how to use it correctly, and best practices for API design around it. If you're building or testing APIs, you'll need a powerful API platform to validate responses like 201 Created. That's where Apidog comes in. With Apidog, a free-to-start API testing platform, you can design, mock, test, debug and document APIs in real time, and it can help you validate and automate your API workflows involving 201 Created for better confidence and faster releases. And the best part? You can download Apidog for free and start experimenting with status codes today.
Now, let's explore the purpose, mechanics, and best practices of the HTTP 201 Created status code.
Beyond "It Worked": The Semantics of HTTP Status Codes
HTTP status codes are grouped into classes. The most famous is the 2xx class, which indicates success. But even within success, there are different flavors:
200 OK: The general-purpose "success" code. It can be used for successfulGET,PUT, or evenPOSTrequests. It means "your request was successful," but it doesn't specify what kind of success.201 Created: Specifically indicates that the request was successful and a new resource was created as a result. This is almost exclusively used in response toPOSTrequests (and sometimesPUTrequests).202 Accepted: The request was accepted for processing, but the processing hasn't been completed yet. This is used for asynchronous operations.204 No Content: The request was successful, but there is no content to send back in the response body. Perfect forDELETEoperations.
The beauty of 201 Created is its specificity. It removes all ambiguity. A client application receiving a 201 can be 100% confident that a new resource now exists on the server.
What is HTTP Status Code 201 Created?
The HTTP 201 Created status code is part of the 2xx Success family, signaling that:
"The request has been successfully fulfilled and has resulted in the creation of a new resource."
It indicates that:
- The request was successful.
- A new resource has been created as a result.
- The server returns information about the newly created resource, often in the response body or headers.
Put simply, a client sends a request (usually POST or sometimes PUT) to the server to create something like a new user, post, order, or file, and the server confirms the creation was successful with this 201 response.
When Is 201 typically Returned?
The most common scenario is a POST request that creates something new on the server:
- Registering a new user account.
- Adding a product to an e-commerce catalog.
- Uploading documents or media files.
- Creating a new blog post or comment.
In these cases, the server sends back a 201 Created status along with details of the new resource, often including its unique identifier or URL.
Why Is Using 201 Created Important for APIs?
Using the 201 status code properly benefits API developers and users because:
- It clearly communicates success and resource creation, avoiding ambiguity.
- The Location header helps clients immediately retrieve or link to the new resource.
- It aligns with RESTful best practices and HTTP standards, making APIs predictable.
- It improves client-server interaction clarity, reducing error-prone guesswork.
The Anatomy of a Perfect 201 Created Response
A 201 response isn't just about the status code. It's a package deal. A truly well-crafted 201 response includes three key components:
1. The Status Code
The first and most important part is the status line itself:
HTTP/1.1 201 Created
This immediately sets the expectation for the client.
2. The Location Header (The Most Important Part)
This is the crown jewel of the 201 response. The Location header should contain the URL of the newly created resource.
Location: /users/12345
or even better, a fully qualified URL:
Location: <https://api.example.com/v1/users/12345>
Why is this so crucial? The client just created a thing, but they might not know where that thing lives. The Location header provides the definitive path. The client can now use this URL for all subsequent GET, PUT, or DELETE requests for that resource. It's the "receipt" with the new resource's address.
3. The Response Body
While not strictly mandatory, it is a very strong convention and best practice to include a representation of the newly created resource in the response body.
Why send the resource back if the client just sent the data to create it? Several reasons:
- The server adds data: The server almost always adds information the client didn't provide: a unique
id,createdAtandupdatedAttimestamps, computed fields, etc. - Confirmation: It serves as a confirmation that the resource was saved exactly as the server intends to represent it.
- Efficiency: It saves the client from an immediate follow-up
GETrequest to theLocationURL to fetch the complete data.
A typical response body will be a JSON representation of the new resource:
{
  "id": 12345,
  "username": "johndoe",
  "email": "john.doe@example.com",
  "created_at": "2025-9-9T10:00:00Z",
  "updated_at": "2025-9-9T10:00:00Z"
}
Benefits of Using 201 the Right Way
- Clarity: Clients know exactly what happened.
- Predictability: Consistent API design leads to better developer experience.
- REST compliance: Aligns with best practices for API standards.
- Improved client efficiency: Clients can immediately use the resource without extra calls.
Example Scenarios for 201 Created
Let's walk through a few practical examples.
Example 1: Creating a New User
Client request:
POST /users HTTP/1.1
Host: api.example.com
Content-Type: application/json

{
  "name": "Alice",
  "email": "alice@example.com"
}
Server response:
HTTP/1.1 201 Created
Location: /users/101
Content-Type: application/json

{
  "id": 101,
  "name": "Alice",
  "email": "alice@example.com"
}
Here, the server explicitly says: "I created user 101. You can find it at /users/101."
Example 2: Uploading a File
When you upload an image:
POST /images
The server responds with:
HTTP/1.1 201 Created
Location: /images/42
This means your file now exists as a new resource.
Example 3: Creating a Blog Post
POST /posts
Server:
HTTP/1.1 201 Created
Location: /posts/567
Real-World Use Cases
- User registration systems: Creating new accounts.
- E-commerce platforms: Adding new products.
- Content management systems: Publishing new articles.
- Cloud storage APIs: Uploading files.
201 Created vs 200 OK vs 204 No Content: What's the Difference?
Understanding how 201 differs from other success codes is essential:
| Status Code | Meaning | When to Use |
|---|---|---|
| 201 Created | New resource successfully created | For POST or PUT requests creating new data |
| 200 OK | Request succeeded with response data | For general successful GET, POST, etc. |
| 204 No Content | Request succeeded with no response body | For successful requests where no data is returned |
201 implies new resource creation, while 200 is generic success and 204 means success but intentionally no response content. When in doubt, if you can point to a new URL afterward, use 201.
When to Use 201 Created: The Perfect Fit
You should use the 201 Created status code in one primary scenario:
In response to a POST request that successfully results in the creation of a new resource.
Let's look at some classic examples:
- User Registration:
POST /users-> Creates a new user. Response:201 Created. - Adding an Item to a Database:
POST /articles-> Creates a new blog post. Response:201 Created. - Uploading a File:
POST /uploads-> Creates a new file resource on the server. Response:201 Created. - Placing an Order:
POST /orders-> Creates a new sales order. Response:201 Created.
In each case, the client's action has a direct and clear result: a new, accessible resource now exists at a unique URL.
How to Implement 201 Created in Different Languages
Node.js (Express)
app.post('/users', (req, res) => {
  const newUser = { id: 101, ...req.body };
  res.status(201).location(`/users/${newUser.id}`).json(newUser);
});
Python (Flask)
from flask import Flask, jsonify, request, make_response

app = Flask(__name__)

@app.route('/users', methods=['POST'])
def create_user():
    data = request.get_json()
    new_user = {"id": 101, **data}
    response = make_response(jsonify(new_user), 201)
    response.headers['Location'] = f"/users/{new_user['id']}"
    return response
Java (Spring Boot)
@PostMapping("/users")
public ResponseEntity<User> createUser(@RequestBody User user) {
    user.setId(101L);
    return ResponseEntity
        .created(URI.create("/users/" + user.getId()))
        .body(user);
}
How To Handle 201 Created in Your Applications
- Check for 201 status before processing new resource data.
- Use the returned Location URL to fetch the latest resource state.
- Implement idempotency where repeated POST calls don’t create duplicate resources.
- Log and monitor 201 responses to understand your API’s creation volume.
Common Mistakes and Bad Practices
Even experienced developers can get this wrong. Here's what to avoid:
- Returning 200 OK for Creation: This is the most common mistake. It's not wrong, but it's less precise and fails to leverage the full semantics of HTTP.
- Returning 201 Without a Location Header: This is a cardinal sin of API design. A
201without aLocationheader is like a delivery driver telling you "your package was delivered!" but refusing to tell you where they put it. - Returning 201 for a GET Request:
GETrequests should never create resources. They are for retrieval only. AGETshould return200 OK(if found) or404 Not Found. - Returning an Empty Body: While technically allowed, it's a poor user experience for the API consumer. It forces them to make an immediate additional request.
How to Test 201 Responses with Apidog
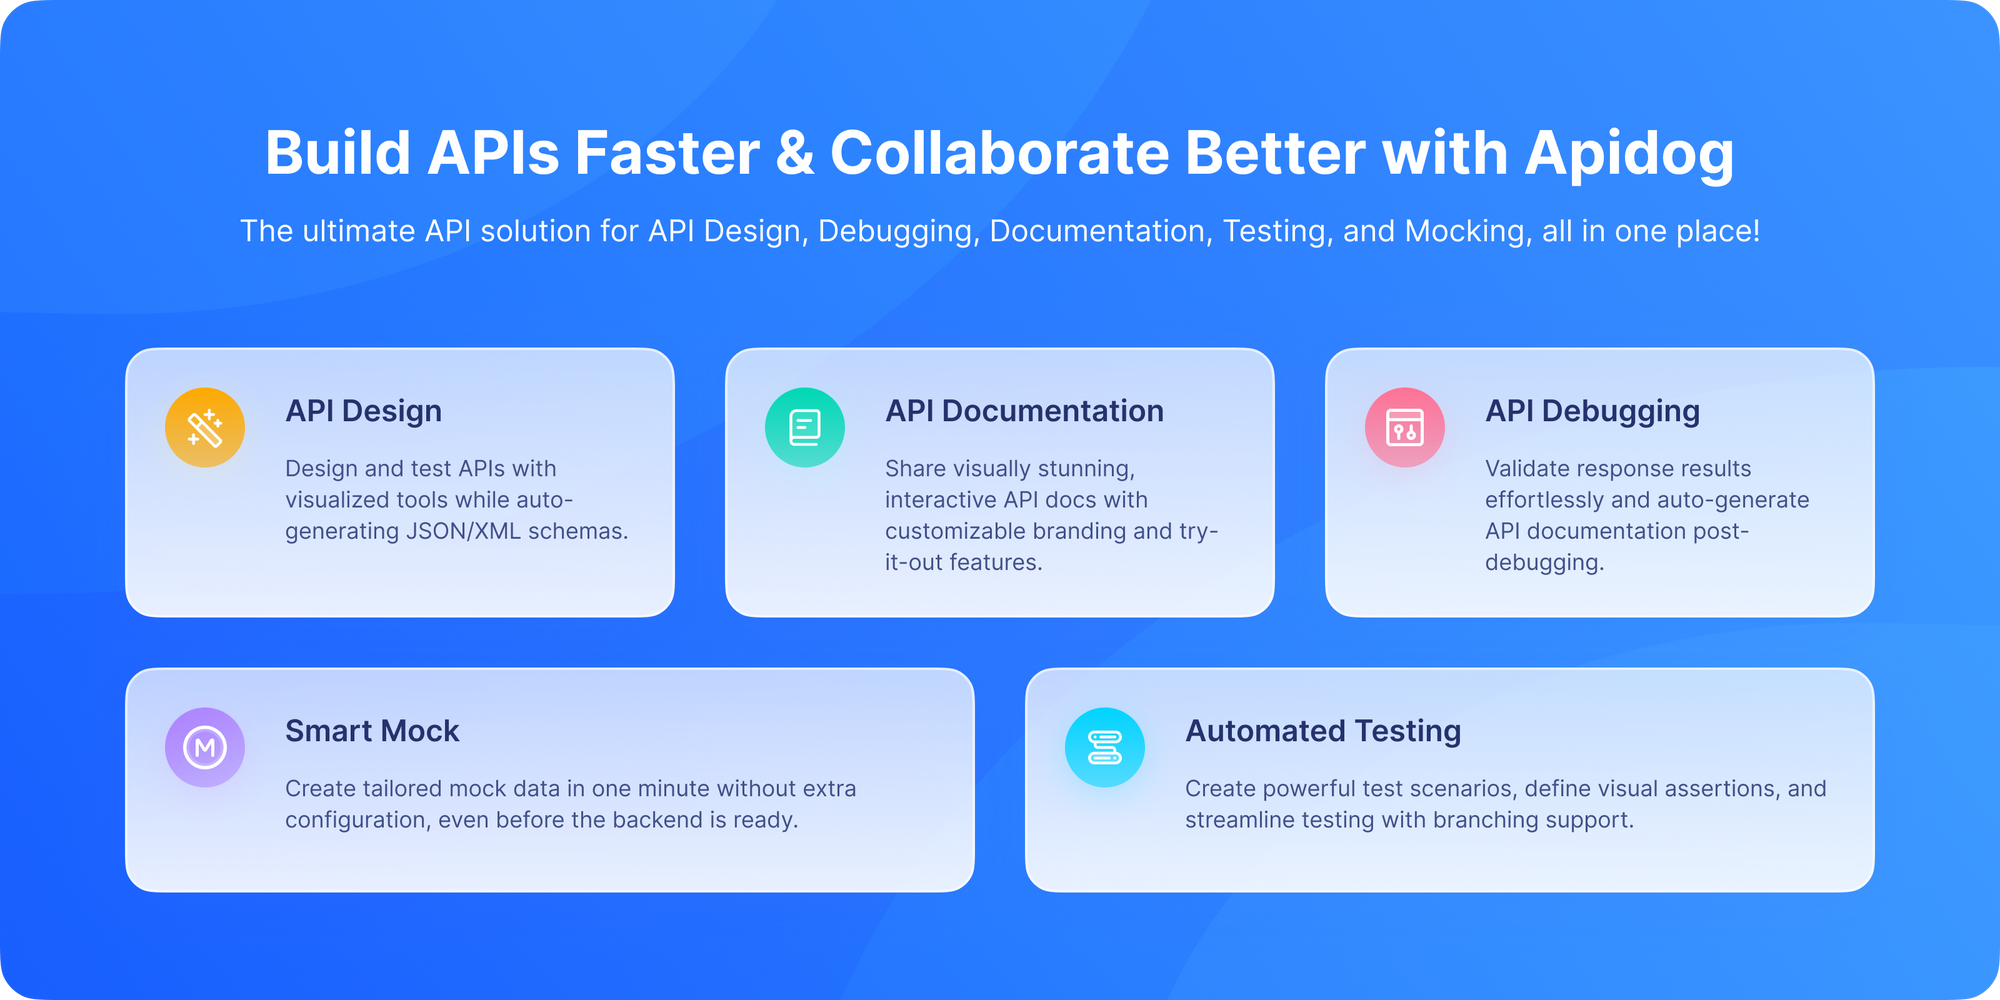
This is where moving from theory to practice becomes essential. You want to ensure your API endpoints are returning the correct 201 response every time. Apidog is the perfect tool for this job.
With Apidog, you can:
- Craft the Request: Easily set up a
POSTrequest to your creation endpoint with the correct JSON body. - Send and Validate: With one click, send the request and immediately see the full response.
- Inspect the Details: Apidog will clearly show you the status code (
201), and all headers (you can verify theLocationheader is present and correct). - Validate the Body: You can easily check that the response body contains the expected representation of the new resource, complete with server-generated fields like the
id. - Automate Testing: You can create test suites in Apidog that automatically assert that a
POSTto/usersreturns a201status and aLocationheader, ensuring your API never regresses.
This level of testing is crucial for building professional, reliable APIs that developers love to use. This accelerates development and fosters API confidence from the start. Instead of guessing, you can see the exact behavior of your API in real time.
Comparison with Other 2xx Success Codes
- 200 OK: Success (general).
- 201 Created: New resource created.
- 202 Accepted: Request accepted, but processing is ongoing.
- 204 No Content: Success but no body returned.
Each has a distinct role; using them correctly improves API reliability.
Advanced Scenarios: Asynchronous Creation and 202 Accepted
What if creating the resource doesn't happen instantly? For example, if your POST /users request needs to trigger a welcome email, a billing process, and a data sync that takes a few seconds, a 201 response might be misleading because the resource isn't fully created yet.
In this case, the more appropriate status code might be 202 Accepted.
202 Acceptedmeans "I've received your request and accepted it for processing. It may or may not eventually lead to a creation."- The response would typically include a URL where the client can check the status of the request later (e.g.,
Location: /queue/job-123).
Use 201 for synchronous, immediate creation. Use 202 for asynchronous, deferred processing.
Best Practices for Returning 201 Created
- Always include a Location header pointing to the new resource.
- If possible, return a representation of the resource in the body.
- Be explicit, avoid ambiguity between 200 and 201.
- Use it consistently across your API endpoints.
SEO and UX Benefits of Correct Status Codes
You might not think of status codes as related to SEO or user experience, but they are.
- Search engines use status codes to understand site behavior.
- Correct use of
201 Createdensures accurate crawling of dynamic content. - Users benefit indirectly from faster, predictable APIs.
Conclusion: The Hallmark of a Well-Designed API
The HTTP 201 Created status code is more than just a number; it's a commitment to clarity and good design. It demonstrates that you, as an API designer, care about the developer experience and are leveraging the full power of the HTTP protocol.
It's more than just a success message. It's the server saying: "I built what you asked for, and here's where to find it."
By using 201 properly, you'll design APIs that are clearer, more reliable, and easier to use.
By consistently providing a 201 response with a Location header and a representation of the new resource, you make your API predictable, self-descriptive, and easy to integrate with. It's a small detail that separates amateurish APIs from professional, production-ready ones.
So the next time you're building a POST endpoint, don't just settle for 200 OK. Be specific. Be helpful. Return a 201 Created and give your clients the clear "receipt" they deserve. And if you want to practice testing this in the real world, look no further than Apidog. With Apidog, you can create requests, validate responses, and confirm that your API returns the correct 201 Created responses, to ensure you're getting it right every single time, building trust and reliability into every API interaction.
Don't just read about it, download Apidog for free today and start testing!


