Developers and tech enthusiasts increasingly seek ways to maintain control over their tools, especially when it comes to AI assistants. Clawdbot stands out as an open-source personal AI assistant that you host on your own hardware, ensuring data privacy and customization. This bot integrates seamlessly with messaging apps like Telegram, WhatsApp, and Discord, allowing it to handle tasks, automate workflows, and even build custom tools on the fly. Whether you run it on a Mac Mini for local convenience or a VPS for always-on availability, self-hosting Clawdbot empowers you to create a secure, private AI ecosystem.
As you move through this guide, small adjustments in configuration often lead to significant improvements in performance and security. First, understand what Clawdbot offers and why self-hosting matters.
What Is Clawdbot(Moltbot) and Why Should You Self-Host It?
Clawdbot represents a breakthrough in personal AI technology. This open-source assistant, available via npm and GitHub, runs locally on your devices. It connects to popular messaging platforms, processes voice commands, and maintains a persistent memory of your interactions. Unlike cloud-based AIs that send data to remote servers, Clawdbot keeps everything on your hardware, reducing privacy risks.
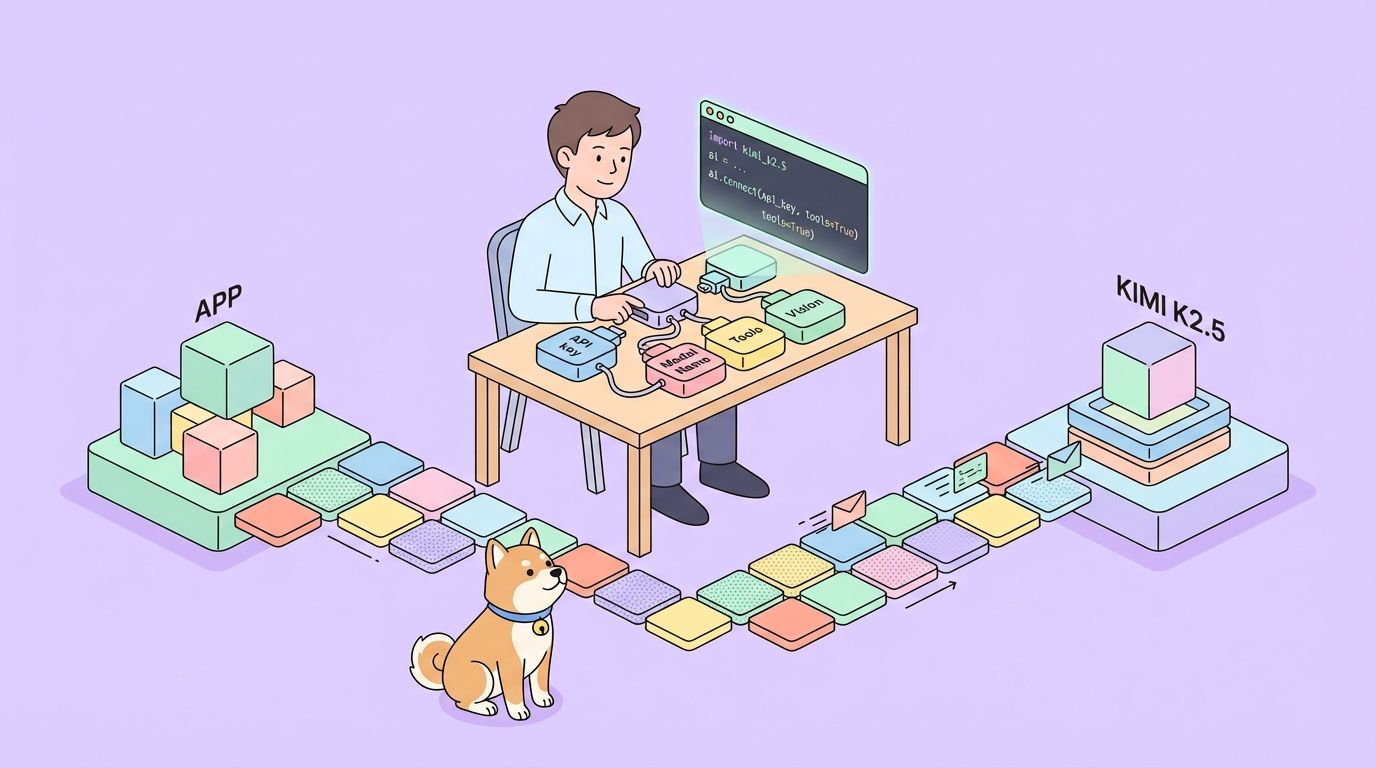
The tool draws from advanced language models like those from Anthropic or OpenAI, but you configure it to use local LLMs through frameworks like Ollama. This flexibility allows Clawdbot to perform tasks such as scheduling reminders, automating scripts, or even controlling browsers. Recent updates, including a potential rebrand to Moltbot for compatibility, ensure it stays current with evolving AI standards.
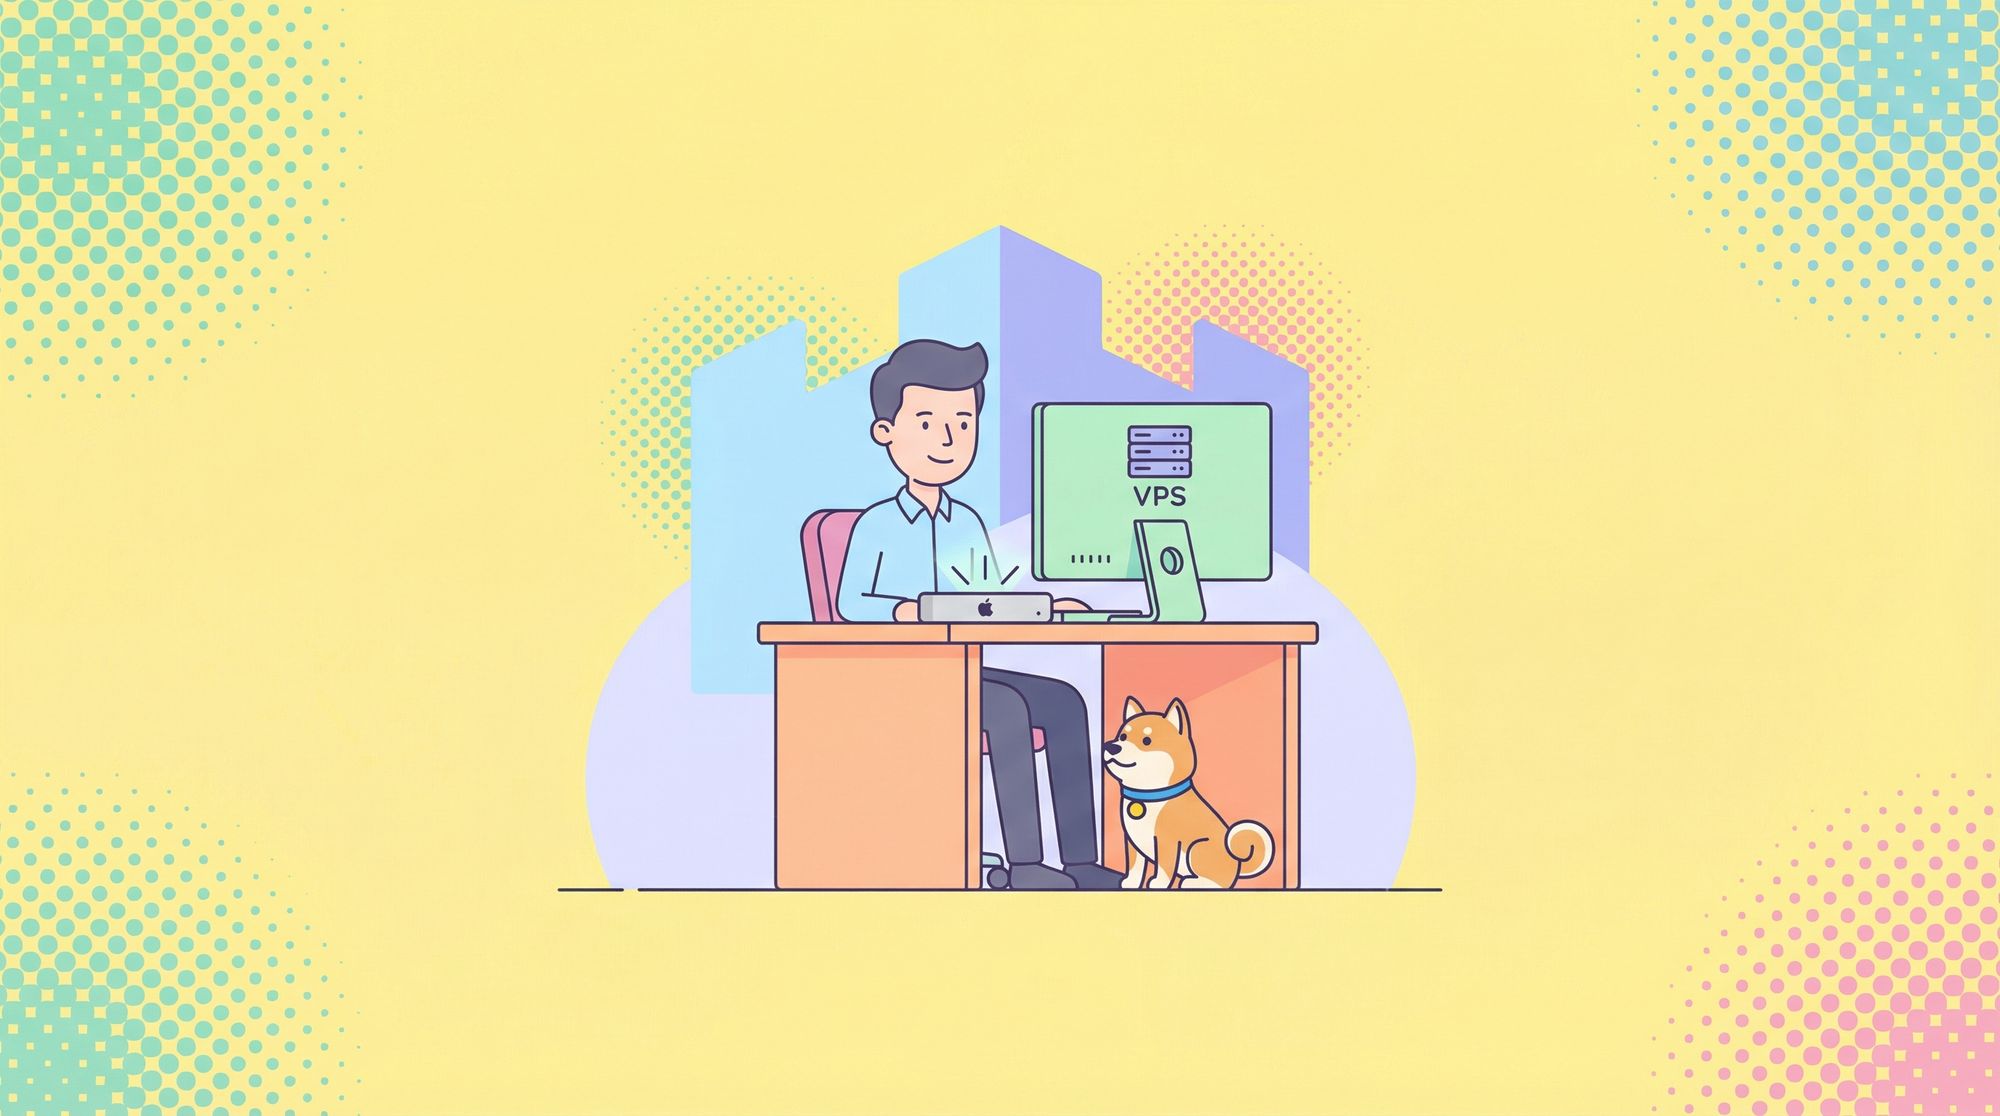
Self-hosting Clawdbot on a Mac Mini provides seamless integration with macOS features like voice recognition and notifications. On a VPS, it offers 24/7 access from anywhere. However, this setup demands attention to security, as exposed servers can attract threats. Consequently, you gain full ownership, avoiding subscription fees and data leaks common in proprietary services.
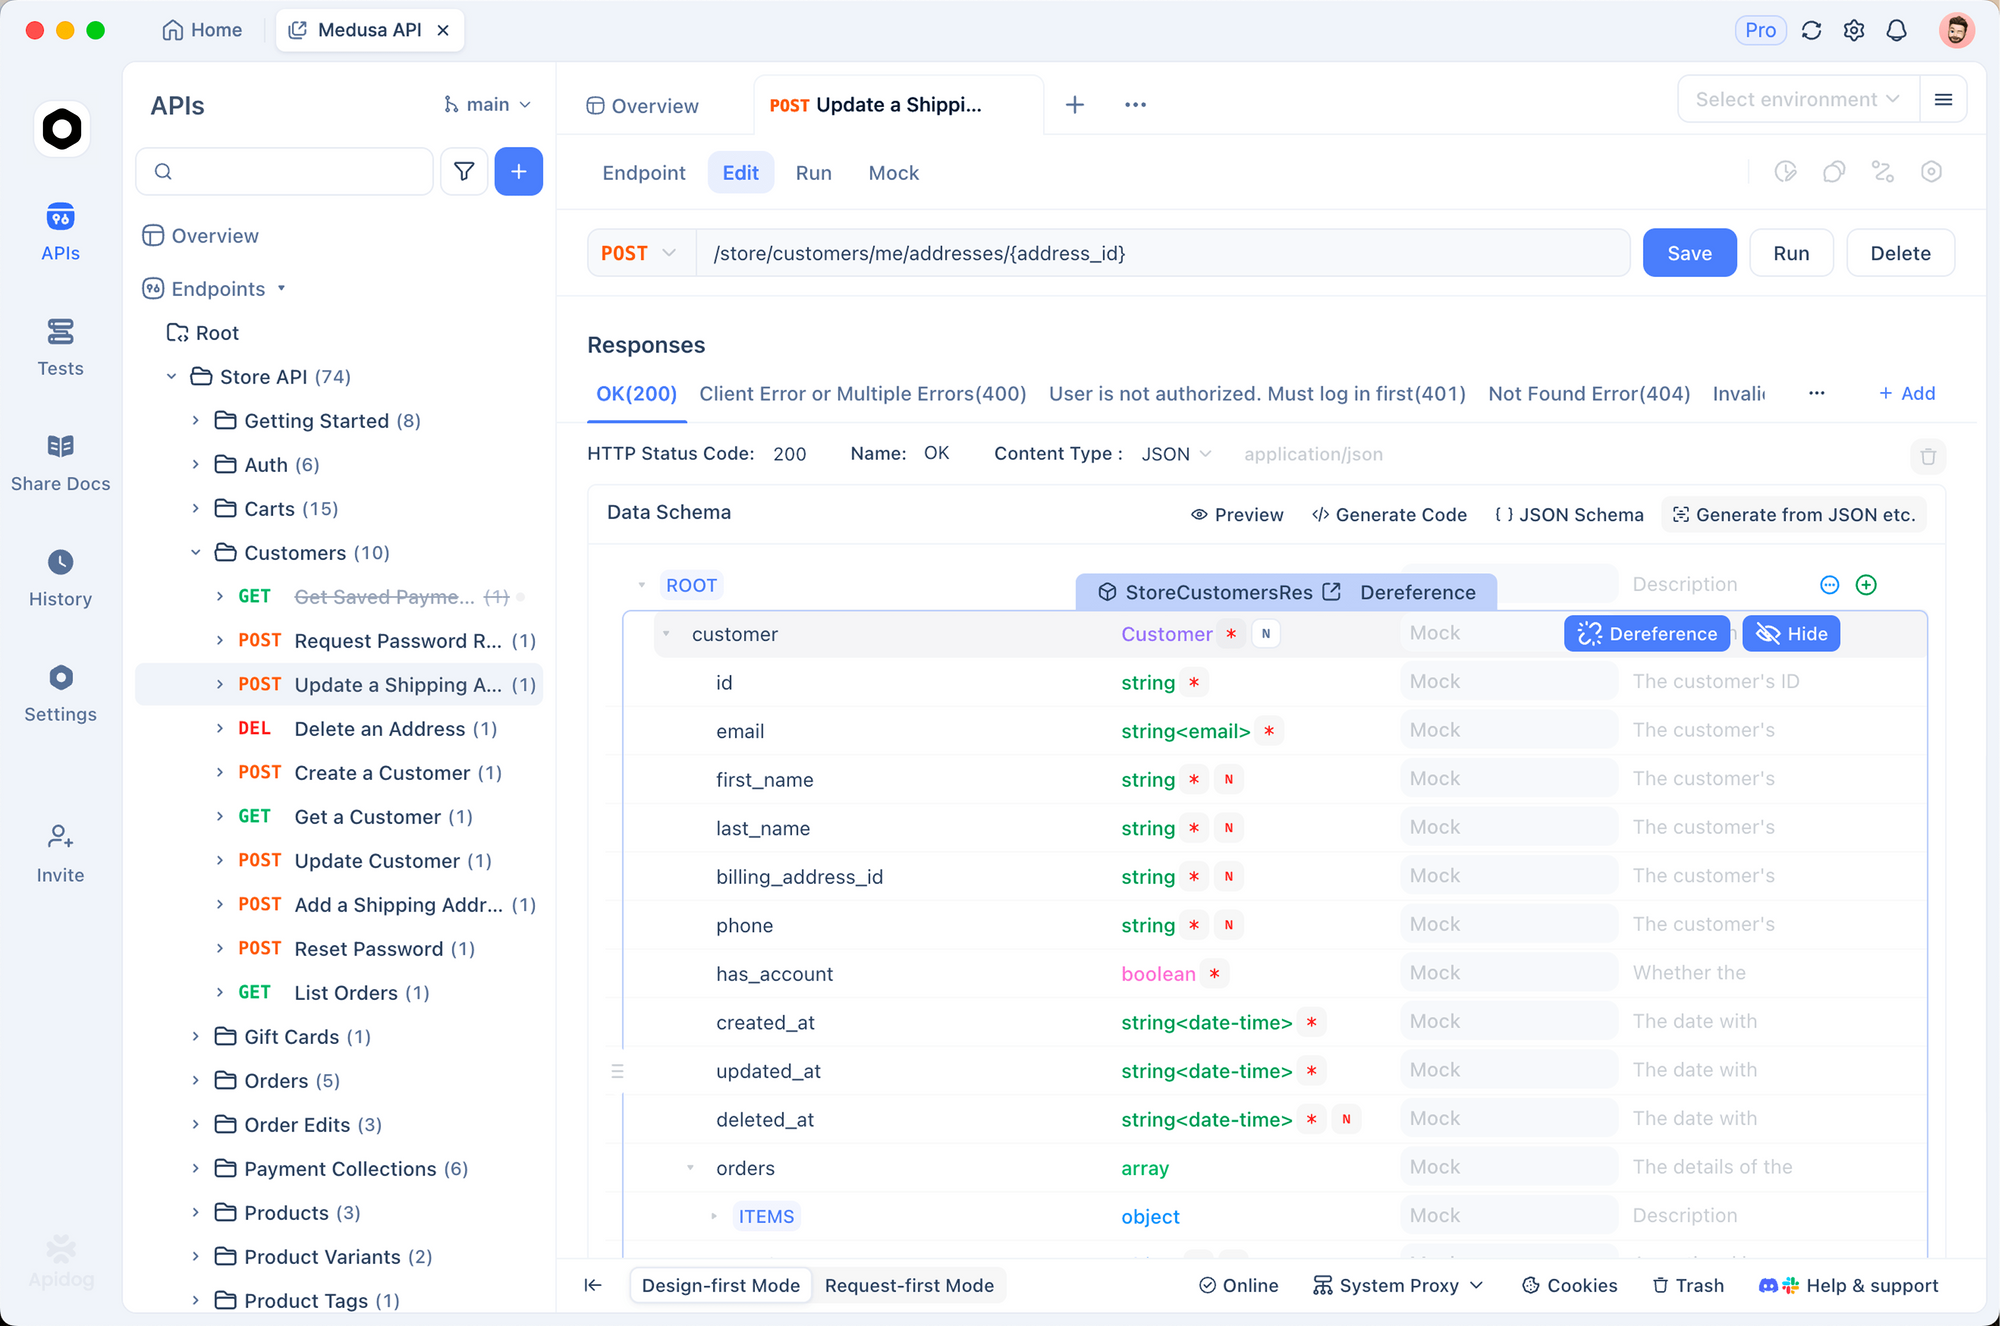
Incorporating tools like Apidog enhances Clawdbot's capabilities. Apidog allows you to test APIs that Clawdbot might use for integrations, ensuring smooth operations. For instance, if Clawdbot automates data pulls from external services, Apidog helps validate those endpoints beforehand.
Self-hosting Clawdbot combines privacy, power, and personalization. Next, gather the prerequisites to start the installation.

Prerequisites for Self-Hosting Clawdbot
Before installing Clawdbot, prepare your environment. This step ensures a smooth process and prevents common pitfalls.
Start with hardware requirements. For a Mac Mini, use any model from 2018 onward with at least 8GB RAM and macOS Ventura or later. This setup supports local processing without strain. For a VPS, choose a provider like DigitalOcean or Linode with Ubuntu 22.04 LTS, 2GB RAM, and 1 vCPU. Higher specs handle complex tasks better.
Install essential software. Node.js version 22 or higher powers Clawdbot, so download it from the official site. Use npm or pnpm as the package manager—pnpm offers faster installations. On Ubuntu VPS, run sudo apt update && sudo apt install nodejs npm to get started. For Mac Mini, use Homebrew: brew install node.
Additionally, set up Git for cloning repositories if you opt for source installation. Install Docker if you prefer containerized deployment, which isolates Clawdbot for added security.
Acquire API keys if needed. Clawdbot supports models from providers like Anthropic; sign up for an account and generate keys. For messaging integrations, obtain bot tokens from Telegram or Discord developers' portals.
Finally, ensure network access. On VPS, configure SSH keys for secure login. On Mac Mini, enable the firewall. With these in place, proceed to the specific setup for your platform.
How to Set Up Clawdbot on a Ubuntu VPS
Setting up Clawdbot on a VPS begins with securing the server, as vulnerabilities can compromise your AI assistant. Follow these steps meticulously.
First, provision your VPS. Log in via SSH and update the system: sudo apt update && sudo apt upgrade -y. This patches known issues.
Next, harden SSH access. Edit /etc/ssh/sshd_config with sudo nano /etc/ssh/sshd_config. Set PasswordAuthentication no and PermitRootLogin no. Reload SSH: sudo systemctl reload sshd. This forces key-based authentication, reducing brute-force risks.
Then, configure a firewall. Install UFW: sudo apt install ufw -y. Set defaults: sudo ufw default deny incoming and sudo ufw default allow outgoing. Allow SSH: sudo ufw allow OpenSSH before enabling: sudo ufw enable.
Install Fail2Ban for added protection: sudo apt install fail2ban -y and sudo systemctl enable --now fail2ban. It bans IPs after failed logins.
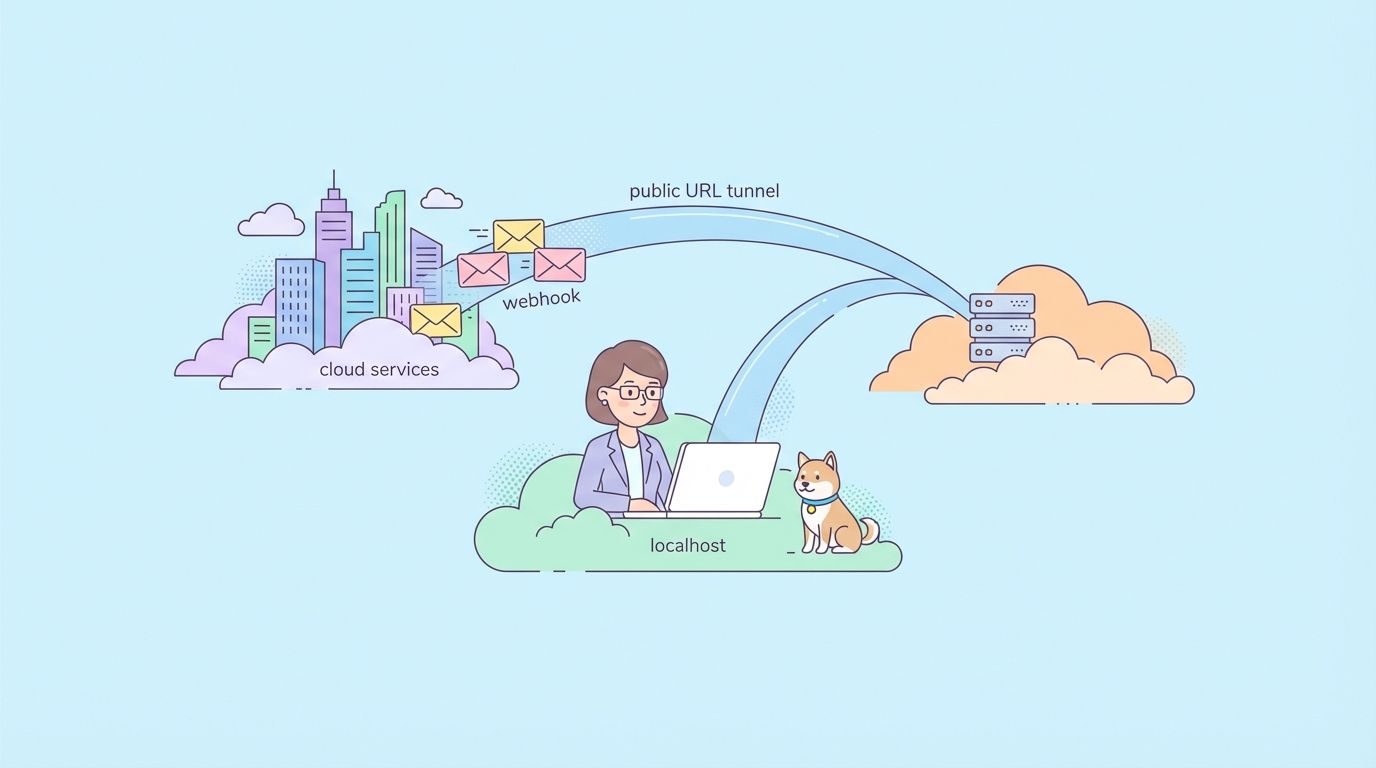
To access Clawdbot remotely without exposing ports, install Tailscale: curl -fsSL https://tailscale.com/install.sh | sh and sudo tailscale up. Restrict SSH to Tailscale IPs: sudo ufw allow from 100.64.0.0/10 to any port 22 proto tcp and remove public SSH allowance.
Disable IPv6 if unused: Edit /etc/sysctl.conf to add net.ipv6.conf.all.disable_ipv6 = 1, then sudo sysctl -p.
Now, install Clawdbot. Use npm: npm install -g clawdbot. Run the doctor: clawdbot doctor to check setup.
Configure policies. Edit ~/.clawdbot/config.json to set "dmPolicy": "allowlist" and add your user ID.
Secure credentials: chmod 700 ~/.clawdbot and chmod 600 .env.
Run a security audit: clawdbot security audit --deep.
Verify: sudo ufw status, ss -tulnp, tailscale status, clawdbot doctor.
For daemon mode, use systemd. Create a service file at /etc/systemd/system/clawdbot.service:
[Unit]
Description=Clawdbot Gateway
After=network.target

[Service]
User=youruser
ExecStart=/usr/local/bin/clawdbot gateway
Restart=always

[Install]
WantedBy=multi-user.target
Enable it: sudo systemctl enable clawdbot.
Integrate channels. For Telegram, set TELEGRAM_BOT_TOKEN in .env and restart.
Test by sending a message: clawdbot message send --to yourid --message "Test".
This VPS setup provides robust, always-on Clawdbot access. However, monitor logs regularly for anomalies.
Security Best Practices for Clawdbot on VPS
Security forms the backbone of any self-hosted solution. Attackers target exposed AI bots, so implement layers of defense.
Begin with user management. Create a non-root user: adduser clawduser and add to sudo: usermod -aG sudo clawduser. Test SSH keys before disabling root.
Enable automatic updates: sudo apt install unattended-upgrades -y and configure /etc/apt/apt.conf.d/50unattended-upgrades.
Use AppArmor or SELinux for confinement, but start with Docker for Clawdbot isolation.
Monitor with tools like Logwatch: sudo apt install logwatch -y.
For Clawdbot-specific security, use the built-in audit tool frequently. Set strict allowlists for DMs and groups.
If integrating APIs, test them with Apidog. Apidog's mocking features simulate responses, preventing real-world errors during setup.
Regular backups: Use rsync to copy ~/.clawdbot to a secure location.
By applying these practices, you minimize risks while maximizing Clawdbot's utility.
How to Install Clawdbot on Mac Mini
Mac Mini offers a user-friendly environment for Clawdbot, leveraging macOS's stability.
First, install Node.js via Homebrew: brew install node.
Then, install Clawdbot: npm install -g clawdbot.
Run onboarding: clawdbot onboard --install-daemon. This sets up launchd for background running.
Configure the firewall. Go to System Settings > Network > Firewall, enable it, and allow Node.js.
For voice features, grant microphone access in Privacy settings.
Set up channels. For iMessage, follow Clawdbot's macOS-specific docs.
Run the gateway: clawdbot gateway --port 18789.
Test: clawdbot agent --message "Hello".
Use Tailscale for remote access if needed, similar to VPS.
This setup integrates Clawdbot into your daily macOS workflow effortlessly.
Differences Between Hosting on Mac Mini vs. VPS
Choosing between Mac Mini and VPS depends on needs. Mac Mini excels in local speed and integration but requires the device to stay on. VPS provides uptime but demands remote management.
Performance-wise, Mac Mini's Apple Silicon handles AI tasks efficiently. VPS scales with cloud resources.
Cost: Mac Mini is a one-time purchase; VPS incurs monthly fees.
Security: VPS faces more external threats, while Mac Mini benefits from built-in protections.
Ultimately, hybrid setups—Mac Mini for development, VPS for production—offer the best of both.
Integrating Apidog with Clawdbot for API Enhancements
Clawdbot's power amplifies with API integrations. Apidog, a free API tool, aids this.
Download Apidog and create a project. Define endpoints that Clawdbot might call, like weather APIs.
Test with Apidog's requests, then add to Clawdbot's skills.
For example, configure a skill in Clawdbot to fetch data via API, validated in Apidog.
This integration ensures reliable automations.
Advanced Configurations and Customizations
Customize Clawdbot further. Edit config.json for models: Set `"model": "ollama/llama3" for local runs.
Add skills: Clone the repo, build custom tools.
Use cron jobs: Schedule tasks in config.
For voice, enable wake words.
These tweaks tailor Clawdbot to your workflow.
Troubleshooting Common Issues
Encounter problems? Check logs: clawdbot logs.
If installation fails, verify Node version.
Connection issues: Ensure ports open in firewall.
API errors: Use Apidog to debug.
Update regularly: clawdbot update.
These steps resolve most issues quickly.
Performance Optimization Tips
Optimize by allocating more RAM in config.
Use efficient models.
Monitor with clawdbot doctor.
On VPS, use PM2 for process management.
These ensure smooth operation.
Real-World Use Cases for Clawdbot
Apply Clawdbot to productivity: Automate emails, track finances.
In development, it generates code snippets.
For personal use, set reminders.
With Apidog, build robust integrations.
Conclusion
Self-hosting Clawdbot on Mac Mini or VPS unlocks a private AI powerhouse. From setup to integrations with Apidog, this guide equips you. Implement it today for enhanced control.