
Are you an API or backend engineer looking to automate repetitive coding tasks in Visual Studio Code—without paying for premium AI tools? This guide walks you through setting up a powerful, cost-free coding automation stack using Roocode, Boomerang AI Agent, and Google Gemini 2.5 Pro API. You’ll learn how to streamline project delivery, accelerate prototyping, and integrate seamlessly with your API workflows—all inside VS Code.
Pro Tip: For complete API lifecycle management, Apidog offers robust design, testing, and documentation tools that fit perfectly alongside this AI-powered workflow. Apidog helps you organize, validate, and collaborate on API projects, ensuring your backend and API development stays efficient and reliable.
Table of Contents
- What Are Roocode, Boomerang, and Gemini 2.5 Pro?
- Why Choose This Automation Stack?
- Step 1: Install and Set Up Your Tools
- Step 2: Connect Roocode to Google Gemini 2.5 Pro
- Step 3: Enable and Configure Boomerang AI Agent
- Step 4: Build a Real Project with AI Automation
- Tips for Effective Automation
- Final Thoughts
What Are Roocode, Boomerang, and Gemini 2.5 Pro?
Modern API and backend development involves repetitive coding, integration, and refactoring tasks. Let’s break down how this VS Code automation stack addresses those pain points:
- Roocode: A Visual Studio Code extension that connects your editor to advanced cloud AI assistants.
- Boomerang AI Agent: A workflow orchestrator that intelligently decomposes complex prompts into actionable subtasks, automating planning and execution.
- Google Gemini 2.5 Pro API: A state-of-the-art language model with a generous free tier—perfect for code generation, refactoring, and smart task handling.
Together, these tools empower API developers, backend engineers, and technical teams to automate code scaffolding, refactoring, and endpoint creation—without recurring fees.
Why Choose This Automation Stack?
Key Benefits for API and Backend Engineers
- Zero Cost for Most Use Cases: Google Gemini 2.5 Pro API’s free tier covers typical daily development and prototyping needs.
- Automated Task Breakdown: Boomerang AI Agent converts high-level prompts (e.g., “build a REST API for tasks”) into detailed, manageable subtasks.
- Native VS Code Workflow: Roocode integrates AI-driven automation directly into your main development environment—no context switching.
- Accelerated API Integration: Pair this stack with Apidog to instantly document, test, and iterate on API endpoints as you generate them.
This approach is ideal for technical leads, QA engineers, and product-minded teams seeking faster iteration and reliable automation.
Step 1: Install and Set Up Your Tools
Make sure you have the following prerequisites:
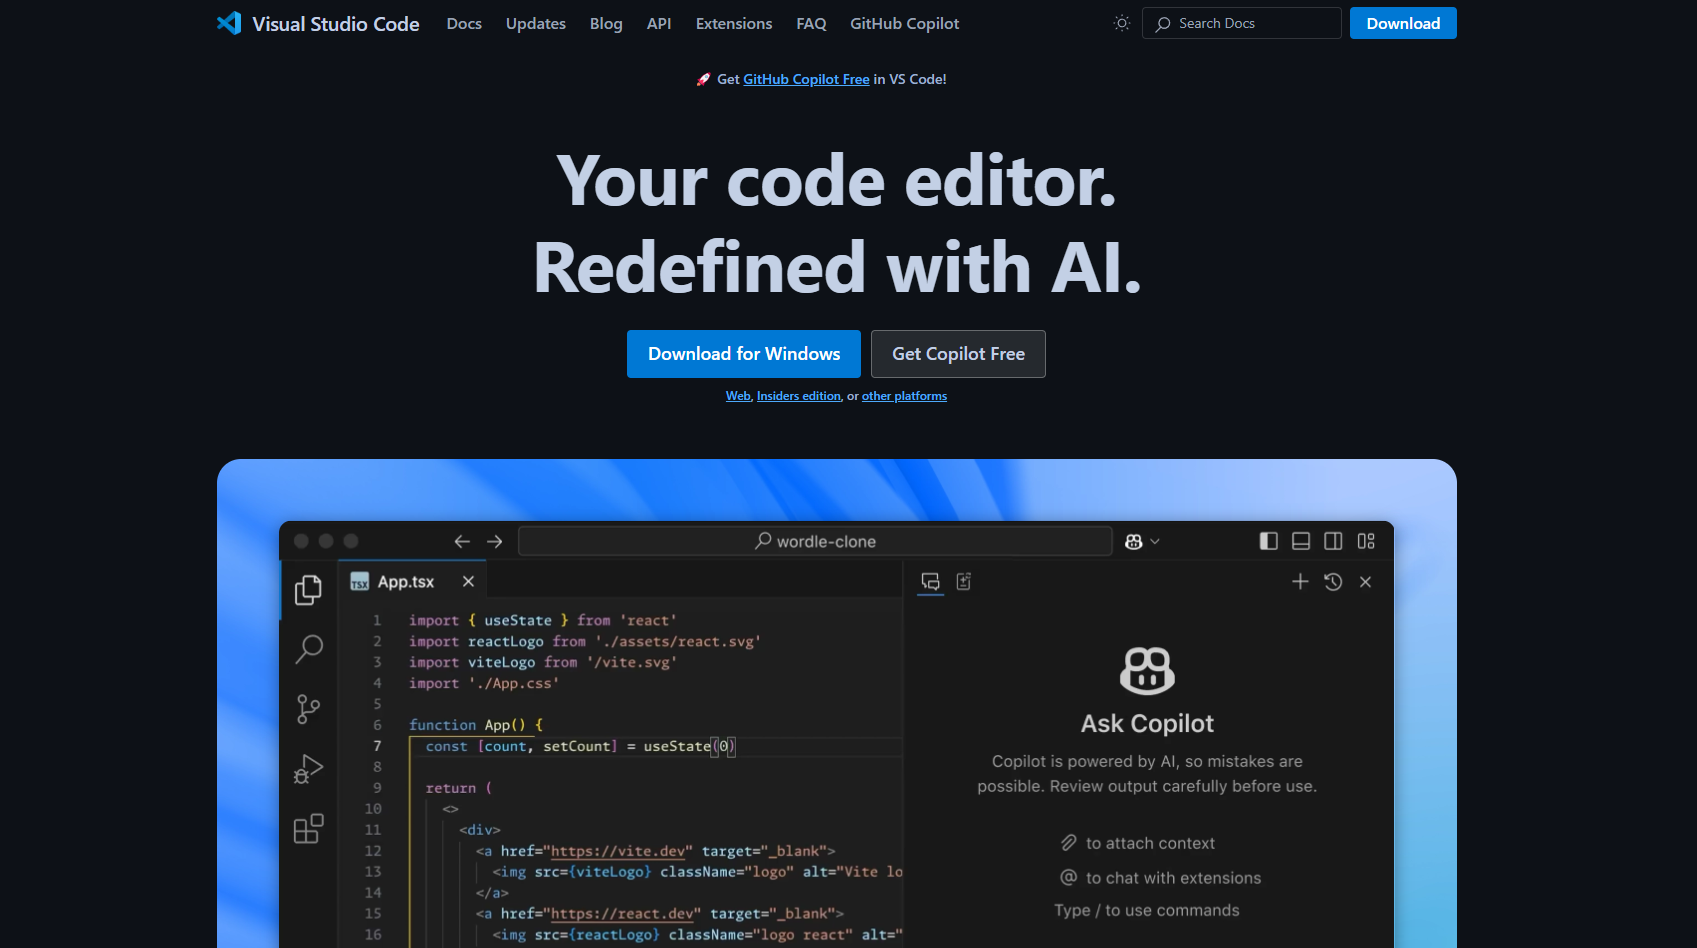
1. Visual Studio Code
- Download and install from code.visualstudio.com.
- VS Code is widely adopted for backend and API development due to its extensibility.
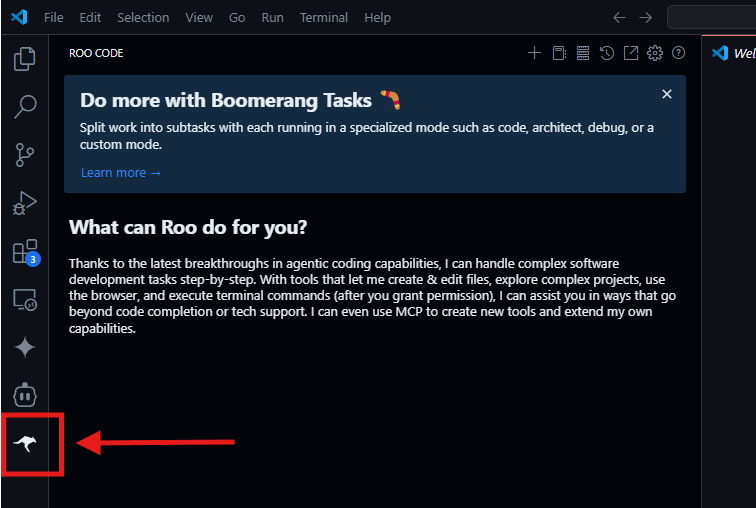
2. Roocode Extension
- Open VS Code.
- Go to the Extensions tab (
Ctrl+Shift+X/Cmd+Shift+X). - Search for “Roocode” and click Install.
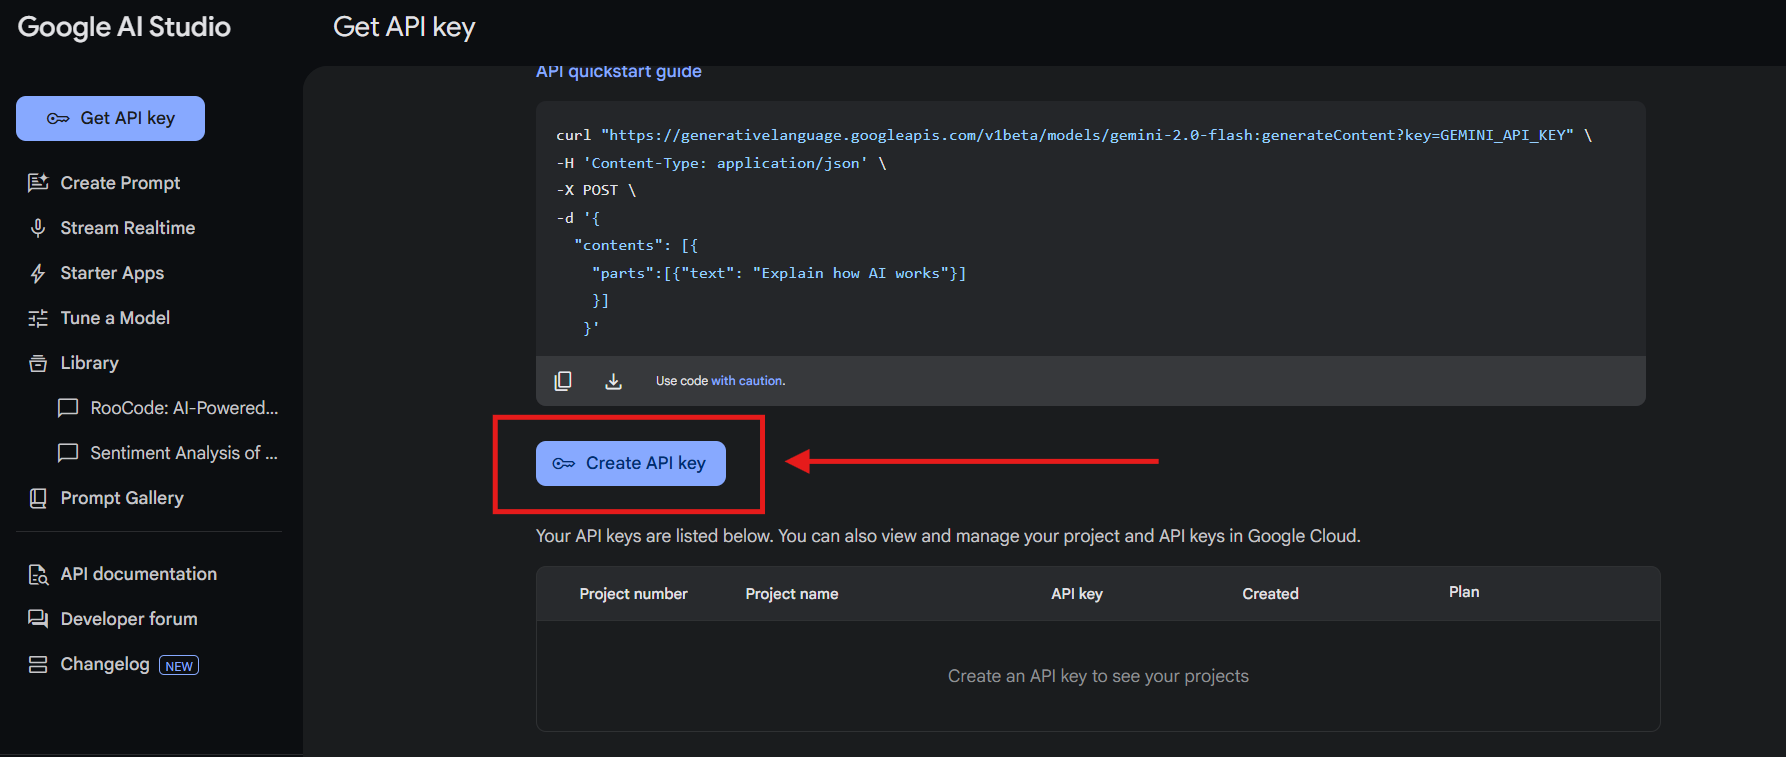
3. Google Gemini 2.5 Pro API Key
- Visit Google AI Studio.
- Sign in, create an API key, and copy it.
- This key unlocks the powerful free tier for Gemini 2.5 Pro.
Step 2: Connect Roocode to Google Gemini 2.5 Pro
Configure Roocode to use the Gemini 2.5 Pro API for code generation:
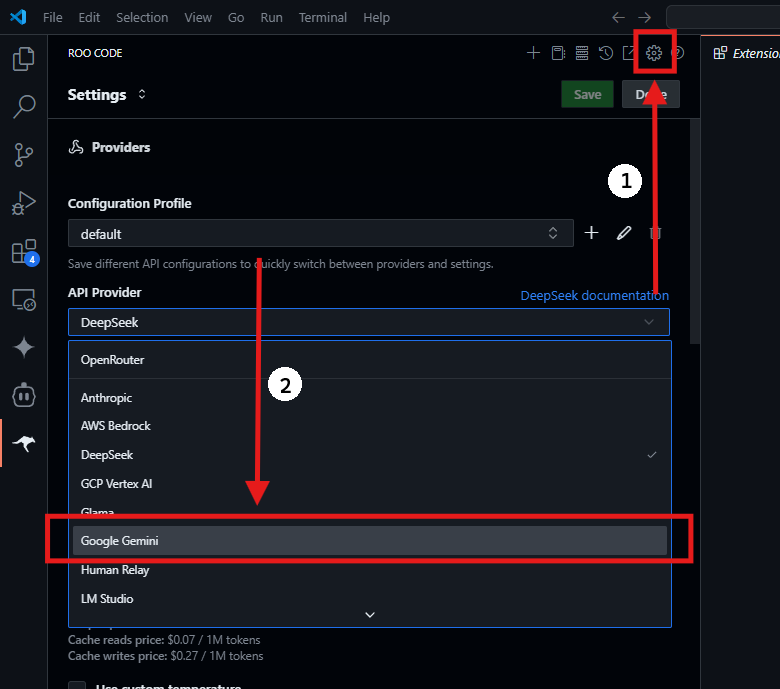
- Open the Roocode settings panel in VS Code (sidebar gear icon).
- Set API Provider to Google Gemini.
- Paste your Gemini API Key into the provided field.
- Select the model: Gemini 2.5 Pro (may appear as
gemini-2.5-pro-exp-03-25:free).
Click Save. Roocode is now powered by Google’s advanced AI for code completion, refactoring, and task handling.
Step 3: Enable and Configure Boomerang AI Agent
Boomerang AI Agent is where true workflow automation begins. It decomposes your coding requests into logical subtasks, allowing for granular automation.
Enable Boomerang Mode
- In the Roocode panel, locate the Modes or Tasks section.
- Switch to Boomerang mode.
- If Boomerang is missing, update Roocode or check their documentation (Boomerang was introduced April 2025).
Configure Boomerang
Option 1: Download Prebuilt Config
- Download the recommended configuration file, rename it to
.roomodes, and place it in your project root.
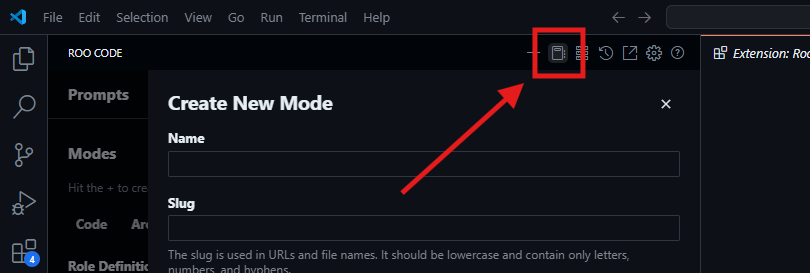
Option 2: Manual Setup
- In Roocode’s Custom Modes, create a new mode with these guidelines:
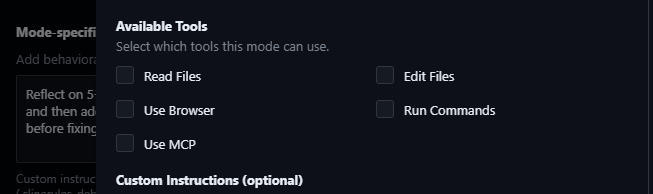
- Available Tools: Leave all unchecked (Boomerang uses
new_taskdelegation). - Role Definition:
You are Roo, a strategic workflow orchestrator who coordinates complex tasks by delegating them to appropriate specialized modes. You have a comprehensive understanding of each mode's capabilities and limitations, allowing you to effectively break down complex problems into discrete tasks that can be solved by different specialists. - Custom Instructions:
(Use the detailed template provided by Roocode for maximum clarity and workflow control.)
- Available Tools: Leave all unchecked (Boomerang uses
Step 4: Build a Real Project with AI Automation
Let’s see the stack in action with a practical example.
Example: Build a To-Do List App Automatically
-
Enter Your Prompt
- In Roocode, type:
Build me a to-do list app with a sleek UI.
- In Roocode, type:
-
Task Decomposition
- Boomerang breaks this down into subtasks:
- Create HTML structure
- Style with CSS
- Add JavaScript interactivity
- Boomerang breaks this down into subtasks:
-
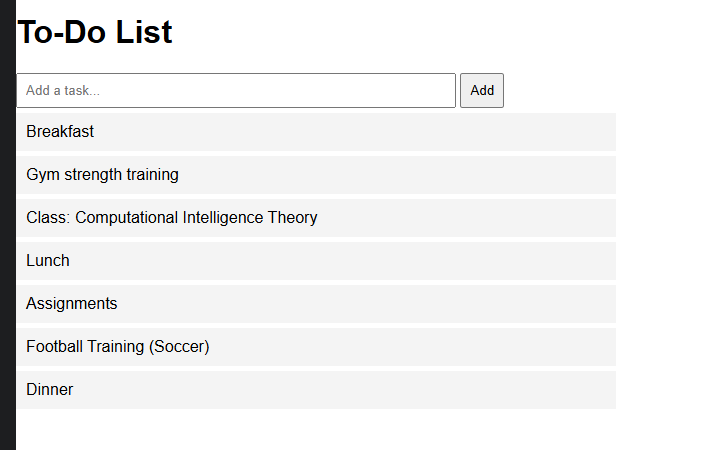
Automated Code Generation
- Each subtask is powered by Gemini 2.5 Pro, with Roocode assembling the results directly in your editor.
Sample Output:
<!DOCTYPE html>
<html lang="en">
<head>
<meta charset="UTF-8">
<meta name="viewport" content="width=device-width, initial-scale=1.0">
<title>To-Do List App</title>
<style>
body { font-family: Arial, sans-serif; max-width: 600px; margin: 20px auto; }
.todo-item { padding: 10px; background: #f4f4f4; margin: 5px 0; }
input { padding: 8px; width: 70%; } button { padding: 8px; }
</style>
</head>
<body>
<h1>To-Do List</h1>
<input type="text" id="taskInput" placeholder="Add a task...">
<button onclick="addTask()">Add</button>
<div id="taskList"></div>
<script>
function addTask() {
  const input = document.getElementById("taskInput");
  const task = input.value.trim();
  if (task) {
    const div = document.createElement("div");
    div.className = "todo-item";
    div.innerText = task;
    document.getElementById("taskList").appendChild(div);
    input.value = "";
  }
}
</script>
</body>
</html>
Want to iterate?
Prompt again with:
Add delete buttons for each task.
The AI will update your code.
Tips for Effective Automation
- Be Specific with Prompts: Clear, detailed requests (e.g., “Add dark mode toggle”) get better results.
- Monitor API Limits: Gemini’s free tier allows about 2 requests/minute. Roocode handles retries automatically—just allow a few seconds if rate-limited.
- Experiment Broadly: Use this setup to scaffold API endpoints, automate refactoring, or quickly prototype backend features.
- Integrate with Apidog: As you generate new API endpoints, use Apidog to document, test, and collaborate—ensuring your APIs are robust and well-managed from the start.
Google also ships a first-party route to Gemini inside VS Code —Gemini Code Assist's free tier provides inline completions and chat without requiring a separate API key or third-party extension.
Final Thoughts
As of April 2025, combining Roocode, Boomerang AI Agent, and Google Gemini 2.5 Pro API offers a free, efficient, and automated coding experience inside VS Code. This stack matches (and can even outperform) paid AI coding assistants—making it a smart choice for API developers, backend engineers, and technical teams focused on productivity and quality.
Ready to accelerate your workflow? Set up the stack, connect your API key, and let automation handle the routine—so you can focus on architecture, testing, and innovation.


