
Hey there, fellow developers! Today, we're going to dive into the exciting world of posting form data using React and Axios. Yep, you heard me right – we're going to learn how to send that juicy form data from your React application to a server using the awesome HTTP client library, Axios.
Axios makes the process a whole lot smoother and more efficient. It handles things like HTTP requests, responses, and even error handling for you, so you can focus on writing killer code instead of getting bogged down in the nitty-gritty details.
Why Axios?
When it comes to handling HTTP requests in the JavaScript world, Axios stands out for its simplicity and ease of use. It’s like having a Swiss Army knife for your API interactions – versatile, reliable, and always handy. And when paired with React, it becomes a dynamic duo that can handle any form data challenge thrown its way.
Setting up React and Axios
Alright, let's get this party started! First things first, we need to set up our React app and install Axios. If you haven't already created a new React project, you can do so by running the following command in your terminal:
npx create-react-app my-awesome-app
Once that's done, navigate into your shiny new project directory and install Axios by running:
npm install axios
Boom! You're all set to start using Axios in your React application.
Creating a Form Component
Now that we've got our tools ready, it's time to create a form component. This bad boy will be responsible for collecting all that delicious form data from your users. Let's whip up a new file called FormComponent.js and add the following code:
import React, { useState } from 'react';

const FormComponent = () => {
  const [formData, setFormData] = useState({
    name: '',
    email: '',
    message: '',
  });

  const handleChange = (e) => {
    setFormData({ ...formData, [e.target.name]: e.target.value });
  };

  const handleSubmit = (e) => {
    e.preventDefault();
    // Here, we'll add the code to post the form data using Axios
  };

  return (
    <form onSubmit={handleSubmit}>
      <input
        type="text"
        name="name"
        placeholder="Enter your name"
        value={formData.name}
        onChange={handleChange}
      />
      <input
        type="email"
        name="email"
        placeholder="Enter your email"
        value={formData.email}
        onChange={handleChange}
      />
      <textarea
        name="message"
        placeholder="Enter your message"
        value={formData.message}
        onChange={handleChange}
      />
      <button type="submit">Submit</button>
    </form>
  );
};

export default FormComponent;
In this component, we're using the useState hook to manage the form data state. The handleChange function updates the form data state whenever a user types something into one of the input fields. And finally, the handleSubmit function will be responsible for posting the form data to our API (don't worry, we'll get to that part soon!).

Posting Form Data with Axios
Alright, now for the main event! Let's add the code to post our form data using Axios. First, we need to import Axios into our FormComponent.js file:
import axios from 'axios';
Next, we'll update the handleSubmit function to make a POST request to our API using Axios:
const handleSubmit = async (e) => {
  e.preventDefault();

  try {
    const response = await axios.post('https://api.example.com/submit-form', formData);
    console.log('Form data submitted successfully:', response.data);
    // You can add additional logic here, such as displaying a success message
  } catch (error) {
    console.error('Error submitting form data:', error);
    // You can add error handling logic here, such as displaying an error message
  }
};
In this code snippet, we're using the axios.post method to send a POST request to our API endpoint (https://api.example.com/submit-form). We're passing the formData object as the request body, which contains the form data we want to submit.
If the request is successful, we log the response data to the console. If there's an error, we log the error message instead. You can add additional logic here, such as displaying a success or error message to the user.
Apidog: a free tool to generate your Axios code
Apidog is an all-in-one collaborative API development platform that provides a comprehensive toolkit for designing, debugging, testing, publishing, and mocking APIs. Apidog enables you to automatically create Axios code for making HTTP requests.
Here's the process for using Apidog to generate Axios code:
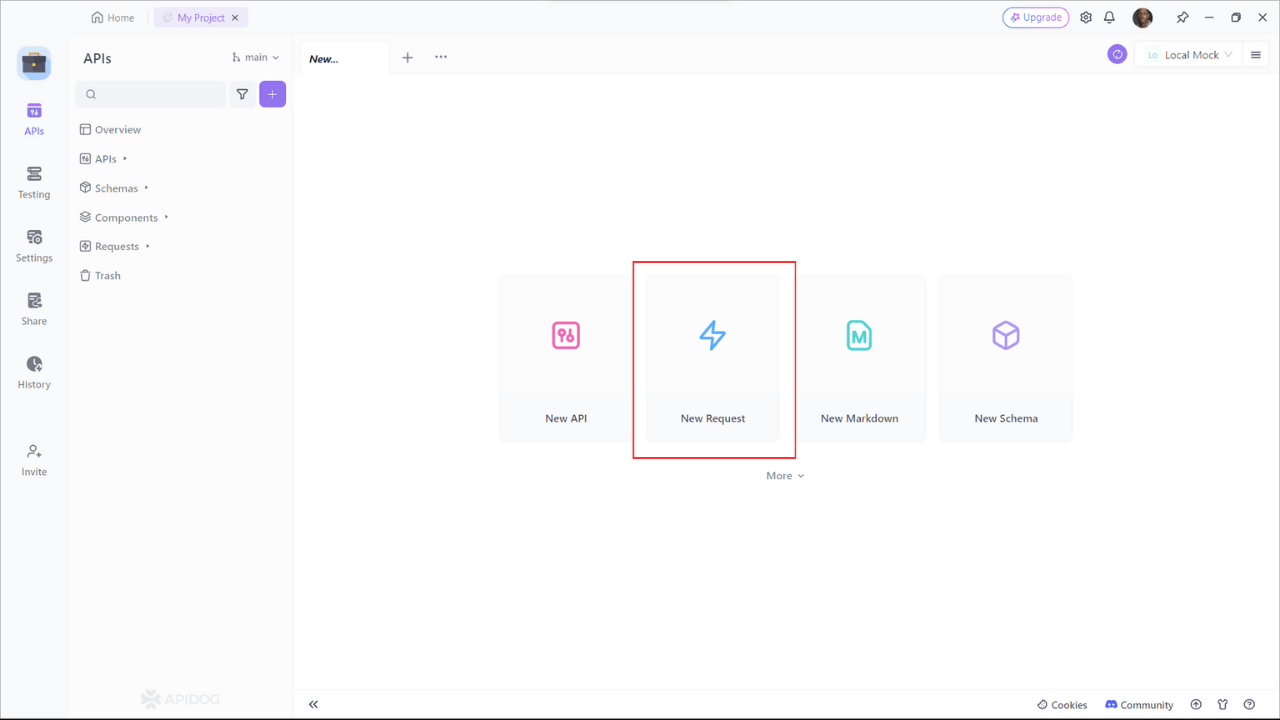
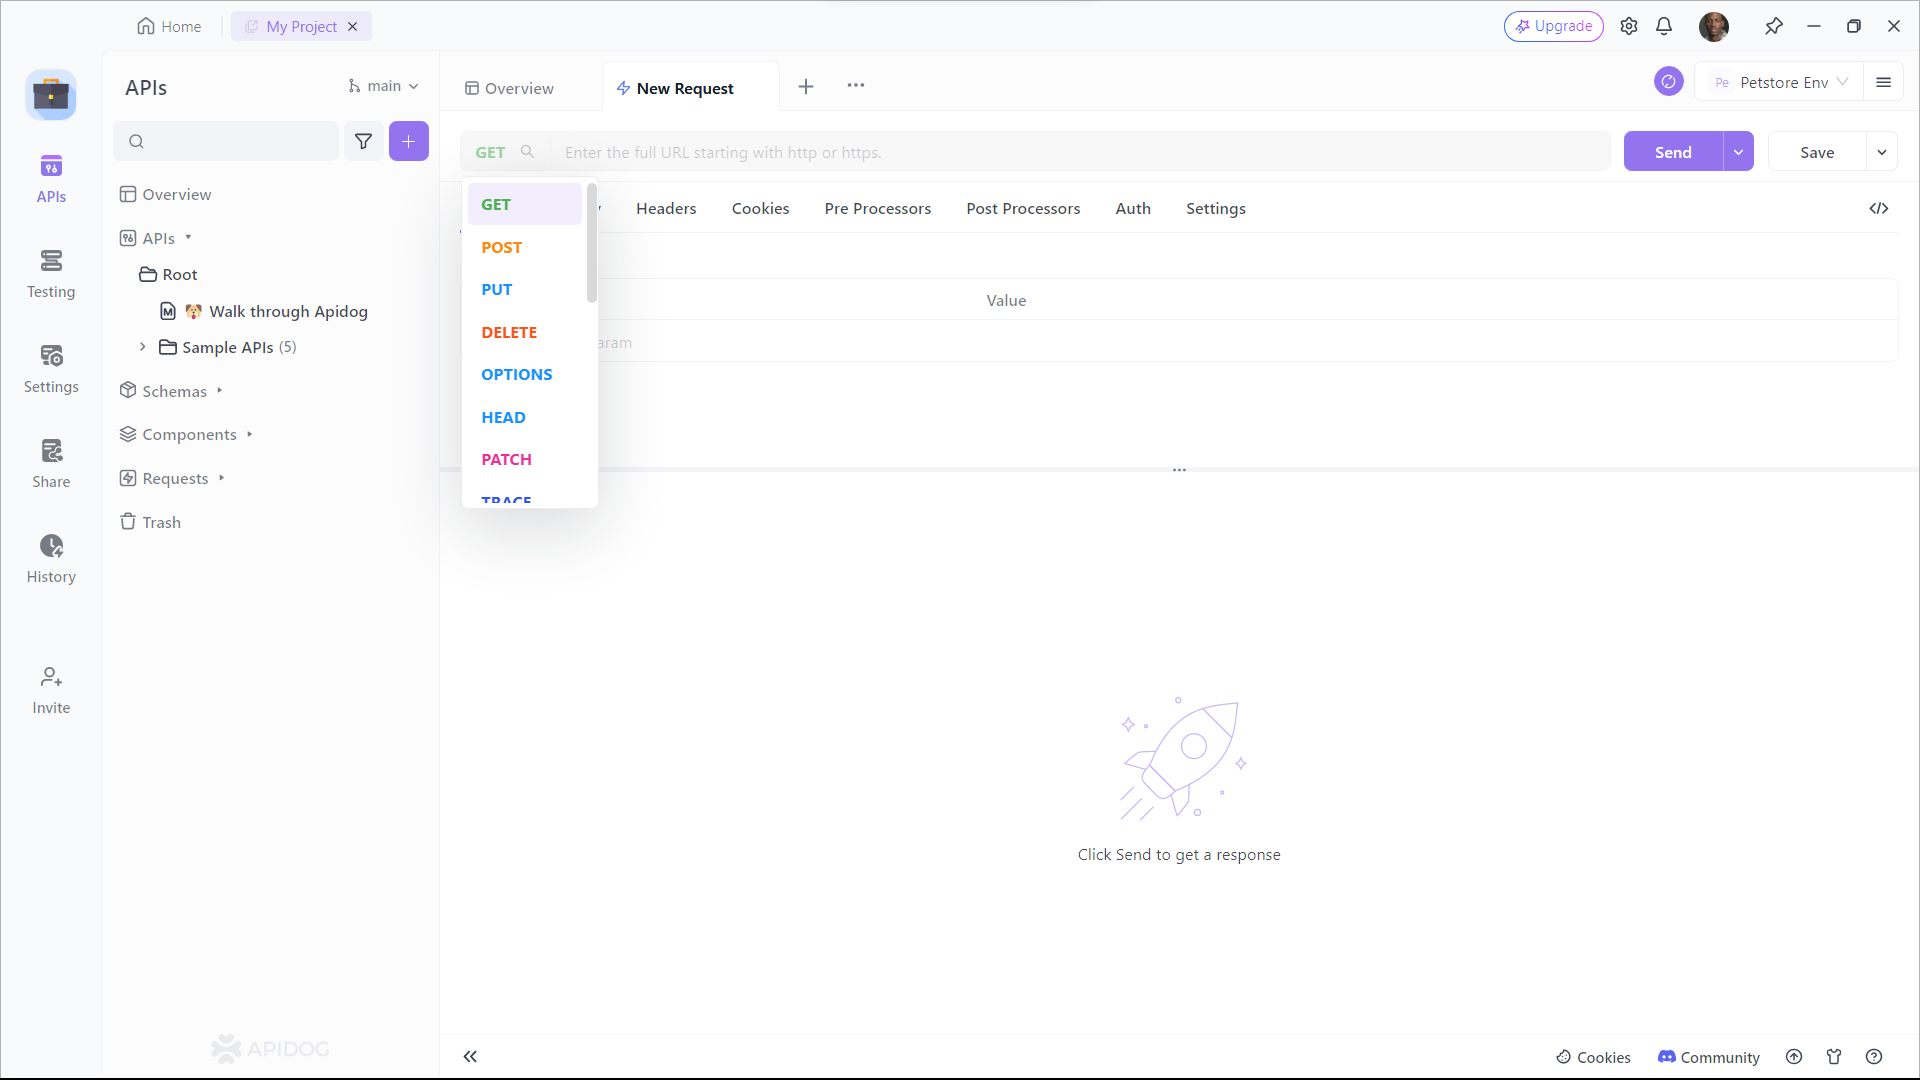
Step 1: Open Apidog and select new request

Step 2: Enter the URL of the API endpoint you want to send a request to,input any headers or query string parameters you wish to include with the request, then click on the "Design" to switch to the design interface of Apidog.

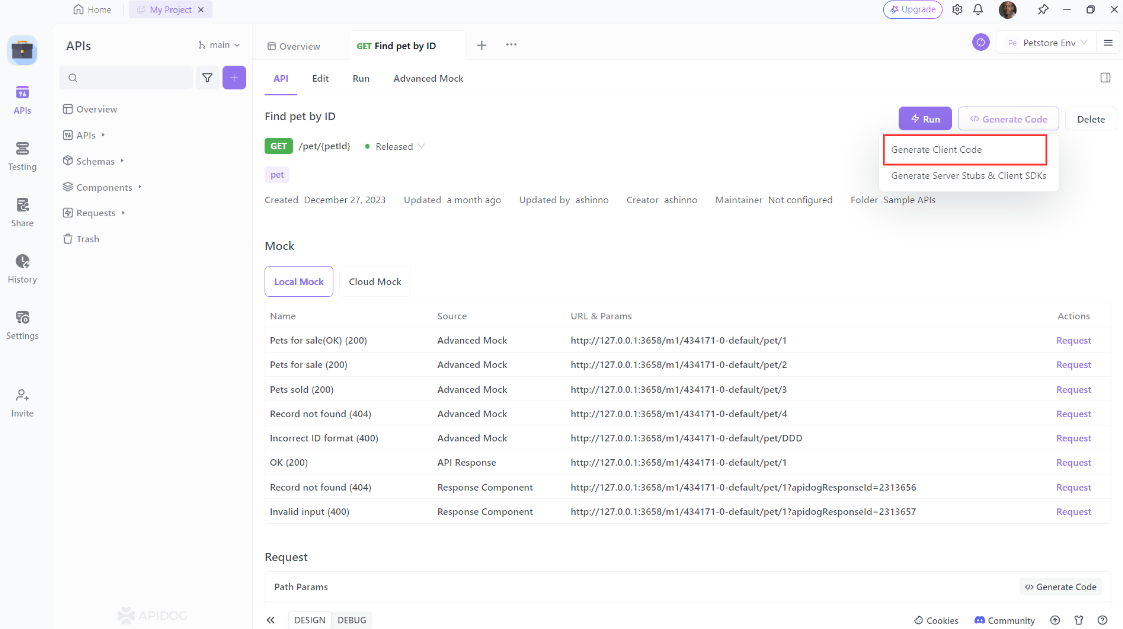
Step 3: Select "Generate client code " to generate your code.
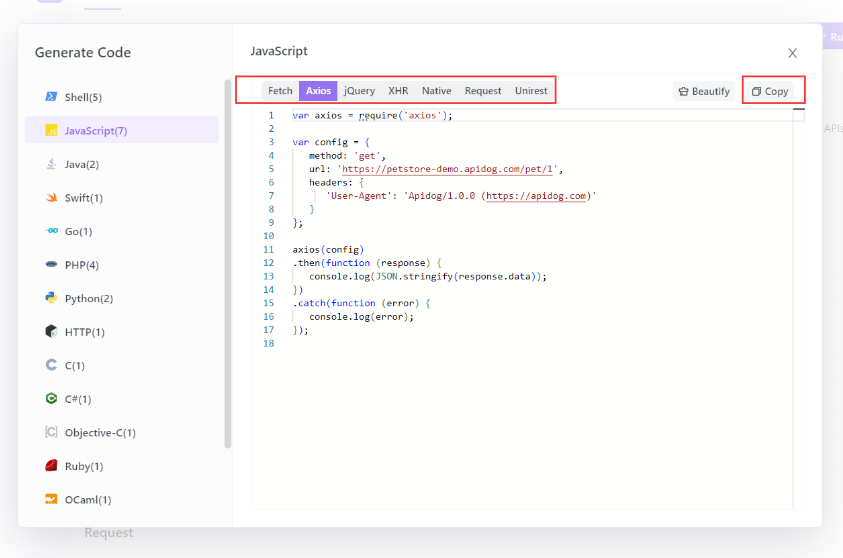
Step 4: Copy the generated Axios code and paste it into your project.
Using Apidog to Send HTTP Requests
Apidog offers several advanced features that further enhance its ability to test HTTP requests. These features allow you to customize your requests and handle more complex scenarios effortlessly.
Step 1: Open Apidog and create a new request.
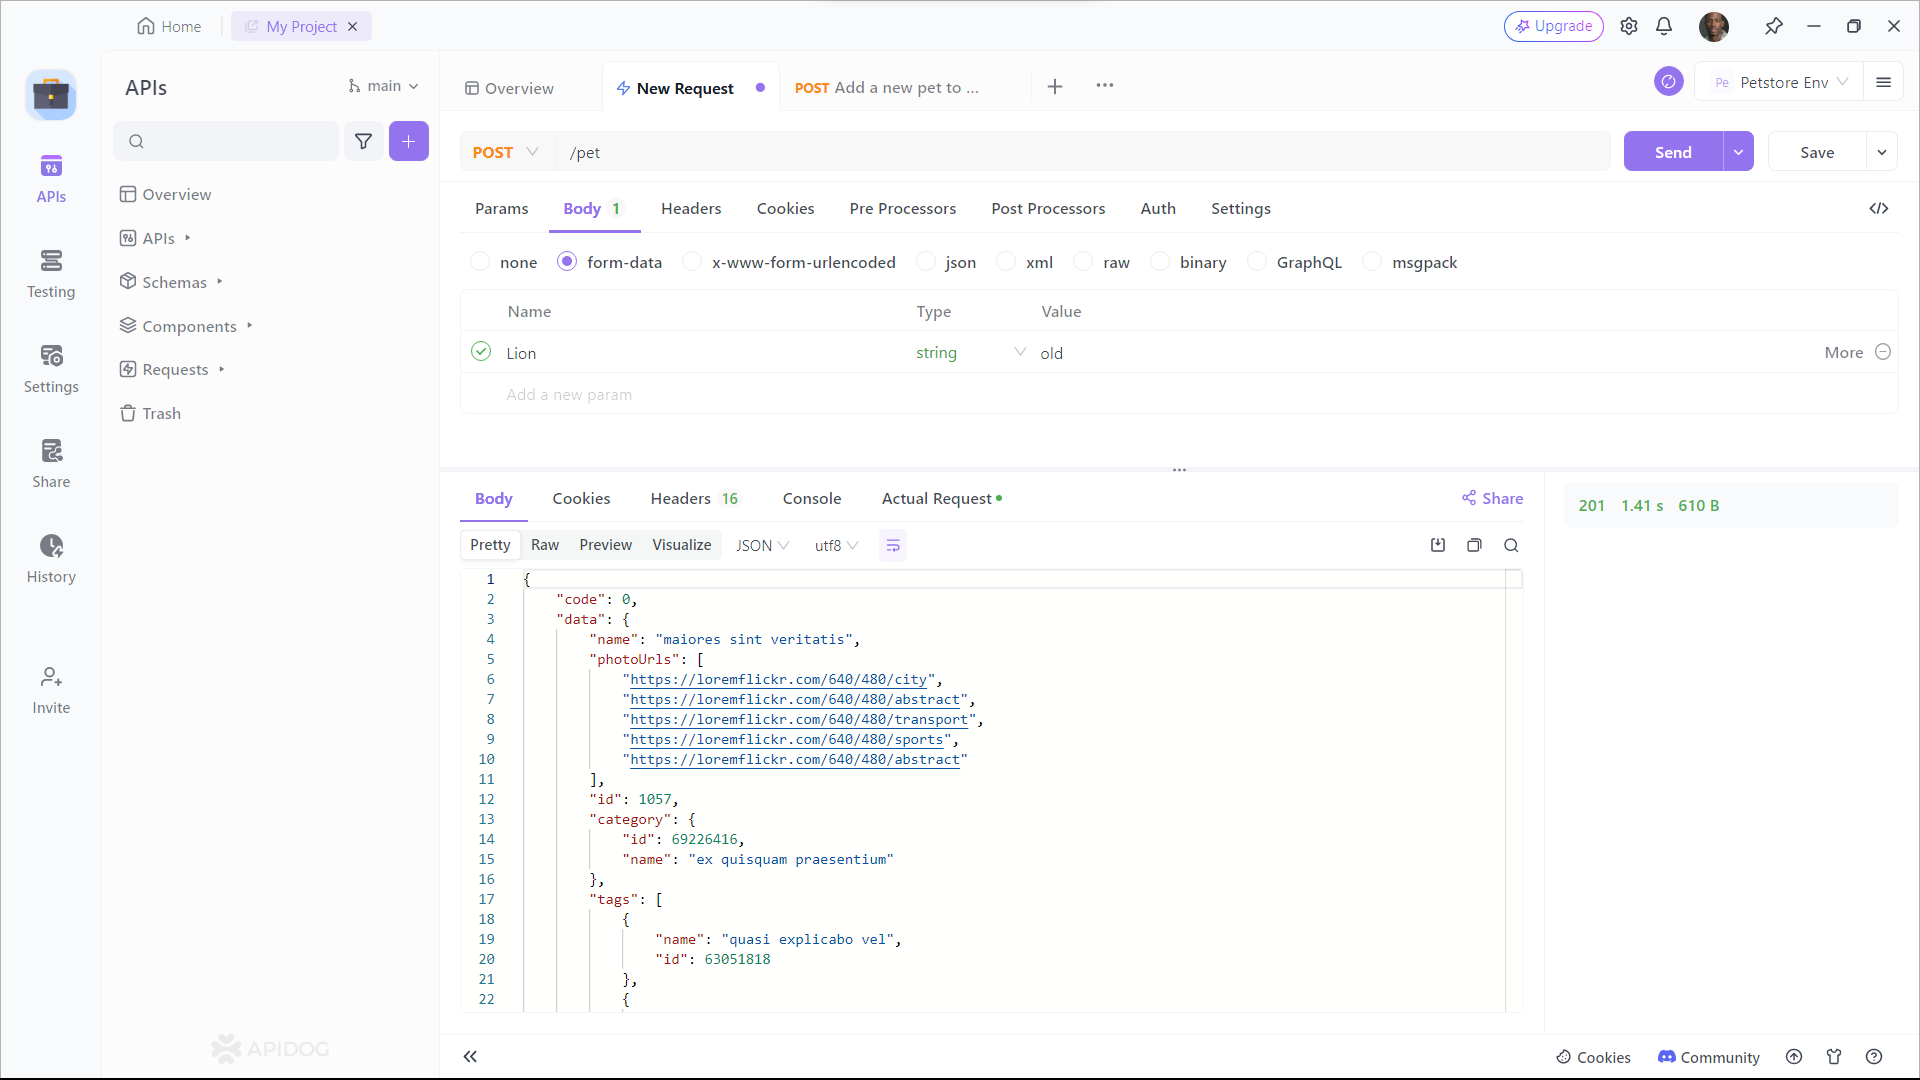
Step 2: Find or manually input the API details for the POST request you want to make.
Step 3: Fill in the required parameters and any data you want to include in the request body.
Conclusion
Remember, posting form data is just one of the many awesome things you can do with Axios and React. You can also use Axios to make GET, PUT, and DELETE requests, handle headers and interceptors, and so much more.
And there you have it! You’re now equipped to handle form submissions in React with Axios like a seasoned developer. Keep experimenting, keep learning, and most importantly, keep coding!


