
Are you tired of banging your head against the wall trying to make API requests work? Trust me, we’ve all been there. APIs are the backbone of modern web services, but they can be tricky to navigate. One of the essential aspects of working with APIs is understanding and utilizing headers in your requests. And if you’re using Python, the requests library is your best friend.
In this blog post, we'll dive deep into the world of Python requests headers. We’ll explore how to use them, why they’re essential, and how to make your API calls more effective and secure. Plus, we’ll introduce you to a fantastic tool called Apidog that can make your API journey smoother.
What Are Headers in HTTP Requests?
Headers are a critical part of HTTP requests and responses. They carry information about the client, server, and the resources being requested or served. Think of headers as the metadata of your request. They provide context and details that can influence how the request is processed and how the response is formed.
Common Types of Headers
- General Headers: Apply to both requests and responses but don't relate to the content itself. Examples include
Cache-ControlandConnection. - Request Headers: Provide more information about the resource to be fetched or about the client itself. Examples include
Accept,User-Agent, andAuthorization. - Response Headers: Provide information about the server’s response. Examples include
ServerandSet-Cookie. - Entity Headers: Contain information about the body of the resource, like
Content-TypeandContent-Length.
Why Are Headers Important?
Headers are crucial for several reasons. They help ensure that your request is handled correctly and that the response you receive is what you expect. Here’s why headers matter:
- Authentication: Headers often carry authentication tokens like API keys or bearer tokens. Without them, you wouldn’t be able to access protected resources.
- Content Negotiation: They help in specifying the format of data you want (JSON, XML, etc.) using the
Acceptheader. - Session Management: Cookies and session tokens are managed via headers.
- Security: Headers can enhance security by ensuring that data is encrypted and by preventing certain types of attacks.
Getting Started with Python Requests
Before we delve into headers, let's make sure we're all on the same page with Python requests. If you haven't installed the requests library yet, you can do so using pip:
pip install requests
The requests library simplifies making HTTP requests. It’s perfect for interacting with web services and APIs. Here’s a basic example of making a GET request:
import requests

response = requests.get('https://api.example.com/data')
print(response.status_code)
print(response.json())
How to Use Headers in Python Requests
Now, let’s talk about how to add headers to your requests. It’s straightforward with the requests library. You can pass headers as a dictionary to the headers parameter.
Adding Headers to a Request
Here’s an example of making a GET request with custom headers:
import requests

url = 'https://api.example.com/data'
headers = {
    'Authorization': 'Bearer YOUR_ACCESS_TOKEN',
    'Accept': 'application/json',
    'User-Agent': 'your-app-name'
}

response = requests.get(url, headers=headers)
print(response.status_code)
print(response.json())
Common Headers and Their Usage
- Authorization: Used for passing authentication information. It can include tokens or API keys.
- Accept: Tells the server the format of the response you expect, such as
application/json. - Content-Type: Indicates the format of the data you're sending in the body of the request, like
application/jsonfor JSON data. - User-Agent: Identifies the client software making the request. This can help servers tailor responses based on the client type.
Setting Headers for Different Request Types
The process of setting headers is the same for other request types like POST, PUT, DELETE, etc. Here’s an example of a POST request:
import requests

url = 'https://api.example.com/data'
headers = {
    'Authorization': 'Bearer YOUR_ACCESS_TOKEN',
    'Content-Type': 'application/json'
}
data = {
    'key1': 'value1',
    'key2': 'value2'
}

response = requests.post(url, headers=headers, json=data)
print(response.status_code)
print(response.json())
Common Use Cases for Headers
Headers are versatile and can be used in various scenarios to enhance your API interactions. Let’s look at some common use cases:
Authentication
Most APIs require some form of authentication. This is typically done through the Authorization header. Here’s how you might use it:
headers = {
    'Authorization': 'Bearer YOUR_ACCESS_TOKEN'
}
response = requests.get('https://api.example.com/protected', headers=headers)
Content Negotiation
Sometimes, you need to specify the format of data you want in the response. This is done using the Accept header.
headers = {
    'Accept': 'application/json'
}
response = requests.get('https://api.example.com/data', headers=headers)
Rate Limiting
APIs often limit the number of requests you can make within a certain time frame. These limits are communicated through headers in the response. For example:
print(response.headers['X-Rate-Limit-Remaining'])
Caching
Caching can improve performance by storing copies of responses. The Cache-Control header is used to specify caching directives.
headers = {
    'Cache-Control': 'no-cache'
}
response = requests.get('https://api.example.com/data', headers=headers)
Error Handling and Debugging
When working with APIs, things can go wrong. Proper error handling and debugging are essential. The requests library makes this easier by providing helpful methods and attributes.
Handling HTTP Errors
You can check the status code of a response to determine if the request was successful. Here’s an example:
response = requests.get('https://api.example.com/data')
if response.status_code == 200:
    print('Success!')
else:
    print('An error occurred:', response.status_code)
Debugging with Headers
Headers can also help in debugging. By examining the headers in the response, you can gather useful information about the server and the request.
response = requests.get('https://api.example.com/data')
print(response.headers)
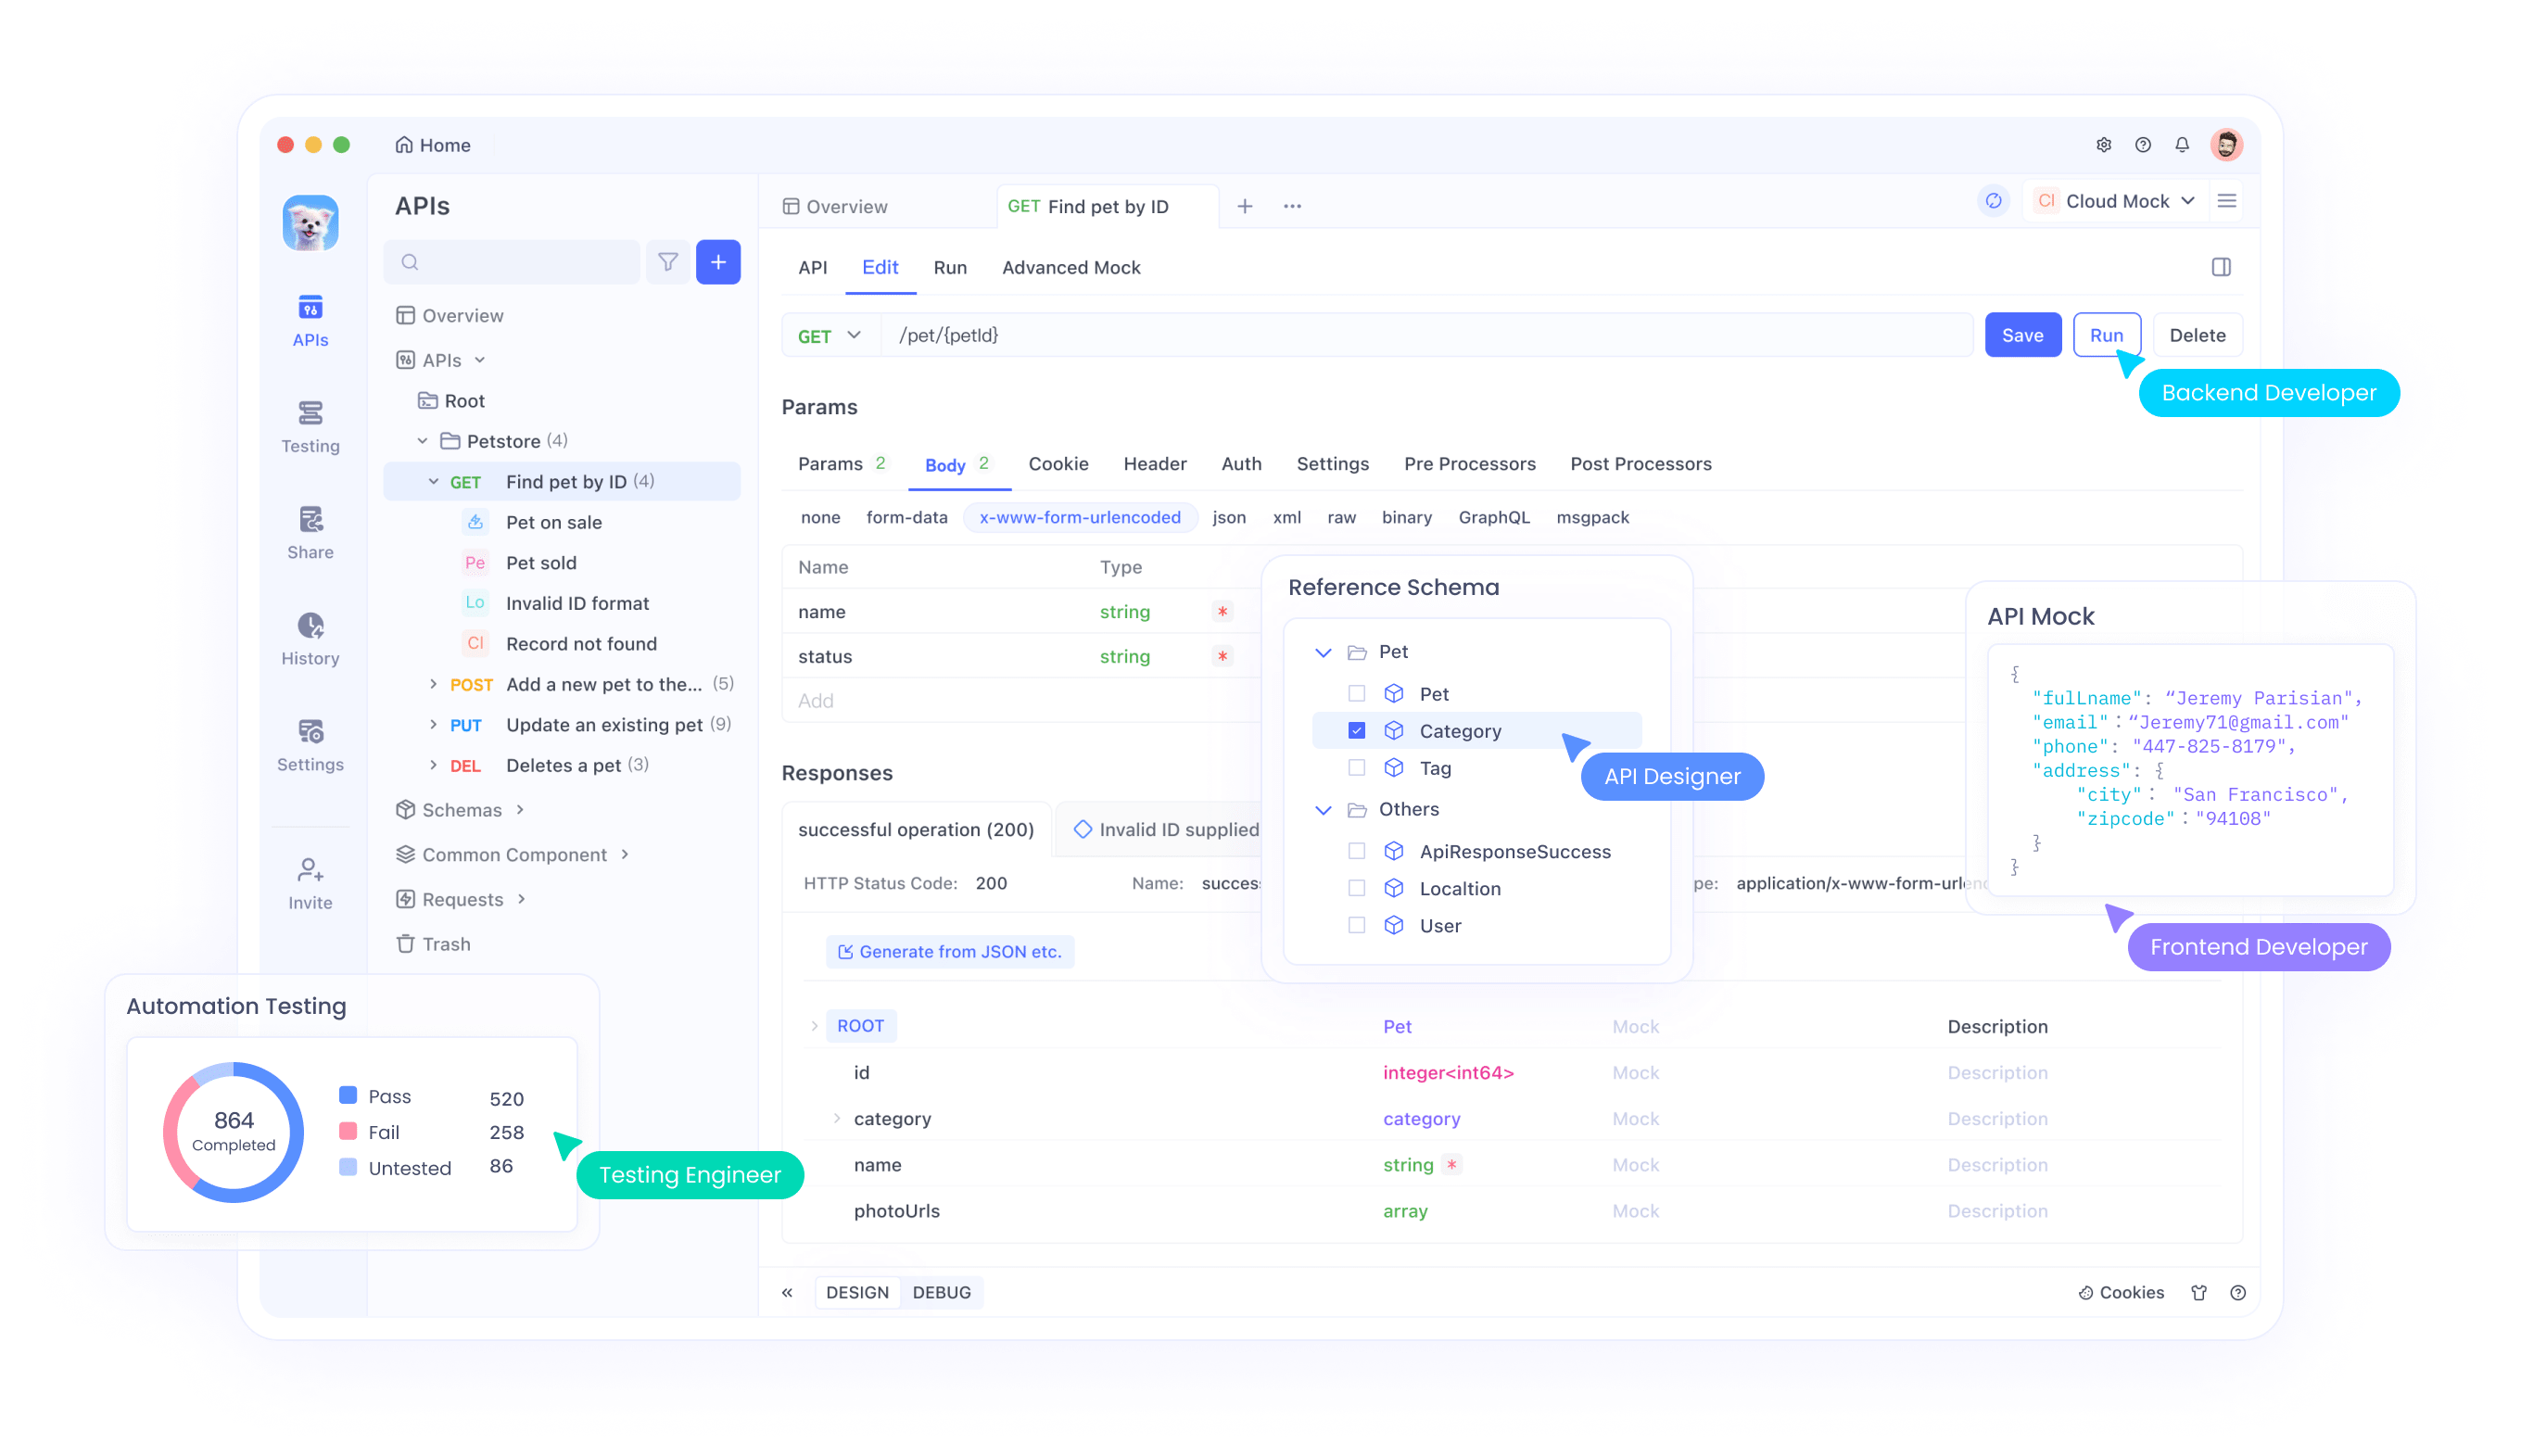
Introducing Apidog: Your API Companion
Working with APIs can be challenging, but tools like Apidog can make it easier. Apidog is a fantastic tool designed to help you manage and test your APIs effortlessly. It provides a user-friendly interface for creating, testing, and documenting APIs.
Why Use Apidog?
- Ease of Use: Apidog is designed with simplicity in mind, making it accessible even for beginners.
- Comprehensive Features: From API testing to documentation, Apidog covers all aspects of API management.
- Free to Use: You can download and use Apidog for free, making it a great tool for developers on a budget.
How to Use apidog to send HTTP get request headers
To send a get request with header using Apidog, follow these steps:
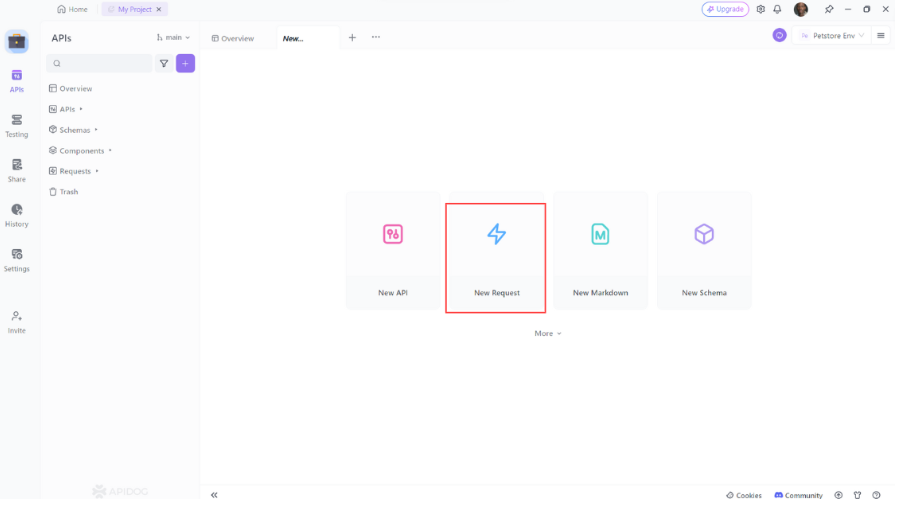
- Open Apidog: Launch Apidog and create a new request.
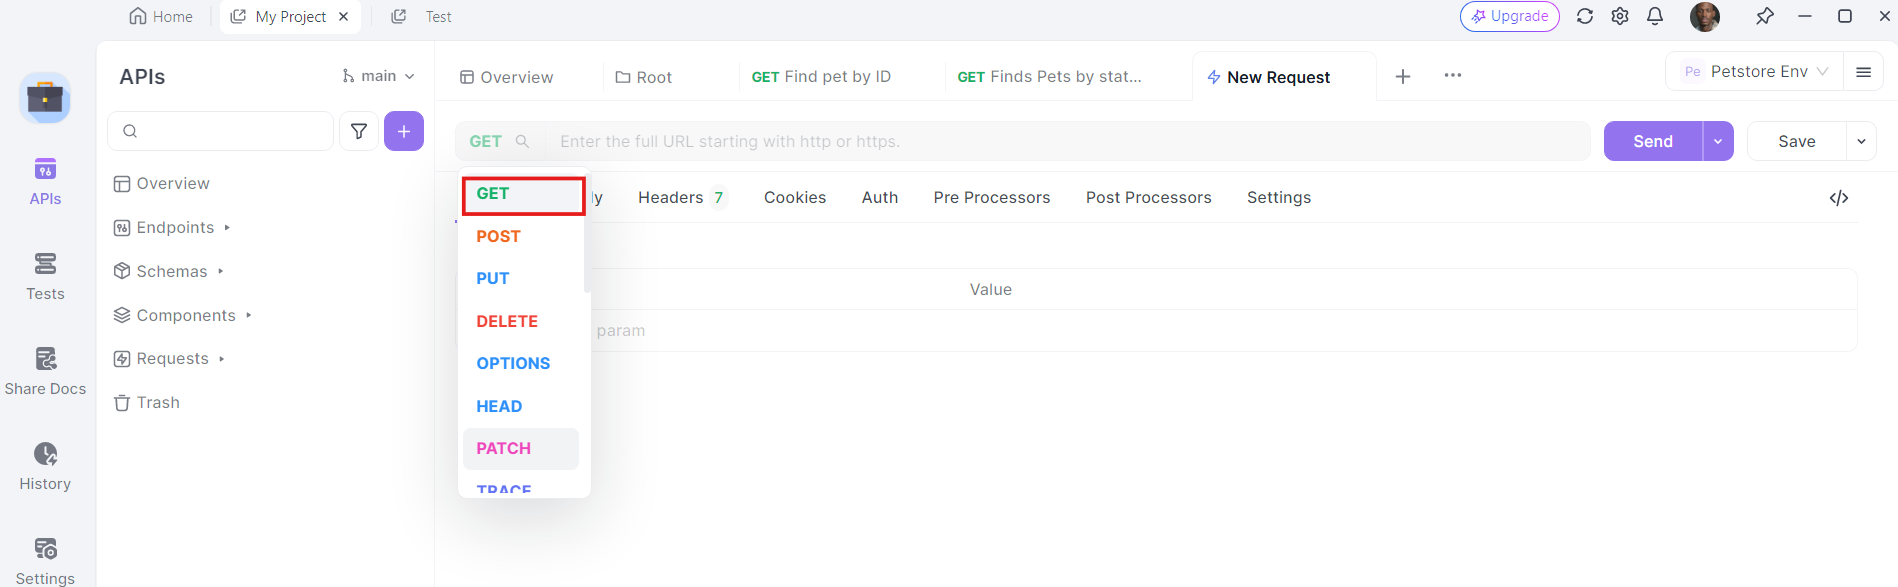
2. Select the HTTP Method: Choose "GET" as the request method since we are working with HTTP GET requests.
3. Enter the URL: In the URL field, enter the endpoint you want to send the GET request to.
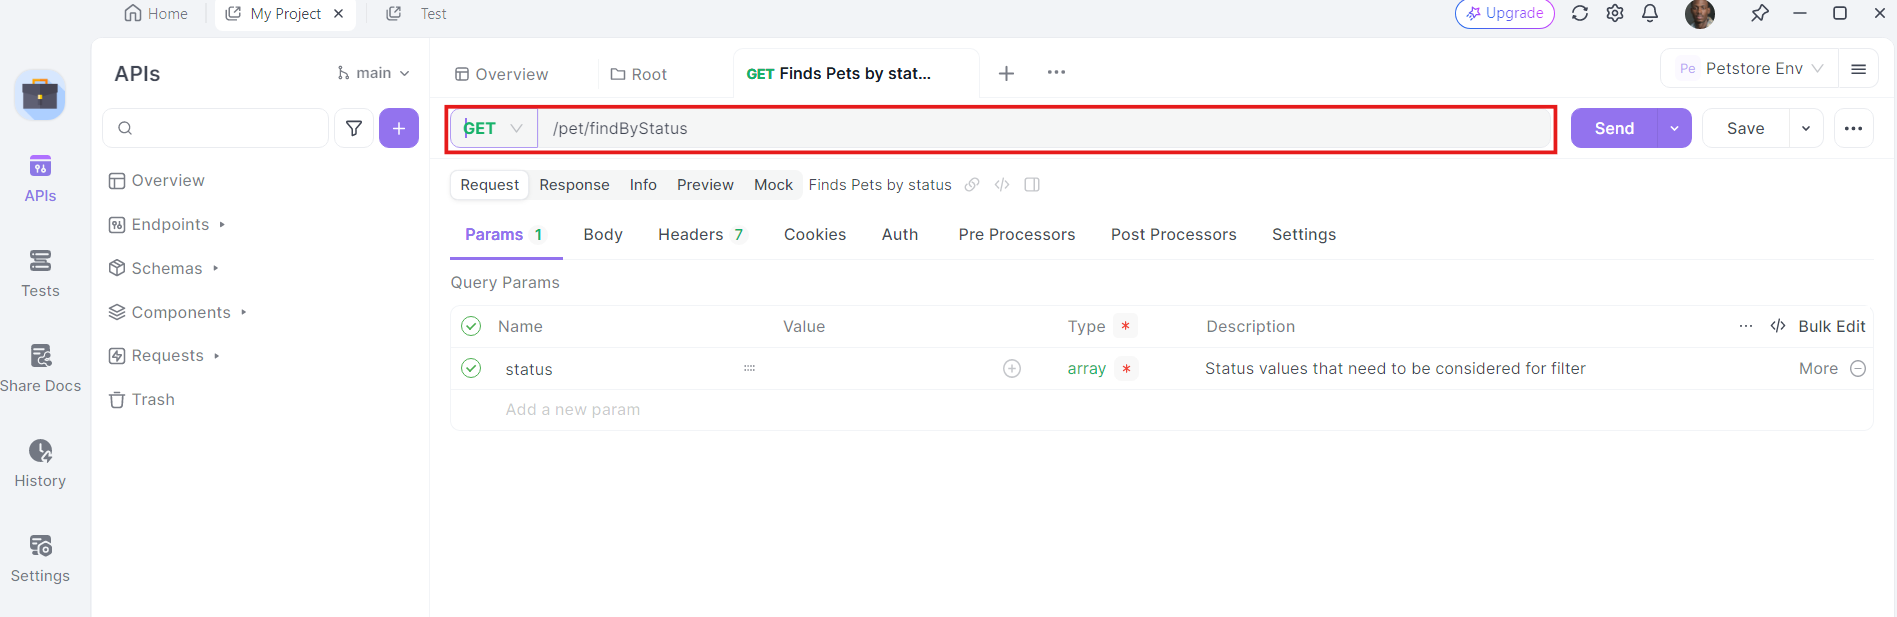
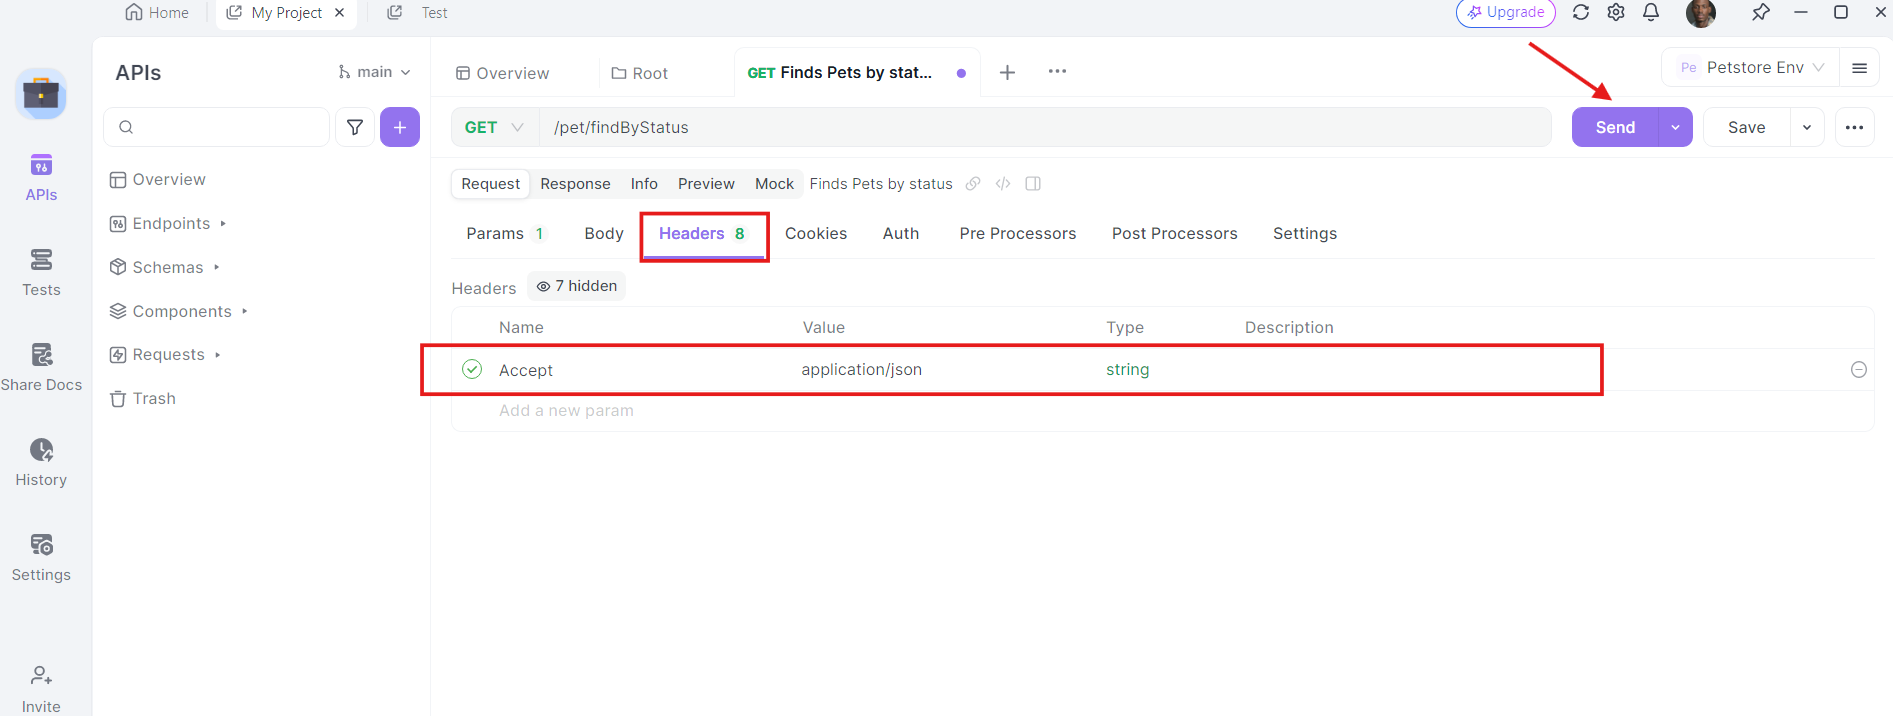
4. Add Headers: Now, it's time to add the necessary headers. Click on the "Headers" tab in apidog. Here, you can specify any headers required by the API. Common headers for GET requests might include Authorization, Accept, and User-Agent.
For example:
- Authorization:
Bearer YOUR_ACCESS_TOKEN - Accept:
application/json
5. Send the Request and Inspect the Response: With the URL, query parameters, and headers in place, you can now send the GET request. Click the "Send" button and apidog will execute the request. You'll see the response displayed in the response section.
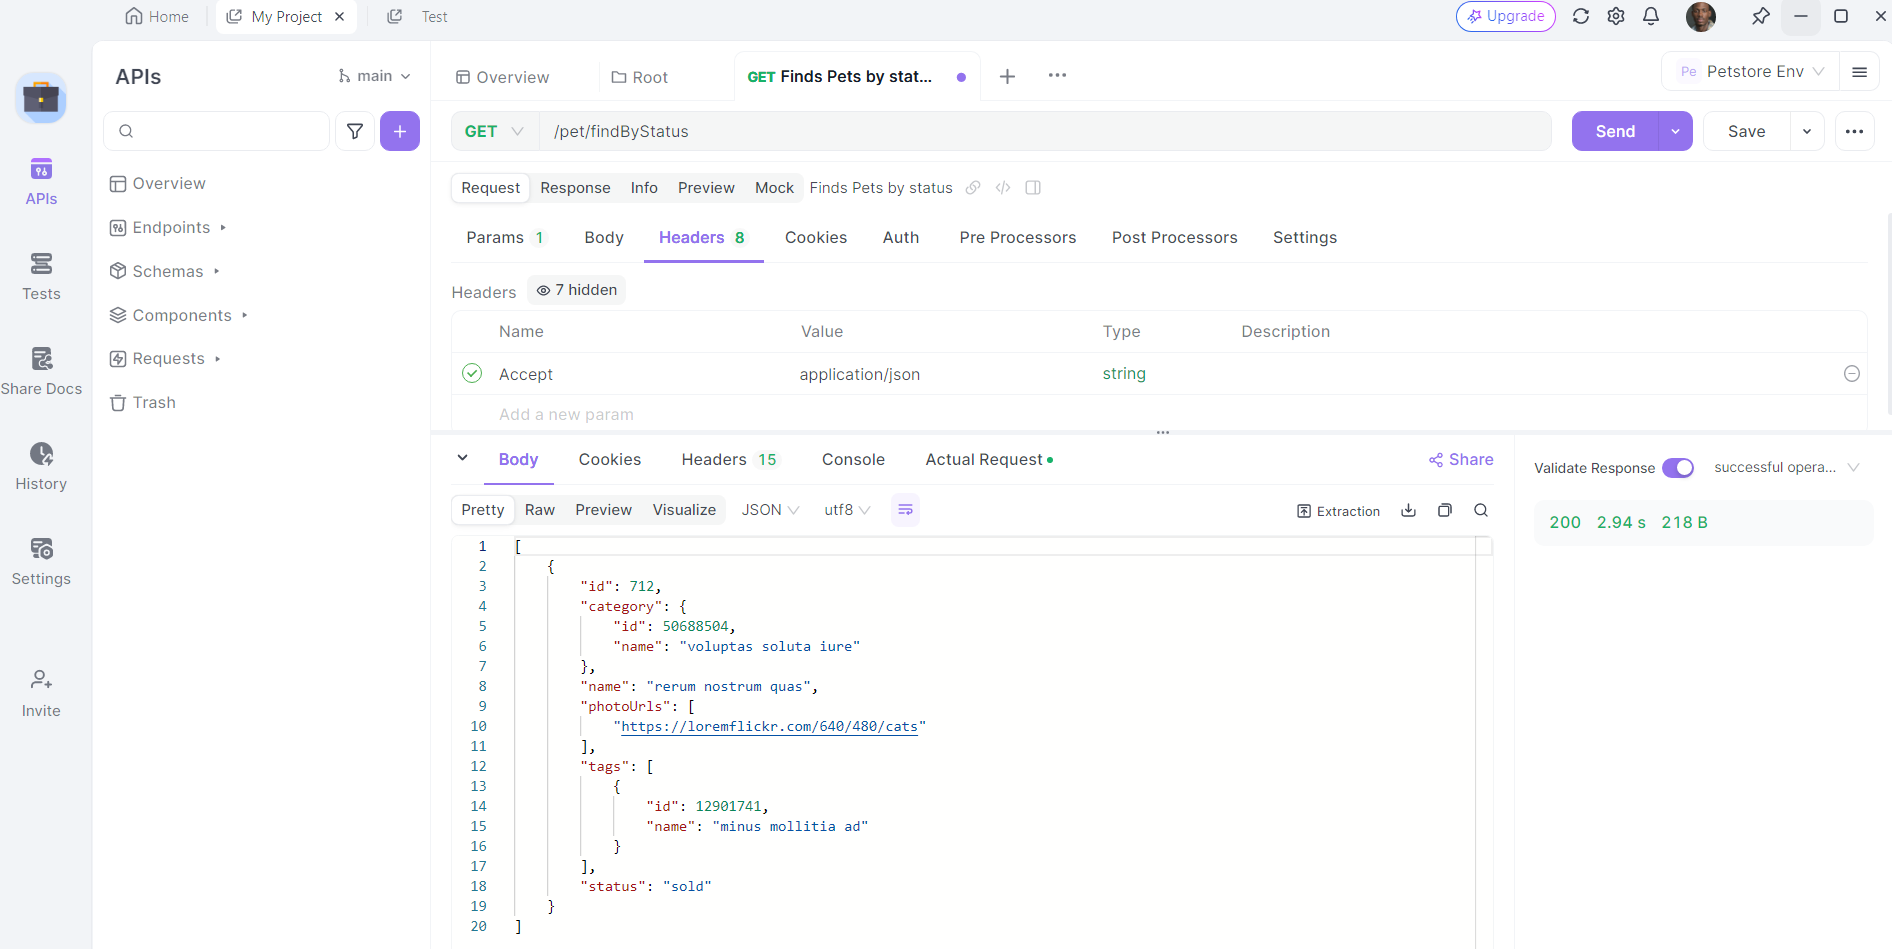
Once the request is sent, Apidog will display the response from the server. You can view the status code, headers, and body of the response. This is invaluable for debugging and verifying that your API calls are working as expected.
Conclusion
Mastering Python requests headers is a crucial skill for any developer working with APIs. Headers carry essential information that can affect how your requests are processed and how responses are handled. By understanding and utilizing headers effectively, you can enhance the performance, security, and reliability of your API interactions.
Remember, tools like Apidog can further simplify your API journey, providing you with a powerful platform to manage and test your APIs efficiently. So, don’t hesitate to give it a try!


