If you’ve been exploring the domain of automation testing lately, then you have probably heard people raving about Playwright. Maybe you’re wondering what all the excitement is about, or perhaps you’re trying to figure out where to start. Don’t worry because you’re not alone, and you’ve come to the right place.
This guide will walk you through everything you need to know about Playwright for automation testing, from the absolute basics to proven best practices that will set you up for success. It doesn't matter if you're a manual tester looking to dive into automation, a developer who wants to add reliable tests to your workflow, or someone who's just curious about modern testing tools, we’ll break it down in a way that actually makes sense.
What Is Playwright and Why Should You Care?
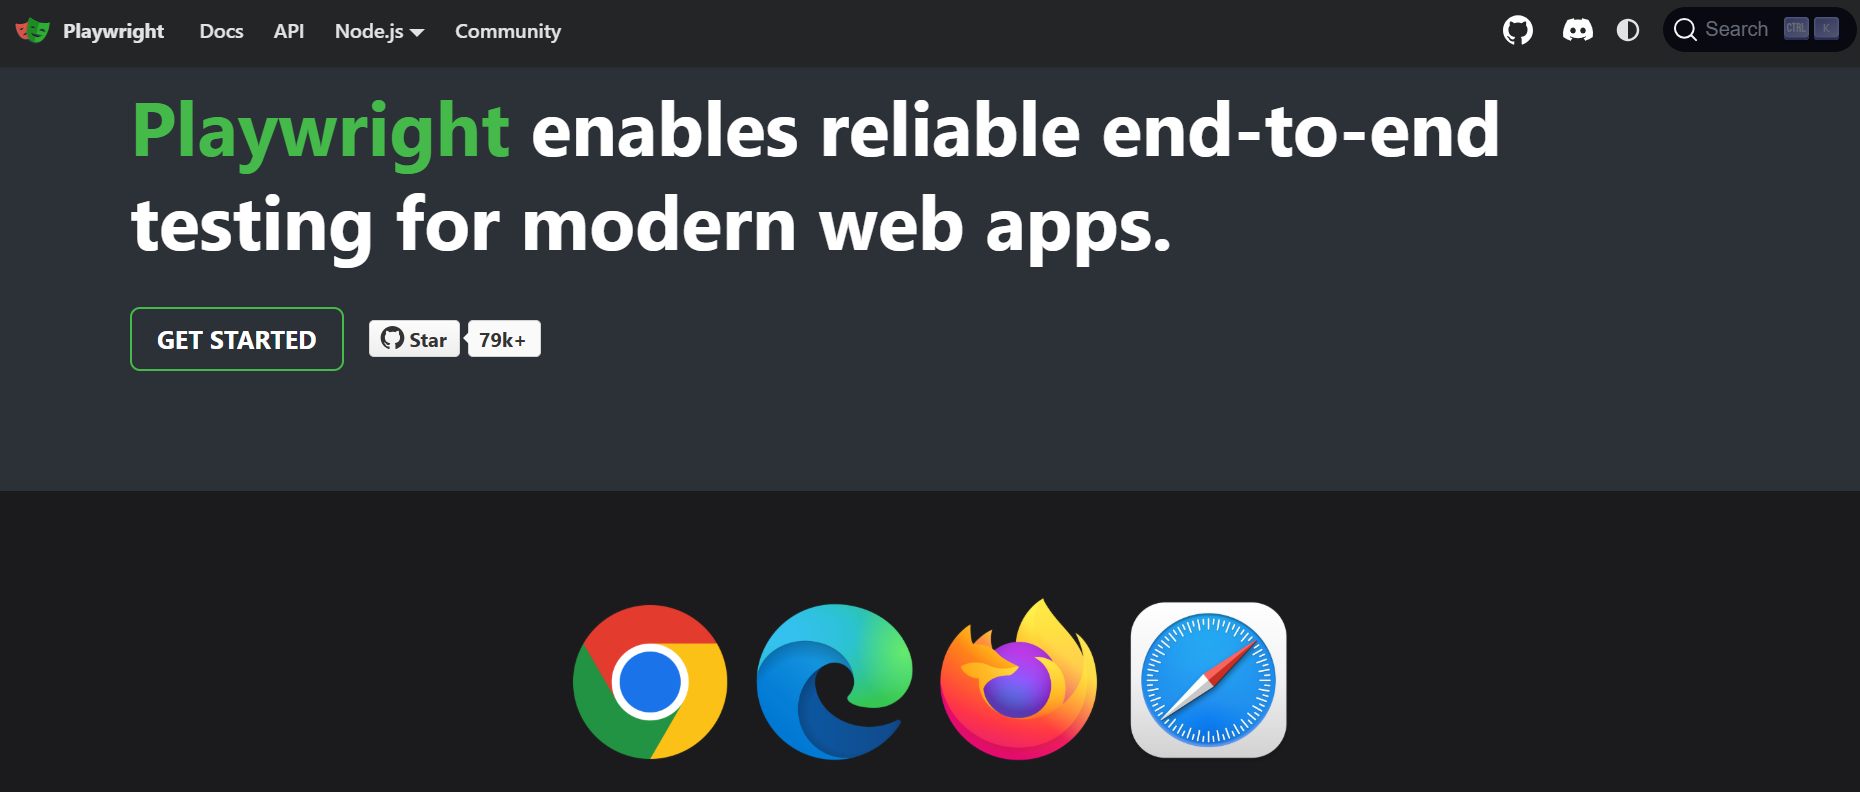
Playwright is an open-source automation testing framework built by Microsoft that simply works. It lets you control browsers programmatically—clicking buttons, filling forms, and verifying behavior—without the usual headaches. Unlike older tools that feel brittle and slow, Playwright handles modern web apps gracefully, waits intelligently for elements, and runs tests across Chrome, Firefox, and Safari with the same code. If you want reliable tests that don’t waste your time, Playwright deserves your attention.
Why Choose Playwright for Automation Testing?
Teams adopt Playwright for automation testing because it delivers tangible advantages:
- True Cross-Browser Testing: Write once, run everywhere. Chrome, Firefox, Safari, Edge—all supported natively.
- Blazing Speed: Parallel execution by default means test suites that once took hours now finish in minutes.
- Built for Modern Apps: SPAs, shadow DOM, dynamic content—Playwright handles today’s web without workarounds.
- Intelligent Reliability: Auto-waiting eliminates flaky tests. No more sprinkling random sleep timers.
- Effortless Debugging: Detailed traces, screenshots, and videos show exactly what went wrong when failures happen.
Setting Up Your First Playwright Test
a. Manual Setup
Getting started with Playwright is refreshingly straightforward. You don’t need to wrestle with complex configurations or mysterious setup rituals.
First, you’ll need Node.js installed on your machine. Once that’s ready, create a new project directory and run:
npm init playwright@latest
This command guides you through a simple setup process. It asks which browsers you want to test against (pro tip: start with all three for maximum coverage) and whether you want to add a GitHub Actions workflow. The entire setup takes about two minutes.
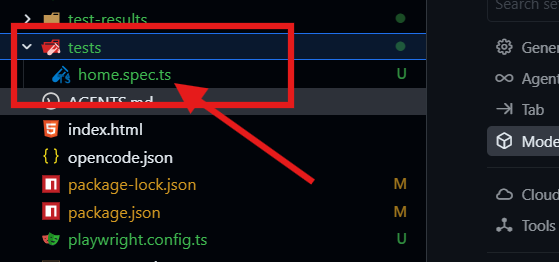
Once complete, you’ll have a project structure that includes:
tests/directory for your test filesplaywright.config.jsfor configuration
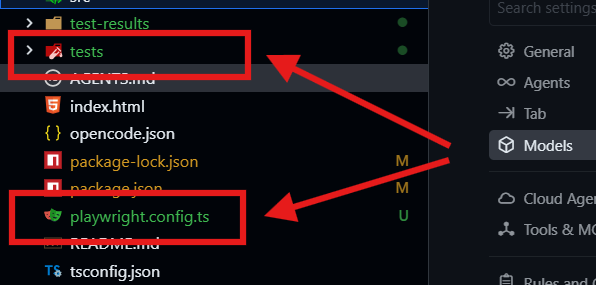
- Sample test files to get you started
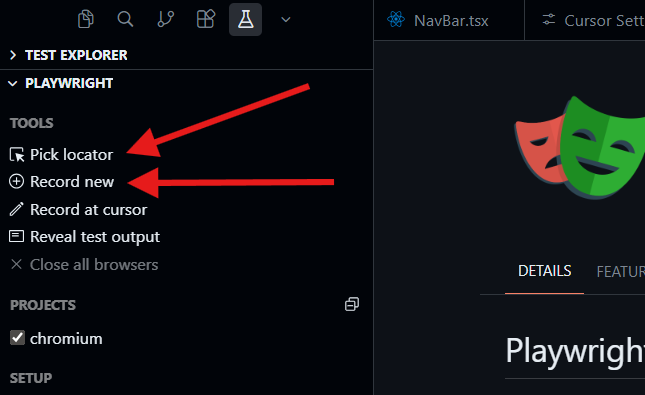
b. Seamless IDE Integration with VS Code and Cursor
If you use VS Code or Cursor, getting started with Playwright becomes even smoother. The official Playwright extension gives you one-click test recording, debugging, and execution right inside your editor.

Install it from the marketplace, and you’ll see “Record new test” and “Pick locator” commands that eliminate guesswork.
For deeper project integration, Cursor users can leverage the Playwright MCP (Model Context Protocol) server to automate test generation and project setup through natural language. Here’s a configuration that streamlines your workflow:
{
  "mcpServers": {
    "playwright": {
      "command": "npx",
      "args": ["@playwright/mcp@latest"],
      "env": {
        "PW_TEST_DIR": "./tests",
        "PW_CONFIG_PATH": "./playwright.config.js"
      }
    }
  }
}
With this config, you can ask Cursor to “create a login test using the page object model” or “add accessibility checks to the checkout flow,” and it will generate properly structured test files that follow your project’s conventions. The MCP server understands your existing codebase, making onboarding new team members and maintaining test standards nearly effortless.
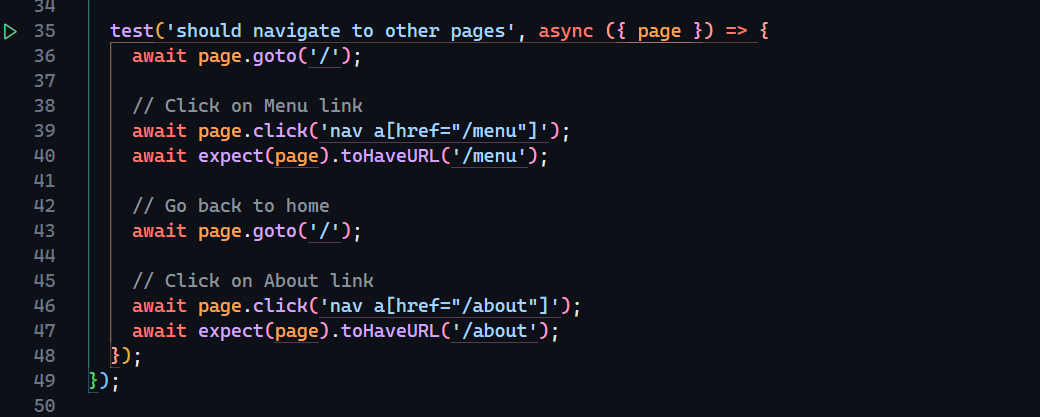
Writing Your First Test Script
Let’s create something practical. Imagine you’re testing a login page for your application. Here’s how you might write that test:
const { test, expect } = require('@playwright/test');

test('successful login flow', async ({ page }) => {
  await page.goto('https://your-app.com/login');

  await page.locator('data-testid=username').fill('testuser');
  await page.locator('data-testid=password').fill('securepassword');
  await page.locator('button:has-text("Login")').click();

  await expect(page.locator('h1')).toContainText('Dashboard');
  await expect(page).toHaveURL('**/dashboard');
});
Notice how readable this is? The code almost tells a story: go to the login page, fill in the credentials, click the button, and verify you end up in the right place. That’s the beauty of Playwright for automation testing—it stays out of your way and lets you focus on what you’re testing, not how to test it.
Best practice tip: Use meaningful test names and add data-testid attributes to your elements. This makes your tests more resilient to UI changes and easier for your team to understand.
Key Features and Best Practices for Success
Now that you’ve got the basics down, let’s talk about best practices that separate hobbyists from professionals when using Playwright for automation testing.
1. Use the Page Object Model
As your test suite grows, you’ll thank yourself for organizing code properly. The Page Object Model (POM) pattern helps you create reusable components that represent pages or sections of your application. Instead of repeating locator strategies throughout your tests, you define them once in a page object.
class LoginPage {
  constructor(page) {
    this.page = page;
    this.usernameInput = page.locator('data-testid=username');
    this.passwordInput = page.locator('data-testid=password');
    this.loginButton = page.locator('button:has-text("Login")');
  }

  async login(username, password) {
    await this.usernameInput.fill(username);
    await this.passwordInput.fill(password);
    await this.loginButton.click();
  }
}
2. Leverage Configuration Power
The playwright.config.js file is your command center. Don’t just accept the defaults—tune it for your needs. Configure different projects for different environments (dev, staging, production), set up retry strategies, and define viewport sizes for responsive testing.
3. Master Locator Strategies
Playwright offers multiple ways to find elements, but some are more reliable than others. In order of preference:
- Role locators (
page.getByRole('button', { name: 'Submit' })) - Most accessible and robust - Test IDs (
page.locator('data-testid=submit-button')) - Great for elements without clear roles - Text (
page.locator('text=Submit')) - Good for user-visible text - CSS/XPath - Use as a last resort when nothing else works
4. Run Tests in CI/CD Early
Playwright shines in continuous integration environments. The setup command even offers to create a GitHub Actions workflow for you. Running your automation testing suite on every pull request catches regressions before they reach production. Make this a habit from day one.
5. Use Test Hooks Wisely
beforeEach and afterEach hooks are perfect for setup and teardown, but don’t overuse them. Keep tests independent—shared state is the enemy of reliable automation testing. Each test should be able to run in isolation.
Handling Complex Scenarios
One of the reasons Playwright has become so popular for automation testing is how elegantly it handles real-world complexity:
File Uploads: Unlike some tools that require hacks, Playwright treats file uploads as a first-class citizen. Simply use page.locator('input[type="file"]').setFiles().
Network Interception: Need to test how your app handles slow networks or API failures? Playwright lets you intercept and modify network requests on the fly.
await page.route('**/api/data', async route => {
  await route.fulfill({
    status: 500,
    body: JSON.stringify({ error: 'Server error' })
  });
});
Authentication: Testing features that require login? Use storageState to reuse authentication state across tests, saving time and avoiding repetitive login steps.
Frequently Asked Questions
Q1: Is Playwright only for JavaScript developers?
A: Not at all! While Playwright was originally built for Node.js, it now has official language bindings for Python, Java, and .NET. Teams can choose the language that fits their stack best while enjoying the same powerful automation testing capabilities.
Q2: How does Playwright compare to Selenium for automation testing?
A: Think of Selenium as a reliable old car—it gets you there, but requires more maintenance and drives slower. Playwright is the modern electric vehicle—faster, more reliable, and built for today’s web. Playwright’s auto-wait mechanism, better debugging tools, and native parallel execution give it a significant edge.
Q3: Can I migrate my existing tests to Playwright?
A: Absolutely. Many teams successfully migrate from Selenium, Cypress, or other tools. Playwright even provides a codegen feature that can record your actions and generate test code, helping you quickly recreate existing test scenarios.
Q4: What about mobile testing?
A: Playwright supports mobile viewport emulation and touch events, allowing you to test responsive designs effectively. For native mobile app testing, you’ll want to look at other tools, but for mobile web automation testing, Playwright is excellent.
Q5: How steep is the learning curve for beginners?
A: Remarkably gentle. If you have basic programming knowledge, you can be productive with Playwright within a day. The API is intuitive, the documentation is excellent, and the built-in test generator helps you learn by example.
Final Thoughts
Playwright makes automation testing approachable without sacrificing power. Start by testing critical user flows, run them in CI/CD from day one, and expand gradually. The tool grows with you—from simple recorded scripts to sophisticated cross-browser suites. Teams that treat Playwright as part of their development process, not an afterthought, gain confidence in every release. The learning curve is gentle, but the impact is immediate. Give it a day, and you’ll wonder why you waited.